
Handmade Crochet Vest Pattern That Matches Every Outfit
Follow this Handmade Crochet Vest Pattern for a piece you can layer over a shirt on cool mornings and wear on its own when the afternoon starts to warm up.
Do you know what makes a handmade vest extra special? It's not just the yarn or the pattern, it’s the love, patience, and creativity that go into every single stitch. A crochet vest is one of those timeless pieces that can add warmth and style to your outfit, all while showcasing the charm of handmade clothing. It's an exciting project for anyone who loves adding a personal touch to their wardrobe.
Crocheted vests are incredibly beautiful because they combine texture, design, and versatility. Whether made for a cozy winter layer or light summer wear, they’re perfect for kids and adults alike. You can wear one over a casual shirt, dress, or even a plain top. And with so many colors and patterns to choose from, it’s easy to match the vest to your personal style.
Timeless Crochet Vest Perfect for Casual Looks
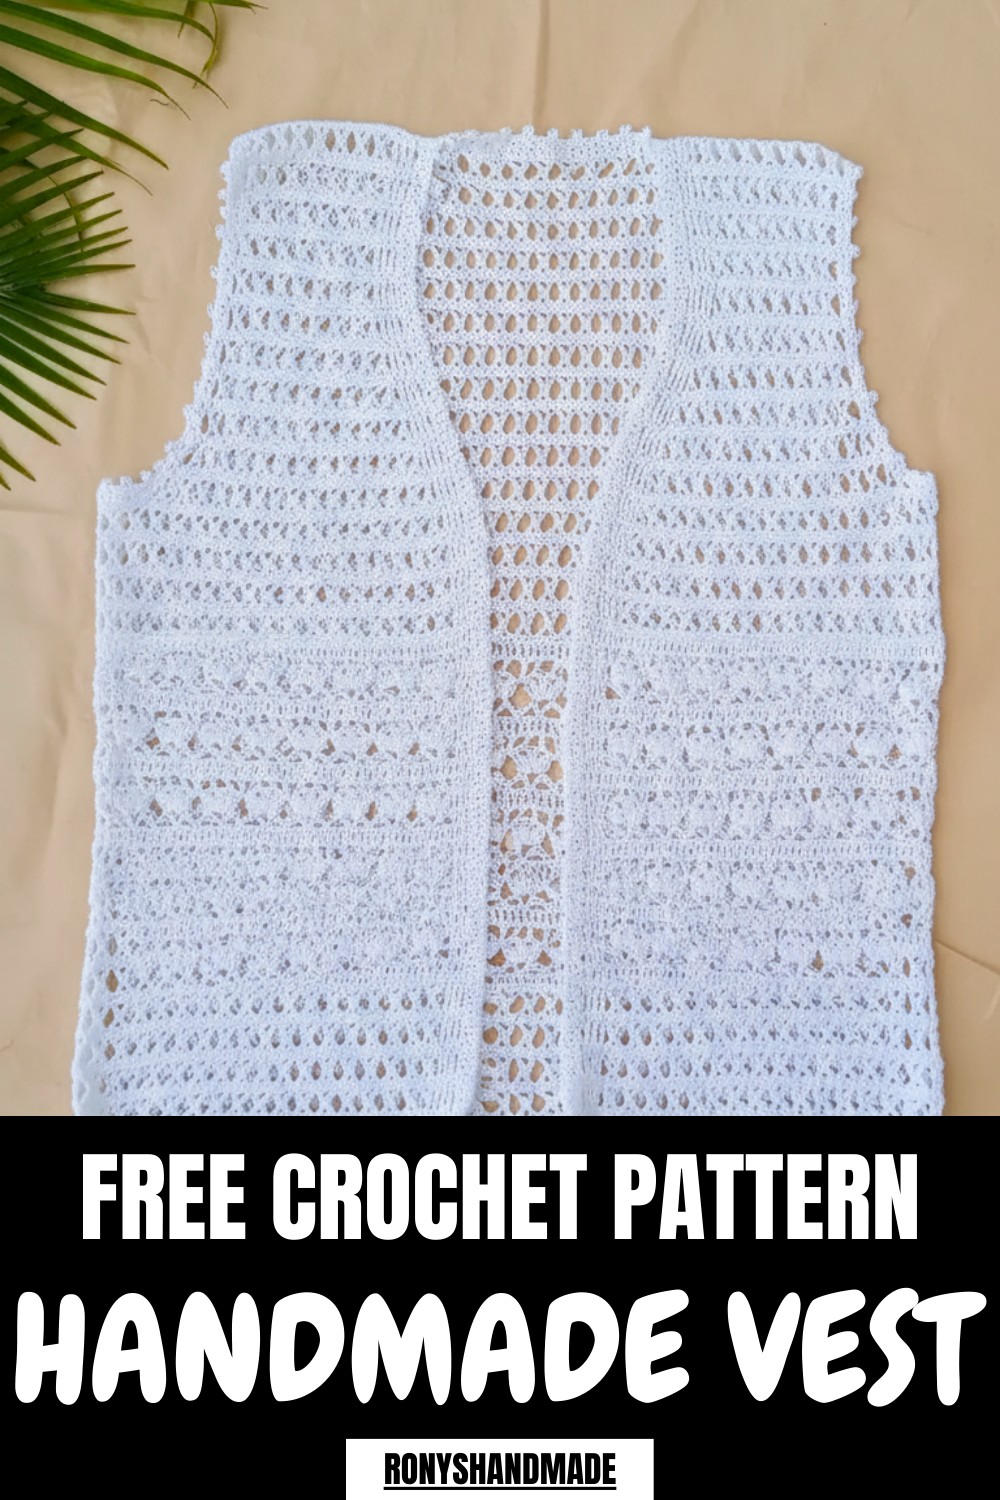
The heart of this vest lies in its special stitch, such as the double crochet or shell stitch. Known for their elegant flow, these stitches create stunning patterns that can be used for other projects like scarves, hats, or even blankets. They allow for both structured and airy designs, perfect if you want a mix of style and comfort.
This pattern is beginner friendly and doesn't require fancy techniques. It involves simple rows or rounds, making it an easy project to follow. For kids or teens learning to crochet, crocheting a small vest could be a fun and rewarding first garment project.
Featured By RonysHandmade
So, pick your favorite yarn, a crochet hook, and some patience, this project will not only spark your creativity but also leave you with a vest that can be cherished for years to come.
Beautiful Crochet Jacket Pattern
Quick Overview of Pattern
- Pattern Type: Crochet vest.
- Features: Alternating cross and floral stitch sections, tailored armholes, neckline, and hem edging.
- Skill Level: Intermediate.
- Uses: Perfect for layering, casual outings, or gifting.
Notes
- The vest starts with a foundation chain measuring 40 inches around the bust. Ensure the chain length suits your body measurements.
- Keep track of row counts to maintain symmetry across panels.
- The armhole, neckline, and hem are finished with a single crochet and picot edging for a polished look.
- Stitch count must be multiples of 3 + 8 for this pattern to work.
Skill Level
Intermediate: Requires knowledge of basic stitches (chain, single crochet, double crochet) and special techniques like triple crochet, three half double crochets together, and picots.
Materials
- Yarn: 100% mercerized cotton yarn (color of your choice).
- Hook Size: 3mm Crochet Hook.
- Scissors: To cut the yarn.
- Tapestry Needle: For weaving in ends.
- Stitch Markers: To mark armholes and neckline during shaping.
Measurements and Sizing
- Bust Measurement: 40 inches.
- Length: 21 inches.
- Armhole Depth: 8 inches.
- Neckline Width: 7.5–8 inches (adjustable).
Gauge and Stitch Pattern
- Work a 4 inch square swatch with single crochet to calculate gauge.
- Ensure the foundation chain measures 40 inches (or desired bust measurement).
Stitch Abbreviations
(Using US Terms)
- ch: Chain
- sc: Single Crochet
- dc: Double Crochet
- tr: Triple Crochet
- sl st: Slip Stitch
- hdc: Half Double Crochet
- 3 hdc tog: Three Half Double Crochets Together
Special Stitches
3 Half Double Crochets Together (3 hdc tog):
- Yarn over, insert hook into the stitch, and pull up a loop.
- Repeat in two more nearby stitches.
- Yarn over and pull through all loops on the hook to create one stitch.
Picot Stitch:
- Chain 3, then slip stitch into the base of the chain to form a small decorative loop.
The Crochet Pattern
Chapter 1: Foundation and Initial Rows
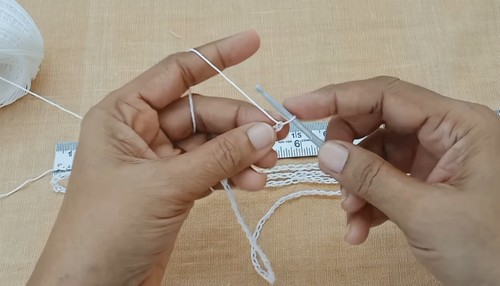
- Foundation Chain:
- Measure your bust (40 inches in this pattern) and make a foundation chain of that length.
- Fold the chain into four equal sections to ensure it measures 40 inches accurately.
- Row 1 – Single Crochet Row:
- Skip the first chain and work 1 single crochet (sc) into each chain across the row.
- Ensure the total stitch count adheres to multiples of 3 + 8.
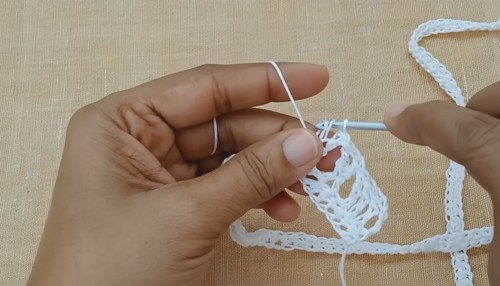
Chapter 2: Cross Stitch Pattern
- Row 2 – Start Triple Crochet Cross Stitches:
- Chain 4 and make 3 triple crochets (tr) in the first few stitches.
- Work the cross stitches: Yarn over twice, skip one stitch, and pull through. For proper crosses, alternate directions and complete rows with 4 triple crochets at both ends.
- Row 3 – Single Crochet Rows (Alternating):
- Insert a single crochet between stitch gaps for an even row of single crochets.
- Alternate between cross stitch rows and single crochet rows for five rows in total.
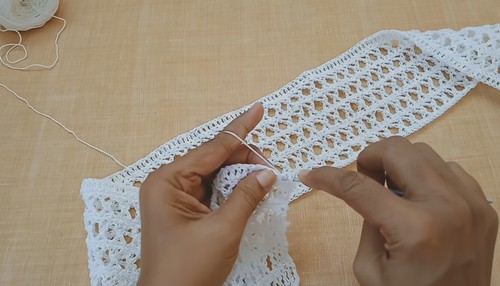
Chapter 3: Floral Pattern Rows
- Row 6 – Double Crochet Base Row:
- Work a complete row of double crochet (dc) stitches across.
- Row 7 – V Stitch Section:
- Start with 4 double crochets. Chain 3, skip 2 stitches, and insert a single crochet.
- Alternate V stitch patterns (dc, ch 3, dc) with chain spaces and single crochets to create a floral design.
- Row 8 – Three Petal Flowers:
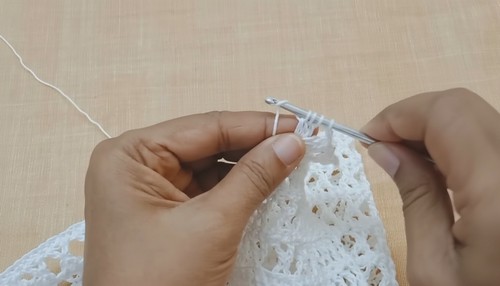
- Work 3 half double crochets together (3 hdc tog) to form "petals" in each V stitch loop.
- Separate each petal group with single chains and continue across the row.
Chapter 4: Pattern Repeats
- Alternate Sections:
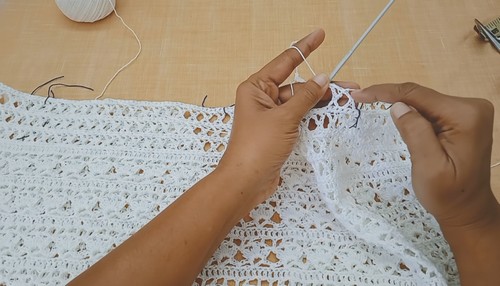
- Repeat the cross stitch rows, floral rows, and single/double crochet rows as desired.
- Maintain symmetry and ensure consistent tension throughout.
Chapter 5: Armhole Shaping
- Measure Armhole Depth:
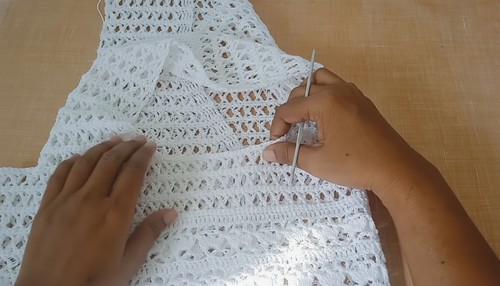
- Mark armhole points and ensure patterns align (8 inches depth).
- Reduce rows on both sides by tapering stitches (cross stitch to Y shape reduction).
- Back Panel:
- Work rows straight up without further reductions after tapering reaches the armhole and neckline seam points.
Chapter 6: Front Panel Shaping
- Taper Neckline Rows:
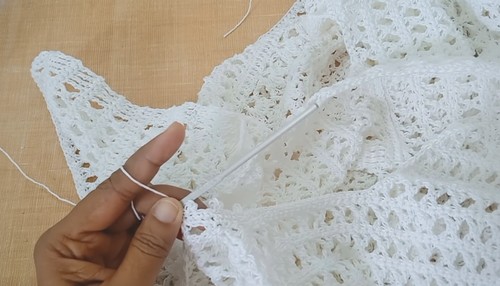
- Define the neckline by progressively reducing stitches on each side.
- Work until front edges are symmetrical with the back panel.
Chapter 7: Joining Shoulder Seams
- Join Using Slip Stitches:
- Align the front and back panels (right sides facing) and join shoulders with slip stitches.
- Use only the outer loops of stitches for an invisible seam.
Chapter 8: Finishing Edges
- Armhole Edging:
- Work 1 row of sc followed by 1 row of picots around each armhole.
- Insert picots every third stitch for uniform spacing.
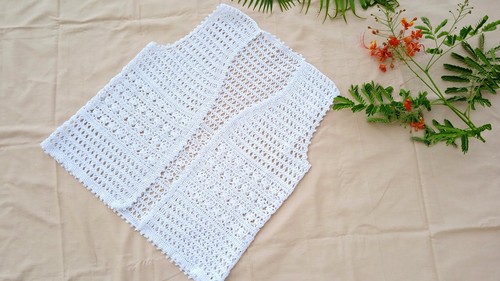
- Neckline and Hem Edging:
- Work 2 rows of single crochet followed by 1 row of picots around the neckline and hem edges for a clean, decorative finish.
Assembly & Finished Size
- Final Bust: 40 inches.
- Length: 21 inches (customizable with added rows).
- Attach optional buttons or fasteners if desired.
Conclusion
Congratulations on completing your crochet vest. With its mix of cross and floral patterns, breathable mercerized cotton yarn, and elegant picot edged finish, this vest combines style and comfort effortlessly. Perfect for layering or as a standalone piece, this easy to follow pattern is versatile and fun to make.