
Handmade Crochet Cat Ear Hat Free Pattern With Sweet Kitty Details
Step into cozy fun with this Crochet Cat Ear Hat Pattern, featuring playful ears, soft texture, a cute look for cool days and extra comfort.
Looking for a simple yet charming project? Stylish hat featuring adorable cat ears that stand out as a special detail. The Crochet Cat Ear Hat Pattern is practical, cozy, and perfect for colder months, while its playful appearance makes it suitable for all ages. A handmade accessory like this adds a personal touch to winter outfits, and it’s a thoughtful gift idea that’s sure to make anyone smile.
Kawaii Crochet Cat Ear Hat Pattern Loved by Cat Fans
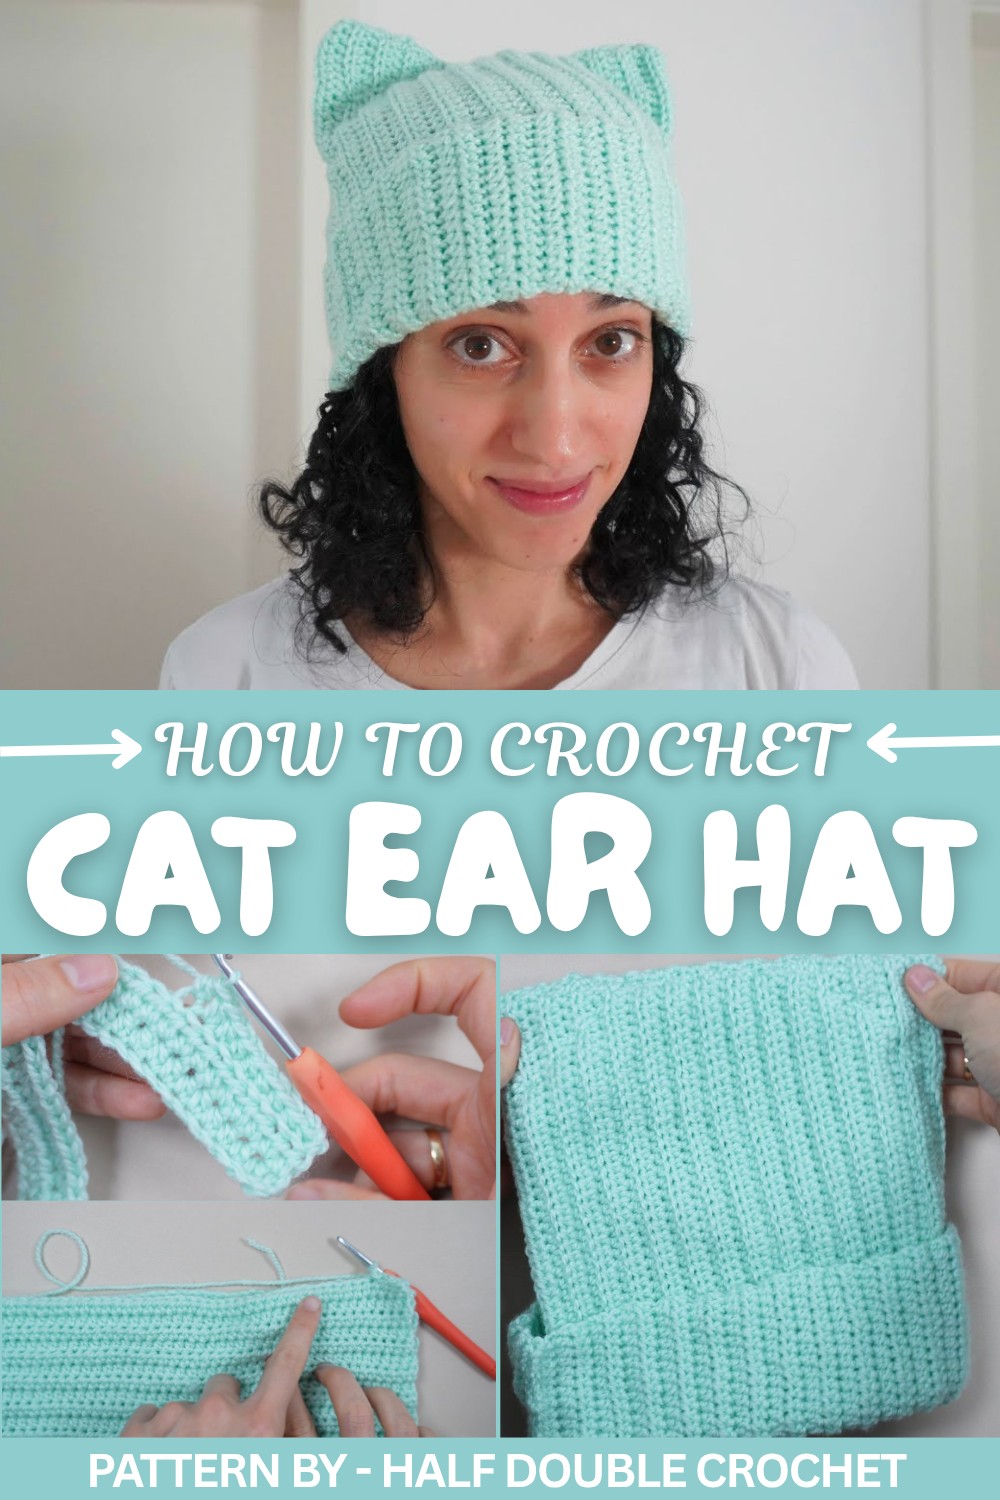
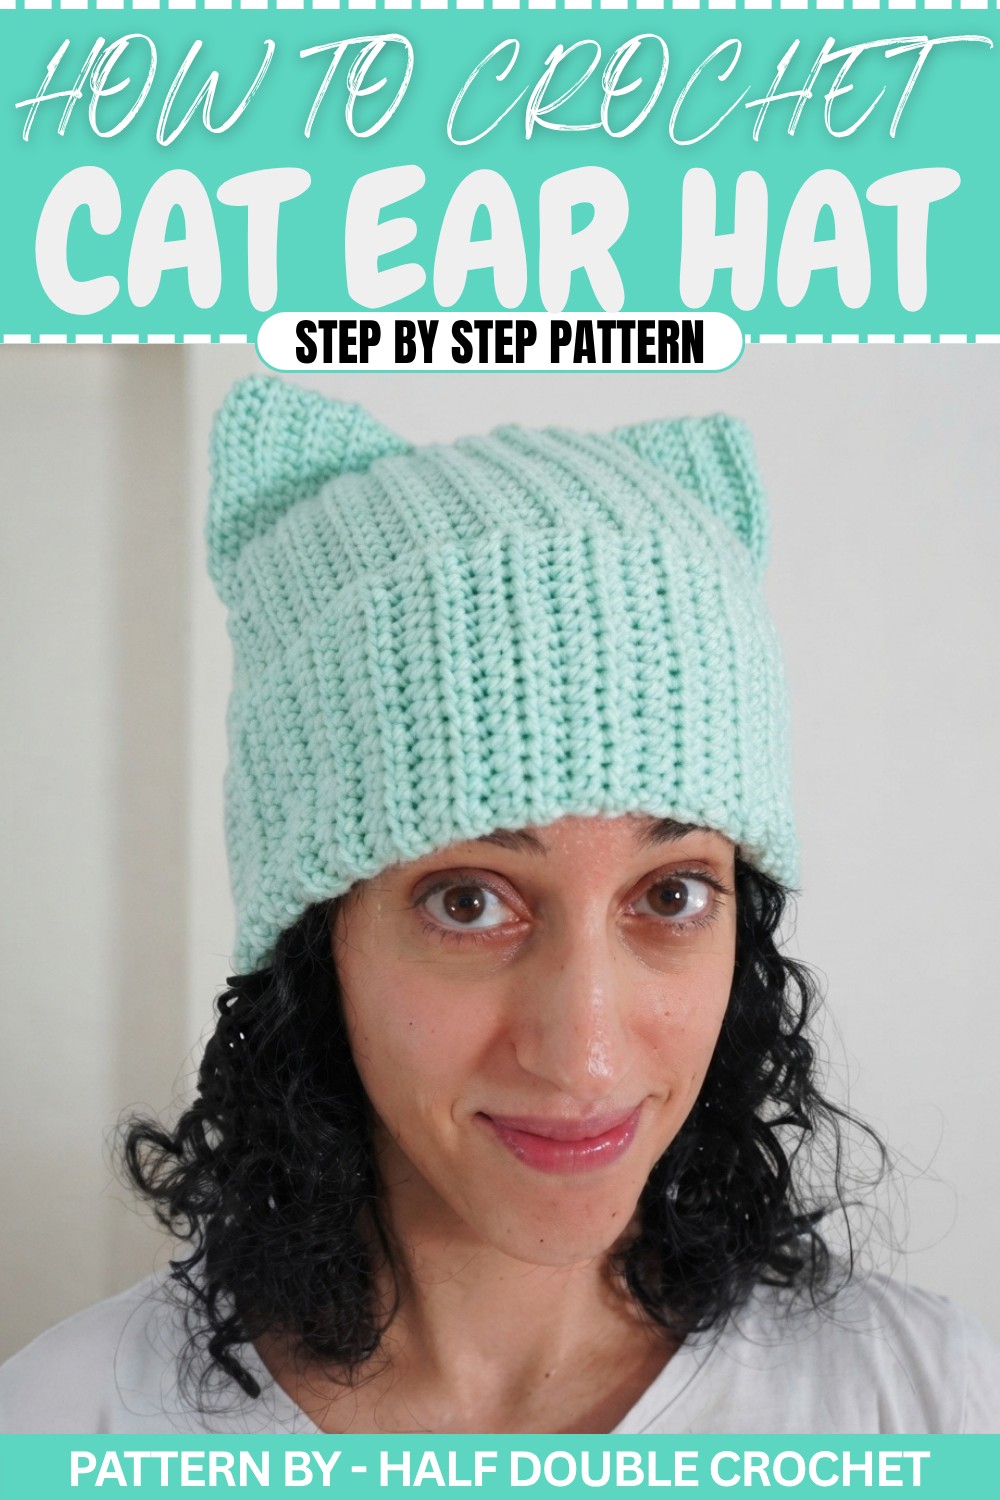
This hat is easy to follow, versatile, and perfect for adding warmth and style to your wardrobe. It’s fun, functional, and delightful! The pattern allows flexibility in colors and yarn type, making it easy to match different styles and preferences. Its simplicity means even beginners can enjoy the process without feeling overwhelmed.
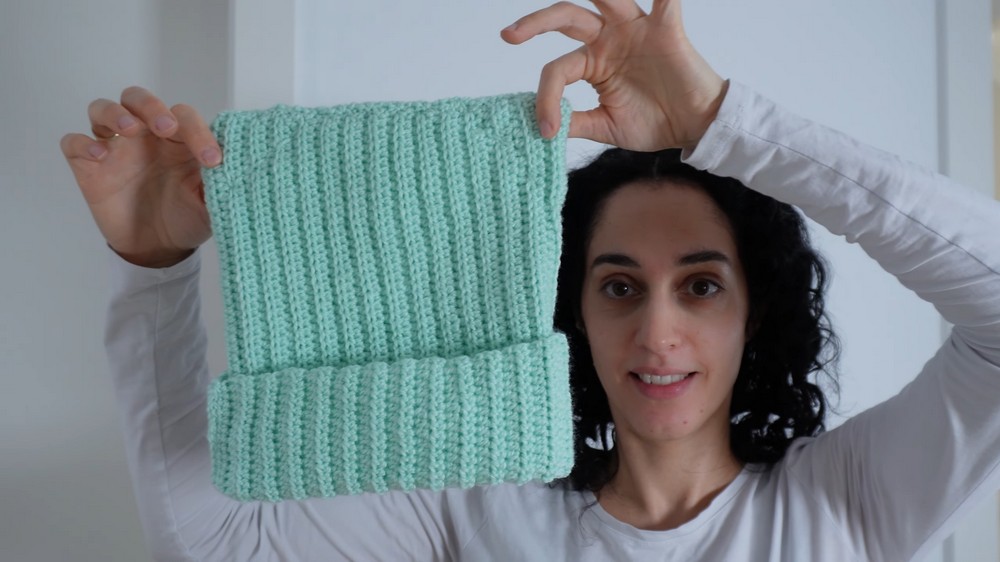
The steps involve starting with a slip knot, followed by a foundation chain measured against your head size. Rows alternate between stitching into both loops and into the back loop only, forming a ribbed texture that gives the hat its stretch and elegant pattern. By sewing the top seams and shaping the ears with diagonal stitching, the hat takes on its unique, defined character.
Cat Ear Beanie Crochet Pattern
This playful and cozy cat ear beanie is a simple yet stylish crochet accessory. Designed with a stretchy texture, it perfectly hugs the head while the sewn corners create adorable cat ear details. Ideal for casual wear or costumes, this pattern takes minimal materials and time.
Skill Level
This pattern is appropriate for beginners, as it uses basic stitches such as half double crochet and slip stitches, along with simple seaming techniques. Comfort with crocheting straight rows and sewing edges is required.
Materials
- Yarn: 100 grams of soft polyacrylic yarn (or any similar worsted weight yarn).
- Hook: 4.5 mm crochet hook.
- Tools:
- Darning needle (for seaming and shaping the ears).
- Measuring tape (to ensure proper sizing).
Special Stitches
Half Double Crochet (HDC)
- Yarn over, insert the hook into the stitch.
- Yarn over again, pull through (3 loops on the hook).
- Yarn over and pull through all 3 loops.
Back Loop Only (BLO)
- Insert the hook into the back loop of the stitch (rather than under both loops).
- Yarn over, pull through the loop.
- Proceed with the designated stitch, such as HDC, into the back loop only.
Slip Stitch (SL ST)
- Insert the hook into the stitch.
- Yarn over, pull the yarn through the stitch and loop on the hook (1 loop remains).
Stitch Abbreviations
- CH = Chain
- HDC = Half Double Crochet
- BLO = Back Loop Only
- SL ST = Slip Stitch
Useful Tips
- Foundation Chain Length: Customize the foundation chain to match the length from your upper lip to the top of your head. This makes the beanie height adaptable to different head shapes.
- Turning Chain: Tighten the second turning chain after any row to avoid accidentally stitching into it, which helps create clean, straight edges.
- Measuring for Fit: Ensure that the width of the crocheted piece matches the circumference of your head for a snug, comfortable fit.
The Crochet Pattern
1. Foundation Chain
- Create a slipknot and attach it to the crochet hook.
- CH 55 (or a number sufficient to measure approximately 39 cm/11 in, based on your head size), ensuring the chain is loose but consistent.
- Double-check the length with a measuring tape to match the distance from your upper lip to the top of your head.
2. First Row
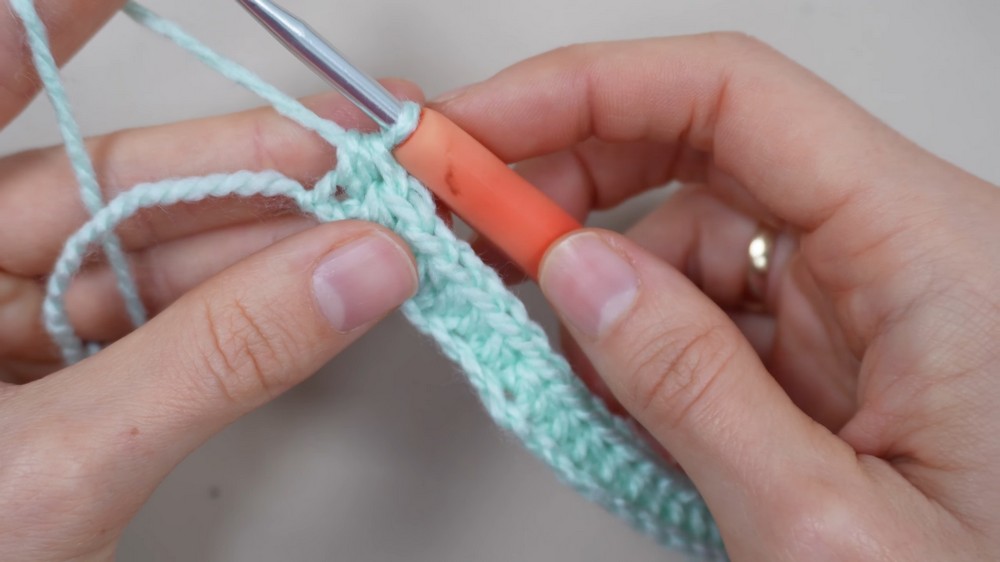
- Skip the first 2 chains (these act as your turning chain).
- In the 3rd chain from the hook, work 1 HDC.
- Continue working 1 HDC in each chain across the row until you reach the end.
- Turn your work to begin the next row.
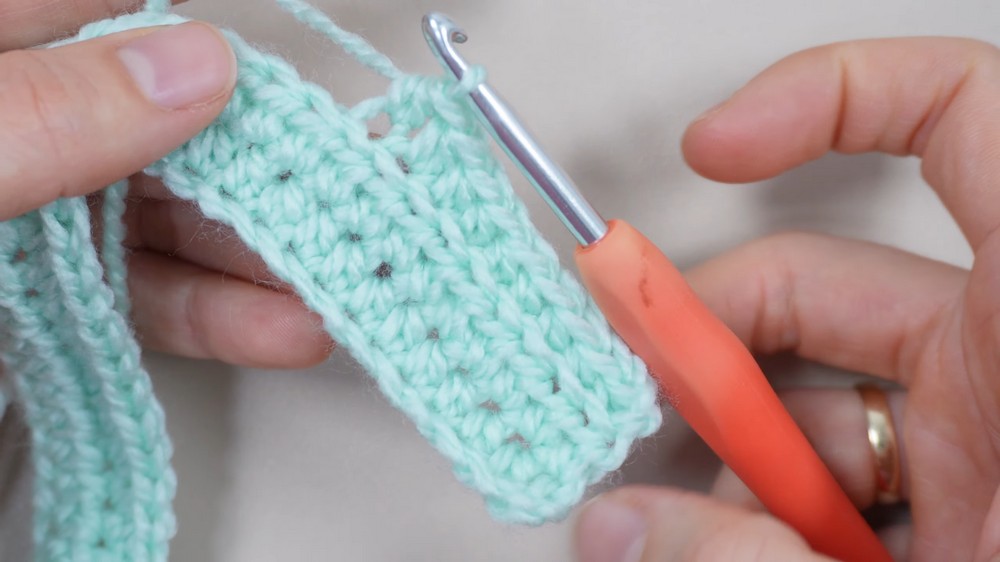
3. Body of the Hat
- Row 2: CH 2 to start the row (this does not count as a stitch).
- Work 1 HDC into each stitch, inserting the hook under both loops of each stitch.
- Turn your work.
- Row 3: CH 2, and work HDC into the BLO for every stitch in the row.
- This creates a ribbing texture and adds elasticity to the beanie.
- Turn your work.
- Alternate these rows (one row under both loops, followed by the next row worked in BLO) until the crocheted piece measures approximately 43 cm (17 in) wide, or to fit the circumference of your head snugly.
- The ridges created by BLO rows will allow the beanie to stretch comfortably.
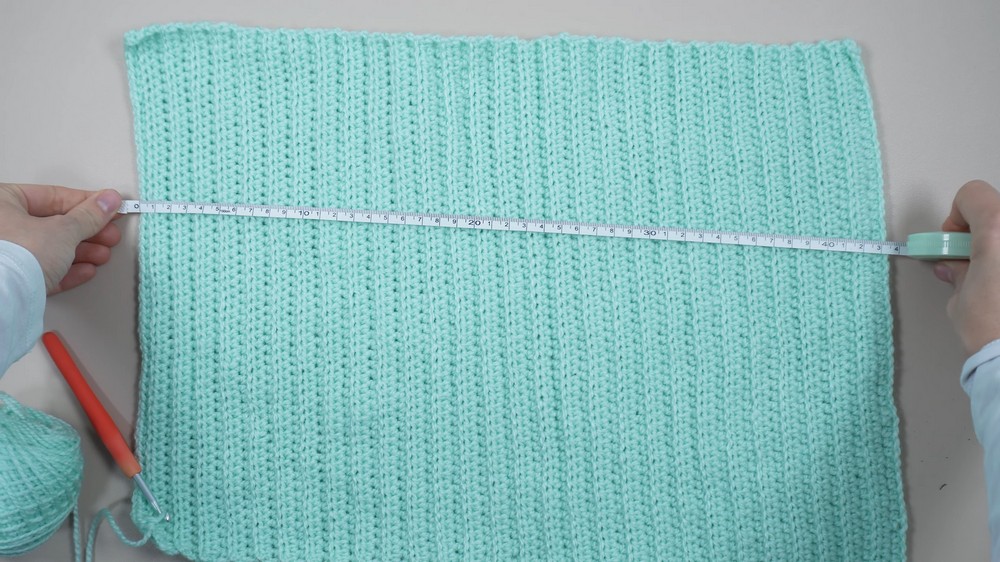
4. Seaming
- Once you've completed the body of the beanie, fold the piece in half with the ribbing running vertically, ensuring the edges align.
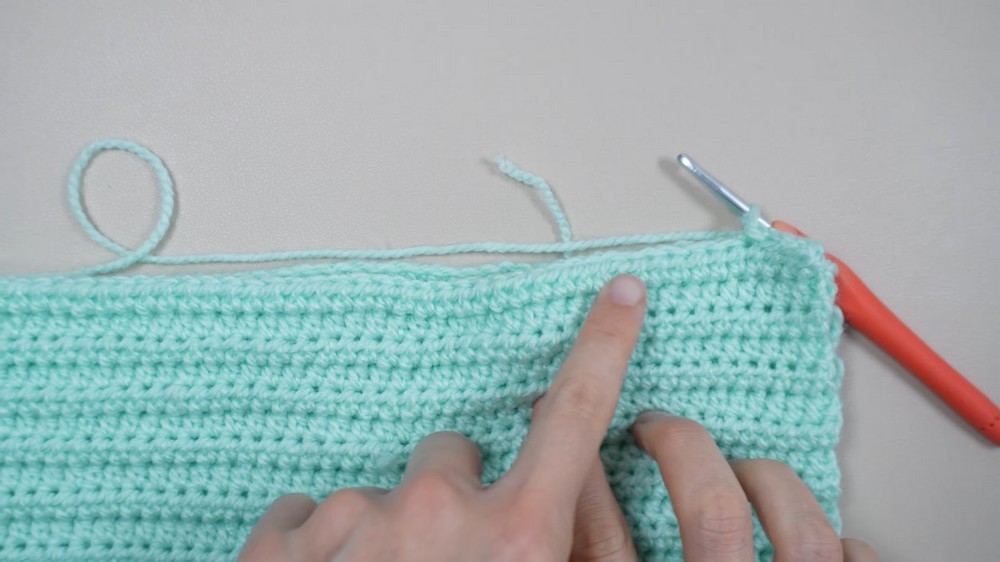
Slip Stitch Seaming
- To close the side seam:
- Starting from the bottom corner, SL ST into corresponding stitches from both edges, working your way up to the top corner.
- Finish with a slip knot and trim the yarn, leaving a small tail.
Closing the Top with a Darning Needle
- Thread the yarn tail onto the darning needle and weave it tightly through each stitch along the top edge.
- Pull the yarn to close the top opening completely, then knot securely.
5. Shaping the Cat Ears
- Lay the beanie flat and locate the corners of the sewn top.
- Use a measuring tape and place a stitch marker 7 cm inward from each top corner.
- Thread your darning needle with a long yarn tail:
- Stitch diagonally from each marked point to the top corner.
- Pull the yarn tight to create a crease and securely tie off.
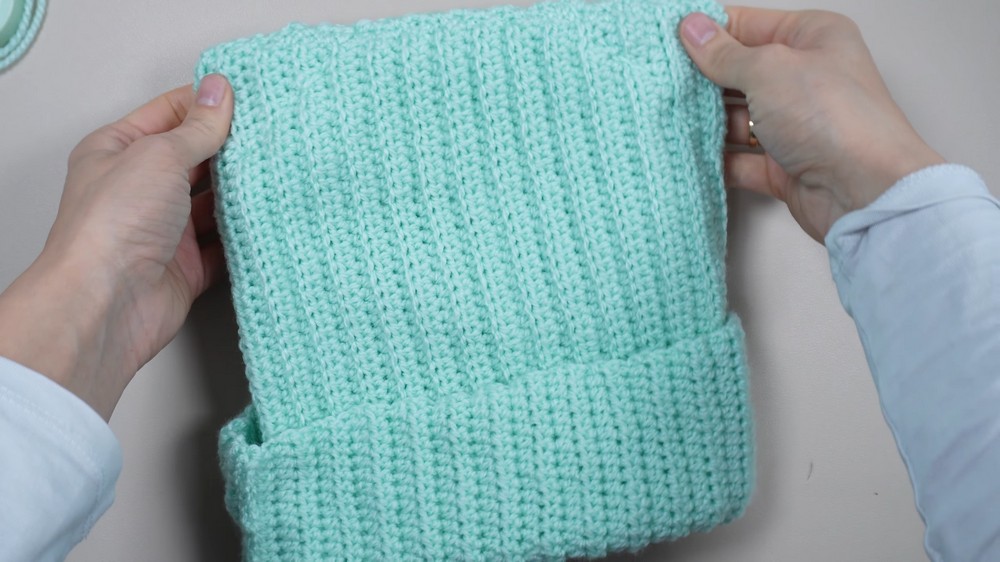
Assembly and Sizing
- Turn the beanie inside out to hide the seam for a clean finish.
- Try on the beanie to check the snugness and make minor adjustments, such as loosening or tightening the stitches of the seam if necessary.
- The top corners should now appear as subtle cat ears, adding charm to the finished design.
Conclusion
This cat ear beanie combines functionality with a touch of fun, making it versatile for practical use or playful styling. The alternation of stitches creates a beautifully textured fabric that is both warm and stretchable. With straightforward construction and simple shaping techniques, it is an ideal project for those looking to create a cute and comfortable accessory.