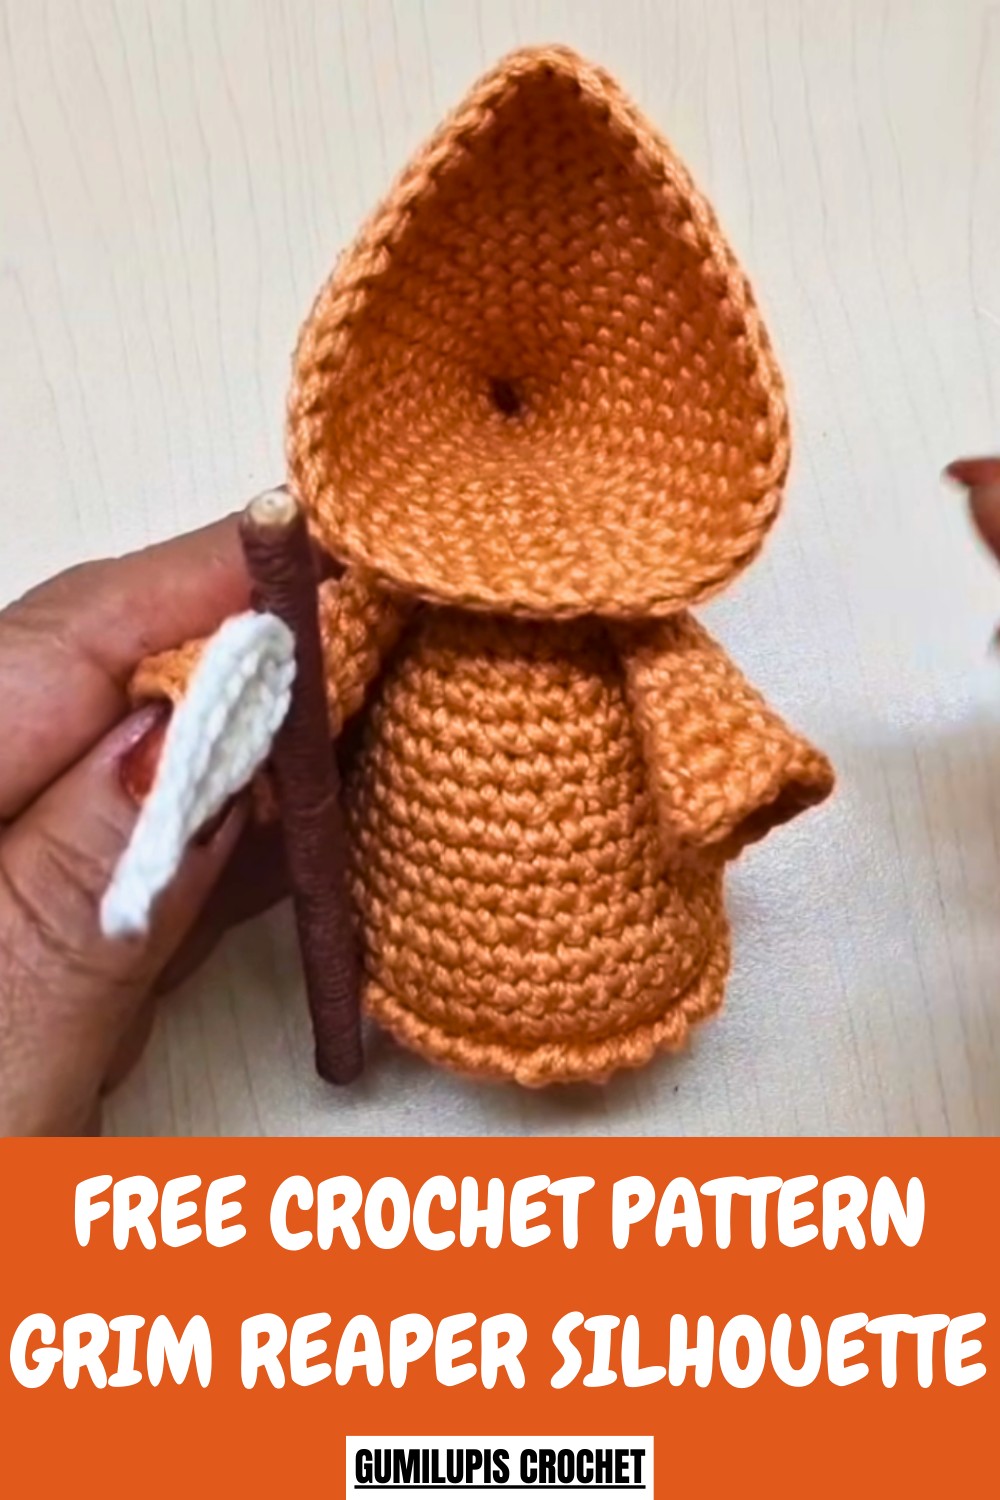
Haunt your space with this Free crochet Grim Reaper Silhouette Pattern, making striking, unique designs that bring a bold, eerie, and creative touch to any project.
For those who appreciate unique and striking crochet designs, this pattern offers an artistic and bold statement. The crochet Grim Reaper silhouette pattern creates an eerie yet captivating design, perfect for Halloween décor or themed gifts. Its dark, intricate shape stands out beautifully against contrasting backdrops, showcasing the blend of creativity and skill in crochet art.
Chilling Crochet Grim Reaper Silhouette Pattern To Hang
From wall hangings to blankets or even spooky tote bags, this design adds personality and intrigue to any project. Suitable for intermediate crocheters, it challenges your skills while delivering a stunning result. Whether decorative or functional, it is a true conversation starter.
Tip
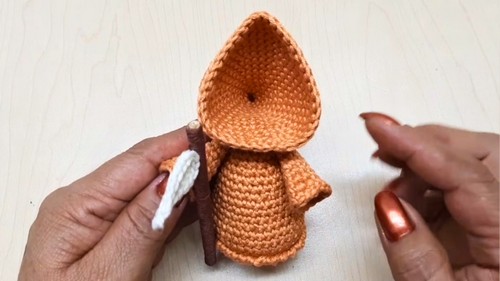
Maximize the Hood’s Shape: Once you sew the cowl to the body, apply a small amount of glue or use a tiny hidden stitch at the front tips of the hood’s opening. This will help them stay open and frame the empty space below, enhancing the mysterious, faceless look.
Uses
-
Decorate your home for Halloween or Day of the Dead celebrations.
-
Give the finished item as a handmade gift to friends or family.
-
Sell the figure at craft fairs as a seasonal collectible.
Materials
-
Yarn (Main Color): Use medium-weight yarn in your chosen color (e.g., black, gray, purple, or cinnamon).
-
Yarn (Scythe): Gather small amounts of yarn for the handle (brown/café) and the blade (white/hueso).
-
Crochet Hook: A 2.5 mm hook is recommended, or the size appropriate for your yarn.
-
Notions: Tapestry needle, scissors, stitch marker, and polyester fiberfill stuffing.
-
Structural Materials:
-
Plastic Disc: Cut a small, flat circle from a plastic lid (e.g., a water jug cap) to create a firm base.
-
Wooden Stick: Use a small wooden stick about 9 cm long for the scythe handle.
-
Glue: Liquid silicone or strong craft adhesive.
-
Step-by-Step Details
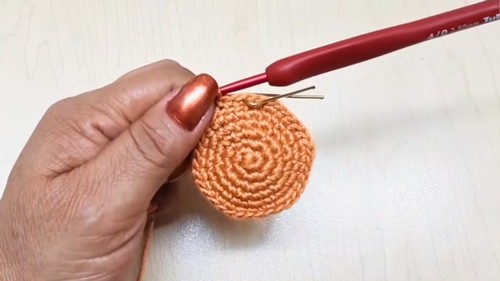
1. Crochet the Body
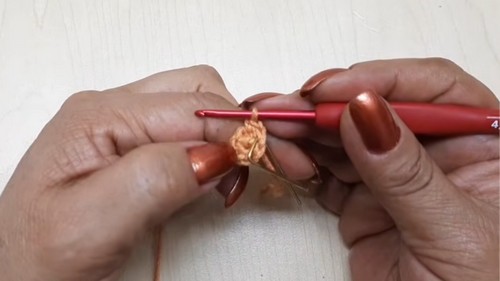
Begin working in a continuous spiral in your main color.
-
Start with a Magic Ring and place 6 Single Crochet (SC) stitches inside. Pull the tail to close the ring.
-
Increase your stitch count through a series of increase rounds (R2 to R6), progressing from 6 increases (R2) up to a final count of 36 stitches (R6).
-
For Round 7, work 36 SC stitches using only the Back Loop Only (BLO).
-
Apply glue and press the plastic disc base into the bottom of the body, centering it on the R7 BLO round.
-
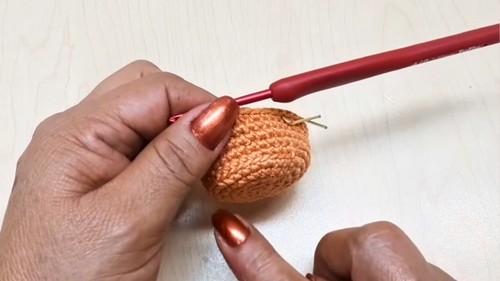
Work three straight rounds of 36 SC (R8 to R10), crocheting through both loops normally.
-
Start decreasing your stitch count (R11 to R21) to shape the body and neck, working through the sequences of (4 SC, dec) down to (1 SC, dec).
-
As the body closes, stuff the piece firmly with fiberfill.
-
Complete the neck with one final round of 12 SC (R22).
-
Close the piece with a slip stitch, chain 1, and cut a long tail for sewing the hood later.
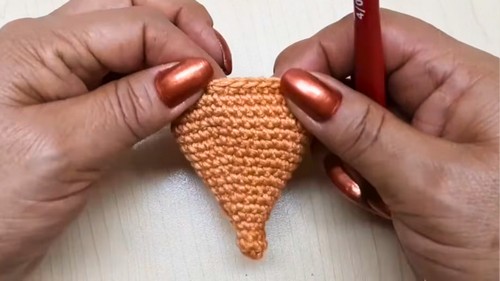
2. Crochet the Cowl/Hood
Begin working in a continuous spiral in your main color.
-
Start with a Magic Ring and place 6 SC stitches inside.
-
Work two rounds of 6 SC (R2-R3) to create the top point of the hood.
-
Increase the stitch count over subsequent rounds (R4 to R15), progressing from (1 SC, inc) up to (5 SC, inc) to create the wide, draped shape of the cowl. The final stitch count reaches 42 (R15).

-
Work two straight rounds of 42 SC (R16-R17).
-
Work one decrease round (R18) by crocheting (5 SC, dec) six times, finishing with 36 stitches.
-
Close with a slip stitch and weave the yarn end into the back of the piece.
3. Crochet the Arms
Make two arms in the main color, and do not stuff them.
-
Start with a Magic Ring and place 6 SC stitches inside.
-
Work a single straight round of 6 SC (R2).
-
Increase the stitch count in R3 to 9 stitches using the (1 SC, inc) sequence.
-
Work two straight rounds of 9 SC (R4-R5).
-
Increase the stitch count in R6 to 12 stitches using the (2 SC, inc) sequence.
-
Work two straight rounds of 12 SC (R7-R8).
-
Increase the stitch count in R9 to 15 stitches using the (3 SC, inc) sequence.
-
Increase the stitch count in R10 to 18 stitches using the (4 SC, inc) sequence.
-
Finish the arm by slip stitching, cutting the yarn, and sewing the open edge closed to create a neat cuff.
4. Create the Scythe
-
Scythe Blade: Chain 9 in the blade color (e.g., white). Starting in the second chain from the hook, work the shaping: 1 slip stitch, 4 SC, 2 Half Double Crochet (HDC). In the last chain, work 2 HDC. Chain 1, turn, and work down the other side of the chain: 2 HDC in the first stitch, 1 HDC increase, 3 SC, and finish with a slip stitch. Fasten off.

-
Scythe Handle: Wrap the 9 cm wooden stick tightly with the handle color yarn, securing both ends with a dab of glue.
-
Assembly: Glue the crocheted blade securely to the top of the wrapped handle.
5. Assembly and Finishing
-
Hem Edging (Crab Stitch): Attach the main color yarn to the front loops left unworked on R7 of the body. Work one round of Crab Stitch (Punto Cangrejo), which is SC worked backward, around the hemline to create a distinct border.
-
Attach Arms: Thread a separate length of yarn onto a needle. Position the arms on the sides of the body (around the 20th row). Pass the needle through the first arm, across the body, and out the second arm, then back across the body. Repeat 3 to 4 times, pulling gently, to create a movable, pin-jointed attachment.
-
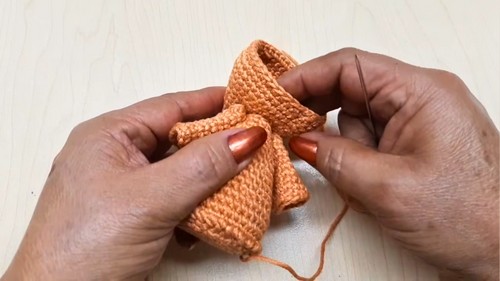
Attach Hood: Place the hood over the top of the body, leaving a small opening for the "face" (the top part of the body). Pin it in place. Use the long tail from the body to sew the hood to the body around the circumference, stitching into the horizontal bars of the body stitches for an invisible seam.
-
Shape Hood: After sewing, use your fingers to pinch and pull the top of the hood into a sharp, triangular point for a dramatic silhouette.
-
Attach Scythe: Position the scythe in one of the movable hands. Secure it to the arm by sewing it in place with a few small stitches using a matching color yarn.
Conclusion
You have successfully completed the Grim Reaper Amigurumi! By mastering the self-standing base, the movable arms, and the distinctive hooded cowl, you have created a perfectly stylized Halloween figure.
Special Features
-
Self-Standing Design: Insert a plastic disc into the base of the body (after Round 7, when working in the back loops) and secure it with glue. This trick creates a flat, sturdy bottom that allows the figure to stand on its own without toppling over.
-
Movable Arms: Attach the arms using a pin-jointing technique by sewing through both arms and the body multiple times. This method makes the arms capable of swinging forward and backward.
-
Crab Stitch Edging: Apply a round of Crab Stitch, a reverse single crochet, along the bottom hem of the body. This creates a neat, decorative, and defined border on the robe.
-
Simplified Appearance: The design uses a single color for the body and cowl, creating an effective, minimalist silhouette.
Level of Difficulty
This project carries an Easy difficulty rating. You should be familiar with the basic amigurumi stitches, including the Magic Ring, Single Crochet (SC), increases, and invisible decreases.
Tutor's Suggestions
-
Mark Your Stitches: Always mark the first stitch of every round when working in a spiral to maintain an accurate stitch count and prevent errors.
-
Color Choice: While the tutor uses a light color (cinnamon) for clarity in the video, choose darker colors like black or gray to achieve the best, most traditional Grim Reaper look.
-
Stuffing: Fill the body and the neck area firmly as you advance to ensure the structure is solid and can support the large, heavy cowl.
-
Scythe Handle: Tightly wrap the wooden stick with yarn, securing the beginning and end with glue to keep the wrapping neat and secure.