
Fun Crochet Witch Hat Bookmark Pattern for Happy Bookworms
Make every reading session special with the Free Crochet Witch Hat Bookmark Pattern delivering effortless, playful book magic.
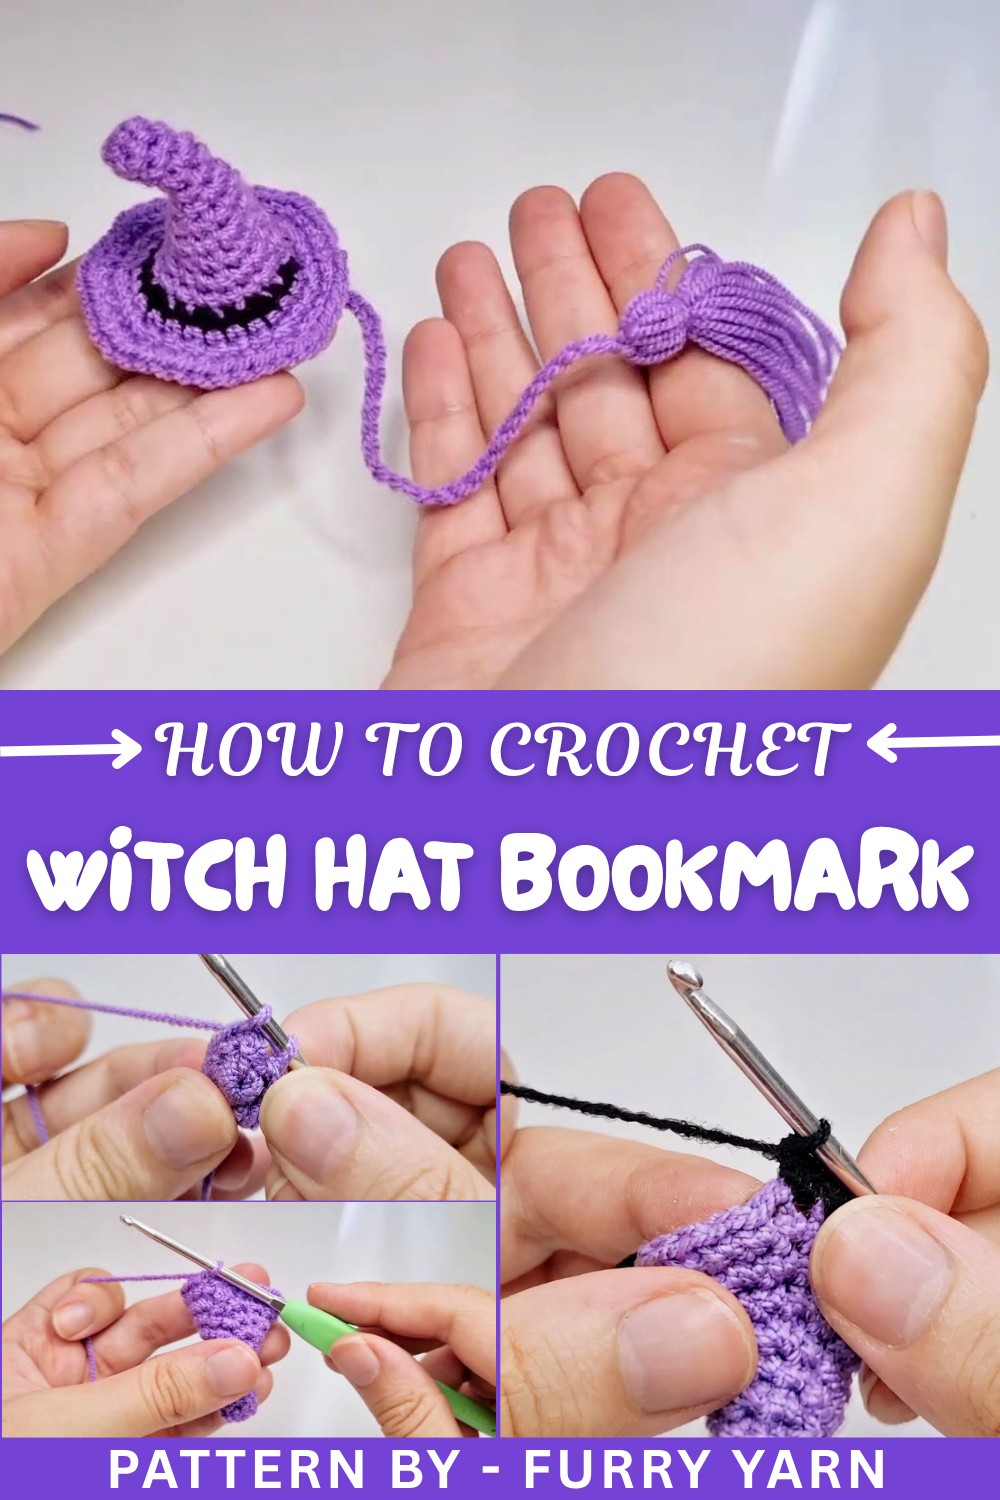
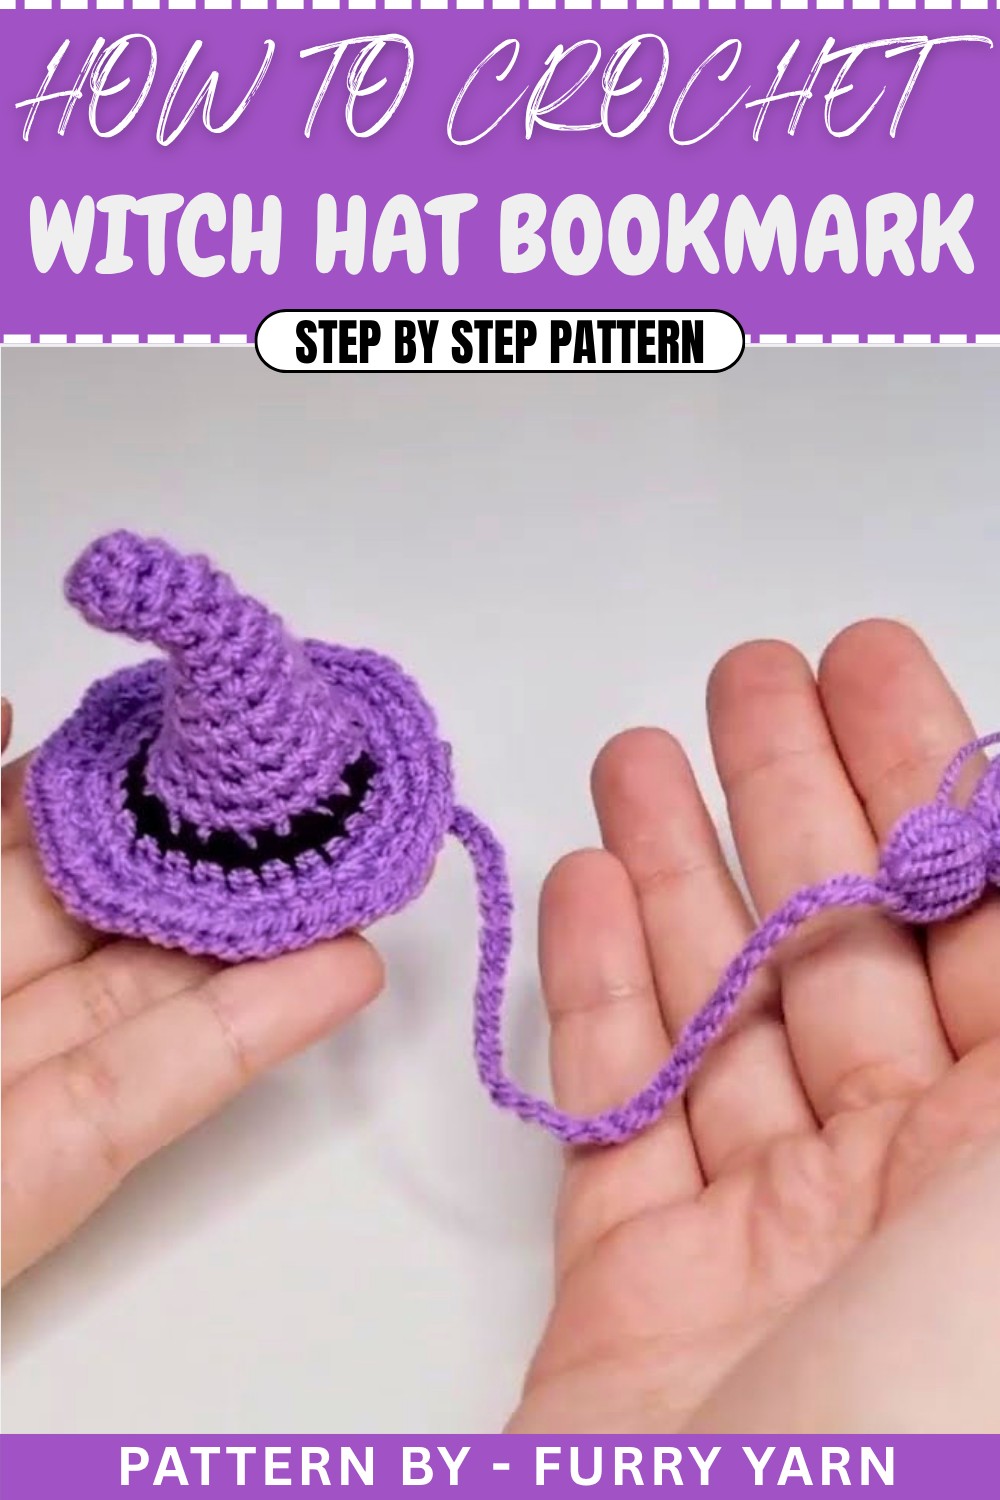
Keeping track of your favorite stories becomes extra special with a beautifully crocheted witch hat bookmark. This adorable accessory is not only charming to look at but also very practical, perfect for marking pages in your favorite books during Halloween or any cozy reading session. The pattern uses the magic ring technique to start the hat with a neat, tight circle, giving it a perfectly rounded shape. Combined with single crochet stitches, this creates a sturdy yet soft texture that holds its form really well.
Say thnks to Furry Yarn
If you’re looking for a friendly place to learn and enjoy crochet, you’ll love Furry Yarn. Their step-by-step videos make complicated stitches feel easy and fun. With clear explanations and gentle guidance, Furry Yarn helps crochet fans of all levels feel confident in creating projects like this witch hat bookmark. Be sure to check out their channel for more inspiring ideas and helpful tips that turn yarn into art.
Easy Crochet Witch Hat Bookmark Pattern for Autumn Reads
Beyond the Bookmark
Once you’ve mastered this whimsical hat, you’ll discover many other enchanting projects to try. This pattern can be adapted into festive ornaments, playful appliques for bags or clothes, or even miniature hats for dolls and toys. Vary the colors to celebrate different seasons or holidays and use your crochet magic to create gifts that are as charming as they are unique. With a simple base of single crochet and magic ring techniques, the possibilities truly are endless!
Crochet Pattern: Colorful Applique with Chains
This crochet applique pattern is versatile and ideal for creating embellishments for various projects like bags, blankets, wall hangings, or even crocheting jewelry elements. It features colorful layers enhanced with chains, making it visually appealing while letting you experiment with textures.
Uses of This Pattern
This crochet applique pattern is versatile and can be used in numerous ways:
- Decorative Pieces: Add the applique to blankets, pillowcases, wall hangings, or banners for a splash of color and texture.
- Clothing Embellishment: Sew it onto jackets, bags, sweaters, or hats to make your clothing unique and stylish.
- Jewelry Elements: Use the decorative chains to craft bracelets, necklaces, or earrings with a crafty handmade feel.
- Seasonal Decor: Customize this applique with seasonal themes, or use colors that fit occasions like Christmas, Halloween, or spring events.
Skill Level & Terminology
- Skill Level: Beginner to intermediate.
- Terminology: This pattern uses US crochet terms.
Materials & Tools
- Yarn: Light worsted or DK weight in white, black, purple, and any additional colors you'd like.
- Crochet Hook: 3 mm crochet hook or size appropriately matched to your yarn.
- Scissors: For cutting yarn securely after finishing sections.
- Tapestry Needle: For weaving ends and joining pieces neatly.
- Optional: Stitch marker for keeping track of rows, especially when working circular parts.
Gauge
Gauge is not critical for this applique, as it can vary based on your yarn and hook size.
For reference, gauge in this pattern:
- 4 single crochet stitches x 4 rows = 1 inch x 1 inch
Abbreviations List
Here’s a helpful dictionary of abbreviations used:
- ch: Chain
- sc: Single Crochet
- hdc: Half Double Crochet
- sl st: Slip Stitch
- yo: Yarn Over
Special Stitch Instructions
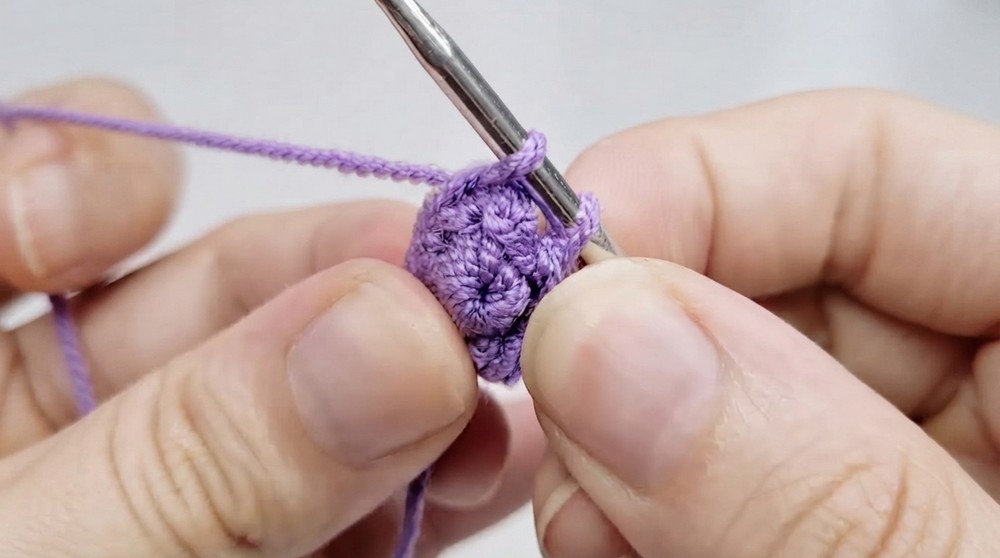
Magic Ring: Form a loop with yarn, insert the hook through it, yo, pull through, and tighten to create the adjustable ring. Stitches are worked within this ring to form circular bases.
Finished Size
Approximately 4–6 inches, depending on the number of chain decorations added at the end and the hook and yarn used.
What You'll Learn from This Pattern
Through this project, you’ll practice:
- Circular crochet techniques like the magic ring and slip stitches at the end of rows.
- Basic stitches, including single crochet and half double crochet.
- Adding decorative elements, such as chain accents, for extra texture.
- Finishing touches, such as switching yarn colors cleanly and weaving in ends.
I love this project because it lets you explore creativity within a structured design. It is beginner-friendly yet allows room for experimentation in colors and volume.
Crochet Applique Pattern
Step 1: Create the Base Circle
- Create Magic Ring:
- Wrap the yarn around your fingers, insert your hook into the loop, yo, pull through, tighten the adjustable ring.
- Round 1:
- Into the magic ring, work 6 sc: Insert hook, yo, pull up a loop. Yo again, pull through both loops on hook.
- Pull yarn tightly to close the ring.
- Anchor Round 1:
- Join the last stitch to the first sc with a sl st.
Beginners: If forming the magic ring is difficult, start with a chain 4 loop and work the sc into this circle instead.
Step 2: Begin Circular Expansion
- Round 2:
- Ch 1, work 1 sc in each stitch of the previous round.
- You should still have 6 sc.
- Repeat:
- Continue this pattern for Row 2 to Row 4, maintaining one sc into each stitch for an even circle.
- Anchor Each Round:
- Work a sl st into the first sc to join the round neatly.
Step 3: Add Increases to Shape
- Round 5 (Increasing):
- Ch 1, 1 sc into the same stitch, 2 sc in the next stitch. Continue alternating 1 sc and 2 sc around the circle.
- Round 6:
- Ch 1, work 1 sc in each stitch for stability.
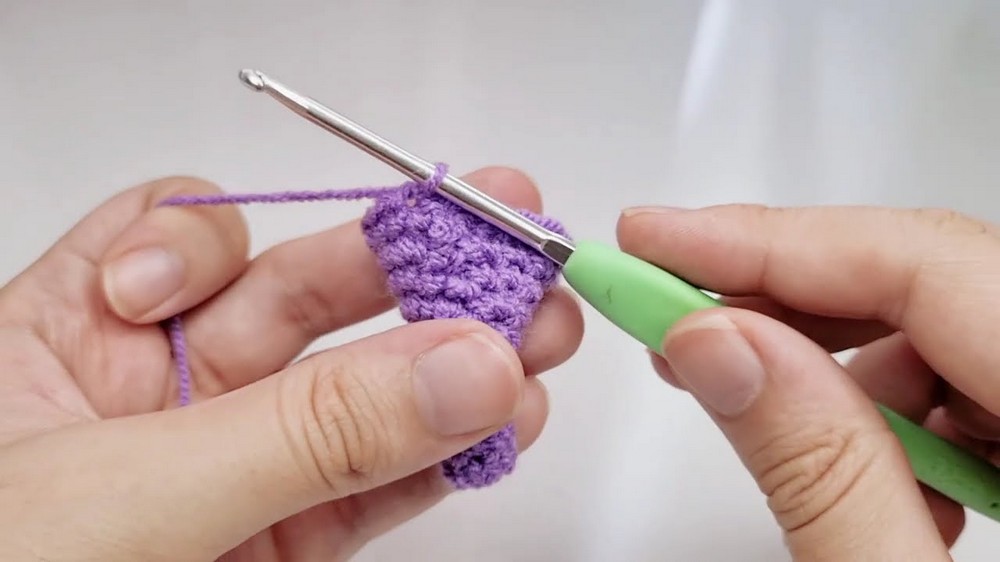
Note: Increases add volume, allowing the applique to maintain a geometric shape while growing larger.
Step 4: Add the Colorful Layers
- Switch to Black Yarn:
- Tie off the white yarn, join with black yarn at any stitch.
- Row with Black Yarn:
- Ch 1, work 1 sc in the same stitch, then 2 sc in the next stitch. Continue alternating 1 sc and 2 sc around the row.
- Fasten Off Black Yarn:
- Tie a secure knot, weave ends neatly.
- Switch to Purple Yarn:
- Insert hook at a new location, tie purple yarn as described for the black layer.
- Purple Row:
- Ch 1, work 1 sc into each stitch for a consistent row of single crochet.
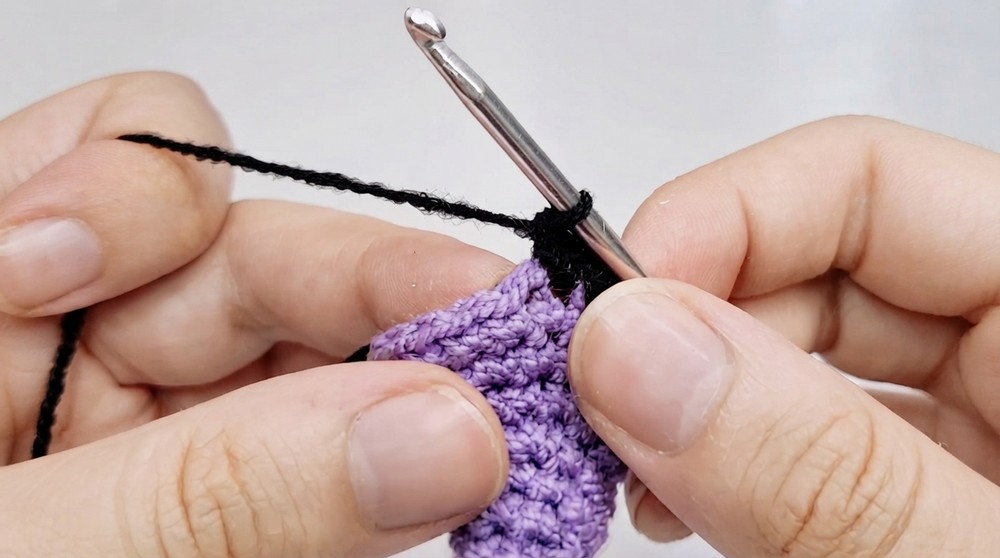
For those unfamiliar with color switching: Ensure tails are tied off securely to prevent unraveling.
Step 5: Decorative Chains and Final Rows
- Final Row (Optional Increases):
- Begin adding texture: Work 1 sc in two stitches, work 2 sc in the next stitch. Repeat this pattern.
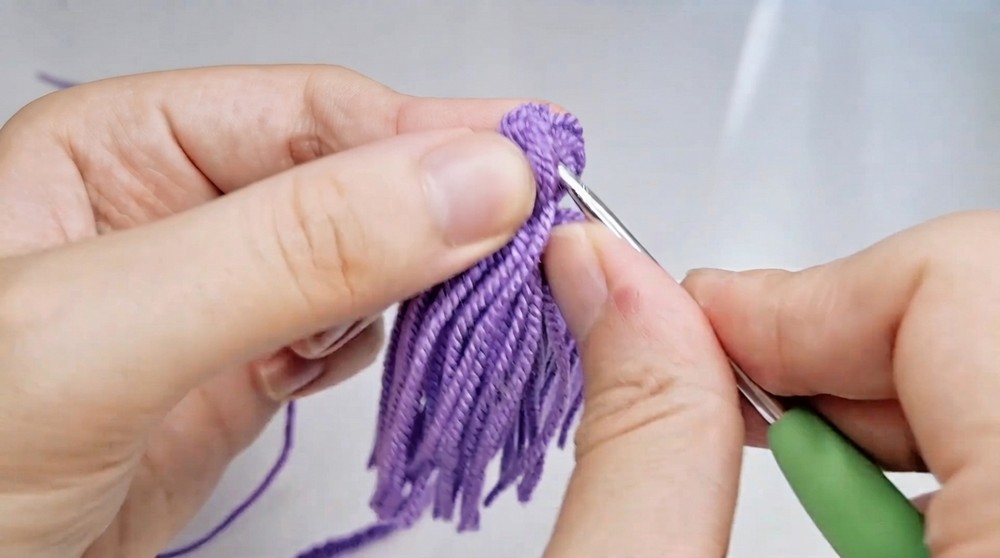
- Chain Decoration:
- Ch 30 (or desired length) for creating a decorative chain. Skip the first chain, and work sl st back into the second chain.
- Continue slip stitching down the chain until you reach its base.
- Secure Chains:
- Pull yarn tightly to fasten the chain securely.
- Tie Off All Yarn:
- Cut yarn ends, securely knot, and weave in tails using your needle.
Assembly & Finishing
- Weaving Ends:
- Neatly weave all yarn tails through the back of the crochet piece using a tapestry needle.
- Position Chains:
- Arrange any chains artistically around the applique or let them dangle naturally.
Why I Love This Pattern
This colorful applique allows for creative variations with yarn colors and decorative elements. The simple repeat structure makes it beginner-friendly, while the chain additions offer room to personalize each project with your own style.
Potential Difficulties & Solutions
1. Uneven Circle Shape:
- Keep stitch tension consistent and count stitches correctly in every row. If edges look uneven, block the circle lightly for correction.
2. Difficulty Switching Colors:
- Tie each new yarn securely when joining at a stitch, then pull the tails tightly. Ensure tail ends are woven closely to the stitches for a clean look.
3. Decorative Chains Tangling:
- Smooth any tangles with your fingers. Twist yarn twice when joining chains to ensure clean positioning.
Final Thoughts
This applique pattern is a delightful way to practice circular crochet while incorporating new techniques like color-switching and decorative chain-making. I encourage you to experiment with different yarn textures or lengths for the chains to customize your design. This pattern is a wonderful, simple gift or decor item that truly shows off your crocheting skills.