
Learn how to crochet a unique Wazowski Monster with simple instructions to make your own adorable character for fun and creative projects.
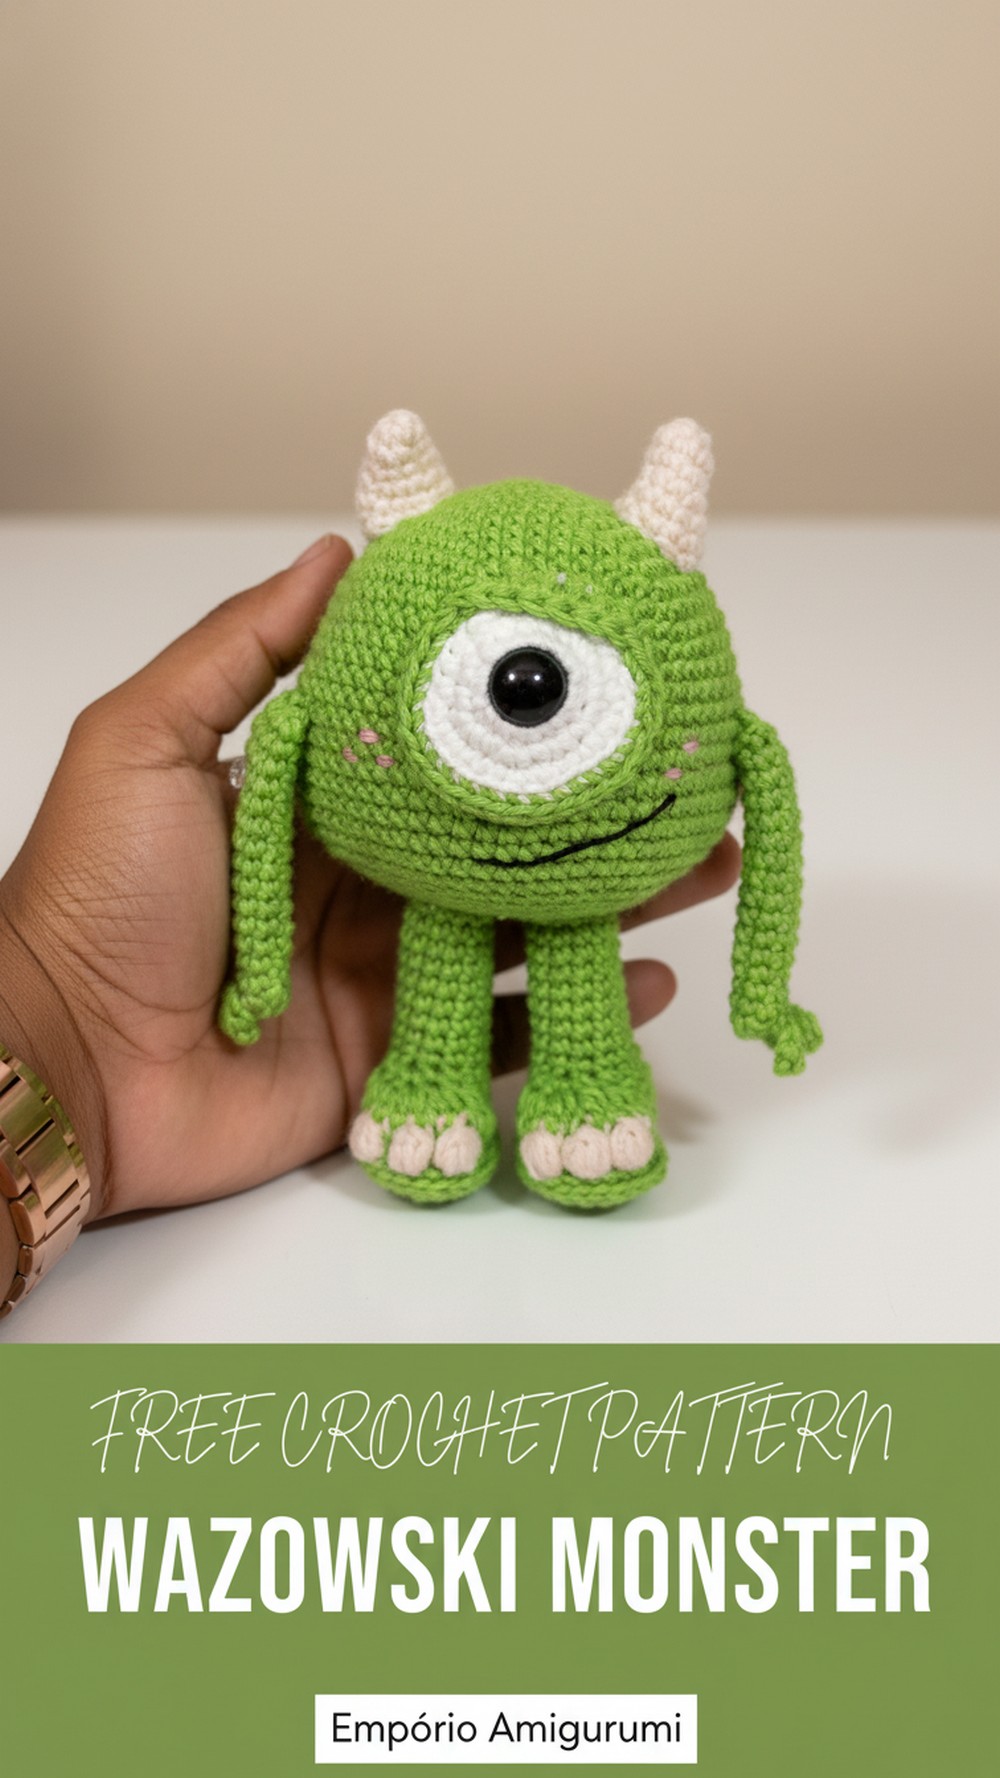
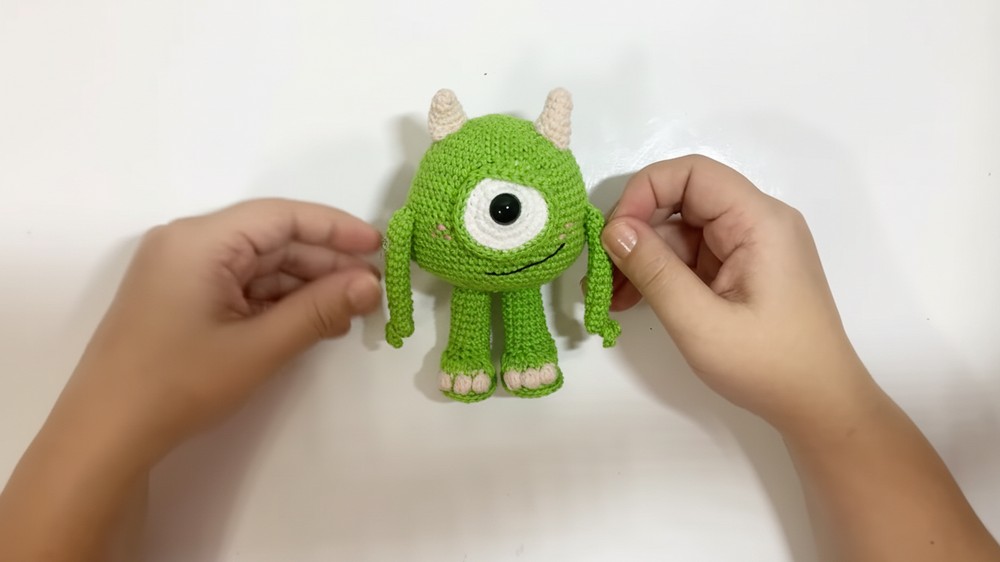
The charm of the crochet Wazowski Monster lies in its playful beauty a perfectly round, bright green little monster with a single big eye that instantly brings a smile. Its soft texture, vibrant colors, and quirky features make it not just a toy, but a delightful decoration or a heartwarming handmade gift.
Cute Wazowski Monster Crochet Project You Must Try
Holding it feels like hugging a tiny bundle of joy, and its whimsical design adds a cheerful touch to any room or collection. What makes this pattern versatile and beneficial is that you can use any yarn colors, adjust the size by changing hook or yarn thickness, or create a mini or plush-sized version.
The finished monster is soft, squeezable, and full of character a perfect companion for fans of cartoons, monsters, or handmade project.
The Mike Wazowski Amigurumi
The Toolkit
Create this doll as a decorative piece, a collectible for a desk, or a special handmade toy. The finished size is approximately 14 cm tall.
-
Yarn:
-
Green yarn (for the body, arms, and legs).
-
White yarn (for the eye base).
-
Pink/Fuchsia yarn (for cheek details).
-
Black yarn (thin thread like Cléa for the mouth).
-
Light brown/Caramel yarn (Itaparica yarn, for the horns/claws).
-
-
Hook: Use a 2.0 mm crochet hook.
-
Details:
-
Safety eye (Size 13 or similar, for the pupil).
-
-
Stuffing: Use silicone fiberfill for the head and body.
-
Tools: Tapestry needle for assembly, stitch markers, pins/straight pins (to mark embroidery), and silicone glue for securing the eye base.
The Unique Blueprint
This Mike Wazowski pattern incorporates specific design choices that capture his unique look:
-
Integrated Eye Base: You crochet the white base of the eye separately and then incorporate it into the main head piece. You use a series of height increases (half-double and double crochet) in the green yarn to create a slight dome over the eye, ensuring the eye piece fits snugly.
-
Shaped Limbs: The arms feature three distinct, crocheted fingers formed using chain stitches and slip stitches directly into the Magic Ring, giving the hands their unique shape.
-
Textured Feet: The feet use a change of color and technique to give them a sculpted look, including a row of bubble stitches in a contrasting color (light brown) to represent the claws or toes.
Mastering the Project
Intermediate.
This project requires a good foundation in amigurumi techniques. While the shaping of the main sphere is repetitive, you must be comfortable with specialized techniques such as:
-
Working different stitch heights (sc, hdc, dc) in one row.
-
Working stitches into the back loop only (BLO).
-
Executing bubble stitches with color changes.
-
Detailed embroidery and placement for the face.
Insights from the Creator
Pay close attention to these tips provided by the tutor for optimal results:
-
Secure the Eye: When closing the white eye base, do not pull the Magic Ring tight; leave a small hole where you will insert the large safety eye. After inserting the safety eye into the head, use silicone glue to secure the white crochet piece onto the green head to prevent movement.
-
Stuffing Quality: When stuffing the head, press the fiberfill gently but firmly, molding the head into a perfect sphere. Crucially, ensure the stuffing is dense enough to maintain shape without stretching the stitches and allowing the white fiber to show through.
-
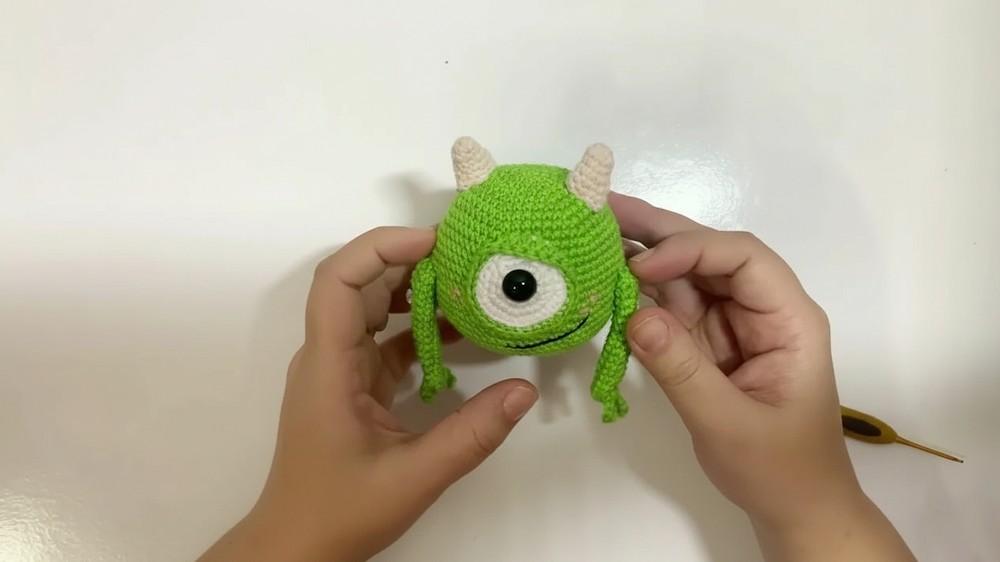
Horn Placement: When sewing the horns onto the head, give them a slight backward tilt or curve to achieve Mike's characteristic look. You can gently bend the tips after sewing to enhance this effect.
The Creative Journey
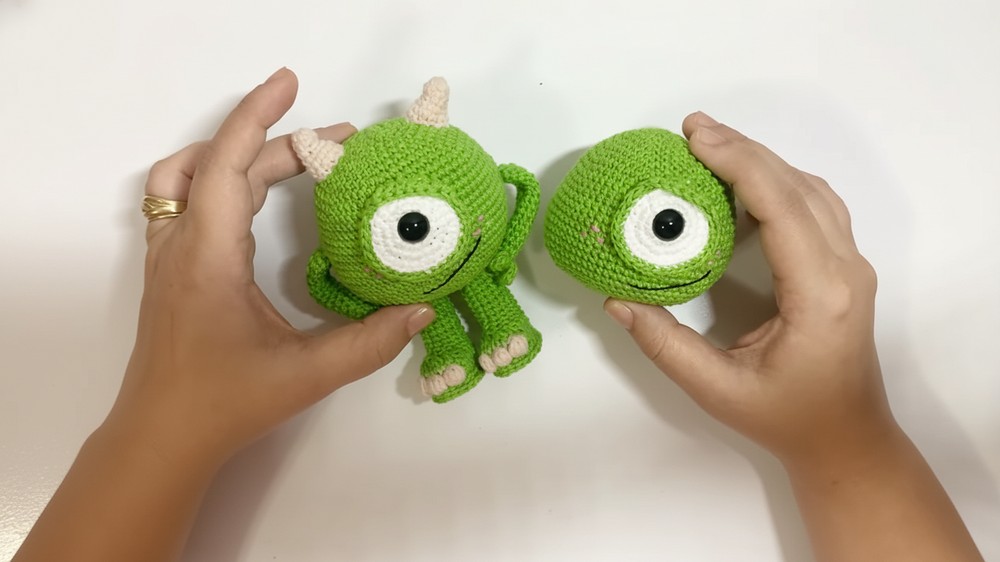
Part 1: The Head and Eye Assembly
Start a hilarious and satisfying crochet project by crafting Mike Wazowski, the one-eyed star from Monsters, Inc. This comprehensive two-part tutorial guides you through creating Mike's distinctive spherical body, oversized eye, and all his signature limbs and features, resulting in a firm, detailed, and adorable finished amigurumi doll.
Part 2: The Horns, Arms, and Legs
The Final Polish
Anchor the Limbs for Durability: When attaching the arms and legs, sew the top edge of the limb to the body using a simple running stitch. Before cutting the yarn, take the needle and pass it through the body and back out, then tie a small, secure knot close to the base of the limb. This anchoring knot prevents the limb from tearing loose from the main body with rough handling.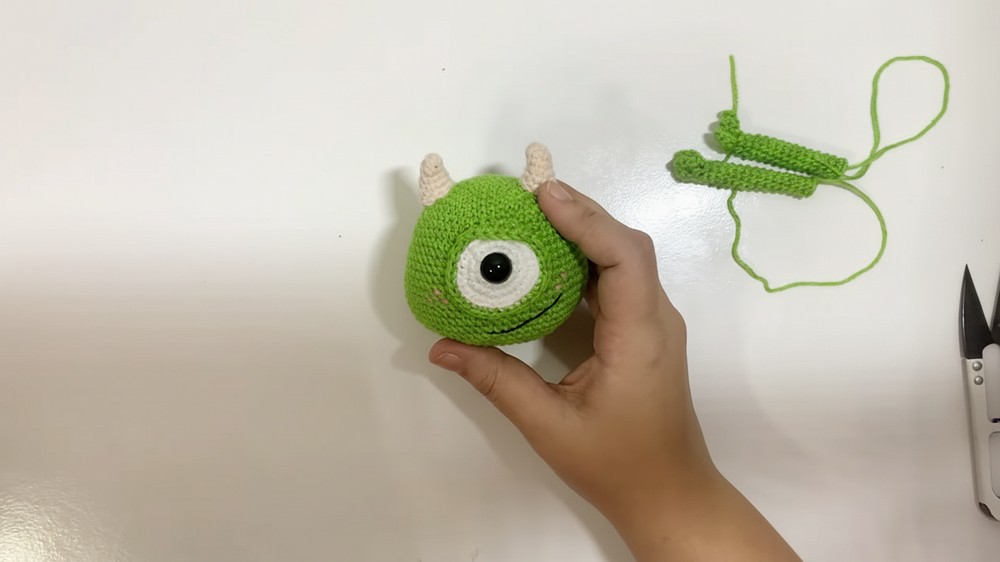
A Satisfying Completion
You have successfully constructed your own Mike Wazowski amigurumi! This piece showcases the technical skill required to blend crocheted body parts with unique features like the integrated eye and textured feet.


