
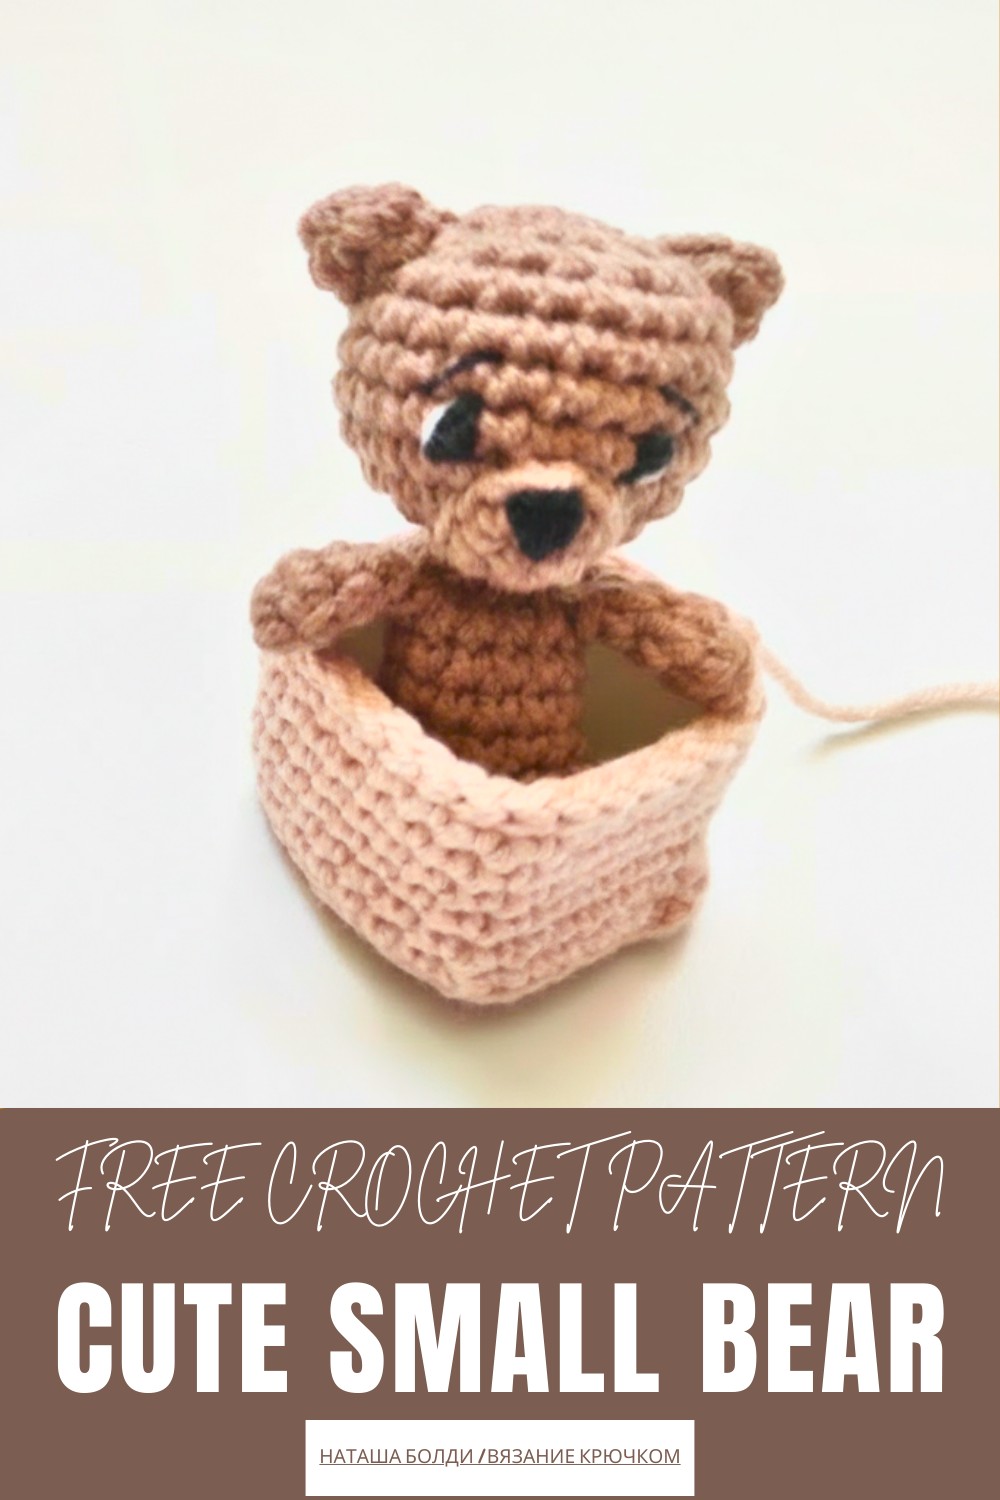
Create a cute and cuddly companion with the Free crochet Small Bear Pattern, perfect for gifts, decor, or adding a handmade touch to any space.
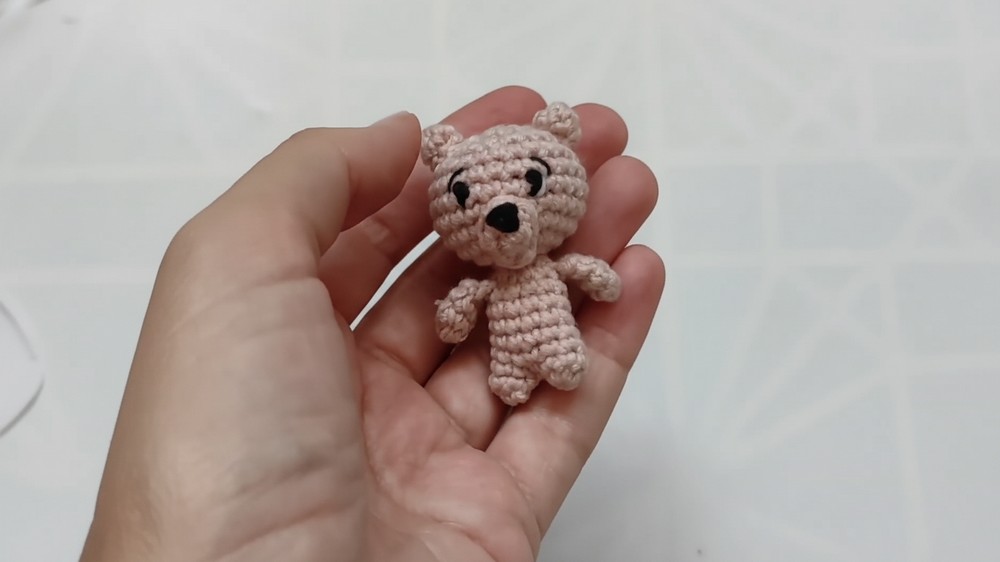
Tiny, adorable, and full of charm, this small bear makes a perfect addition to any handmade collection. Its compact size and rounded shape give it a soft, friendly appearance that instantly appeals to both kids and adults. Ideal as a decoration, keychain, or a little companion, it brings personality to shelves, desks, or even backpacks.
Cute Crochet Small Bear Pattern for Collectible Toy Lovers
This flexibility makes it suitable for gifts, party favors, or personal keepsakes. Overall, this small bear combines charm, versatility, and practicality in one project, offering an enjoyable crafting experience while producing a cute, lasting handmade item that adds warmth and character wherever it goes.
Materials
You must gather these materials to complete the tiny bear:
-
Main Yarn: Use thin yarn such as Alize Cotton Gold or YarnArt Jeans (or an equivalent).
-
Accent Yarn: You need a small amount of black and white yarn for embroidering the muzzle and eyes.
-
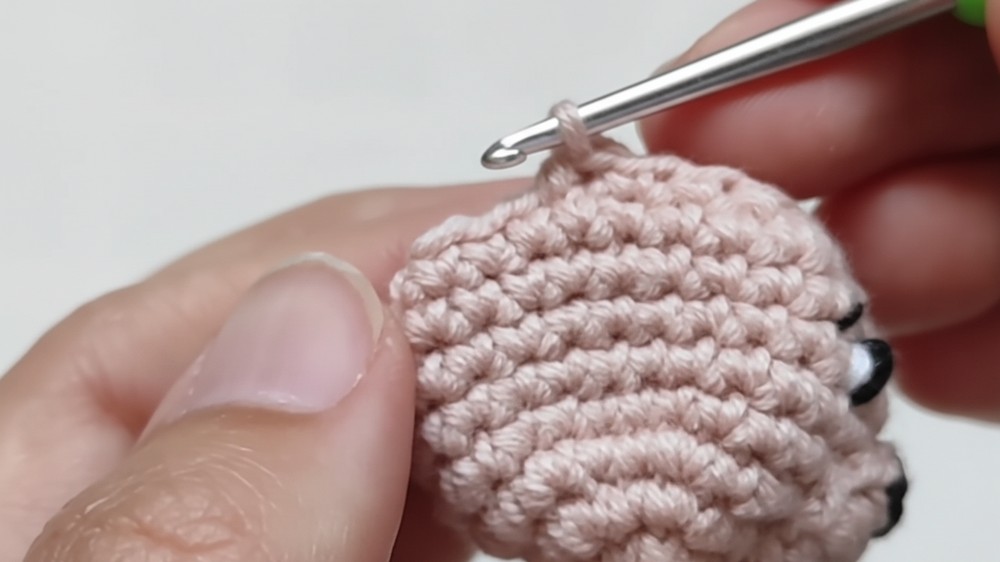
Crochet Hook: The tutor uses a size 2 mm hook.
-
Filler: You need a small amount of synthetic stuffing (like fiberfill).
-
Tools: Gather scissors, a sewing needle for attaching parts, and a thin stick (like a sushi stick) to push the filler into the small details.
Uses
The finished crocheted item is a very small, handheld amigurumi toy. You can use it in several ways:
-
Keychain or Bag Charm: The small size makes it perfect to attach to keys or a backpack.
-
Gift or Ornament: Use it as a cute, miniature gift or a small decorative piece.
Special Features
The design of this miniature bear includes specific techniques to manage the small scale:
-
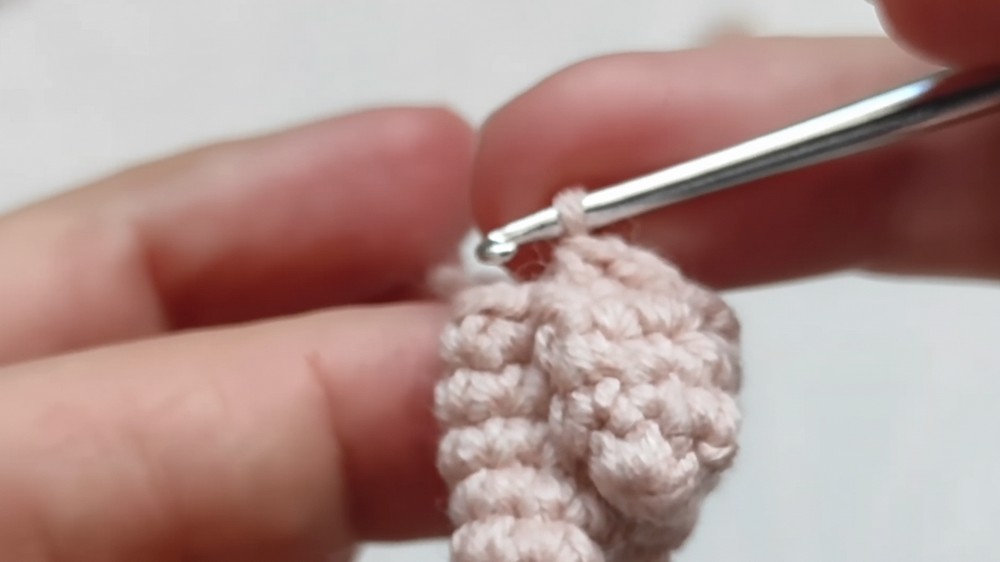
Miniscule Limbs: The arms and legs are exceptionally tiny, beginning with a 6-stitch magic ring and consisting of only 2 to 3 rows.
-
Flat Limb Attachment: You use a method where you flatten the arms and join the stitches across both sides before attaching them to the body. This ensures the arms lie flat against the body rather than sticking out.
-
Gap Closure: You use the yarn tail from the first leg to manually stitch and close the small hole that forms when joining the legs, ensuring a neat finish at the body base.
Level of Difficulty
The overall level of difficulty for this project is Intermediate.
-
Precision Required: You must maintain a very tight and consistent tension due to the small hook size and low stitch counts.
-
Small Scale Handling: Working with such tiny details, especially turning the small tubes right-side out and stuffing them, requires patience and precision.
-
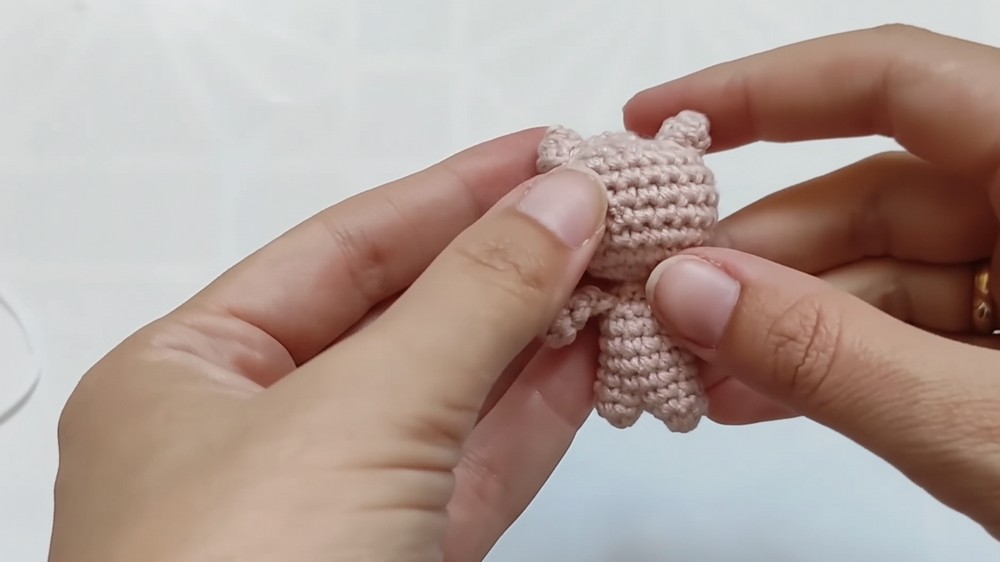
Specific Decreases: You must execute specific, sometimes non-standard, decrease methods when joining the neck and head sections.
Tutor's Suggestions
The instructor offers key practical advice to help you manage the small size of the project:
-
Use a Stick for Stuffing: Always use a thin stick (like a skewer or chopstick) to insert the stuffing, as the pieces are too small to stuff with just your fingers.
-
Close the Leg Gap: Keep the yarn tail from the first leg after fastening off. Use this tail to sew the small hole that inevitably forms when you join the two legs together at the start of the body.
-
Prepare the Nose: Embroider the black nose triangle onto the separate nose piece before you sew it onto the head. The tutor finds this makes the process easier and neater.
Crochet Small Bear
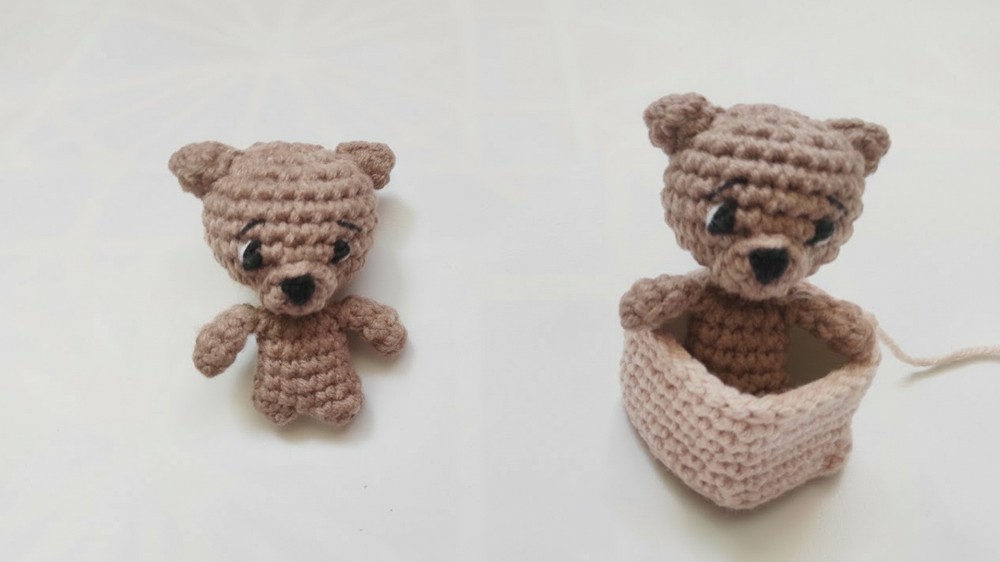
The neat detailing on its face and body ensures it looks polished and well-crafted, making it a standout mini project for anyone who enjoys handmade crafts.
The pattern is designed to be approachable, guiding makers step by step through creating the head, body, and limbs. Even beginners can complete it successfully while learning useful techniques that can be applied to future projects.
Once finished, the bear is lightweight and easy to handle, making it a safe and convenient toy or collectible.
Another great feature is the ability to customize it with different colours, yarn types, and sizes, allowing each bear to have a unique personality.
Conclusion
You have successfully completed the construction of the small amigurumi bear. By accurately executing the miniature pieces, carefully joining the body and limbs, and performing the delicate facial embroidery, you have created a whimsical and charming finished toy.
Tip
When you work the neck decrease row (going from 12 to 6 stitches), insert the filler into the body and neck area first. This prevents the stuffing from getting tangled in your hook and allows you to form the narrow neck shape before the head begins to expand.


