
Achieve lightweight elegance with this Free Crochet Openwork Top Pattern, ideal for stylish outfits, breathable wear, and effortless summer charm.
A breezy, lightweight garment comes to life with each stitch, offering a perfect blend of comfort, elegance, and casual sophistication. Ideal for warm-weather outings, layered looks, or special occasions, this top adds texture, style, and effortless charm to any wardrobe. The Crochet Openwork Top Pattern guides each step with clear instructions and structured shaping, helping makers create a flattering fit while enjoying a focused, rewarding process.
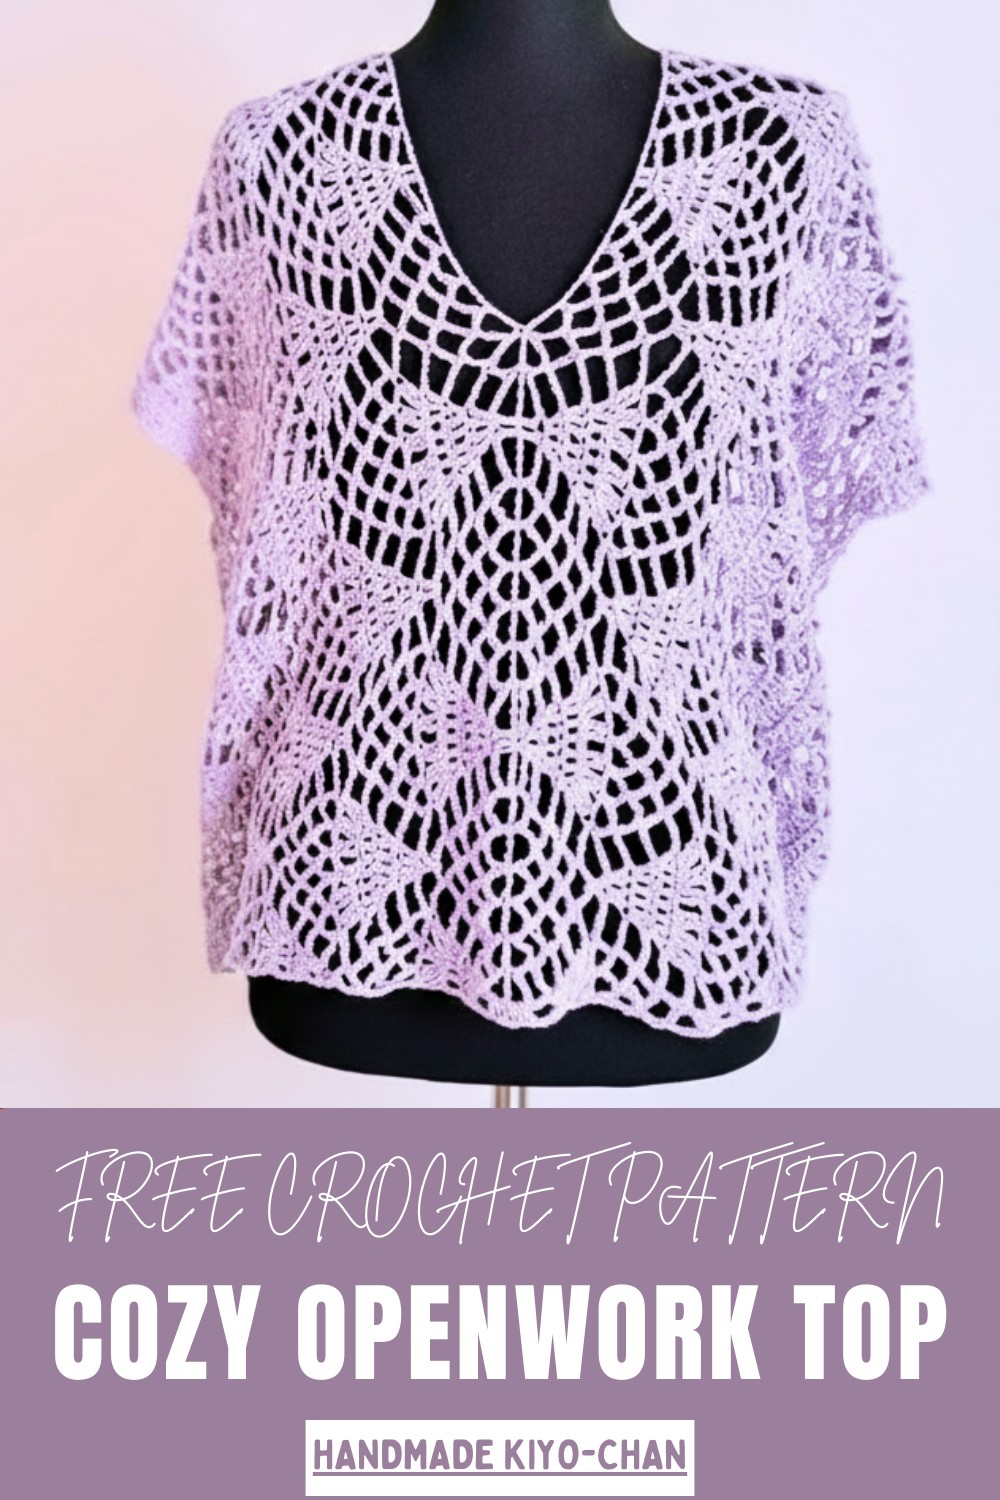
Modern Crochet Openwork Top Pattern You’ll Love Wearing
Its delicate openwork design not only enhances breathability but also adds a visually captivating pattern that drapes gracefully over the body, creating movement and flow that elevate its overall aesthetic. The pattern encourages personalization—adjustments in size, stitch variations, or color choices allow every piece to reflect individual style while maintaining a polished finish. Working on this project provides a calming, meditative experience, allowing focus and creativity to unfold naturally with each row.
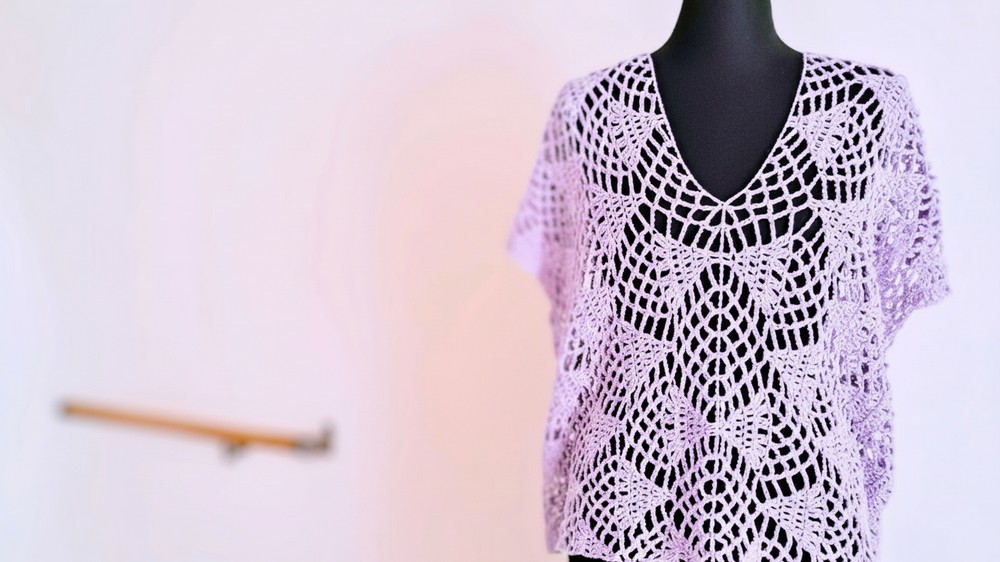
The finished top pairs beautifully with skirts, shorts, or layered over camisoles and dresses, offering versatile styling options for different occasions. Lightweight, elegant, and breathable, it balances functionality with eye-catching design. Combining practicality, creative freedom, and refined appearance, this pattern transforms simple materials into a wearable piece of art that brings comfort, beauty, and a touch of handmade charm to any wardrobe.
Step-by-Step Project Details
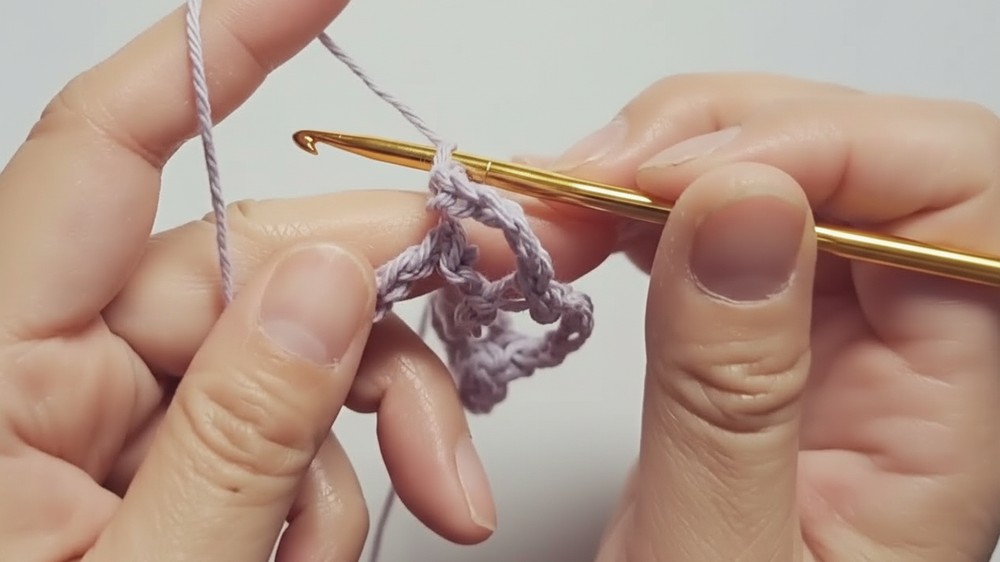
1. Foundation and Setup
-
Create the Base: Start by crocheting a long foundation chain of 194 stitches (a multiple of 24 + 26). This chain determines the total length of the top from the front hem, over the shoulder, to the back hem.

-
Establish the Length: Aim for a total length of approximately 110cm to 120cm to ensure a comfortable fit.
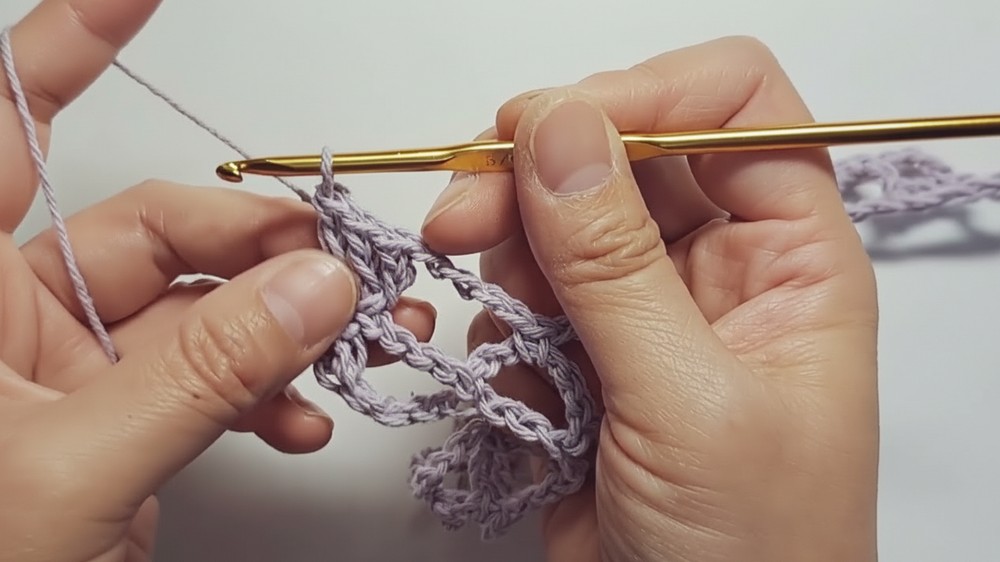
2. Working the Lace Pattern (First Side)
-
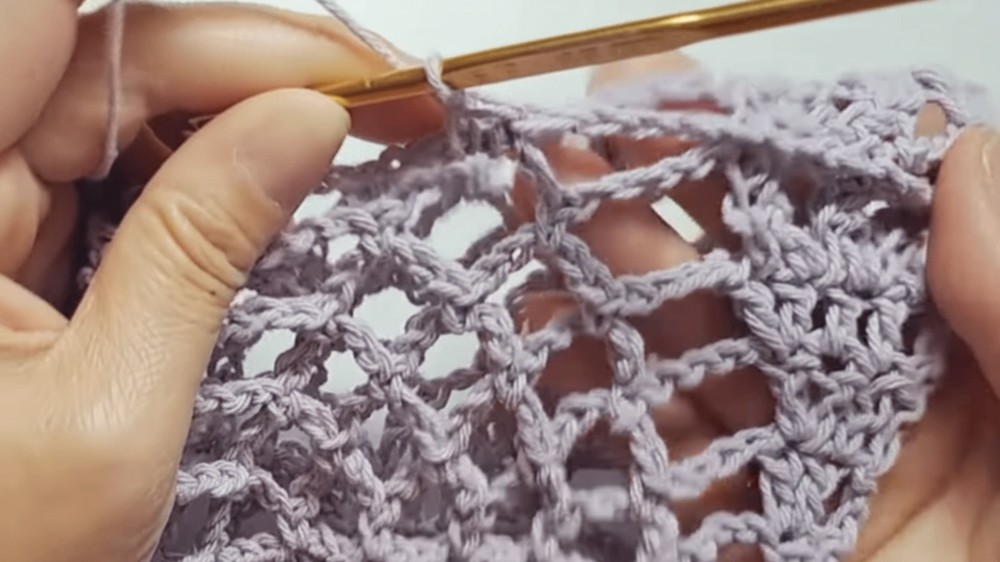
Row 1: Work a combination of double crochets (DC), chain spaces, and single crochets (SC) to establish the "bow" motif.
-
Expansion (Rows 2–4): Increase the number of DC stitches at the edges while decreasing the number of chain loops in the center of the motif to create a fan-like expansion.
-
Row 5 (The Cluster Row): Execute 2-DC clusters (2-DC TOG) separated by chain-2 spaces. This specific technique creates the central "knot" of the bow pattern.
-
Repeat & Grow: Continue working in a 10-row pattern repeat until the piece reaches approximately 25cm to 26cm in width (half of the body width).
3. Shaping the Neckline
-
Mark the Opening: Fold the piece in half. Use stitch markers to define the neck opening (approx. 25cm down for the front and 10cm down for the back).
-
Bridge the Gap: Crochet a chain of 58 stitches (matching the stitch count between markers) to connect the front and back panels, creating a stable neckline.
4. Completing the Second Side
-
Mirror the Work: Attach new yarn to the foundation chain and repeat the 10-row lace pattern in the opposite direction.
-
Finish the Panel: Crochet another 25 rows until both sides are symmetrical, reaching a total width of 50cm to 55cm.
5. Assembly and Finishing
-
Side Seams: Turn the garment inside out. Use SC and chain stitches to join the sides, leaving ample space for armholes.
-
Final Edging: Add a "flare" effect to the bottom hem by increasing chain spaces to 3 stitches in the final row.
-
Blocking: Apply steam to the finished garment to open up the lace pattern and set the final shape.
Project Specifications
-
Materials:
-
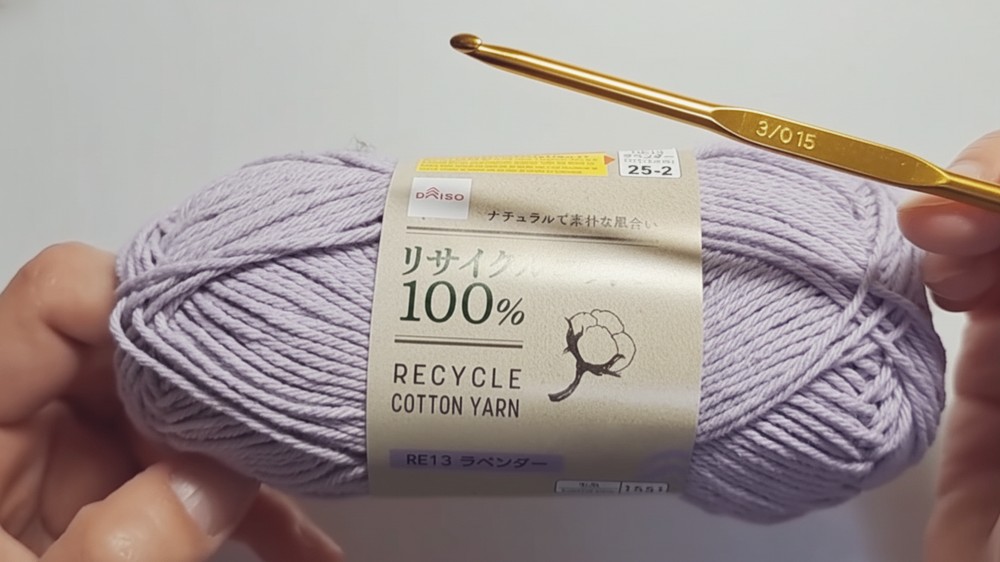
Yarn: 6 skeins (approx. 225g) of Daiso Recycle Cotton 100% in Lavender.
-
Hook: 3.5mm (Japanese size 6/0).
-
Tools: Stitch markers, scissors, and a tapestry needle for weaving in ends.
-
-
Special Features:
-
Seamless Shoulders: The top-down, center-out construction avoids bulky shoulder seams.
-
Bow Motif: The unique lace design adds a decorative, feminine touch without being overly difficult.
-
-
Level of Difficulty: Intermediate. While the construction is a simple rectangle, the 10-row lace repeat requires focus to maintain the pattern.
-
Uses: Ideal as a lightweight summer top, a beach cover-up, or even adapted into a decorative stole or scarf.
Tutor's Suggestions
-
Adjustable Fit: You can easily change the body width by adding or subtracting 10-row pattern repeats.
-
Custom Neckline: Alter the chain length between the markers if you prefer a wider boat neck or a tighter fit.
-
Yarn Choice: Cotton yarn is recommended for its weight and stitch definition, which helps the lace pattern stand out.
Conclusion
This summer knit combines the elegance of intricate lace with a beginner-friendly rectangular construction. By mastering the 10-row "bow" repeat, you create a garment that is both functional and beautiful. The final result is a versatile, oversized top that allows for excellent airflow, making it a staple piece for any handmade summer wardrobe.
Final Tip
Use stitch markers religiously at the start and end of every row! Because the lace pattern expands and shifts slightly as you work, these markers will prevent you from accidentally losing or adding stitches at the edges, ensuring your side seams line up perfectly during assembly.


