
Free Crochet Pumpkin Treat Basket Pattern for Cute Candy Hunts
Learn to crochet a simple and fun pumpkin treat basket with this free pattern, Ideal for Halloween candy and adding charm to your fall decorations.
On a crisp autumn evening, a small, handmade pumpkin sits on the table, inviting smiles and warmth. With its bright orange hues and playful details, it’s impossible not to feel the charm it brings. The creator carefully explains every step, making it feel easy and enjoyable, even for those new to crochet. It’s a project that celebrates creativity while offering something functional for the fall season.
Free Crochet Pumpkin Treat Basket That Kids Will Love
Designed by
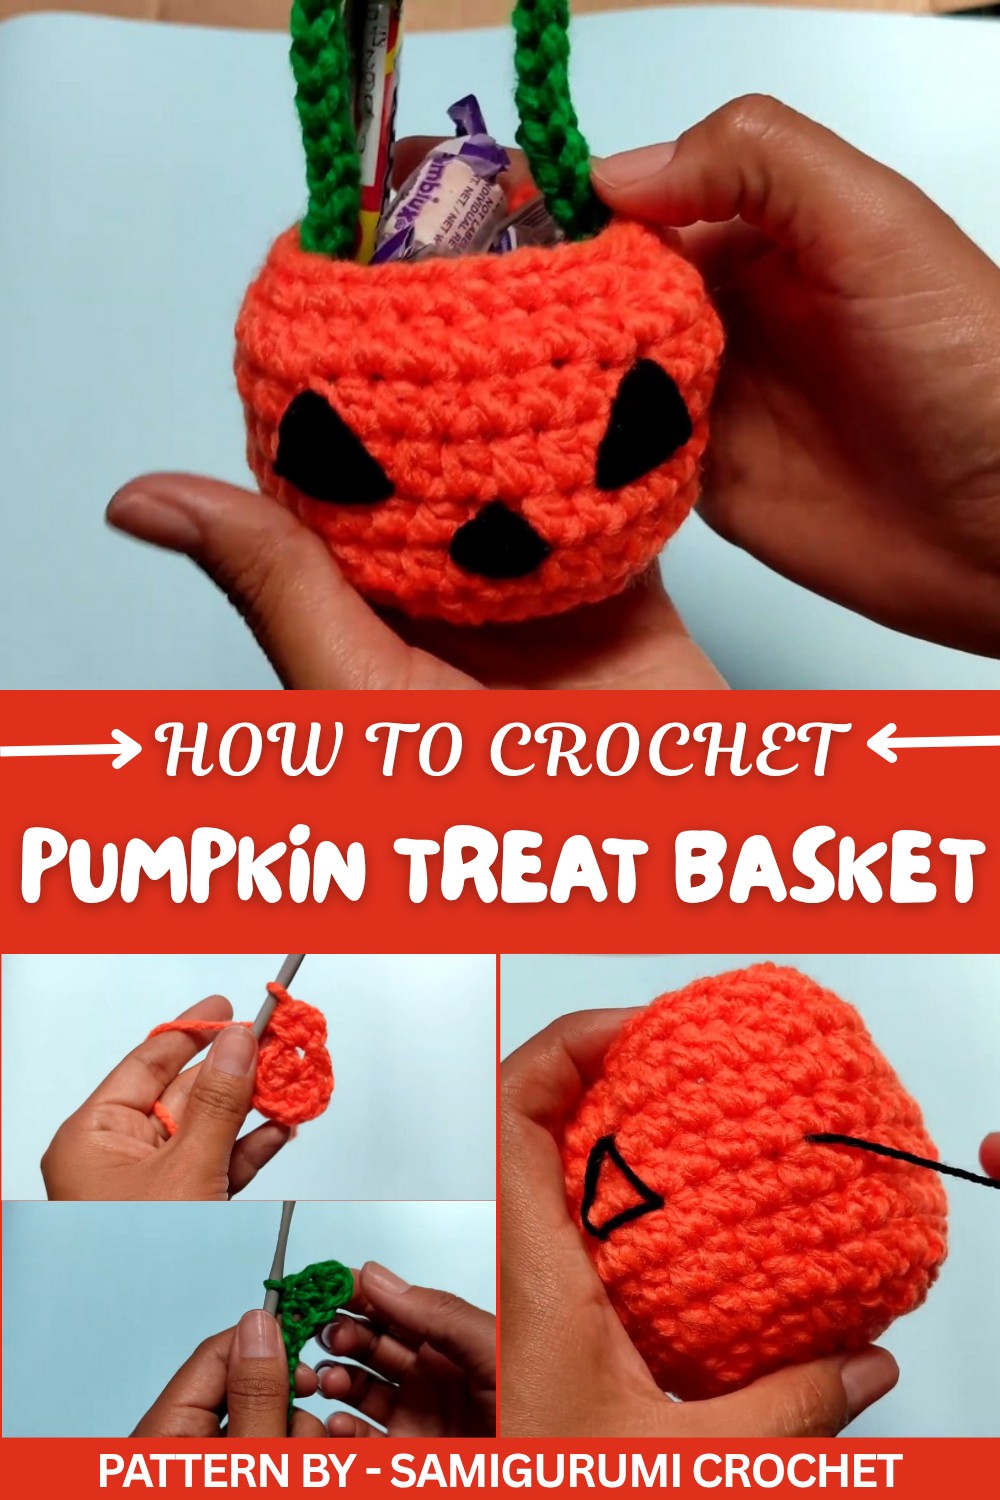
The adorable Free Crochet Pumpkin Treat Basket Pattern is taught step-by-step in SamiGurumi Crochet's tutorial. The basket takes shape through simple half double crochet stitches worked in circular rounds, forming a soft, rounded pumpkin. Using the right increases, the body is shaped with care to give it that classic look. What makes it special is the option to add a face, triangular eyes and a small nose stitched with yarn, or even felt pieces for ease.
The sturdy green handle, made with chained stitches strengthened by stitching back through, makes it easy to carry or proudly display in your home. This basket is great for holding candies during Halloween or for enhancing cozy fall décor. The size can also be adjusted easily by starting with extra stitches, making it versatile for various purposes.
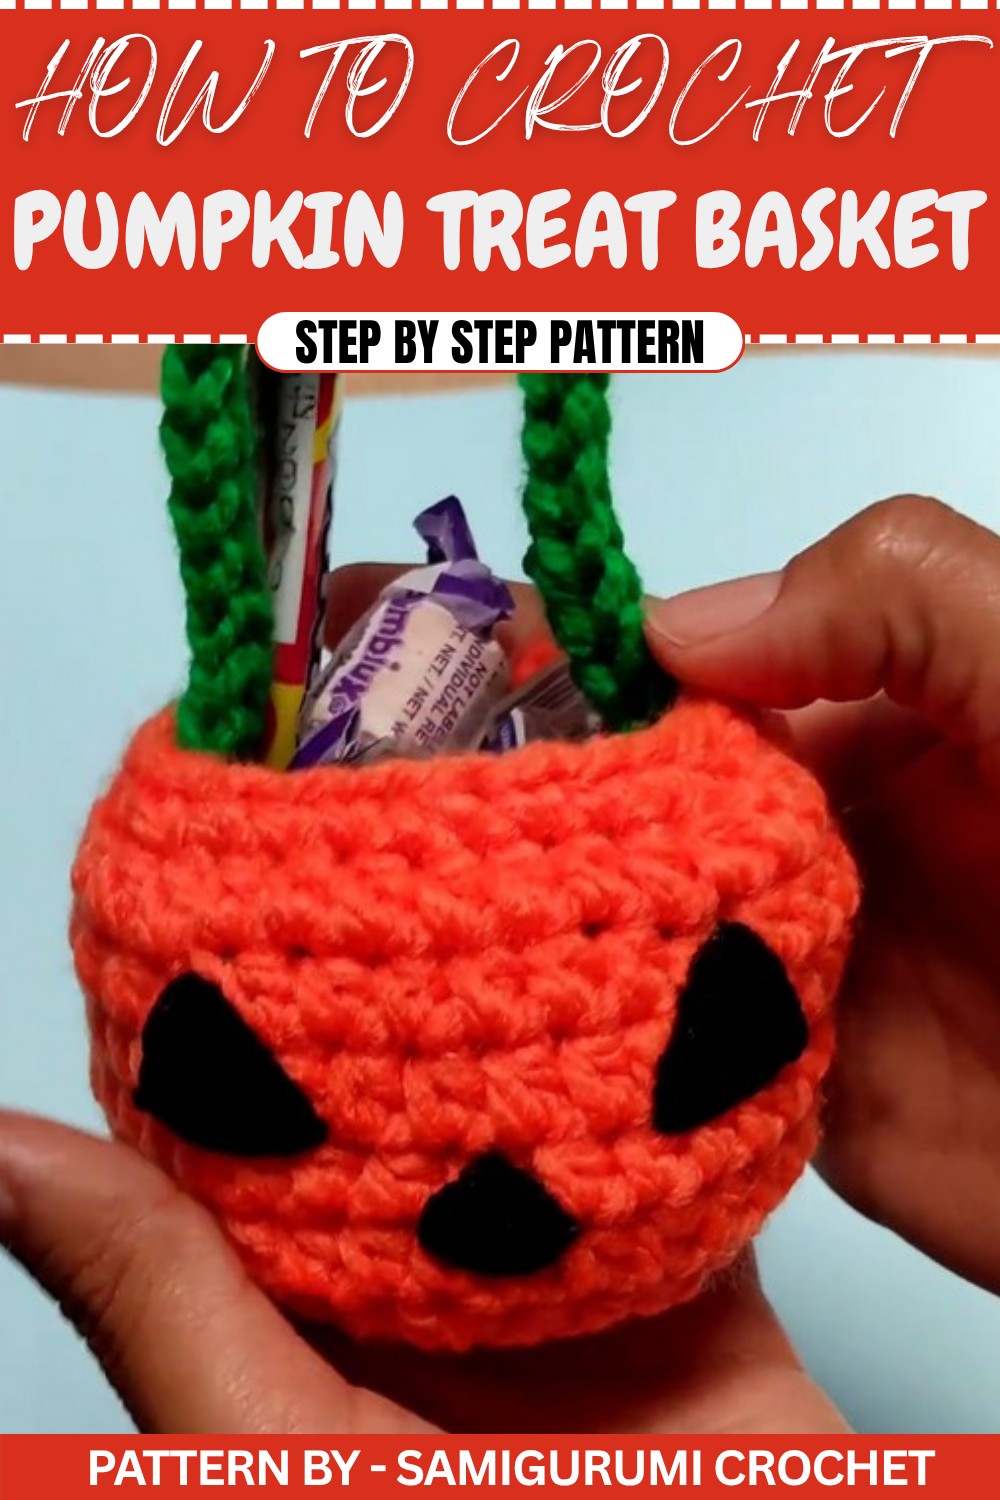
The homemade touch and playful design give it a charm that’s perfect for kids and adults alike. Whether placed on a table, hung on a door, or gifted to someone special, this pumpkin basket is a delightful addition to the autumn season.
Crochet Pumpkin Treat Basket Pattern
Learn how to create a beautiful crochet pumpkin with a cute handle and triangle facial details. Following the transcription, this guide carefully outlines all steps to ensure you can recreate this design with confidence. Whether it’s for fall celebrations, Halloween decor, or as a candy holder, this adorable pumpkin is sure to impress.
Quick Overview of Pattern
- Project Type: Crochet Pumpkin with Handle and Face Details
- Purpose: Halloween or Fall Decor, Candy Holder
- Pattern Style: Worked in the round
- Components: Pumpkin Body, Facial Features, Handle
Notes
- Use a stitch marker to help track the beginning of each round.
- Adjust the number of increases during the first few rounds if you want your pumpkin to be larger.
- Facial details can be embroidered with yarn, sewn on with fabric, or glued on to minimize frustration.
Skill Level
Beginner to Intermediate – Basic techniques are used including magic ring, single crochet, half double crochet, and simple shaping.
Materials
- Yarn:
- Orange yarn (Main color for the pumpkin – medium weight, sturdy for shape retention).
- Black yarn (For facial details, slightly thinner but manageable).
- Green yarn (For the handle/stem).
- Hook: 4.5 mm crochet hook (adjust size based on tension).
- Tapestry Needle: For embroidery and sewing.
- Scissors: For cutting yarn and finishing edges.
Measurements / Sizing
- Pumpkin Width (Approx): 5–6 inches in diameter.
- Handle (Approx): Length depends on your chain (25–30 chains recommended).
Gauge
Gauge is not critical for this project since it is decorative, but aim for moderately tight stitches to retain the pumpkin's shape.
Stitch Abbreviations
- ch: Chain
- sc: Single Crochet
- hdc: Half Double Crochet
- slst: Slip Stitch
- st: Stitch
- inc: Increase (2 stitches in one stitch)
- dec: Decrease (single crochet two stitches together)
Special Stitches
- Magic Ring: Wrap yarn into a loop, crochet into it, and pull the working yarn to tighten into a closed circle.
- Half Double Crochet (hdc): Yarn over (yo), insert hook into stitch, yo, pull through (3 loops on hook), yo, pull through all 3 loops.
The Crochet Pattern
1. Pumpkin Base
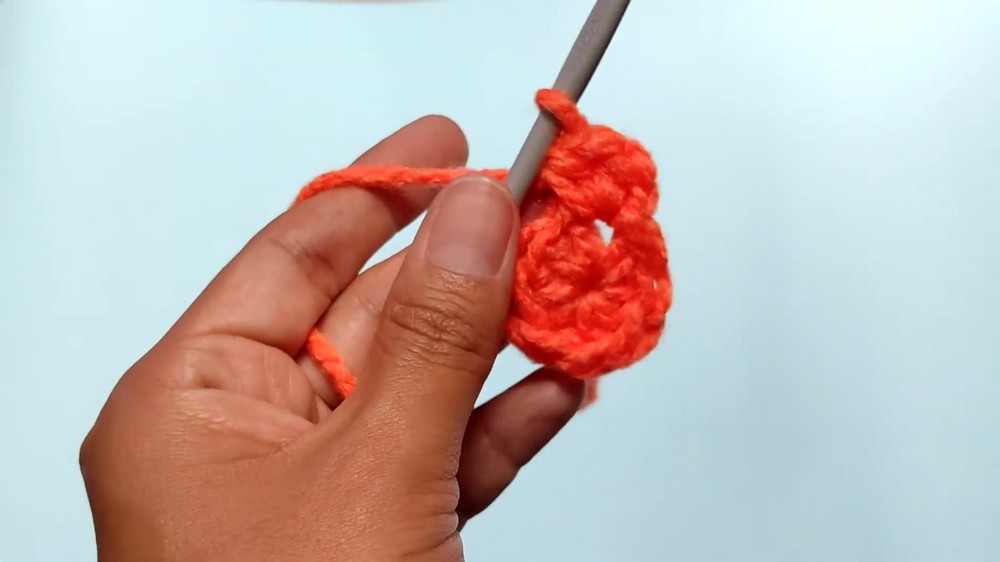
Round 1: Starting the Base
- Using orange yarn, create a magic ring.
- Work 8 hdc into the ring. Pull the tail to close the ring tightly. Slst into the first stitch to join the round.
Round 2: Increases
- Ch 1. Work 2 hdc into each stitch around (a total of 16 hdc). Slst into the first stitch to join.
Round 3: Alternating Increase
- Ch 1. (1 hdc in the first st, 2 hdc in the next) Repeat around to get a total of 24 hdc. Slst into the first stitch to join.
Round 4: 2 hdc Between Each Increase
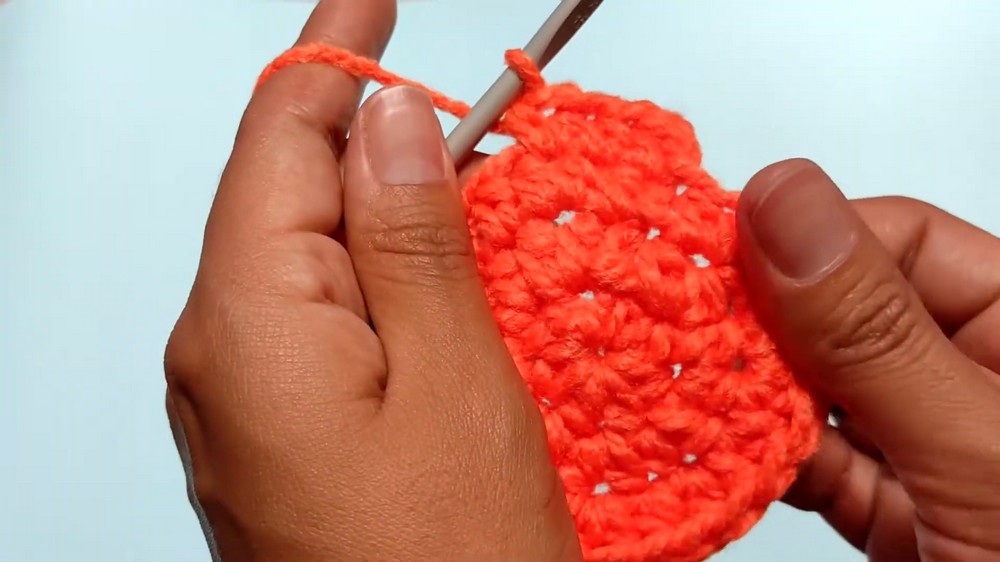
- Ch 1. (1 hdc in each of the next 2 sts, 2 hdc in the following st) Repeat around for a total of 32 hdc. Slst into the first stitch to join.
Rounds 5–9: Creating the Pumpkin Body
- Ch 1. Work 1 hdc in each st around without any increases.
- Slst at the end of each round to join. Repeat this step until you’ve completed 5 rounds of 1 hdc per st.
- This series of rounds creates the height of the pumpkin.
2. Shaping the Top and Closing
Round 10: Decrease Rows
- Ch 1. Work (3 sc, 1 dec) around: 1 sc in each of 3 stitches, then 1 decrease using the next 2 stitches.
- Slst to join.
Repeat until the round ends with three sc alone at the end, completing the base shape.
Finishing the Base
Cut the yarn, leaving a small tail, and weave it through the stitches to close the top. The pumpkin base is now complete.
3. Adding Facial Features
Eyes
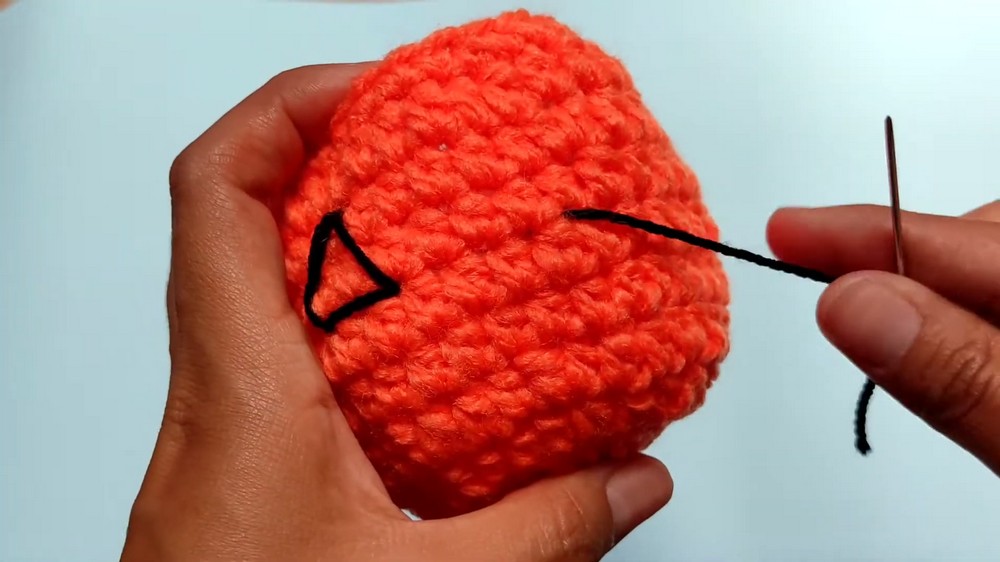
- Using black yarn, work triangular shapes over two rows of hdc stitches:
- Insert the needle at the start of the top row and create a triangular shape.
- Begin filling in the triangle with small horizontal lines of black yarn until the area is solid.
- Leave 4 stitches of spacing between the two eyes, and repeat the same triangular filling process for the second eye.
Nose
- For the nose, create a smaller triangular shape in a similar way, placed below and centered between the two eyes.
Alternative Option
- If embroidering is tricky, cut fabric triangles and glue them onto the pumpkin surface or sew them on.
4. Creating the Handle/Stem
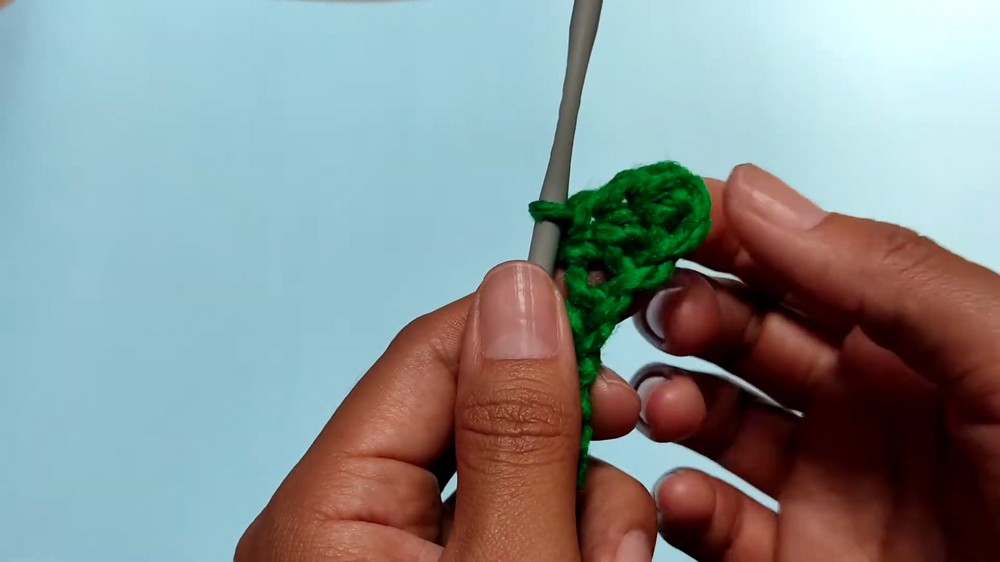
- Switch to green yarn.
- Make a slip knot and ch 30 chains (adjust length as desired – between 25 and 30 chains is typical).
Finishing the Handle
- Work hdc in each st, starting from the second chain from the hook.
- At the end of the row, weave in the ends and leave a long tail for sewing.
Assembly & Finished Size
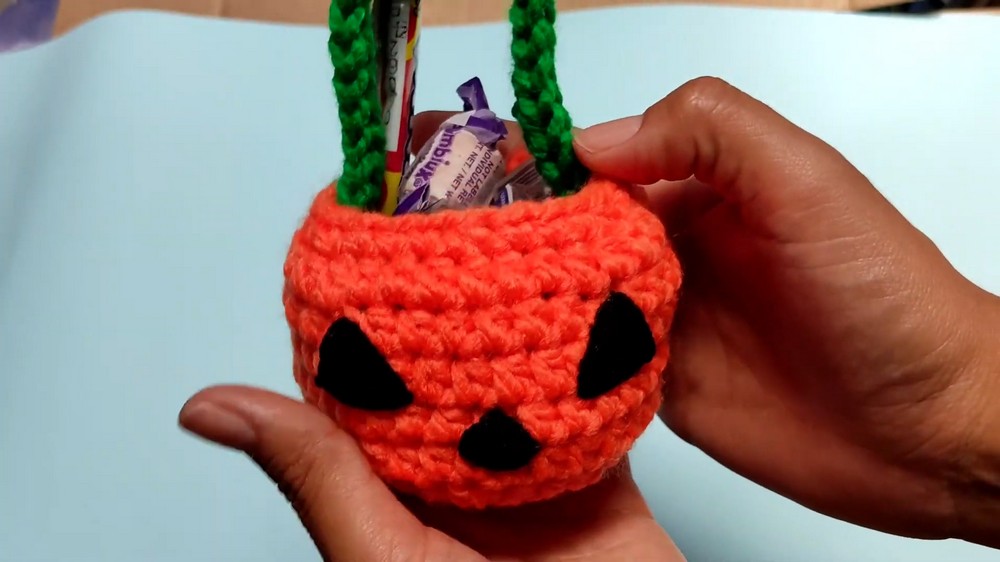
- Attach the Handle: Sew both ends of the green chain (handle) to the top of the pumpkin using the tapestry needle. Position the handle evenly for balance, attaching each end firmly inside the top corners.
- Add Finishing Touches:
- Double-check that the stitches on the handle and face are secure.
- The pumpkin can now be used as a candy holder or hung as a decoration.
Conclusion and Ending Words
Congratulations, You’ve completed your adorable crochet pumpkin. This simple yet creative design is perfect for Halloween decor or as a sweet basket to fill with treats. The pumpkin’s soft texture and handmade charm make it a fun and enjoyable project to gift or keep. Experiment with different facial details or variations in size to create a whole pumpkin patch.