
Free Crochet Panda Pattern for the Fuzziest Toy Friend
Enhance your room decor with a Free Crochet Panda Amigurumi Pattern while you make a soft freind that sits cute on cozy bamboo book shelves.
Cuddly animal toys have a special way of making people happy, and this little crochet panda is no exception. With its round body, tiny ears, and sweet face, it looks like a soft, huggable friend that you can proudly say you made yourself. This panda is perfect as a cute gift for children, or a lovely addition to any amigurumi collection. Its simple black and white color combination makes it look clean, classic, and very eye catching.
Inspiration From:
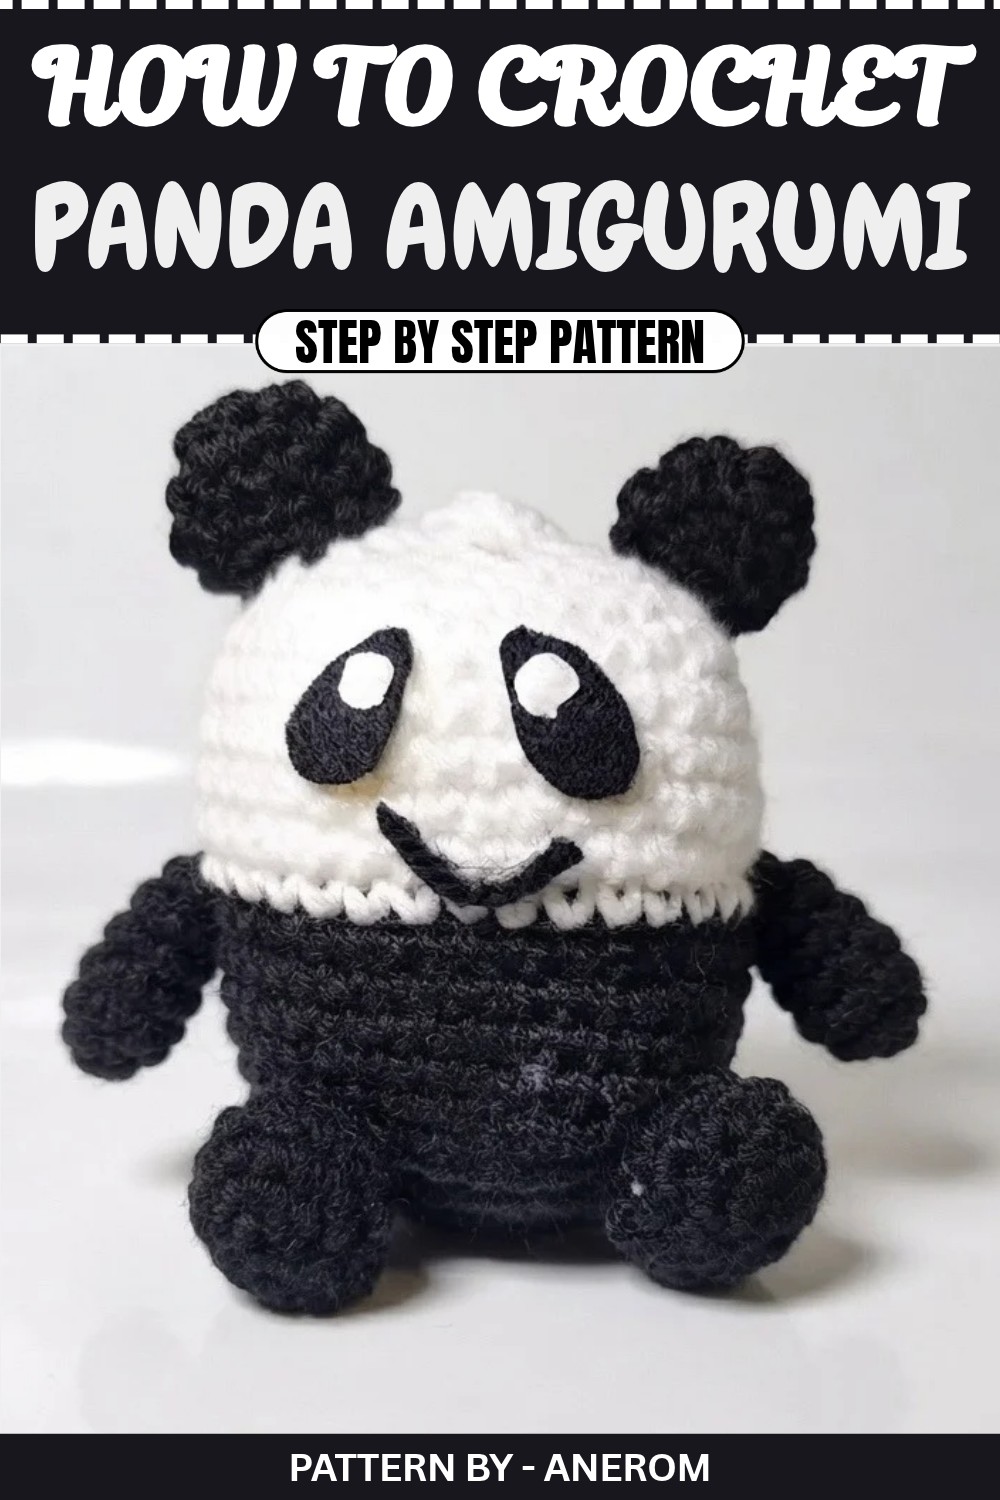
The beauty of this crochet panda lies in its soft, chubby shape and clear features. The body is worked in rounds using single crochet stitches, with increases and decreases to make the perfect round shape. Separate parts like arms, legs, ears, and tail are made individually and then sewn onto the body, giving it a strong and neat finish. The most attractive part is the panda’s face, with felt eye patches and safety eyes that create the classic panda look, along with an embroidered little smile.
Free Crochet Panda Pattern for All Yarn Lovers
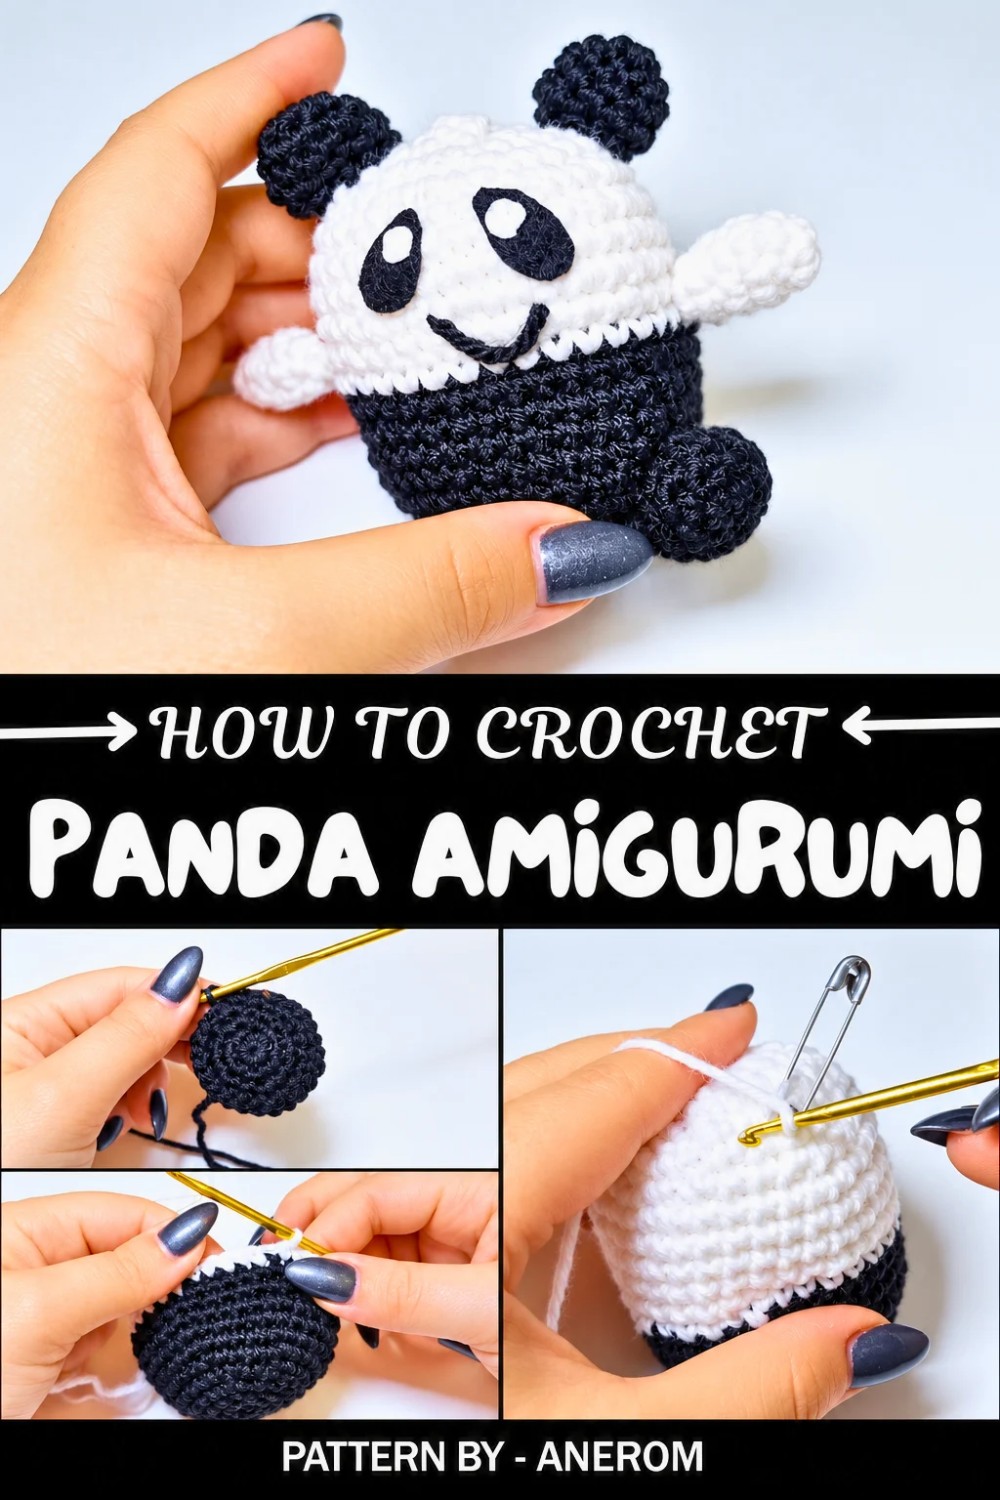
This pattern works in a simple style that is very beginner friendly. You start with a magic ring, then crochet in continuous rounds, slowly building the shape. From this pattern, you will learn how to crochet in the round, shape different parts using increases and decreases, and attach pieces firmly so the toy holds its shape. You also learn how to add felt details and embroidered features to give your panda extra personality.
Once you understand this panda pattern, you can use similar steps to crochet other animals like bears, cats, bunnies, or even different colored fantasy creatures. Changing colors, ear shapes, or facial details can turn this simple panda base into many other cute amigurumi designs.
Free Crochet Panda Pattern
Quick Overview Of Pattern
- Cute, plump amigurumi panda worked in rounds.
- Main body is black with a color change to white.
- Separate components: body, front legs, ears, feet.
- Felt is used for eyes and facial details.
- Stuffed with fiberfill and assembled with sewing and glue.
Notes
- The panda is worked in the round using a magic ring and continuous rounds (do not join with slip stitch unless specified).
- Use a stitch marker to mark the first stitch of each round.
- Increases and decreases are worked with single crochet (sc).
- The pattern uses front loop only decreases in some shaping rounds (as described in the video when “taking the front strands” of the single crochet).
- Black yarn can be harder to see; good lighting is helpful.
- Leave long yarn tails on small parts (arms, ears, feet) for sewing.
- Slight reshaping by hand is normal after rounds, especially in small cylindrical parts.
Skill Level
Confident Beginner / Easy
You should be comfortable with:
- Magic ring
- Single crochet (US terminology)
- Increasing and decreasing in the round
- Basic sewing of amigurumi parts
Materials
- Yarn:
- Black yarn, size 3 (DK/light worsted)
- White yarn, size 3 (DK/light worsted)
- Optional: Cotton yarn if you want a slightly different texture/effect
- Hook:
- 3 mm crochet hook
- Notions & Tools:
- Tapestry (yarn) needle
- Stitch marker
- Fiberfill stuffing
- Scissors
- Hot glue
- Black felt (for eye patches)
- White felt (for eye centers)
- Small length of black cotton or yarn (for mouth/face embroidery)
Measurements / Sizing
Exact measurements are not given in the video, but with size 3 yarn and a 3 mm hook, the finished panda is approximately:
- Height: 10–12 cm
- Width: 7–9 cm
Size will vary slightly depending on yarn choice and personal tension.
Gauge
Gauge is not critical for this amigurumi project, but for reference:
- Approximately 22–24 single crochet sts x 26–28 rows = 10 x 10 cm with size 3 yarn and 3 mm hook.
Main stitch pattern is:
- Single crochet in continuous rounds, with regular increases and decreases for shaping.
Stitch Abbreviations (US Terms)
- MR – Magic ring
- ch – Chain
- sc – Single crochet
- sc inc – Single crochet increase (2 sc in same stitch)
- sc dec – Single crochet decrease (2 stitches worked together)
- sl st – Slip stitch
Special Stitches
- Magic Ring (MR): Wrap yarn to form a loop, insert hook through loop, pull up a loop, ch 1, then work the required number of stitches into the ring. Pull the tail to close the ring.
- Front-loop-only decrease (FLO sc dec): Insert hook into the front loop of the next sc, then into the front loop of the following sc, yarn over, pull through both loops, yarn over, pull through remaining loops to complete the decrease. This is what is referenced when the maker says to “catch the front strands.”
The Crochet Pattern
1. Body
Worked in black first, then white, in continuous rounds. Use stitch marker.
1.Round 1 (black)
- MR, work 6 sc into the ring.
- Tighten the ring.
- [6 sts]
2.Round 2
- Work sc inc in each stitch around (an increase in every stitch).
- 6 increases total.
- [12 sts]
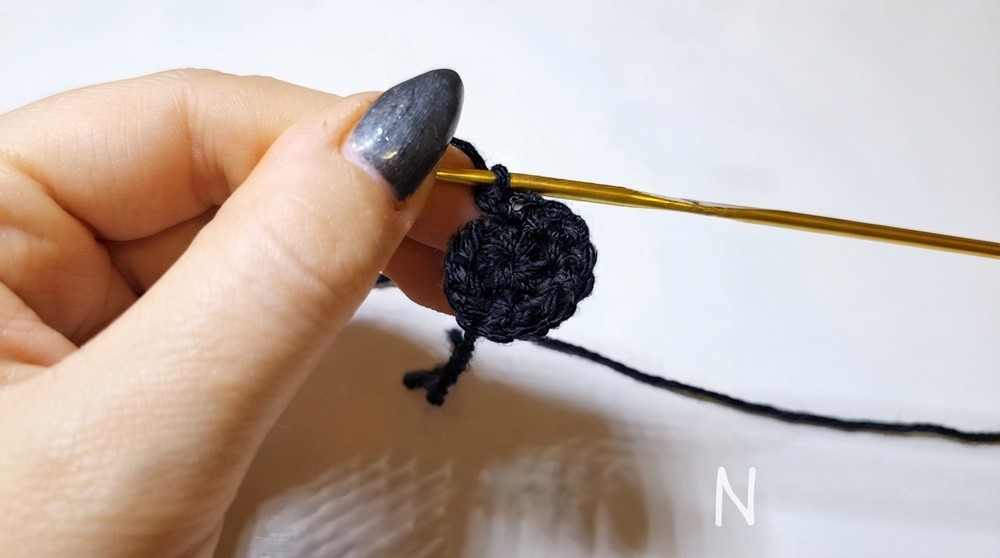
3.Round 3
- 1 sc, 1 sc inc; repeat around.
- Alternate: one single crochet, one increase for the whole round.
- [18 sts]
4.Round 4
- 2 sc, 1 sc inc; repeat around.
- Two single crochets followed by one increase.
- [24 sts]
5.Round 5
- 3 sc, 1 sc inc; repeat around.
- Three single crochets followed by one increase.
- [30 sts]
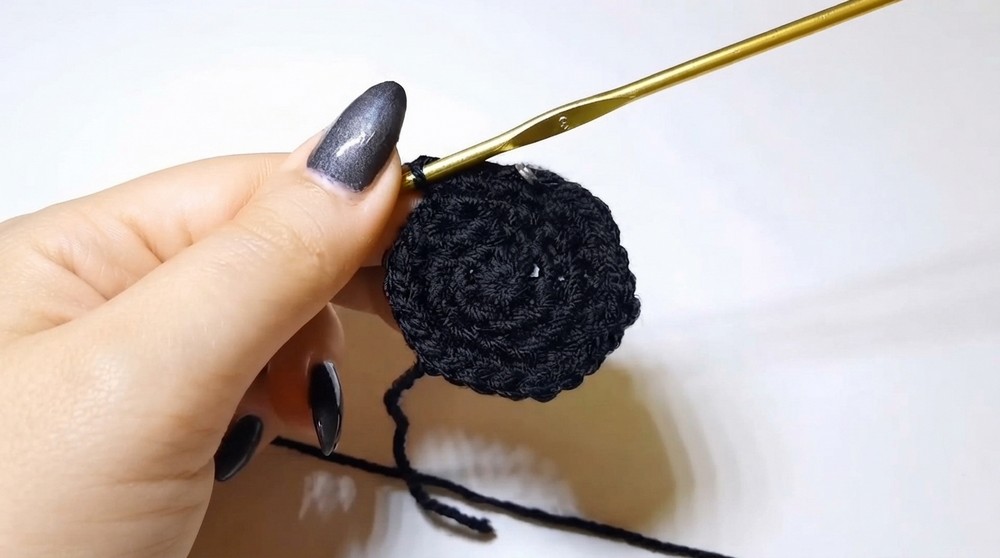
6.Round 6
- 4 sc, 1 sc inc; repeat around.
- Four single crochets followed by one increase.
- [36 sts]
7.Rounds 7–11
- Work 5 rounds of sc around without increases.
- At the start of each round, work the first sc, mark it, then continue: 1 sc in each stitch.
- [36 sts each round]
8.End of Round 11
- Work 1 sl st in the next stitch.
- Pull loop slightly, cut the black yarn.
- This prepares for the color change to white.
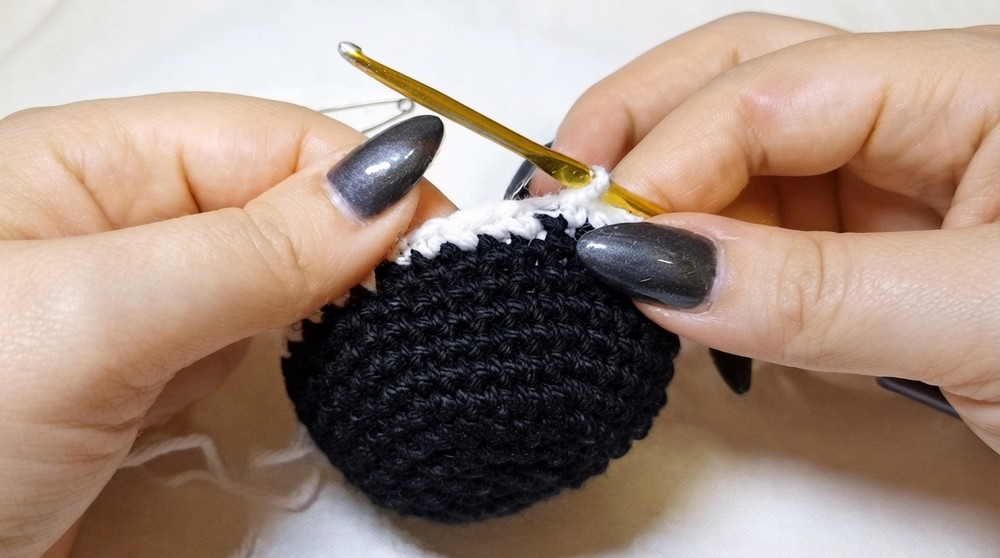
Join White Yarn
- Attach white yarn in any stitch around the last round of black:
- Make a simple knot or slip knot on the white yarn.
- Insert hook into a stitch on the body, bring yarn inside slightly, then work 1 sc to join.
9.Round 12 (first round in white)
- Work 1 sc in each stitch around with white yarn.
- [36 sts]
10.Rounds 13–16
- Work 4 more rounds of sc in white, with no increases.
- Mark the first stitch of each round.
- [36 sts each round]
11.Round 17 (start decreases)
- 4 sc, FLO sc dec; repeat around.
- For each repeat: work four single crochets, then one front-loop-only decrease.
- [30 sts]
12.Round 18
- 3 sc, FLO sc dec; repeat around.
- [24 sts]
13.Round 19
- 2 sc, FLO sc dec; repeat around.
- [18 sts]
14.Stuffing
- Before further decreasing, pull up the loop slightly and stuff the body with fiberfill.
- Fill firmly but not overly rigid.
15.Round 20
- 1 sc, FLO sc dec; repeat around.
- Alternate one single crochet and one front-loop-only decrease for the entire round.
- [12 sts]
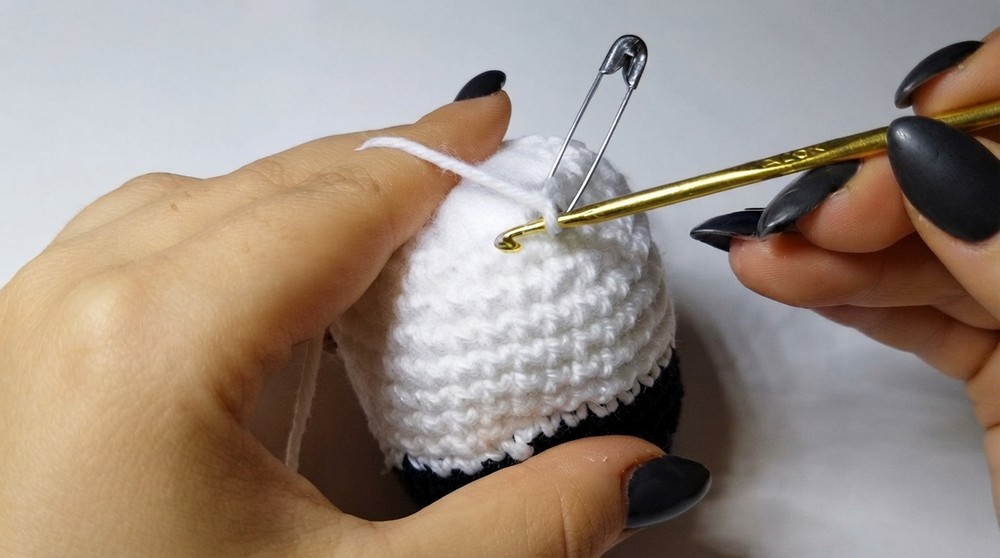
16.Round 21 (closure)
- Work 6 FLO sc dec consecutively.
- This closes the opening.
- [6 sts]
Finish:
- Pull the yarn, cut leaving a tail.
- Thread tail in tapestry needle; pass through remaining stitches to close the hole completely.
- Make a small securing stitch, then weave the tail through a few stitches to hide it.
- Cut the yarn.
- The body structure is now complete.
2. Front Legs (Arms) – Make 2
Worked in white.
Round 1
- MR, work 6 sc into the ring.
- Pull tight.
- [6 sts]
Rounds 2–4
- Work 3 rounds of sc in continuous rounds, no increases.
- Each round: 1 sc in each of the 6 stitches.
- [6 sts per round]
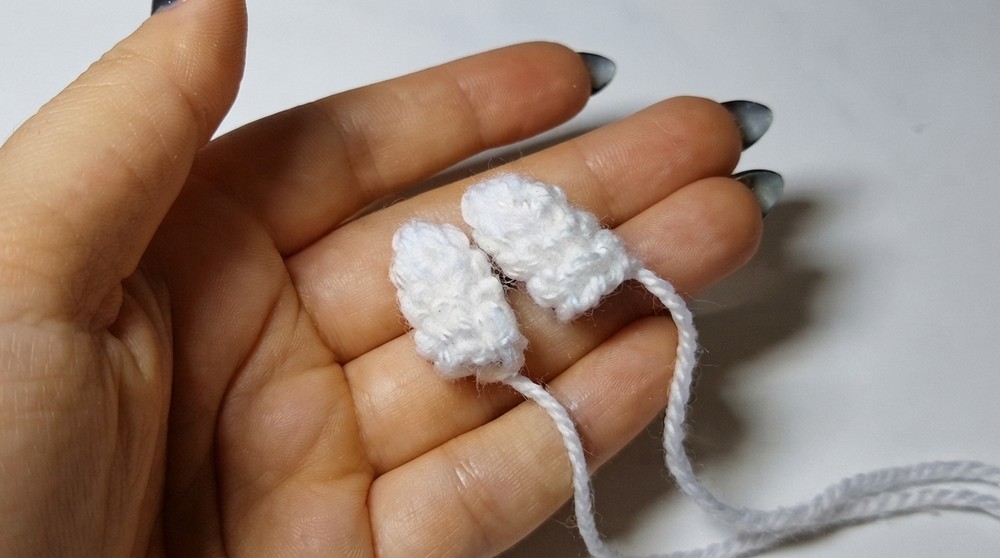
The maker notes that after the first round, the piece may curl; you can slip it on your finger to see stitches more clearly.
End of Round 4
- Work 1 sl st in the next stitch.
- Pull yarn, leave a long tail for sewing.
Stuffing
- Lightly stuff the arm with a small amount of fiberfill using the hook or your finger.
- Do not overstuff; just enough to give shape.
Make two arms identical.
3. Ears – Make 2
Worked in black.
Round 1
- MR, work 5 sc into the ring.
- Pull tight.
- [5 sts]
Round 2
- Work sc inc in each stitch around.
- 5 increases total.
- [10 sts]
Rounds 3–4
- Work 2 rounds of sc, no increases.
- 1 sc in each stitch around.
- [10 sts each round]
End of Round 4
- Work 1 sl st in the next stitch.
- Pull yarn and leave a long tail for sewing.
Make two ears identical.
4. Feet – Make 2
Worked in black.
Round 1
- MR, work 6 sc into the ring.
- Pull tight.
- [6 sts]
Round 2
- Work sc inc in each stitch around.
- 6 increases total.
- [12 sts]
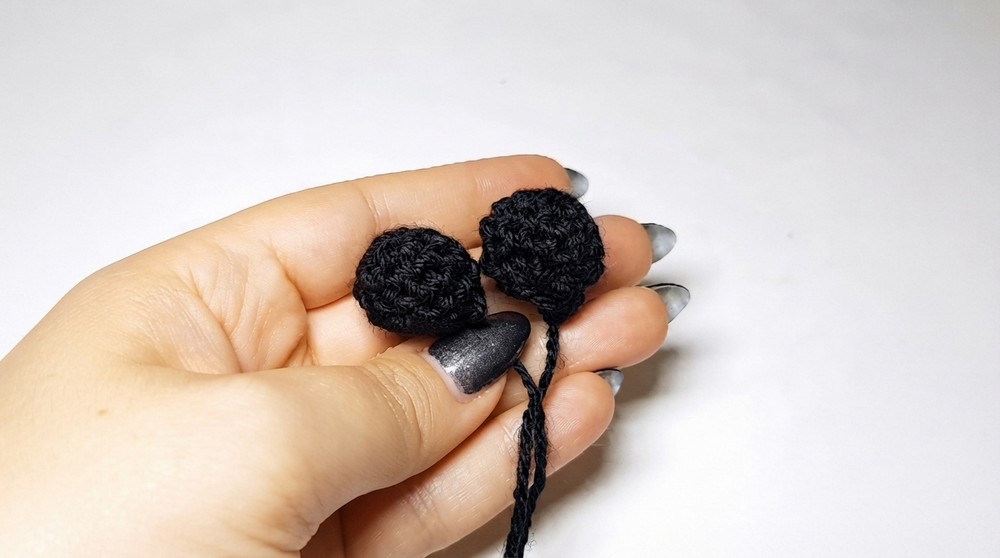
Rounds 3–4
- Work 2 rounds of sc, no increases.
- 1 sc in each stitch.
- The piece will start to form a small rounded “cup” shape.
- [12 sts each round]
Stuffing and Closure
- Cut the magic ring’s tail shorter if needed, then place a small ball of stuffing inside the cup.
- Next round: work 6 sc dec consecutively to close the foot.
- [6 sts]
After the sixth decrease:
- Work 1 sl st in the next stitch.
- Pull yarn, leave a long tail for sewing.
Make two feet identical.
Assembly & Finished Size
Assembling the Panda
- Prepare all parts
- Body (finished, stuffed).
- 2 arms (front legs), lightly stuffed.
- 2 ears.
- 2 feet, closed and stuffed.
- Attach Arms
- Thread the long tail of one arm into a tapestry needle.
- Position the arm on the front sides of the white portion of the body, slightly lower than the center.
- Sew it securely with small, tight stitches.
- Repeat for the second arm on the opposite side, mirroring the placement.
- Attach Ears
- Thread the ear tail into the needle.
- Position ears symmetrically on the top sides of the head area (upper part of body).
- Sew all around the base of each ear to secure.
- Attach Feet
- Thread the foot tail.
- Position each foot at the lower front of the black part of the body.
- Sew carefully so the panda can sit stably.
- Felt Eyes and Facial Details
- Cut two black felt patches in the classic panda eye shape (rounded or oval patches).
- Cut two small white felt circles for the inner parts / pupils.
- Use hot glue to attach the black patches to the face area.
- Glue the white circles on top of the black patches.
- Use a bit of black cotton yarn or thread to embroider or glue a small mouth/nose detail on the white part of the head.
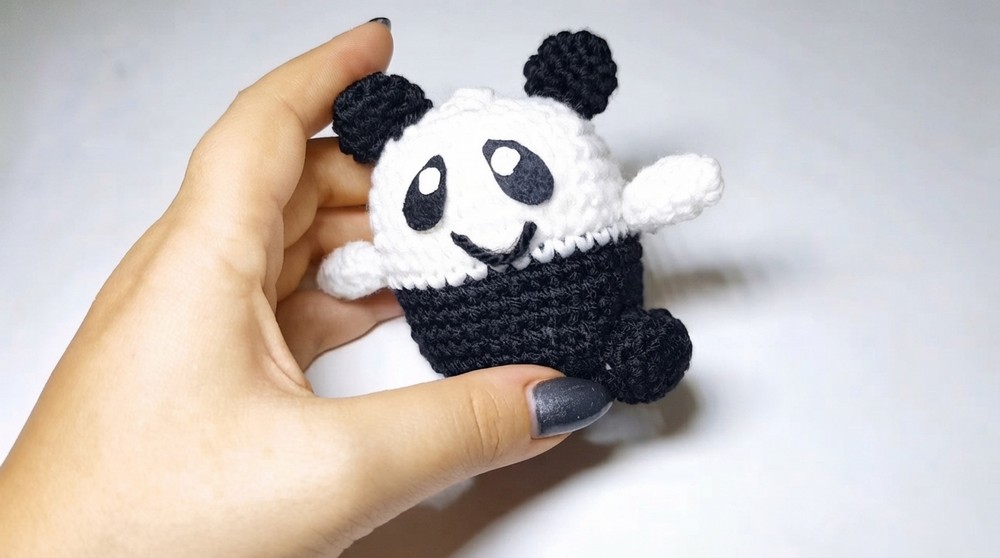
With all components attached, you should have a small, plump panda with felt eyes, arms, ears, and feet neatly sewn in place. The finished size is roughly 10–12 cm tall.
Conclusion and Ending Words
This small panda follows a very straightforward construction: basic rounds of single crochet, simple increases to shape the body, and then decreases to close it, with separate easy pieces for arms, ears, and feet. The difference between versions in acrylic and cotton is mainly in texture and appearance, but the method remains the same. Using felt for eyes keeps the face clear and expressive without complicated embroidery.