
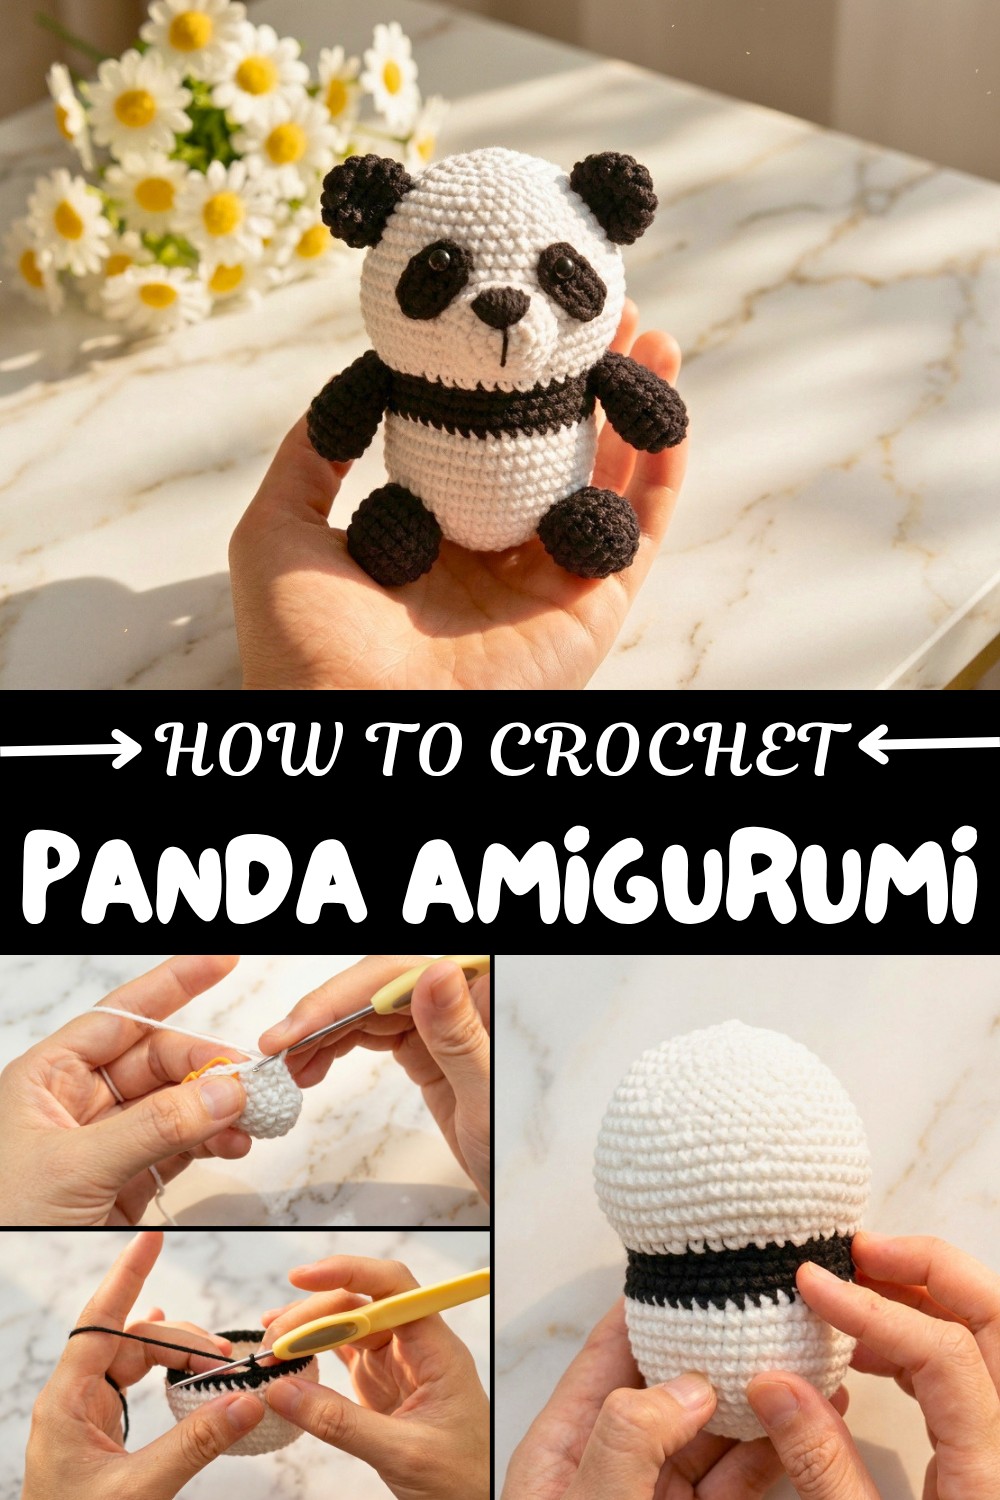
Free Crochet Panda Amigurumi pattern with Sweet Face
Cherish adorable black and white appeal with Free Crochet Panda Amigurumi Pattern showcasing sweet features and cuddly character for fun.
If you enjoy making cute handmade toys, this cozy little crochet project might be just what you need. The Free Crochet Crochet Panda Amigurumi Pattern offers a wonderful way to bring a lovable panda to life with yarn and a hook. It's a small stuffed animal that you can cuddle or display. Plus, by changing colors or adding small details like scarves or hats, you can create different animals or characters using the same basic shape.
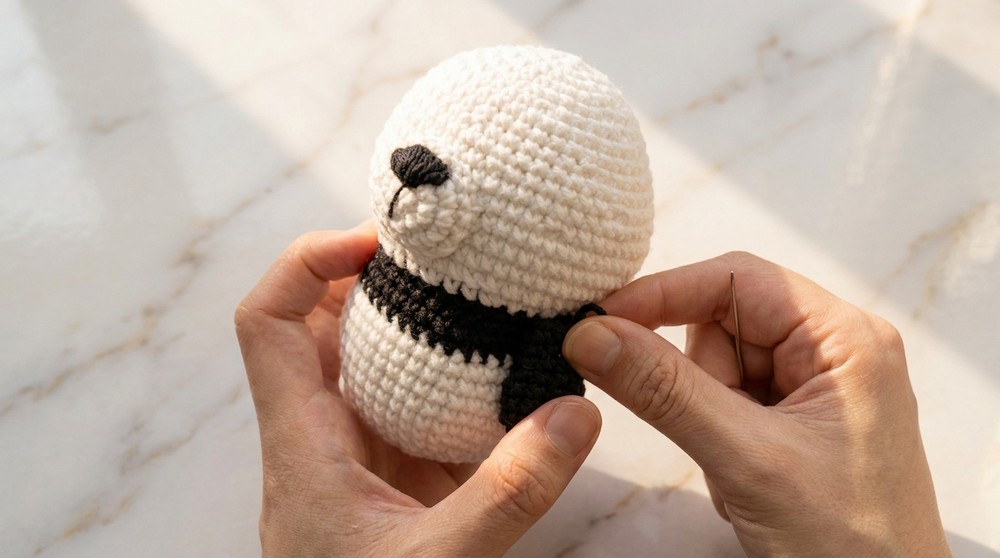
This panda is truly charming, with its round body, soft texture, and sweet face. The black and white color pattern highlights the panda’s classic look, while tiny features like its little paws, rounded ears, and a stitched mouth add personality. Its sturdy yet smooth fabric makes it perfect for hugging or simply decorating a shelf or nursery. The shape is compact and balanced, making this panda easy to hold and fun to gift to friends of all ages.
Free Panda Amigurumi pattern You'll Love Making
This pattern is friendly to beginners and those with some crochet experience. The main stitch used throughout is the single crochet, which creates a firm fabric that holds stuffing well. You’ll also use simple increases and decreases to shape the body and head evenly. If you have basic crochet skills and enjoy working in rounds, this pattern will feel like a fun and rewarding challenge.
Whether you’re making a cozy gift, a cheerful decoration, or starting a collection of handmade animals, this panda amigurumi fits perfectly. It’s a sweet and approachable project that brings warmth and personality to any space. If you enjoy simple yet thoughtful crochet projects, give this panda a try and enjoy the smile it brings with every stitch.
Crochet Panda Amigurumi Pattern
This detailed step-by-step crochet pattern guides you through making a cute panda amigurumi using simple stitches and techniques. The pattern is designed with clear instructions suitable for beginners and intermediate crocheters, with useful notes on assembly, shaping, and finishing touches.
Summary
Make an adorable crochet panda featuring a round body, cute little paws, ears, eyes, and a sweet embroidered mouth. Worked in continuous rounds mostly using single crochet stitches, this amigurumi is a fun project that produces a charming plush toy. The pattern gradually shapes the panda through increases and decreases and changes in yarn color to highlight the panda’s signature black and white markings.
Skill Level
- Beginner-friendly, suitable for crocheters who know basic stitches like chain and single crochet and are comfortable working in rounds.
- No advanced techniques required but attention to stitch placement is important for shaping.
Materials
- Medium weight yarn (white and black or desired colors)
- Crochet hook size 3.5 mm (or suitable size for your yarn)
- Fiberfill or polyester stuffing
- Yarn needle for sewing parts and weaving ends
- Stitch markers (optional but helpful)
- Two small black buttons or felt pieces for eyes (optional - for eye details)
- Scissors
Finished Size
- Approximately 6-7 inches (15-18 cm) tall when finished and stuffed.
Gauge
- Gauge is not critical for amigurumi but for consistent sizing, about 6 single crochet stitches = 2 inches (5 cm).
- Maintain a tight stitch tension to avoid stuffing showing through.
Stitch Abbreviations
| Abbreviation | Full Term |
|---|---|
| ch | Chain |
| sc | Single Crochet |
| inc | Increase (2 sc in one stitch) |
| dec | Decrease (crochet 2 stitches together) |
| sl st | Slip Stitch |
Special Stitches & Notes
- Magic Ring: Used to start rounds with a tight center hole.
- Increase (inc): Make 2 single crochets into one stitch.
- Decrease (dec): Crochet two stitches together to reduce stitch count.
- Spiral Crochet: The rounds are worked continuously without joining with a slip stitch; a stitch marker is recommended to mark the beginning of rounds.
- Change yarn colors carefully to achieve the panda’s black and white pattern.
- Stuff firmly as you go for best shaping.

Gauge Swatch Tips
- Work a small square in single crochet to check hook size and tension.
- Adjust hook size if stitches look too loose or tight to maintain a firm fabric.
The Crochet Pattern
Head and Body
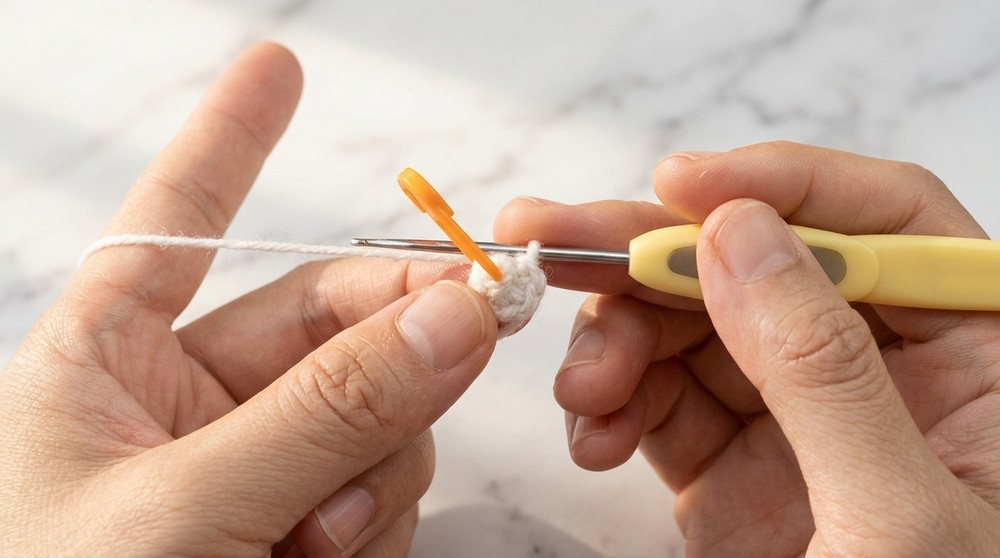
- Begin with a Magic Ring.
- Round 1: 6 sc into the magic ring (6 sc).
- Pull the yarn tail tightly to close the ring. Mark the first stitch.
- Round 2: Inc in each stitch around (12 sc).
- Round 3: (1 sc, 1 inc) repeat 6 times (18 sc).
- Round 4: (1 sc, 1 sc, 1 inc) repeat 6 times (24 sc).
- Round 5: (2 sc, 1 sc, 1 inc) repeat 6 times (30 sc).
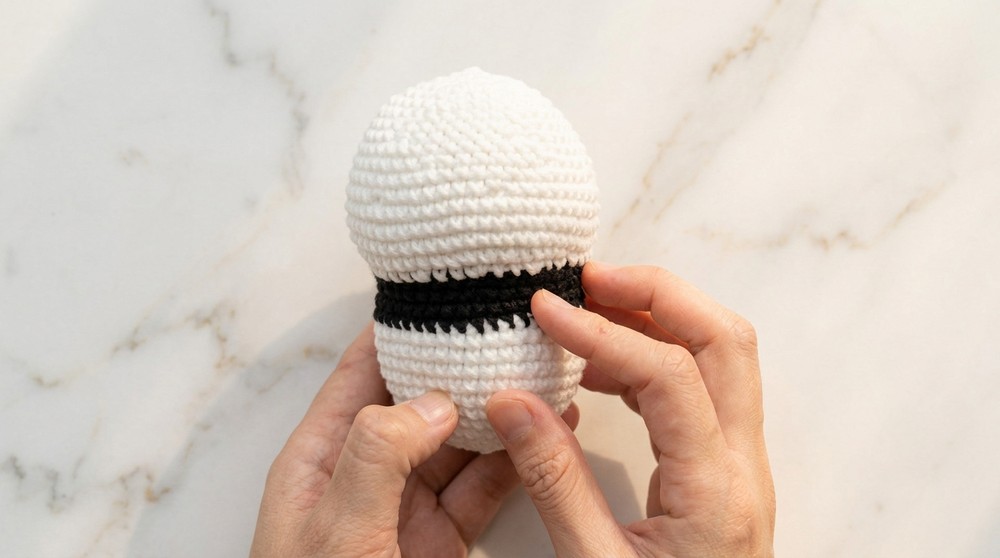
- For rounds 6 to 13, work single crochet in each stitch (30 sc per round).
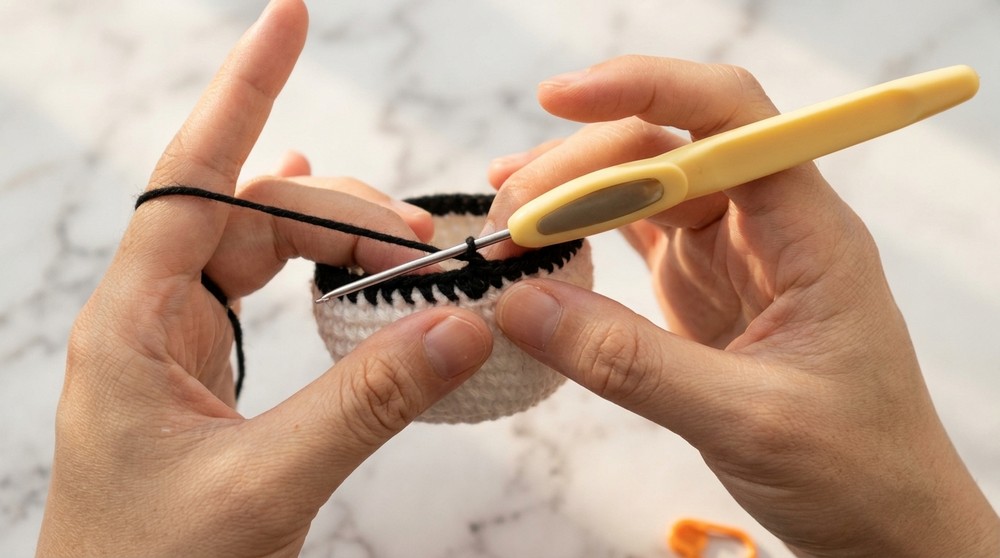
- Change yarn to black after round 13: Use slip stitch connection as shown below, then that round and next round continue in black yarn with sc in each stitch (42 sc).

Changing Color
- After finishing round 13, cut white yarn, attach black yarn by:
- Skip the first stitch, insert needle through second stitch back loop and the last stitch’s back loop, pass yarn through loops to join tightly.
- Crochet stitches carefully with black yarn, crossing previous yarn tails to prevent gaps.
Continue Shaping with Black Yarn:
- Rounds 14-17: Single crochet in each stitch (42 sc).
- Round 18: 5 sc, dec; repeat 6 times (36 sc).
- Round 19: Single crochet in each stitch (36 sc).
- Rounds 20-34: Continue spiral crochet with single crochet stitches, stuffing firmly.
Finish Head and Body:
- Round 35: 6 sc.
- Round 36: 6 dec evenly spaced (6 stitches left).
- Fasten off, leaving a long tail.
- Use yarn needle to thread leftover yarn through front loops of stitches; pull tight to close the opening securely.
Eyes
- Chain 5, turn and single crochet backwards in 4th chain from hook (total 9 sc around the ring).
- Fasten off leaving a long tail.
- Connect as with magic ring eye assembly by threading the needle through back loops skipping first stitch.
- Make two eyes.
Mouth
- Using black yarn and a yarn needle, embroider an inverted triangle shape nose above the middle part of the head.
- Outline shape carefully by moving needle back and forth to fill.
- Embroider mouth line under nose with simple straight stitches.
Arms (2 pieces)
- Crochet using spiral method: start with 6 sc in magic ring and increase/shape based on diagram (follow spiral technique).
- Stuff lightly before sewing.
- Sew arms onto sides of the body, approximately around rounds 3 to 5 on the black yarn section.
Legs (2 pieces)
- Follow spiral crochet method starting from magic ring. Crochet legs with appropriate shaping and increases/decreases following diagram.
- Stuff firmly.
- Sew onto the lower side of the body between rounds 7 to 9, positioning symmetrically.
Ears (2 pieces)
- Make small oval ears starting with magic ring and crochet 6 to 8 stitches in spiral rounds.
- Sew ears symmetrically on top of the head, roughly around round 6 on the upper white section.
Tail
- Small tail worked by magic ring and single crochet in spirals.
- Sew tail on the back center of the lower body.
Assembly & Finishing
- Stuff all parts firmly but avoid overstuffing to keep shape soft but stable.
- Sew parts firmly with yarn needle and matching yarn colors.
- Position parts symmetrically for a balanced look: eyes just above the nose, ears on top of the head, arms at sides, legs near the base.
- Embroider details like the nose and mouth before attaching the head to the body.
- Add buttons or small black yarn pieces for eyes if desired.
- Weave in all yarn ends neatly for a clean finish.
Conclusion
- This panda amigurumi project combines basic stitches with shaping techniques, offering an enjoyable yet approachable challenge for beginners to intermediate crocheters.
- The contrasting colors and features highlight the lovable panda’s characteristic look.
- A perfect gift, decorative piece, or collectible, this panda will bring joy and warmth anywhere it’s displayed.
- Take your time, follow the detailed steps, and enjoy making a delightful little creature stitch by stitch.