
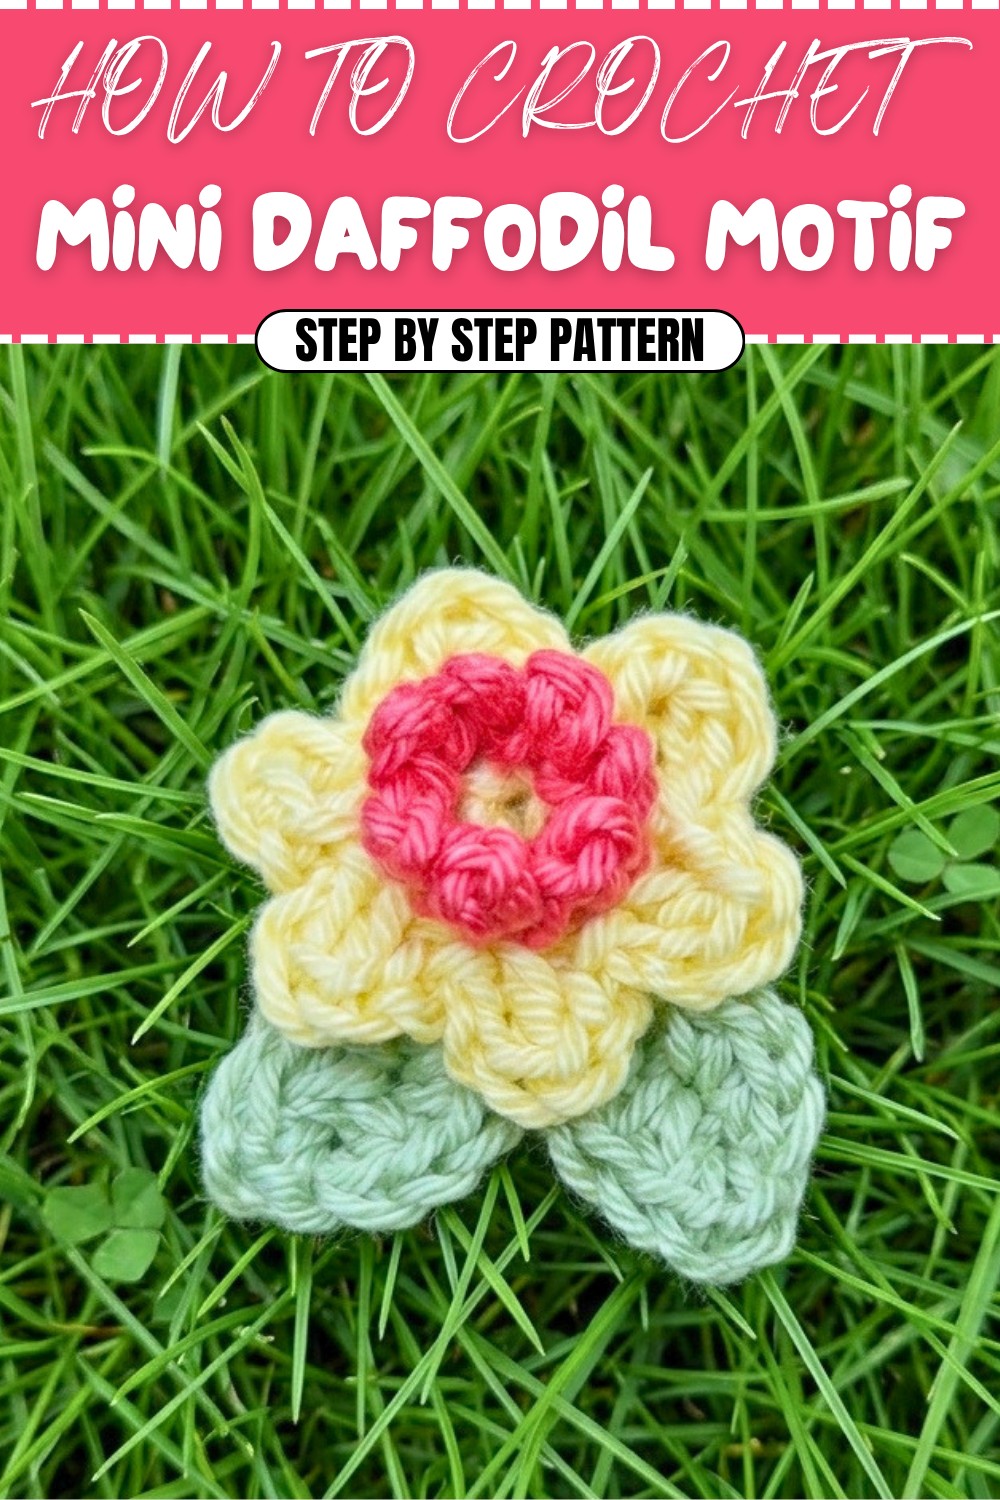
Charming Mini Daffodil Motif – Crochet Free Pattern
The picot stitch takes center stage in the Free Crochet Mini Daffodil Motif Pattern, adding an essential frilled edge to each petal and giving the design its signature lifelike beauty. Known for its ability to bring delicate points and subtle texture, the picot stitch is wonderfully suited to mimic the soft ruffle of daffodils—making each motif feel like a tiny spring treasure.
Free Crochet Mini Daffodil Motif Pattern for Spring Décor
Beyond its charming appearance, this motif is remarkably versatile. Its bright, sunny center and soft petals make it a welcome addition to home décor, whether scattered across your dining table, sewn onto cushions, or grouped into cheerful garlands. These mini daffodils also lend themselves effortlessly to gifts, bookmarks, appliqués for clothing, or embellishments for handmade cards—delighting recipients and creators alike.

Color customization is one of the most delightful aspects. While classic yellows and whites recreate the look of real daffodils, you can easily experiment with pastel pinks, bold oranges, or even shimmering yarns for a whimsical twist. The motif shines as a solo accent, but a grouping of varied colors can transform any space into an early spring haven.
Structurally, the motif is worked in rounds, starting from the central point and growing outward. Combining picot stitches with simple chains, slip stitches, and double crochets, the pattern is accessible to confident beginners and satisfying for seasoned crocheters. The defined petals rely on the picot to form crisp, pointed tips, which set this motif apart and highlight its realistic design.
Daffodil Motif Crochet Pattern
This delicate and versatile daffodil motif can be used as an embellishment for brooches, bags, hats, hair accessories, or sewn onto any project where a pop of spring color is desired. Measuring approximately an inch and a half in diameter, the motif features a bold center and classic petals with two decorative leaves for a polished finish.
Skill Level & Terminology
Skill Level: Intermediate
Terminology: US crochet terms
Materials
- Yarn: DK weight 100% cotton yarn (recommended: Patons DK Cotton, or any smooth, slightly shiny DK cotton)
- Main Petals: Lemon, Vanilla, or soft yellow
- Center: Nectarine, Orange, or bright center color
- Leaves: Kiwi or similar green
- Hook: 3.0 mm crochet hook
- Scissors
- Darning/Yarn Needle: For weaving in ends and sewing leaves
- Optional: Brooch pin, glue, keyring, or other findings for finishing
Abbreviations
- ch = chain
- st = stitch
- sl st = slip stitch
- sc = single crochet
- hdc = half double crochet
- dc = double crochet
- rep = repeat
Special Notes
- Work firmly for best appearance.
- Weave in ends as you go for a neater motif.
- Leave long tails on leaves if you will sew the motif to another project.
- For glueing, trim ends short after sewing in.
Finished Size
Approx. 1.5” (4 cm) diameter after blocking (excluding leaves).
Stitches Used
The motif is constructed with classic beginner stitches: magic ring, single crochet, double crochet, half double crochet, and slip stitch. Petals, a textured center, and two simple leaves give this little flower a lifelike charm.
Pattern
Part 1: Petals (Make 1 in Lemon/Yellow)
- Magic Ring:
- Make a magic ring.
- Ch 1.
- 6 sc in ring. Tighten ring. Sl st to first sc to close round.
- Petal Rounds:
- [Ch 2, dc in same st, ch 2, sl st in next st]
- Rep sequence into each st around (6 petals total).
- After last petal, fasten off and leave a tail for sewing.
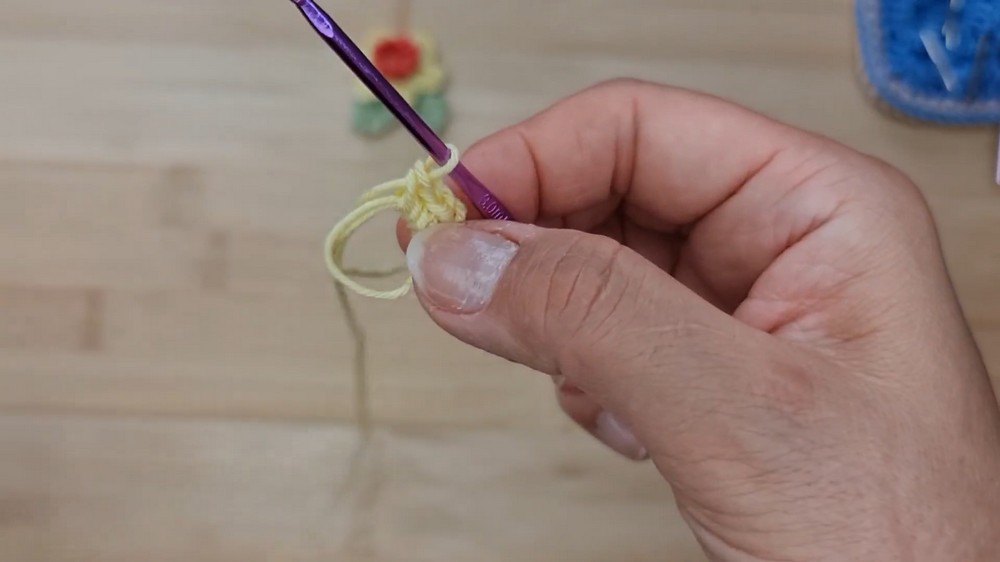
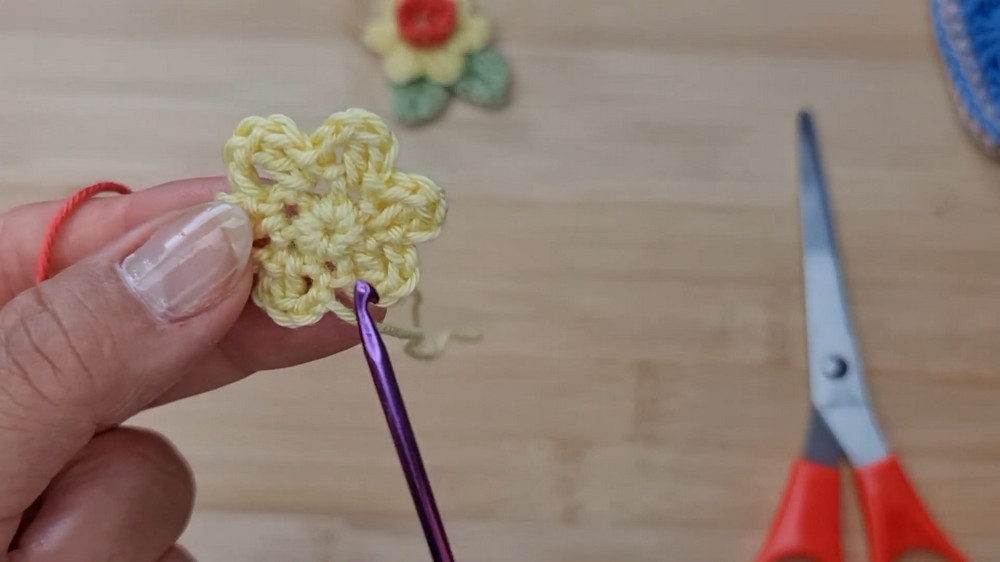
You make a center ring, add 6 single crochets for the flower's base, then build each petal by chaining, double crocheting, then joining to the next stitch with a slip stitch. Repeat for 6 petals and fasten off.
Part 2: Center (Make 1 in Nectarine/Orange)
- Joining Center:
- With a slipknot on hook, insert hook through any space at the center of the flower (between stitches from round 1), pull up a loop.
- Sl st to join. Ch 1 (counts as first sc).
- Round 1:
- Sc in each center space (between base sc of petals)—work 7 sc evenly around.
- Sl st to first sc to join.
- Picot Edge:
- Ch 2, sl st in 2nd ch from hook (picot made), sl st in next sc from previous round.
- Rep around for 7 picots.
- Fasten off and weave in end.
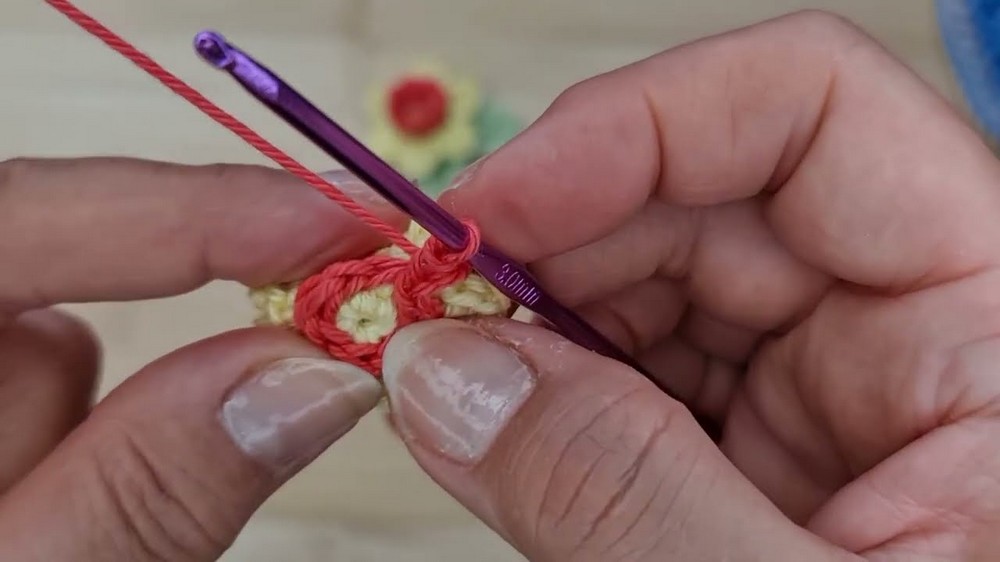
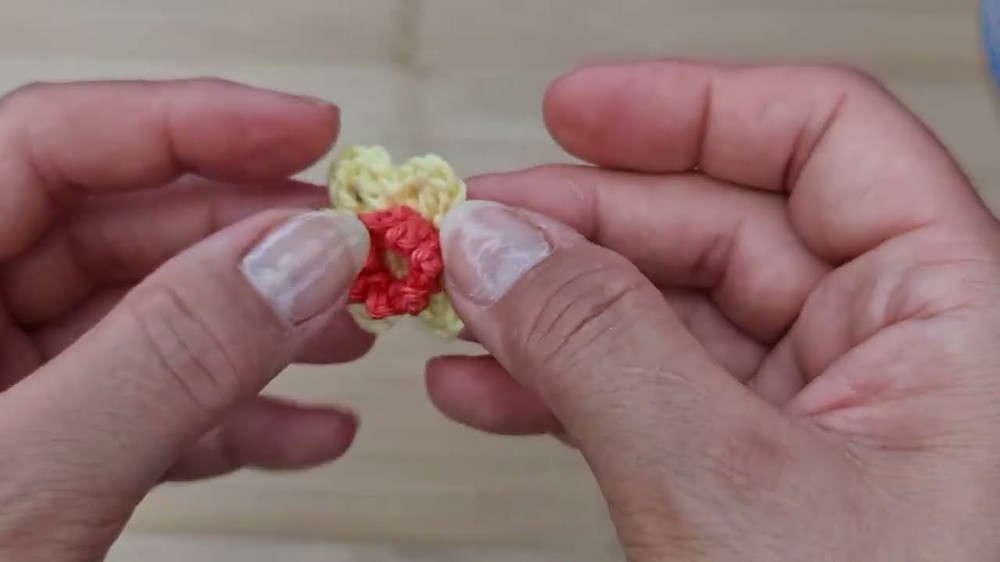
Join the center color in any hole at the base of the petals. Work single crochets around the center, then give each one a pretty bobble (picot) by chaining two and slip stitching back, then anchoring to the next single crochet. Finish when you have seven bumps (“picots”) in the center.
Part 3: Sewing Ends
- Thread needle with starting/ending tails, weave securely into back of motif.
- Trim or leave a long end if you’re sewing your motif onto another item.
Take a yarn needle, thread the leftover bits of yarn through the base/back of your daffodil several times, and snip off any extra. This keeps your work neat and tidy.
Part 4: Leaves (Make 2 in Green)
- Foundation:
- With green, ch 4.
- Leaf Shaping:
- In 2nd ch from hook: sc.
- In next ch: 2 hdc (work both hdc in the same stitch).
- In last ch: 3 sc (for leaf tip). Turn.
- Back Down Other Side:
- In next st: sc.
- In next st: 2 hdc (both in same st).
- In final st: sc, ch 1, sl st back into same st (for tip point).
- Fasten off, leaving a long tail for sewing.
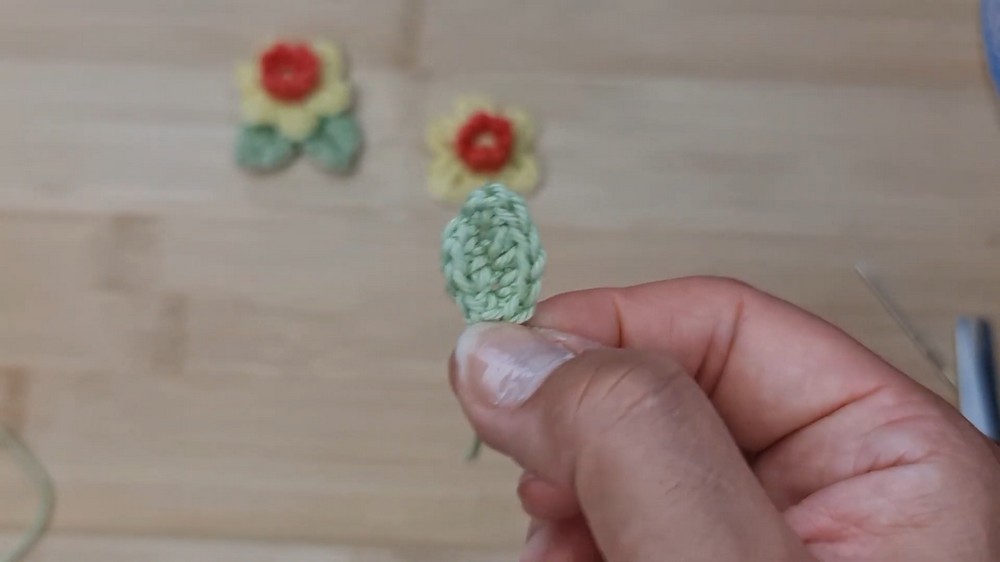
You make each leaf with a short chain, then crochet along one side, work extra stitches at the tip, and return along the opposite side for a symmetrical leaf. At the tip, add a slip stitch for a point.
Part 5: Attach Leaves
- Use a yarn needle and the long tails to sew one leaf to each side of the motif’s back, so they peek out below the petals. Secure with a few stitches through the base of the leaves, knot on the back, and weave in or trim ends.
- If gluing the motif, you may glue leaves in place instead.
Use a needle and yarn ends to sew leaves to the back of your flower. Space them evenly. Tie secure knots and snip off ends.
Assembly and Finishing
- Straighten petals and leaves to desired positions.
- Weave all ends to the back.
- Block motif lightly if desired for crispness.
- Attach to your project with glue or by sewing as desired.
After all parts are assembled, arrange your petals and leaves for the neatest look. Sew or glue your daffodil to hats, bags, brooch backs, or any accessory you want to decorate!
Conclusion
Your daffodil motif is now ready to brighten any project!
This little embellishment is a charming detail for brooches, hair clips, gift wrapping, or as a cheerful accent on spring crochet creations.
Corrections & Tips
- If your motif puckers, block it flat or adjust your tension to keep it even.
- For larger or smaller flowers, adjust yarn weight and hook size.
- Keep long tails on leaves if you plan to sew the motif to a project; otherwise, weave ends for a clean finish.
- Adjust leaf positioning for varied looks.