
Free Crochet Mini Christmas Bag Pattern With Room for Coins
Add a handmade twist to party favors with this Free Crochet mini Christmas bag Pattern, a fun little holder for candy, treats, toys, and gifts.
If you love crocheting and enjoy creating something beautiful and useful, you’ll absolutely adore this project from the creative minds at Belascrochet. Known for their easy to follow and heartwarming tutorials, Belascrochet helps crocheters bring their ideas to life with minimal materials and a lot of charm. In one of their holiday inspired tutorials, they share how to make an adorable and practical little bag, perfect for gifts or festive treats. It’s a fun and creative way to add a personal touch to any special occasion.
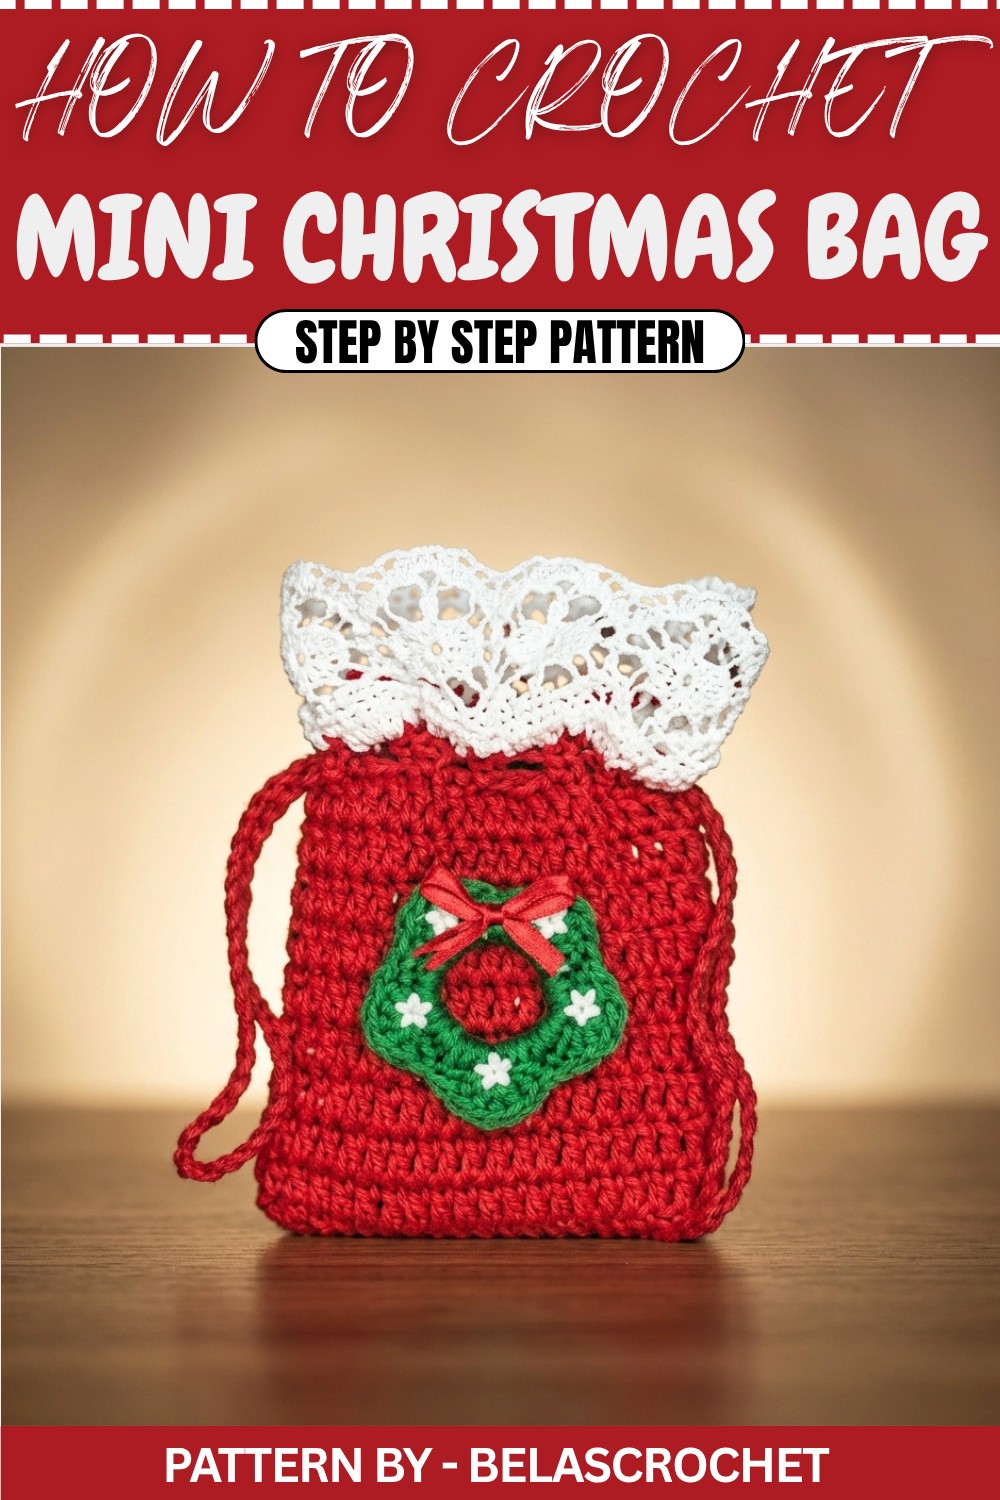
This crochet mini Christmas bag is not just a crochet project; it’s a delightful keepsake. With its soft, rounded shape and intricate details, it looks elegant and festive. The decorative edge, made using a white yarn festoon pattern, adds a whimsical touch, while the green mini wreath embellishment gives it an extra holiday sparkle. You can customize its design to suit any season, change the colors, add lace for extra volume, or adorn it with flowers or small charms. The finished bag has a beautiful, textured design that mimics the handiwork of a professional yet is simple enough for beginners to attempt.
Free Crochet Mini Christmas Bag Pattern That Adds Gift Charm
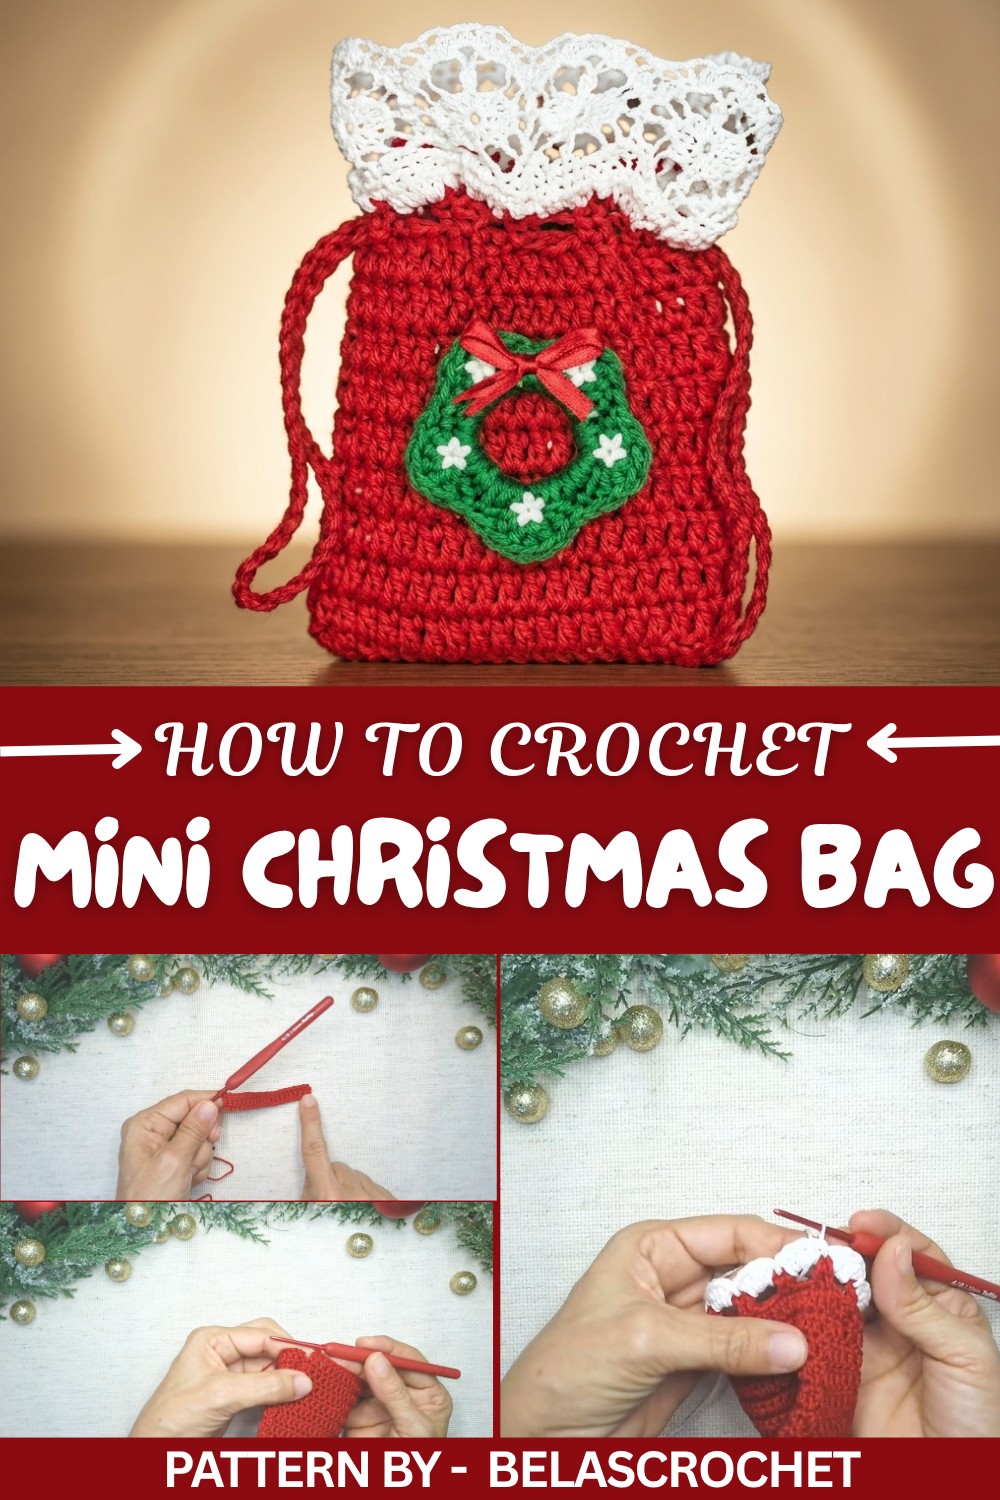
This bag works beautifully as a gift bag for chocolates, small candies, makeup items like lipstick or nail polish, or any other small treasures. Its drawstring closure ensures everything stays securely inside while giving the bag a classic, polished look. The process involves crocheting in the round using basic stitches like double crochet and a few decorative techniques, making it a beginner friendly project. Not only will you learn new skills, but you’ll also have a reusable, eco-friendly bag perfect for any occasion.
With a design that’s both functional and stylish, this crochet mini Christmas bag is a versatile project that will leave a lasting impression on friends and family. Try it out and let your creativity shine.
Step-by-Step Crochet Pattern: Mini Christmas Gift Bag
Today, we’ll be creating a mini Christmas bag that can be used to hold small presents like lipstick, candies, chocolates, or any little goodies. This charming bag is perfect for the holiday season and quick to make with minimal materials. Let's begin the journey of crafting a unique and thoughtful gift bag that will delight anyone who receives it.
Quick Overview of the Pattern
- Type: Mini Christmas gift bag
- Construction:
- Worked in rounds to create the base, height, and decorative edges
- Includes holes for a drawstring closure
- Finished with a decorative mini wreath
- Customization: Adjust the height, width, or decoration as desired for personal touches.
Notes
- This pattern uses continuous rounds for the base and body of the bag.
- To achieve a neat finish, use slip stitches to join rounds.
- Decorative options are fully customizable: colors, edging style, and embellishments can vary.
- The drawstring can be made with chain stitches or replaced with ribbons.
Skill Level
✔ Beginner-Friendly
This project is suitable for those comfortable with the following techniques:
- Creating chains
- Double crochet stitches
- Single crochet stitches
- Slip stitches
- Working in rounds
Materials
- Yarn:
- Medium-weight yarn in festive colors (e.g., red, white, green)
- Hook:
- 4 mm crochet hook
- Other Tools:
- Scissors
- Tapestry needle for weaving in ends
- Optional: glue for decorations
- Decorations:
- Mini wreath (green yarn)
- Ribbon or crocheted drawstring
Measurements / Sizing
- The bag in this tutorial measures approximately 8 cm in width and 10 cm in height, but you can adjust by adding rounds or chains as needed.
Gauge
Gauge is not critical for this pattern due to its small size and flexible nature.
Stitch Abbreviations
- ch – Chain stitch
- dc – Double crochet
- sc – Single crochet
- sl st – Slip stitch
- sk – Skip
- hdc – Half-double crochet
Special Stitches
Slip Stitch (sl st)
Used to join rounds seamlessly.
Foundation Chain
A base chain worked before rounds begin.
The Crochet Pattern
Step A: Base of the Mini Christmas Bag
Round 1: Foundation Chain
- Use your red yarn and make a slip knot, leaving a short tail.
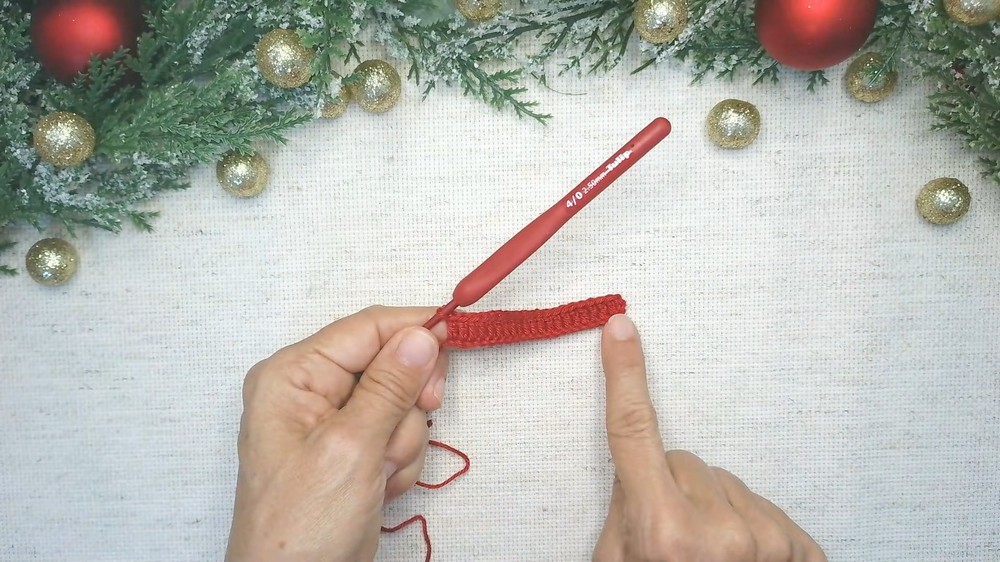
- Crochet 20 chains. This will form the width of the bag.
Round 2: Creating Height with Double Crochets
- After the foundation chain, ch 3 more (counts as a dc).
- Skip 3 chains and start working dc stitches in the 4th chain.
- Work a total of 20 dc stitches across the row.
Round 3: Forming the Opposite Side
- Turn your work to create a circular base.
- Crochet another 20 dc stitches into the other side of the foundation chain.
- There will be 40 dc stitches in total around the foundation chain.
- Sl st into the first dc to complete the round.
Step B: Building the Height of the Bag
Rounds 4–13: Working in Rounds
- Start each round by ch 3 (counts as a dc).
- Work 1 dc into each stitch around.
- At the end of each round, sl st into the first dc to join.
- Repeat this process for a total of 10 rounds, including the first round for height.
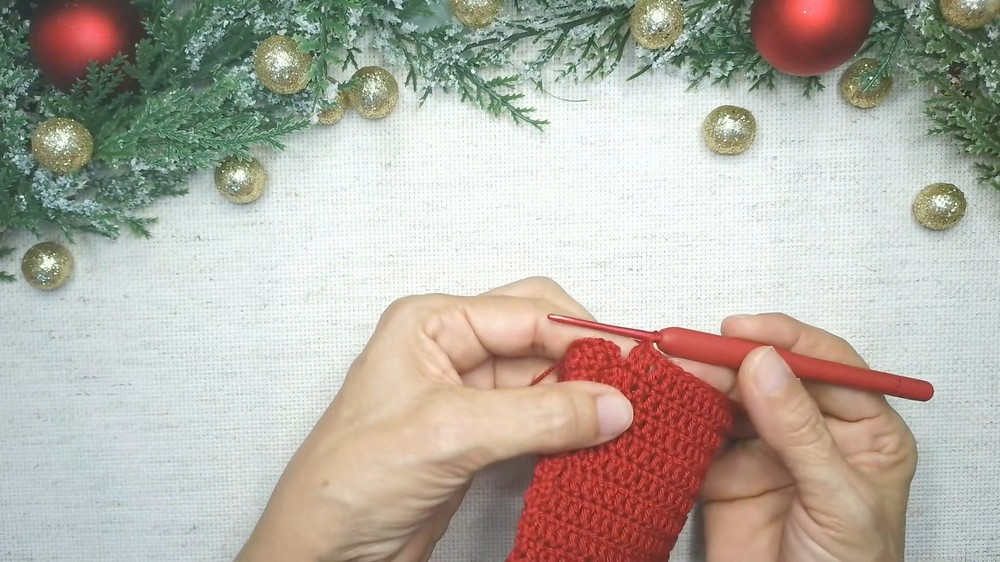
Tip: Feel free to add or remove rounds based on your preferred height.
Step C: Creating Eyelets for the Drawstring
Round 14: Eyelets
- Ch 3 to begin the round.
- Work 2 dc, ch 2, sk 2 stitches, then repeat:
- 2 dc, ch 2, sk 2 stitches until the end of the round.
- This will create small openings all around the bag for threading the drawstring later.
- Sl st into the first dc to join the round.
Step D: Decorative Edging
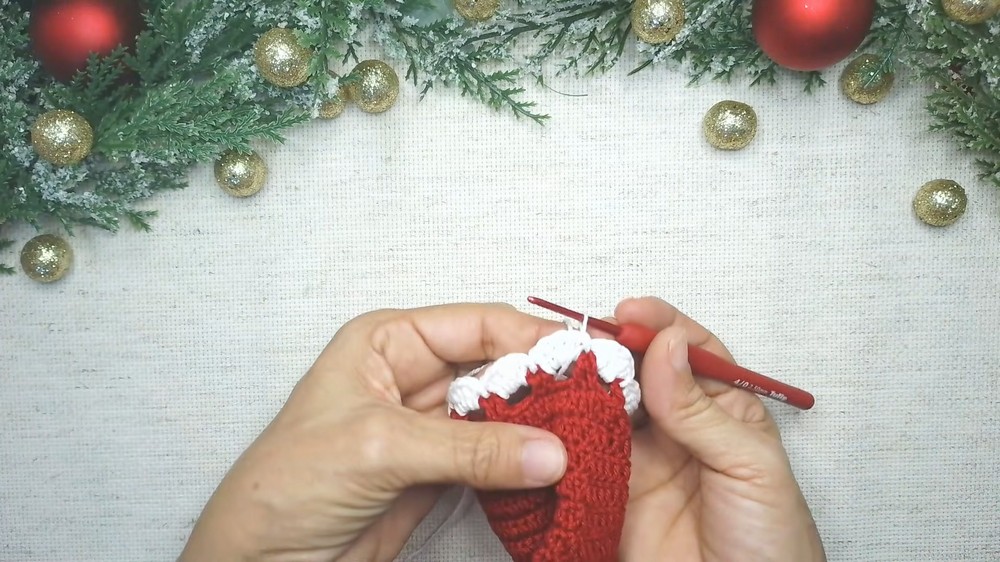
Round 15: Festoon Decoration
- Change to white yarn for a festive finishing touch.
- Start in the first eyelet created in the previous round:
- Ch 3 to begin and place 5 dc into the same eyelet.
- Sl st into the center of the 2 dc from the previous round to attach the festoon.
- Continue around, creating 5 dc in each eyelet gap, and securing them with slip stitches between gaps.
- At the end of the round, sl st into the first ch 3 for a seamless finish.
Step E: Final Drawstring Closure
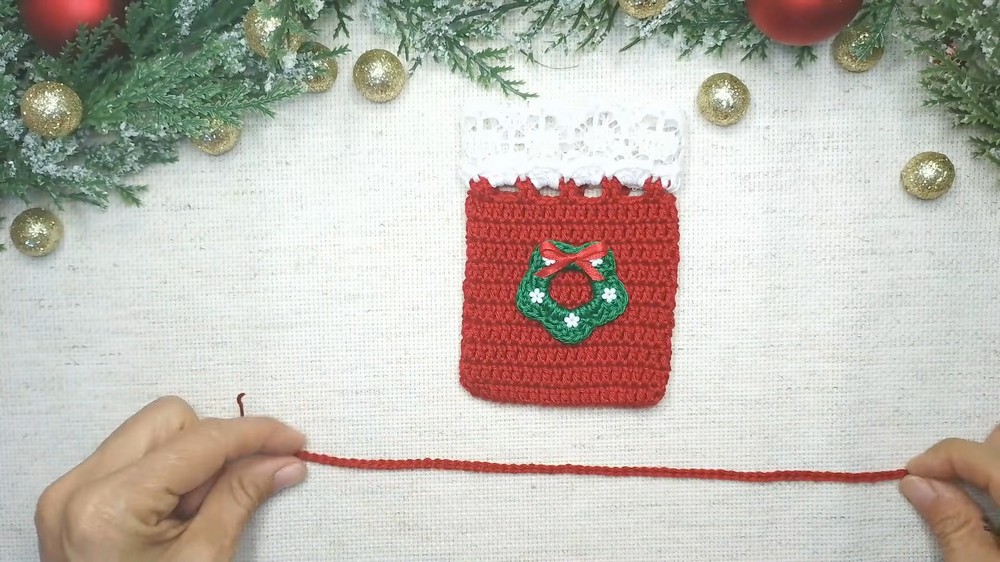
Creating the Drawstring
- With green yarn, crochet a chain of 70 stitches (adjust as needed).
- Use a tapestry needle or pin to thread the chain through the eyelets, alternating from top to bottom.
- Tie the ends of the drawstring and secure with a drop of glue or knot.
Step F: Mini Wreath Decoration
Making the Wreath
- Wrap green yarn 8 times around 2 fingers. Carefully remove the loop and secure it with a sl st.
- Crochet 30 sc stitches around the loop.
- Pull the stitches tight to make a firm circular shape.
- For added flair, use glue to attach decorative objects (e.g., mini flower appliqués).
Attaching the Wreath
- Use glue or sew the wreath onto the bag at the center.
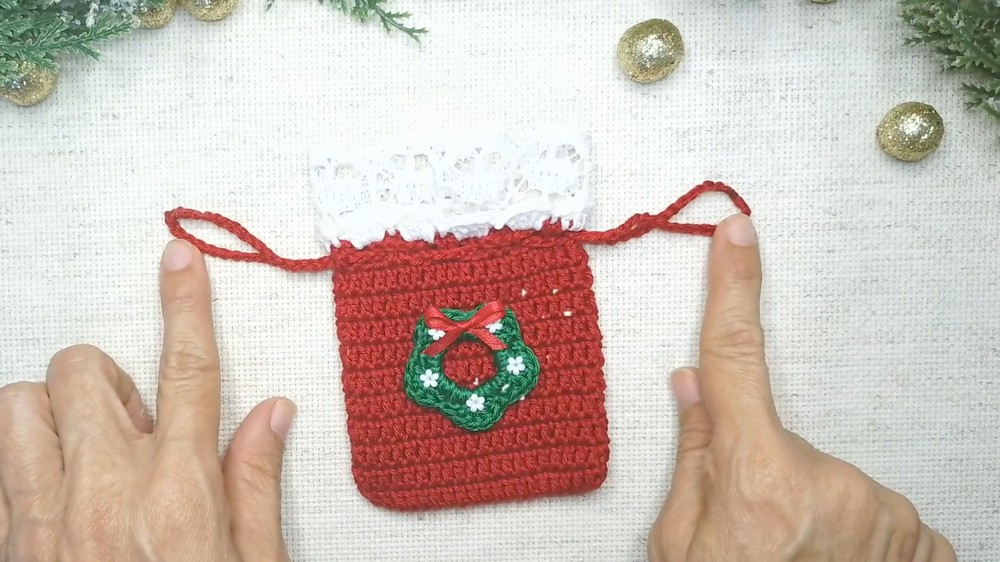
Assembly & Finished Size
- After all parts are completed, trim and weave in the ends.
- The bag will measure about 8 cm wide and 10 cm tall with room for small gifts.
- Use the drawstring to close the bag, forming a charming, functional pouch for Christmas goodies.
Conclusion
Congratulations! You’ve successfully crocheted a festive mini gift bag perfect for the holiday season. This bag is versatile, quick to make, and customizable to suit your creative ideas. Whether filled with chocolates, cosmetics, or small presents, this bag is sure to bring a smile to whoever receives it.
Feel free to adjust the colors, add embellishments, or make it larger for different purposes. Share your creations and let the holiday spirit inspire your crochet journey.