
Free Crochet Jute Basket Hook Pattern for Rustic Decor
Try this free crochet jute basket hook pattern that shows you easy steps to make a handy hanging basket for storing toys tools or other small items.
Pattern By Learning to Crochet by Anna Sakhno
A jute basket is a practical and stylish addition to any home, offering both functionality and natural charm. With this free crochet jute basket hook pattern, you’ll enjoy making a piece that’s sturdy and long lasting, thanks to the durable texture of jute yarn. The smooth, cylindrical shape and clean edges give it a polished yet rustic appearance, making it versatile enough to blend into modern or traditional home décor.
Free Crochet Jute Basket Hook Pattern for Pretty Organizing
It starts with a flat circular base and gradually takes shape as you work upward in seamless rounds. The jute yarn gives the basket just the right amount of stiffness to hold its form, while its natural earthy tones create a warm and organic style. For those looking for a softer basket, switching to a sturdy cotton yarn is a great option. Optional additions, like handles or decorative edging, add a creative touch and make the basket even more functional.
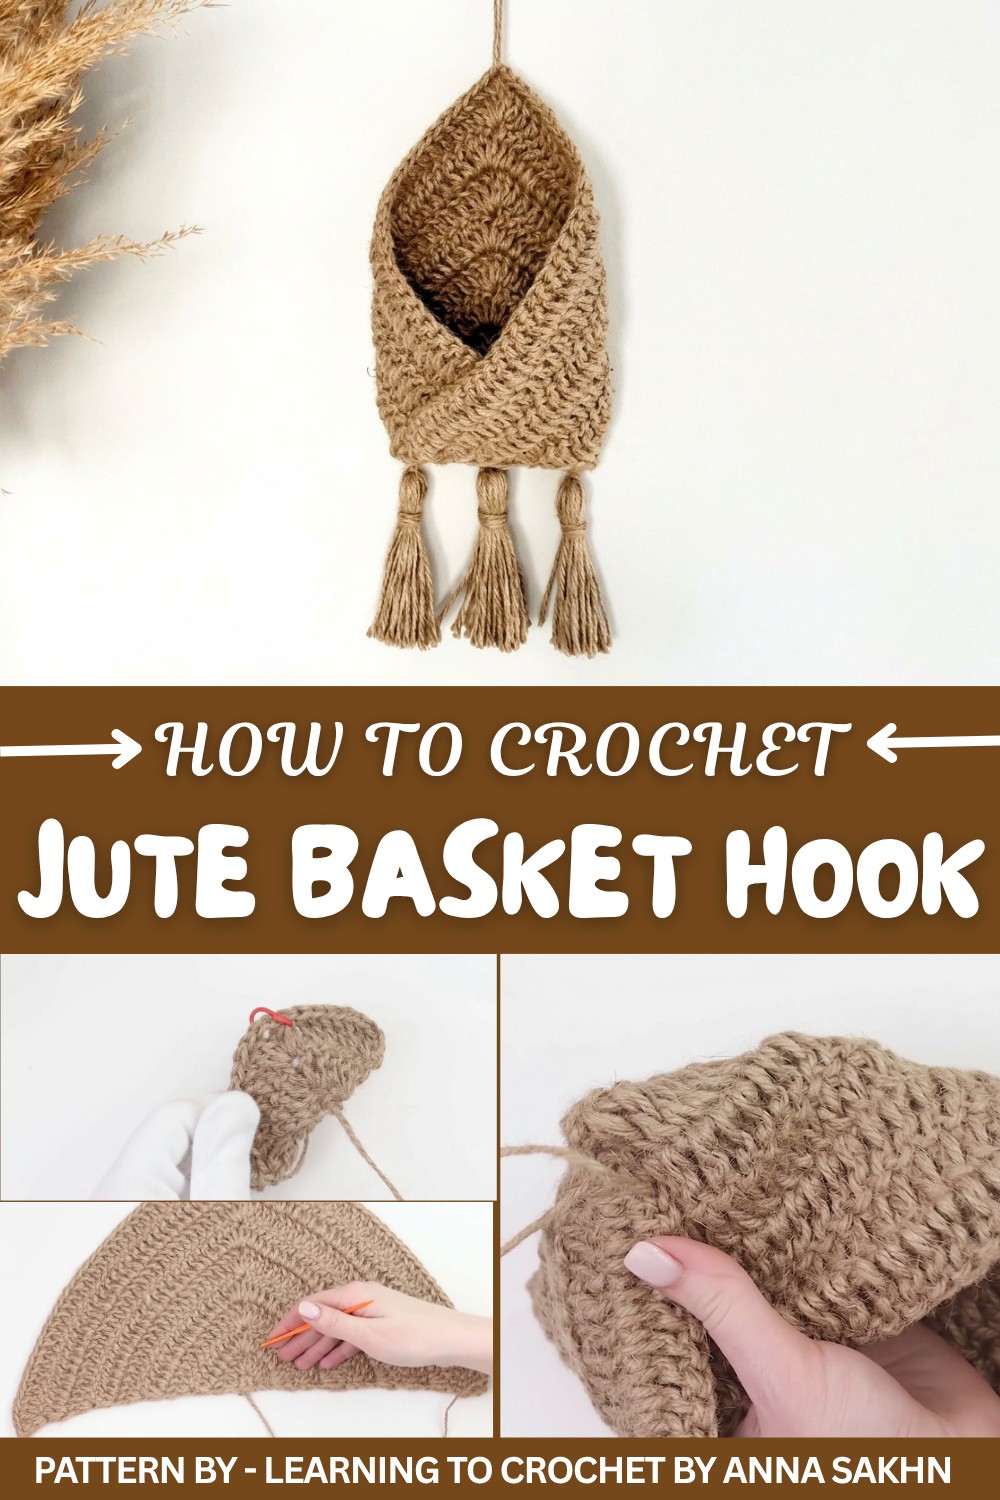
The inspiration behind this design came from the versatility of handmade storage solutions that can also double as stylish décor. Jute’s coarse yet sturdy texture pairs perfectly with the simplicity of the basket, resulting in a piece that’s practical but visually appealing. It works beautifully as a thoughtful, handmade gift for birthdays, holidays, or housewarmings.
Use it to store small items like crochet supplies, toiletries, or even kids’ toys, and personalize it with colors or accents that reflect your unique style. It’s the kind of project that will keep giving back, both as a utility and a beautiful item to brighten up any space.
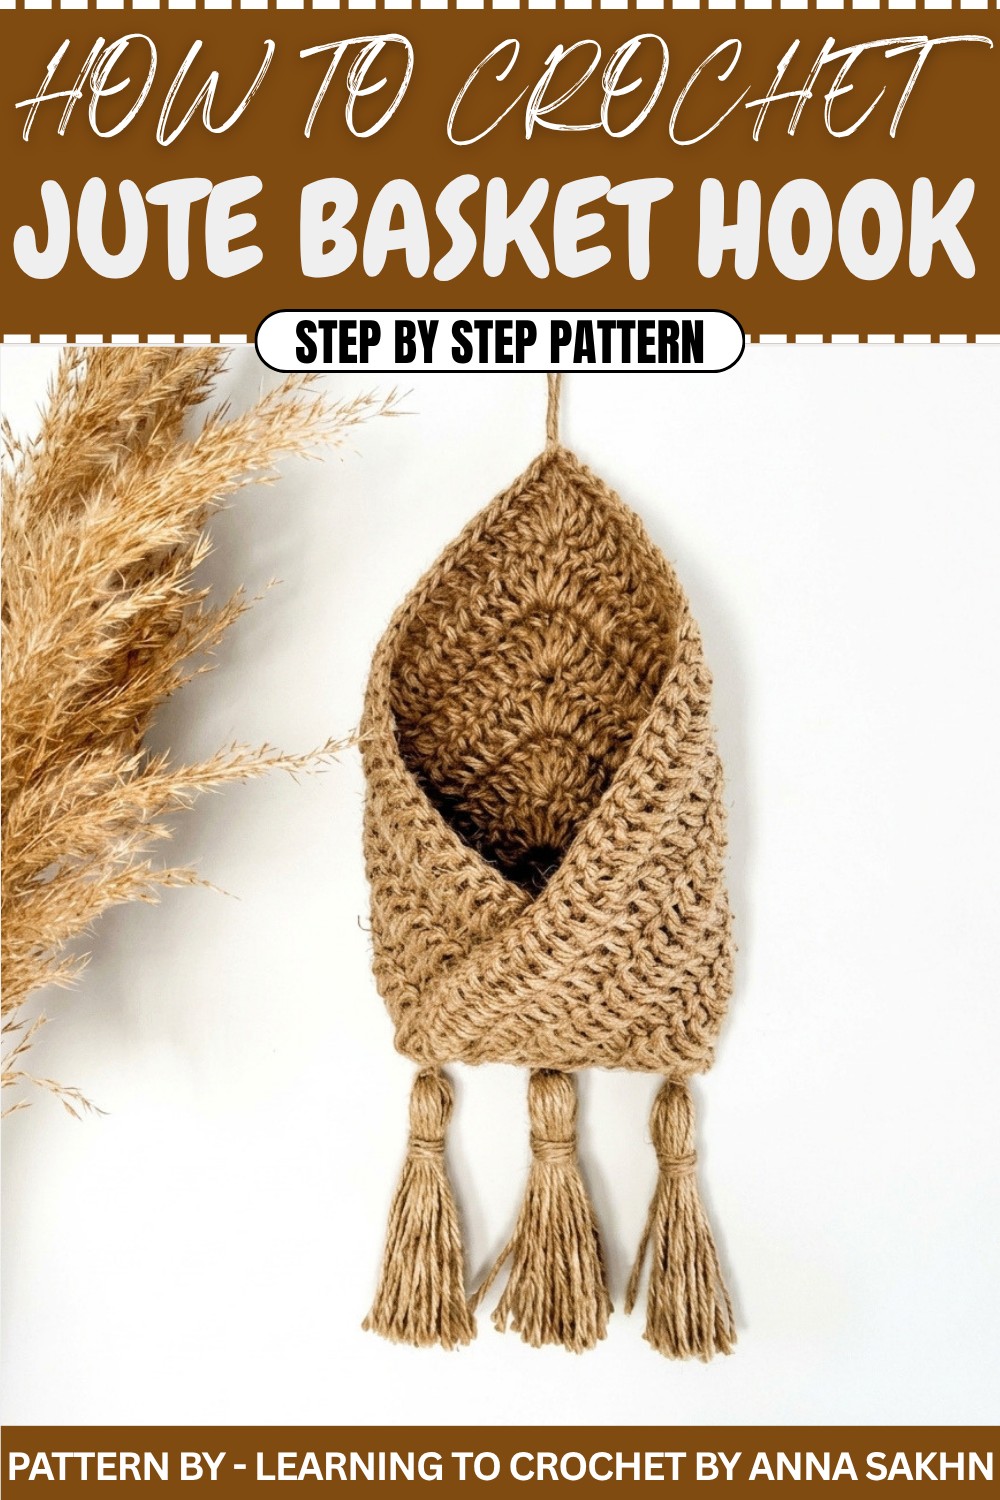
Crochet Jute Basket Hook Pattern
Base
Step 1: Create a Magic Ring
- Wrap the jute yarn around your hand to create a ring, keeping the working yarn on top and the tail below.
- Insert the hook under the tail and pull the working yarn through to form a loose loop.
- CH 1 to secure the loop (this is the magic ring, also called the amigurumi loop).
Step 2: Start Single Crochet Stitches
- Insert the hook into the magic ring, pull up the yarn, and SC.
- Repeat this step into the ring until you have 5 SC stitches at the top of the ring.
- Pull the tail tightly to close the ring, creating a small circle.
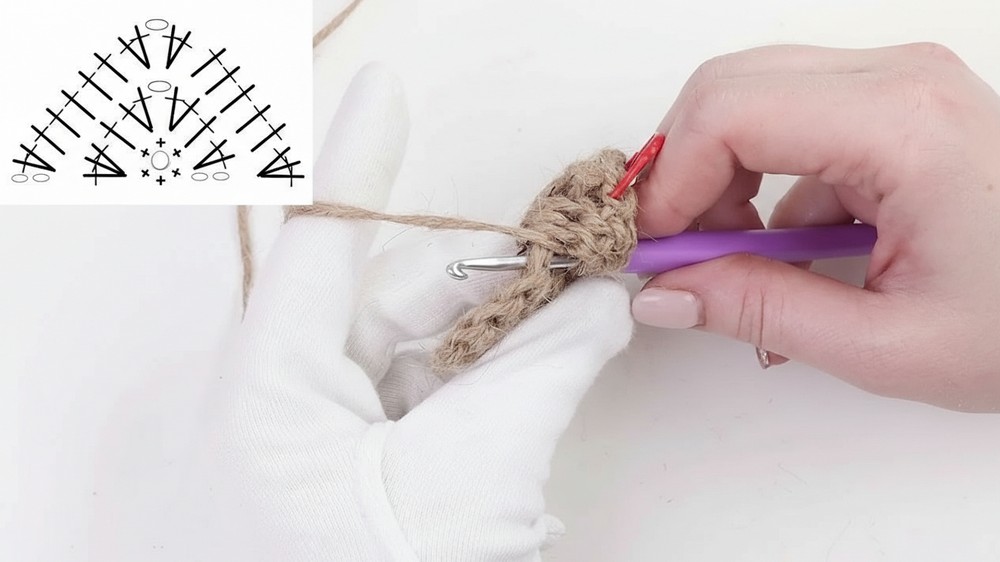
Step 3: Slip Stitch
- Slightly pull up the last loop you made.
- Insert the hook backward (from back to front) into the first chain created, through both loops.
- Return the stretched loop to the hook, pull it through, and tighten gently to close the base.
Triangle Formation
The following steps build the triangle shape that will later be folded into a pocket.
Row 1
- CH 2 to create height for the row.
- Work 2 DC into the first stitch after the CH 2.
- Work 1 DC into the next stitch.
- Into the next stitch, work 4 DC separated by 1 CH (this creates the corner of the triangle).
- Work 1 DC into the next stitch.
- Into the last stitch of the row, work 3 DC.
- Total DC for Row 1: 13 DC (3 DC in the first and last stitches, 1 DC in middle stitches, and 4 DC at the corner).
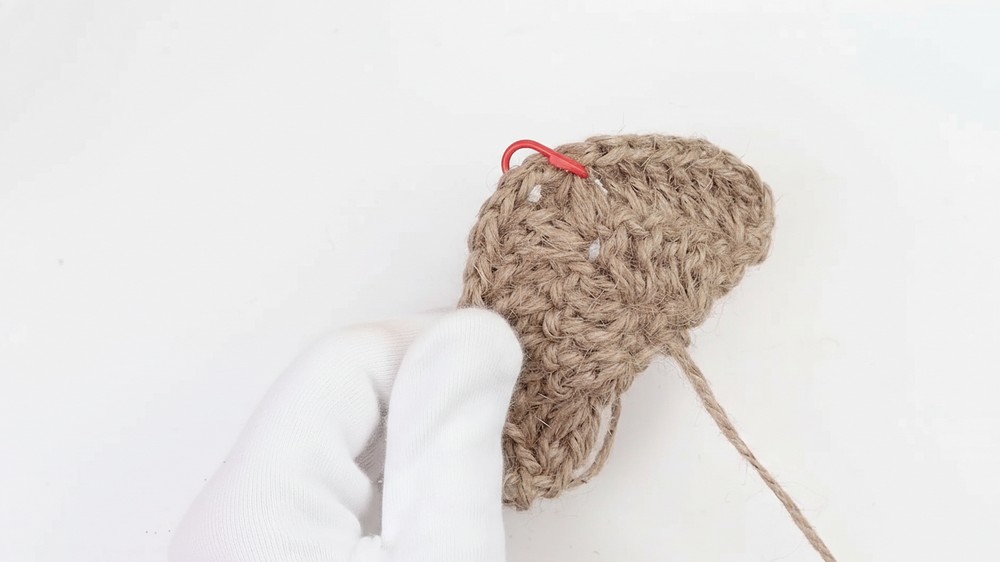
Row 2
- CH 2, turn your work.
- Into the first stitch of this row, work 2 DC alongside the CH 2 (this maintains symmetry).
- Work 1 DC each in the next 5 stitches.
- When you reach the corner chain space, work 4 DC separated by 1 CH (this is the corner increase).
- Continue working 1 DC each in the next 5 stitches, followed by 3 DC into the last stitch of the row.
- Total DC for Row 2: 21 DC.
Row 3
- CH 2, turn your work.
- Into the first stitch, work 2 DC alongside the CH 2.
- Work 1 DC each in the next 9 stitches.
- At the corner chain space, work 4 DC separated by 1 CH.
- Continue with 1 DC each in the next 9 stitches, and finish the row with 3 DC into the last stitch.
- Total DC for Row 3: 29 DC.
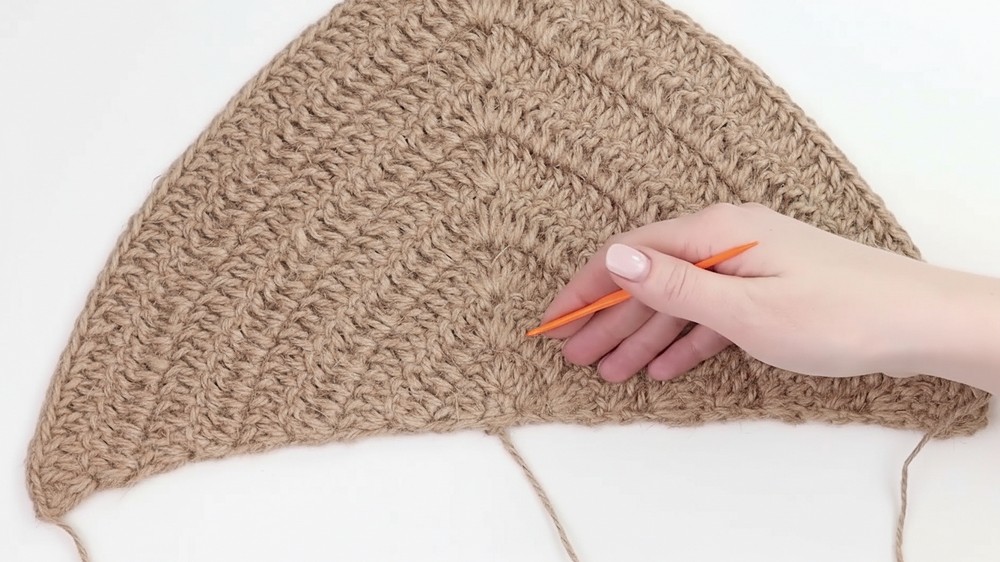
Row 4
- CH 2, turn your work.
- Into the first stitch, work 2 DC alongside the CH 2.
- Work 1 DC each in the next 13 stitches.
- At the corner chain space, work 4 DC separated by 1 CH.
- Continue with 1 DC each in the next 13 stitches, and finish the row with 3 DC into the last stitch.
- Total DC for Row 4: 37 DC.
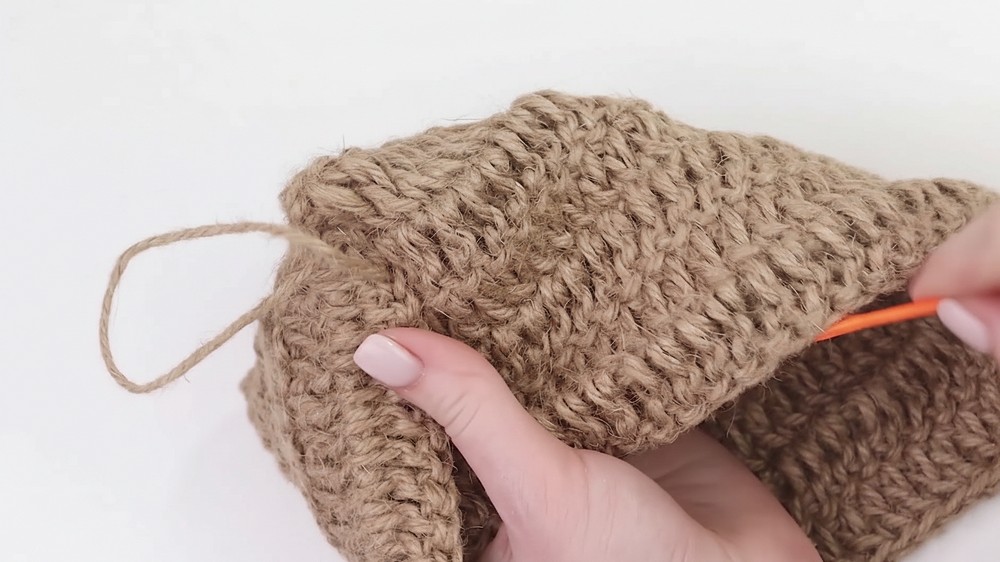
Row 5
- CH 2, turn your work.
- Into the first stitch, work 2 DC alongside the CH 2.
- Work 1 DC each in the next 17 stitches.
- At the corner chain space, work 4 DC separated by 1 CH.
- Continue with 1 DC each in the next 17 stitches, and finish the row with 3 DC into the last stitch.
- Total DC for Row 5: 45 DC.
Row 6 Onwards
- Repeat the steps from previous rows, noting the following:
- Each new row starts with CH 2 and 2 DC into the first stitch.
- Work 4 more DC stitches than in the previous row between the corner increases.
- Add 4 DC separated by 1 CH in the corner chain space.
- End each row with 3 DC into the last stitch.
Shaping and Final Triangular Row
- Continue crocheting until you complete 10 rows.
- The completed triangle should measure approximately:
- Width: 38 cm along the base.
- Height: 21 to 22 cm from the base to the top.
Assembly
Step 1: Folding
- Lay the triangular piece flat and fold the bottom triangle corners inward to create a layered, envelope style pocket:
- Fold the bottom left corner towards the center.
- Fold the overlapping bottom right corner in the same manner, aligning the edges evenly.
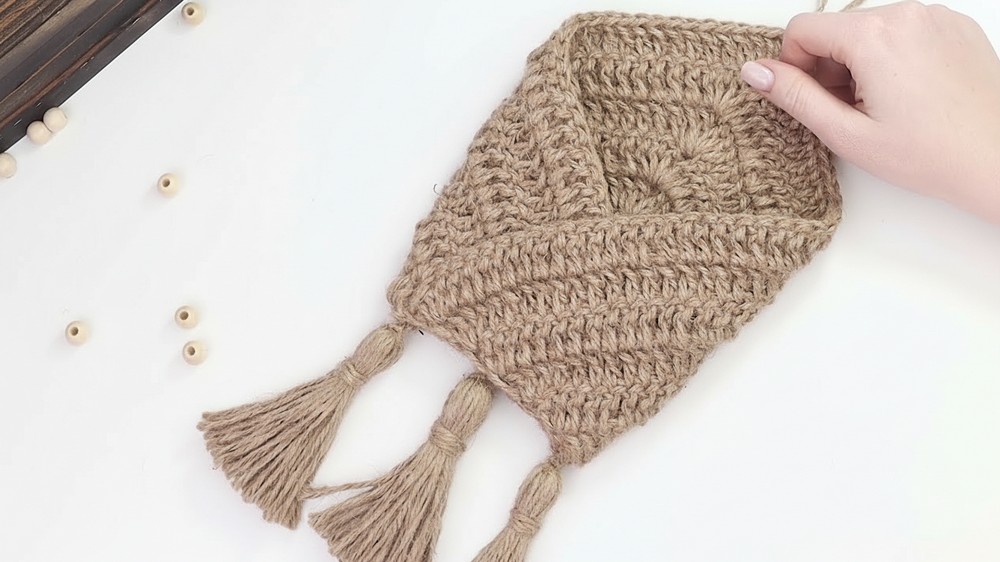
Step 2: Sewing
- Using the long yarn tail (~50 cm, left after finishing the triangle), thread your needle.
- Start sewing from the bottom point where all three layers meet.
- Use a running/backstitch to secure the folded edges along the sides of the triangle.
- Maintain even tension in the thread to avoid puckering but ensure it’s tight enough for durability.
- Once sewn, weave through any loose thread into the inner layers.
Edging
If desired, add decorative touches such as tassels or extra borders. You may also add a lining inside the pocket for improved durability and appearance (optional).
Finished Size
- Width: Approximately 16 cm
- Height: Approximately 22 cm
- With the built in loop at the top, the pocket is easy to hang and use.
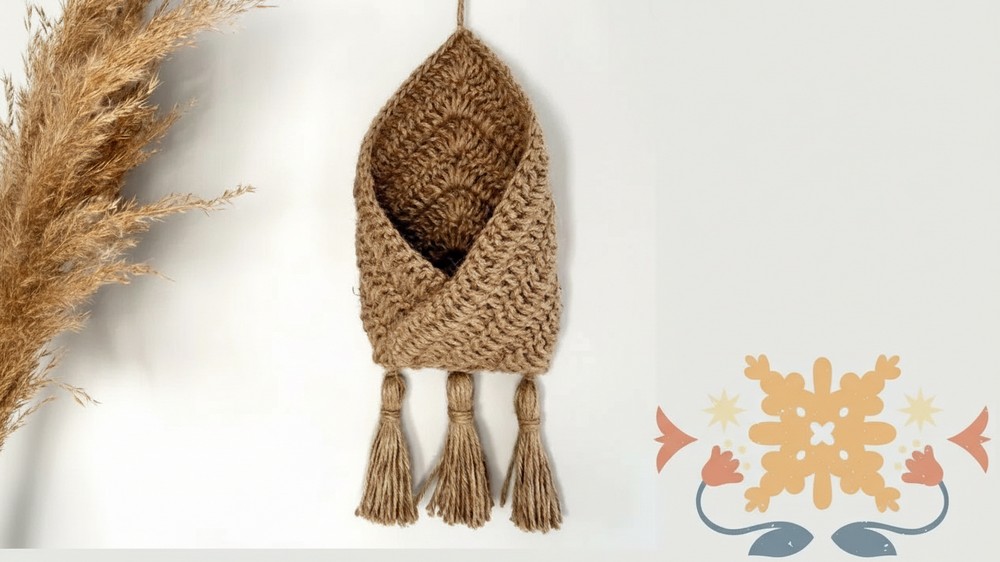
Conclusion and Ending Words
Congratulations—you’ve successfully created your stylish jute hanging pocket. This project is not only functional but also a beautiful addition to your home. Display it in bathrooms, bedrooms, or children's rooms, and use it to store all your essentials neatly.
Feel free to resize the pocket by adjusting the number of rows and personalize it with additional embellishments for unique decor.