
Free Crochet Heart Shaped Handbag Pattern that Spreads Love
Use this easy free pattern to crochet a cute heart shaped handbag, perfect for small projects or sweet handmade gifts for friends and family.
A heart shaped crochet handbag is the perfect blend of charm and usefulness. This small, beautifully handcrafted bag is an accessory that can brighten up any room and heart. Its unique shape and soft, textured look make it a true standout piece. Whether it’s for storing little trinkets, completing an amigurumi doll’s wardrobe, or gifting someone special, it’s a project that feels personal and delightful.
Free Crochet Heart Shaped Handbag Pattern that Turns Heads

The handbag is made with two identical heart shaped pieces that are crocheted separately and then gently stitched together. What makes this pattern especially beginner friendly is its straightforward approach, as demonstrated step by step by Beyzalle CRAFT. Even if you’re just starting to crochet, you’ll find it easy to follow along with their clear instructions and helpful tips.
The base of the bag begins with a magic ring and transitions into beautiful double crochet clusters to shape the heart, while the edges are neatly finished with single crochets. For an added touch of practicality, the design also includes a sturdy strap that’s simple to create and attach.
What sets this bag apart is how its heart shape evokes warmth and love. The rounded heart curves and pointed bottom come together in a way that feels playful yet elegant. You can even customize it by adding small embellishments like beads or buttons, making it truly unique.
If you’re looking for a fun and rewarding project to try, this heart shaped handbag is a perfect choice to showcase your creativity.
Crochet Heart Shaped Bag Pattern for Amigurumi Dolls
This heart shaped bag is perfect for amigurumi dolls or as a tiny accessory. It is crocheted in two identical parts that are later joined together, with extra detailing such as a sturdy strap and edging to complete the design. Using a 1.75 mm crochet hook and cotton yarn, this project is beginner friendly and quick to complete. Follow each step carefully for a polished and professional finish.
Materials
- Yarn: Cotton yarn (lightweight, recommended 2–3 mm thickness).
- Hook: 1.75 mm crochet hook.
- Scissors: To cut ends neatly.
- Tapestry Needle: To weave in tails and assemble the bag.
Stitches Used
- Magic Ring: To begin circular or shaped projects.
- Chain (ch): Forms the base of crochet.
- Double Crochet (DC): Gives structure and depth to the bag.
- Single Crochet (SC): Used for edging and joining.
- Slip Stitch (sl st): Used for joining and handle reinforcement.
Measurements
The finished bag measures approximately 5 cm wide and 5 cm high, making it ideal for dolls or mini accessories.
Step by Step Pattern
Step 1: Create the First Heart
Starting the Magic Ring:
- Form a magic ring.
- Chain 2 (counts as the first stitch).
- Work 3 double crochets (DC) into the ring.
- Chain 1.
- Repeat the sequence (3 DC, chain 1) 4 times total (for four corners of the heart shape).
- Pull the ring closed and join the last stitch to the first stitch using a sl st.

Round 2:
- Slip stitch into the next stitches to reach the first chain space.
- Chain 2 (counts as first stitch in the space).
- Work 2 DCs into the chain space (total 3 stitches with the chain).
- Chain 1. Work 3 DCs into the same chain space again.
- Chain 1. Move to the next chain space.
- Work 3 DCs, chain 1, 3 DCs into every chain space, following the structure of the first side.
- Continue this process in all 4 corners (chain spaces).
- Join the round with a sl st into the first stitch.
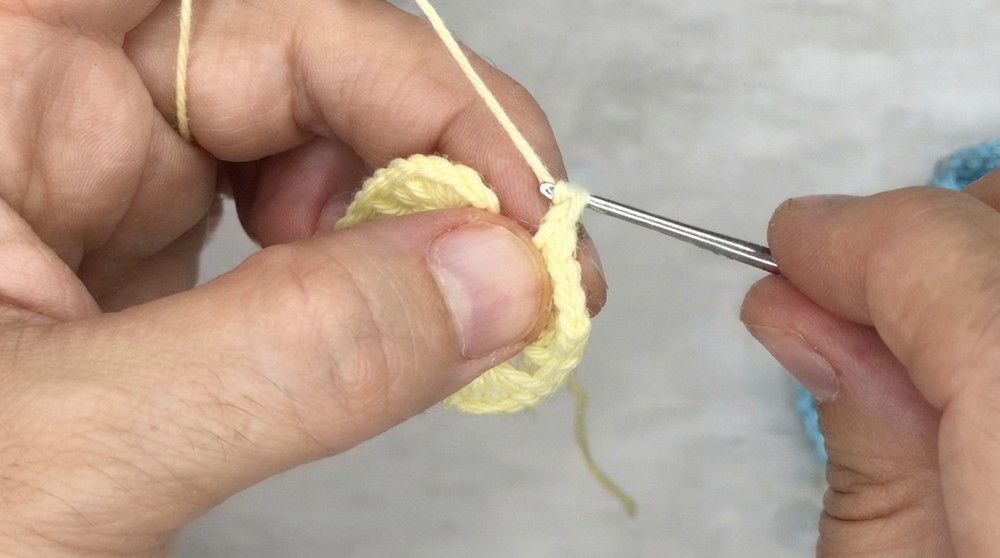

Round 3 (Creating the Heart Shape):
- Chain 1 and work 1 DC into the starting point.
- Work 1 single crochet (SC) into each DC stitch from the previous round.
- Work 2 SCs into each chain space for added volume.
- When you reach the heart indent area (top middle of the heart):
- Chain 1.
- Work 4 DCs into the space, with 1 chain between each DC.
- Work 1 SC into the gap following the DC round.
- Continue with SC stitches along the rest of the heart’s edge to complete the third round.
Round 4:
- Work SCs around the entire perimeter to create a strong edge.
- Work 2 SCs into the chain spaces from the previous rows.
- Work 1 SC into each DC stitch, maintaining the consistency of the heart shape.
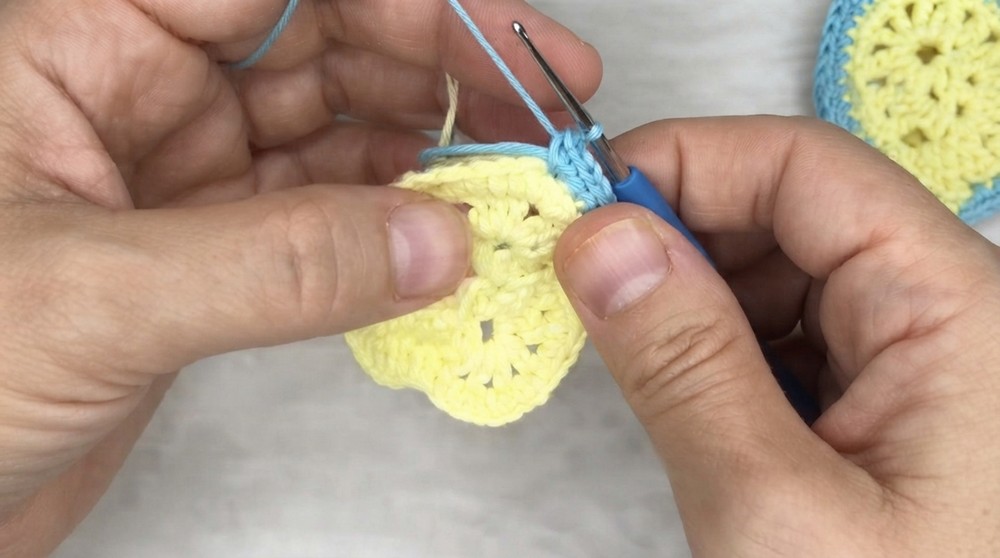
Finishing:
Fasten off and weave in all loose ends. The first piece of your heart bag is complete.
Step 2: Create the Second Heart
Follow the exact pattern used in Step 1 to make the second heart.
This ensures that the pieces will align properly during assembly.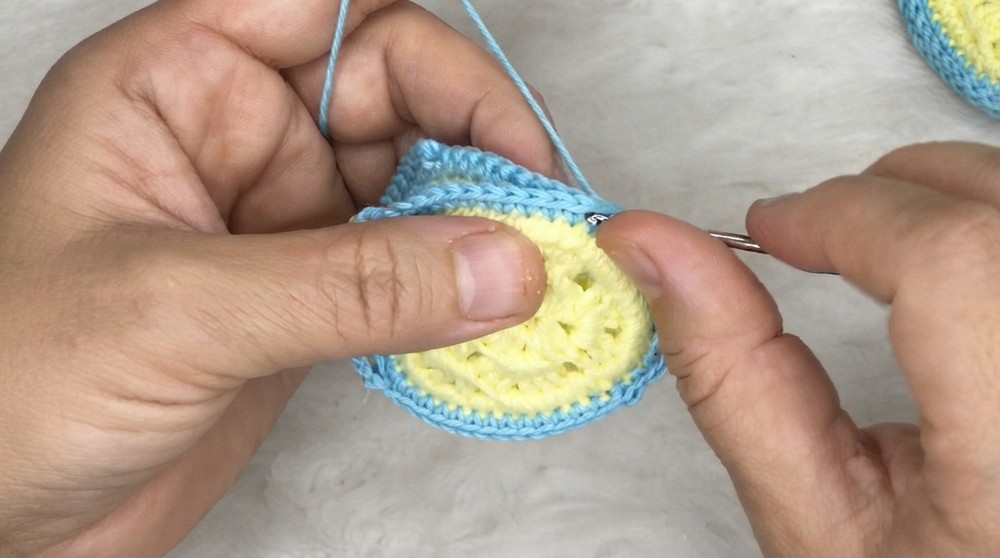
Step 3: Add the Handle
- On one heart piece, decide where to attach the handle (at the top middle of the heart).
- Chain 16 stitches to form a strap.
- Slip stitch back along each chain stitch carefully to reinforce the handle.
- Join the completed strap to the same position on the heart with a sl st.
Step 4: Assemble the Bag
Joining the Hearts:
- Place the two heart pieces together with the wrong sides facing each other.
- Using a slip stitch, begin to join the edges of the hearts.
- Start at one side and continue until reaching the other side of the heart’s top edge.
- Ensure you leave the top section open for storage space (do not join the top rounded edge).
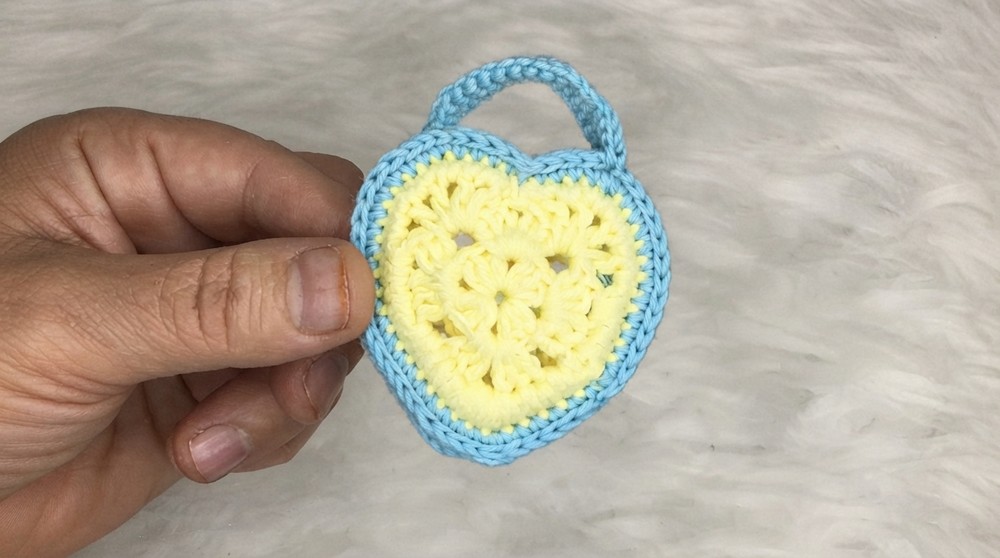
Handle Reinforcement:
If necessary, reinforce the handle by stitching it one more time at its base to ensure durability.
Step 5: Final Detailing
- Once fully joined, inspect the bag for any loose ends or uneven stitching.
- Optionally, decorate the bag with beads, pearls, or fabric flowers for a personalized touch.
- Weave in all remaining tails using a tapestry needle.
Assembly & Finished Size
When completed, your heart shaped bag will measure approximately 5 cm x 5 cm, with a handle attached directly. It’s a charming and functional accessory for dolls or as a decoration.
Conclusion
Congratulations on completing your crochet heart bag. This delicate piece showcases your skills as a crocheter while leaving room for personalization. This quick and easy project is great for gifting or adding handmade charm to your doll accessories.