
Free Crochet Handbag For Dolls Pattern for Fun Dress Up
Follow this free crochet guide to design a miniature handbag for dolls, simple and elegant, perfect to add fun to playtime.
A tiny handbag made for dolls can be the perfect accessory to add a touch of charm to your creations. With its cute shape and thoughtful details, this mini bag can instantly make any doll look even more stylish. Despite its small size, this bag has an adorable practicality, it even opens up to store miniature items or simply act as a decorative prop for your doll collection.
Free Crochet Handbag For Dolls Pattern to Delight Children
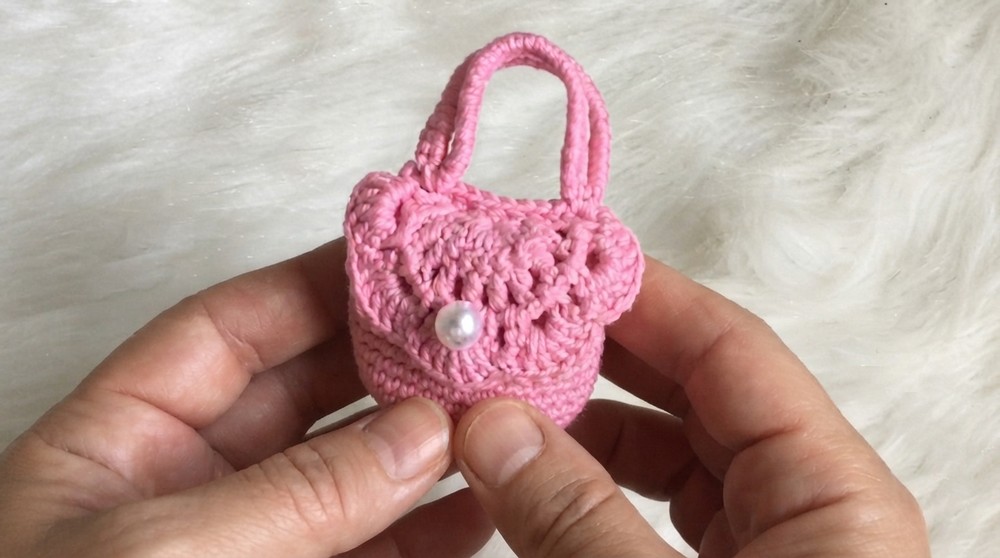
What makes this handbag so appealing is its smooth and neatly finished shape, which includes a round base, a securely stitched body, and a creatively designed flap. The front flap, featuring a scalloped edge, adds elegance and takes the design to the next level. A small button closure not only enhances the look but also makes the bag functional. You can even customize the bag with different colors, patterns, or buttons to match your doll's personality or theme.
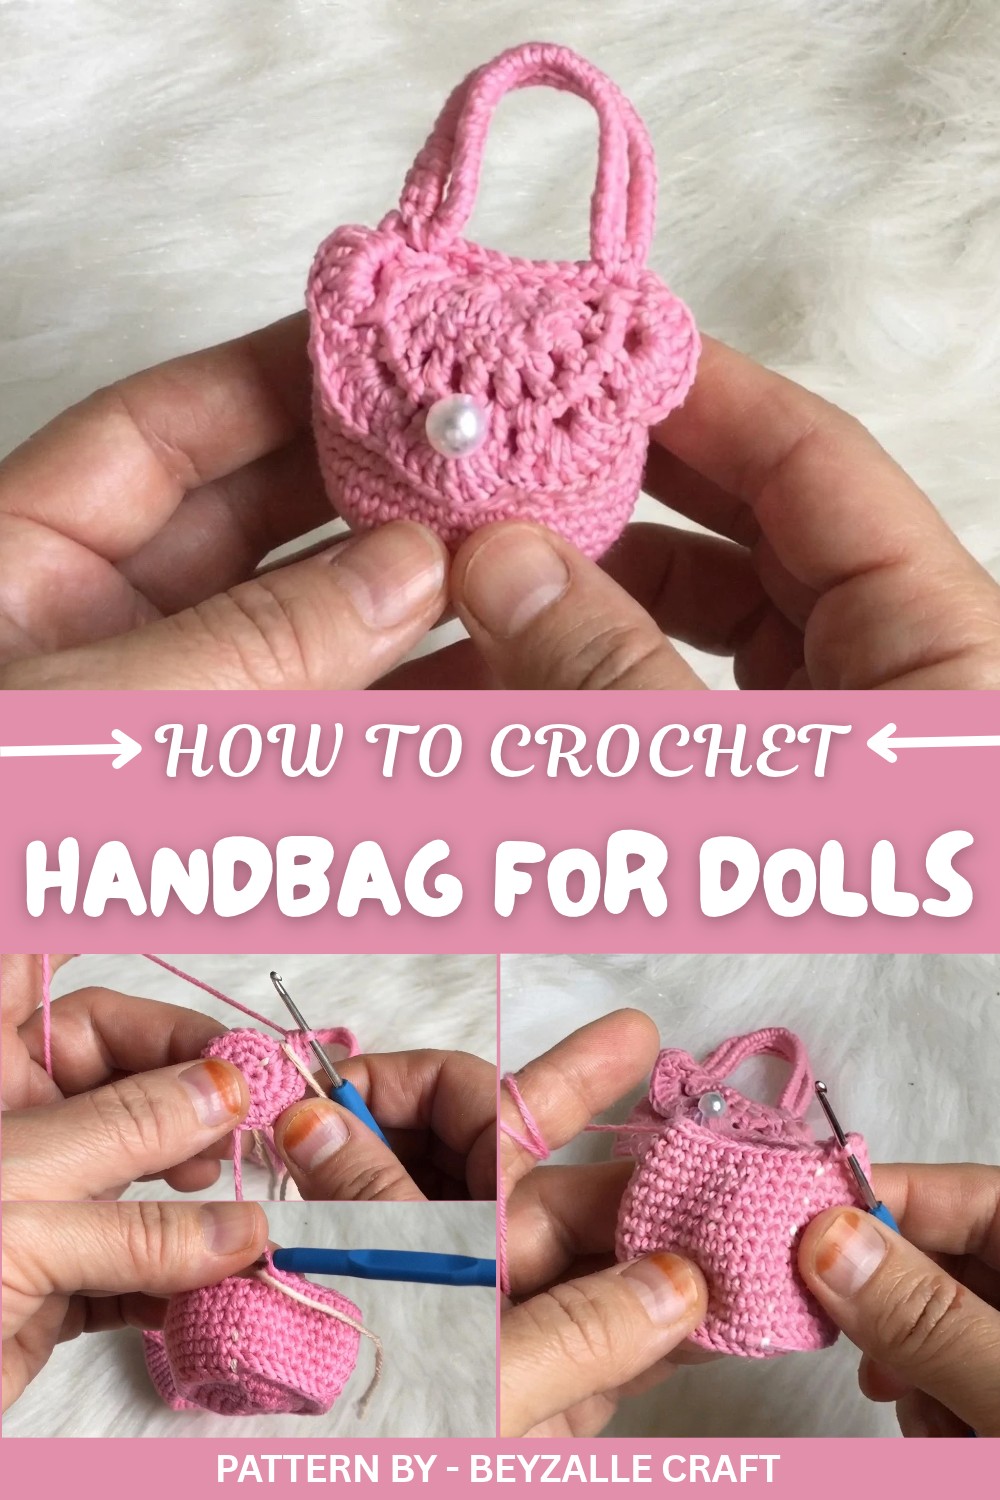
Inspiration from Beyzalle CRAFT
In the video shared by Beyzalle CRAFT, the project is explained step by step with clarity, making it suitable for both beginners and experienced crocheters. The work begins with a magic ring, forming the base, followed by building up the bag’s body. The sides are crocheted in rounds to provide a smooth and consistent finish. The flap is made separately, using rows, and then attached neatly to the bag while maintaining precision in shape and alignment.
One of the most creative parts of this pattern is the handle. It is attached as two separate straps, balanced beautifully on each side, making the handbag even more charming. The instructions ensure a hassle free and enjoyable experience, with the end result being nothing short of stunning.

Crochet Pattern: Amigurumi Baby Bag
Quick Overview of the Pattern
- The bag starts from a magic ring and builds a sturdy base using single crochet and increases.
- The sides are worked with simple, repetitive rounds of single crochet to give shape and depth.
- A flap is created using half and double crochets in joined rounds, with decorative edging for style.
- The straps are made with chains and filled with single crochet for strength.
- A button is added for closure, completing the design.
Notes
- Keeping accurate stitch counts during the base rounds will ensure your bag lies flat without bulges.
- Use firm tension for the straps to maintain durability.
- The bag can be personalized with different yarn colors, buttons, or embellishments.
Skill Level
Beginner to Intermediate: The bag uses foundational stitches like single crochet, double crochet, chains, and slip stitches. Minimal shaping is required.
Materials
- Yarn: Medium weight yarn in your choice of color.
- Crochet Hook: Size 3.0mm–3.5mm (adjust based on your yarn).
- Button: 1 button for the closure.
- Scissors: For cutting yarn.
- Tapestry Needle: For finishing and weaving in ends.
- Stitch Marker (Optional): To mark your rounds.
Measurements / Sizing
Finished bag dimensions: approximately 8 cm base diameter and 12 cm in height, including the flap.
Gauge
Gauge isn’t particularly important for this bag, but ensure consistent tension throughout the project.
Stitch Abbreviations
- ch = Chain
- sc = Single crochet
- dc = Double crochet
- sl st = Slip stitch
- inc = Increase
- dec = Decrease
- mr = Magic ring
Special Stitches
- Magic Ring (mr): A circular foundation that ensures a neat, adjustable center.
- Front Loop Single Crochet: Single crochet worked in the front loop only, ideal for creating a defined base edge.
The Crochet Pattern
Step 1: Crochet the Bag Base
Round 1:
- Create a magic ring, chain 1, and work 6 sc into the ring. Tighten the ring to close, and place a stitch marker to keep track of the round start. (Total: 6 sts)
Round 2:
- Work 2 sc into each stitch around to increase. (Total: 12 sts)
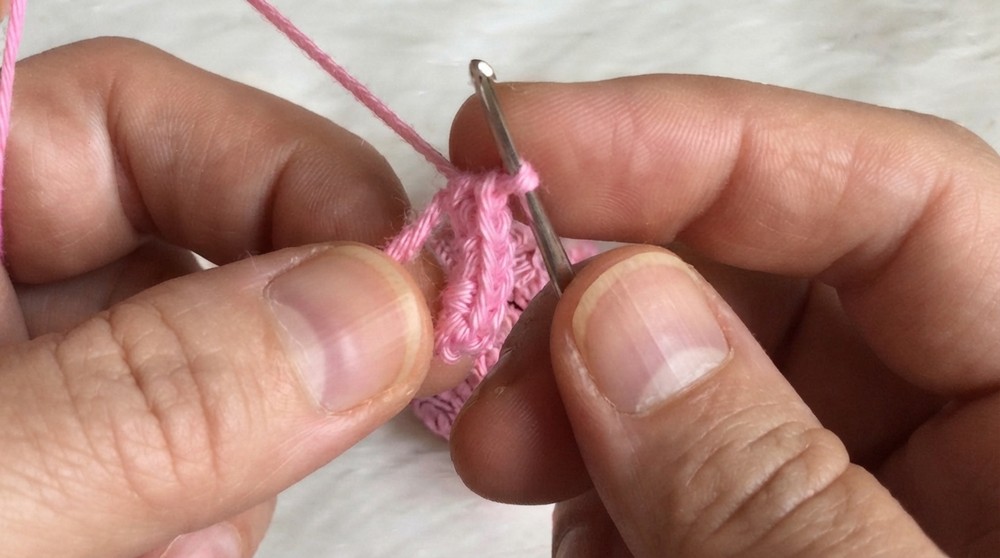
Round 3:
- Work 2 sc into each stitch around again. (Total: 24 sts)
Round 4:
- [Sc in the next 3 sts, inc] around. (Total: 30 sts)
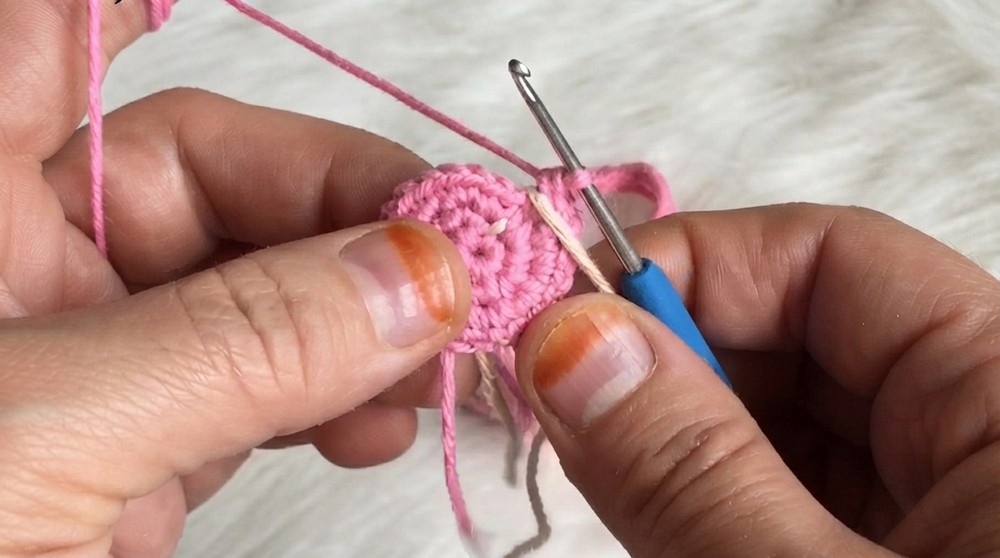
Round 5:
- [Sc in the next 4 sts, inc] around. (Total: 36 sts)
Step 2: Define the Base Edge
Round 6:
- Work 1 sc into the front loops of each stitch around. This creates a defined edge for the base. (Total: 36 sts)
Step 3: Build the Bag Body
Rounds 7–12:
- Work 1 sc into each stitch around for 6 rounds. (Total: 36 sts in each round)

Step 4: Begin Decreasing for Closure
Round 13:
- [Sc in the next 4 sts, dec] around. (Total: 30 sts)
Rounds 14–16:
- Work 1 sc into each stitch around for 3 rounds. (Total: 30 sts in each round)

Round 17:
- [Sc in the next 3 sts, dec] 6 times around. (Total: 24 sts)
Round 18:
- Work 1 sc into each stitch around to finish the bag body. (Total: 24 sts)
Step 5: Create the Flap
Flap – Round 1:
- Start with a magic ring and chain 2.
- Work 10 dc into the magic ring, leaving the circle open as a semicircle. (Total: 10 sts)
Flap – Round 2:
- Work 1 dc, ch 1 into each stitch. Repeat across the flap for spacing.

Flap – Round 3:
- Work [ch 4, sl st] into the chain spaces from Round 2 to create a decorative edge.
Flap – Round 4 (Final Row):
- Work 5 dc into each space, sl st to secure at the end of the row.
Step 6: Attach the Flap
- Fold the bag body in half to determine its center point.
- Align the flap edge and sew it to the top edge using the tapestry needle and matching yarn.
Step 7: Add the Strap
Strap – Part 1:
- Attach yarn at the side of the bag and chain 20 for the strap length. Adjust the chain count if you want a longer or shorter strap.

Strap – Part 2:
- Work 1 sc into each chain back across the strap and sl st it securely to the opposite side of the bag.
Strap – Part 3:
- Repeat the process to create the second strap on the other side.
Step 8: Add the Button
- Sew a button at the center of the flap, ensuring it aligns with the chain hole created in the flap design.
Assembly & Finished Size
- The finished bag measures 8 cm in diameter for the base, and 12 cm in height including the flap.
- Straps can be sized as needed, and the flap closes securely over the bag with the button.
Conclusion and Ending Words
Congratulations, You’ve completed this adorable crochet baby bag, a stylish addition to any amigurumi accessory set. Feel free to experiment with colors, embellishments, and strap styles for unique variations.