
Free Crochet Gufetto Laureato Amigurumi Pattern for Creative Fun
Refresh your graduation party table display using a Crochet Gufetto Laureato Amigurumi Pattern when you want a cute mascot plushie for guests.
A tiny crocheted owl with a graduation cap is one of the sweetest gifts you can make to celebrate an important milestone. This little character is full of charm: round, soft, and expressive, with big eyes, small wings, and a neat beak. Its body is shaped in classic amigurumi style, giving it a cute, compact form that fits perfectly in the hand or on a keychain. The graduation cap and little details turn it into a unique keepsake that feels both fun and meaningful.
Free Crochet Gufetto Laureato Amigurumi patterns usually focus on simple stitches, worked in the round, so even a patient beginner can try them. The beauty of this project is that you can choose any color combination you like: traditional academic colors, bright shades for a playful look, or soft pastels for a more delicate style. The small size means it doesn’t use much yarn and can be finished quickly, making it ideal for last minute graduation gifts or party favors.
Create an Adorable Crochet Gufetto Laureato Amigurumi Free Pattern
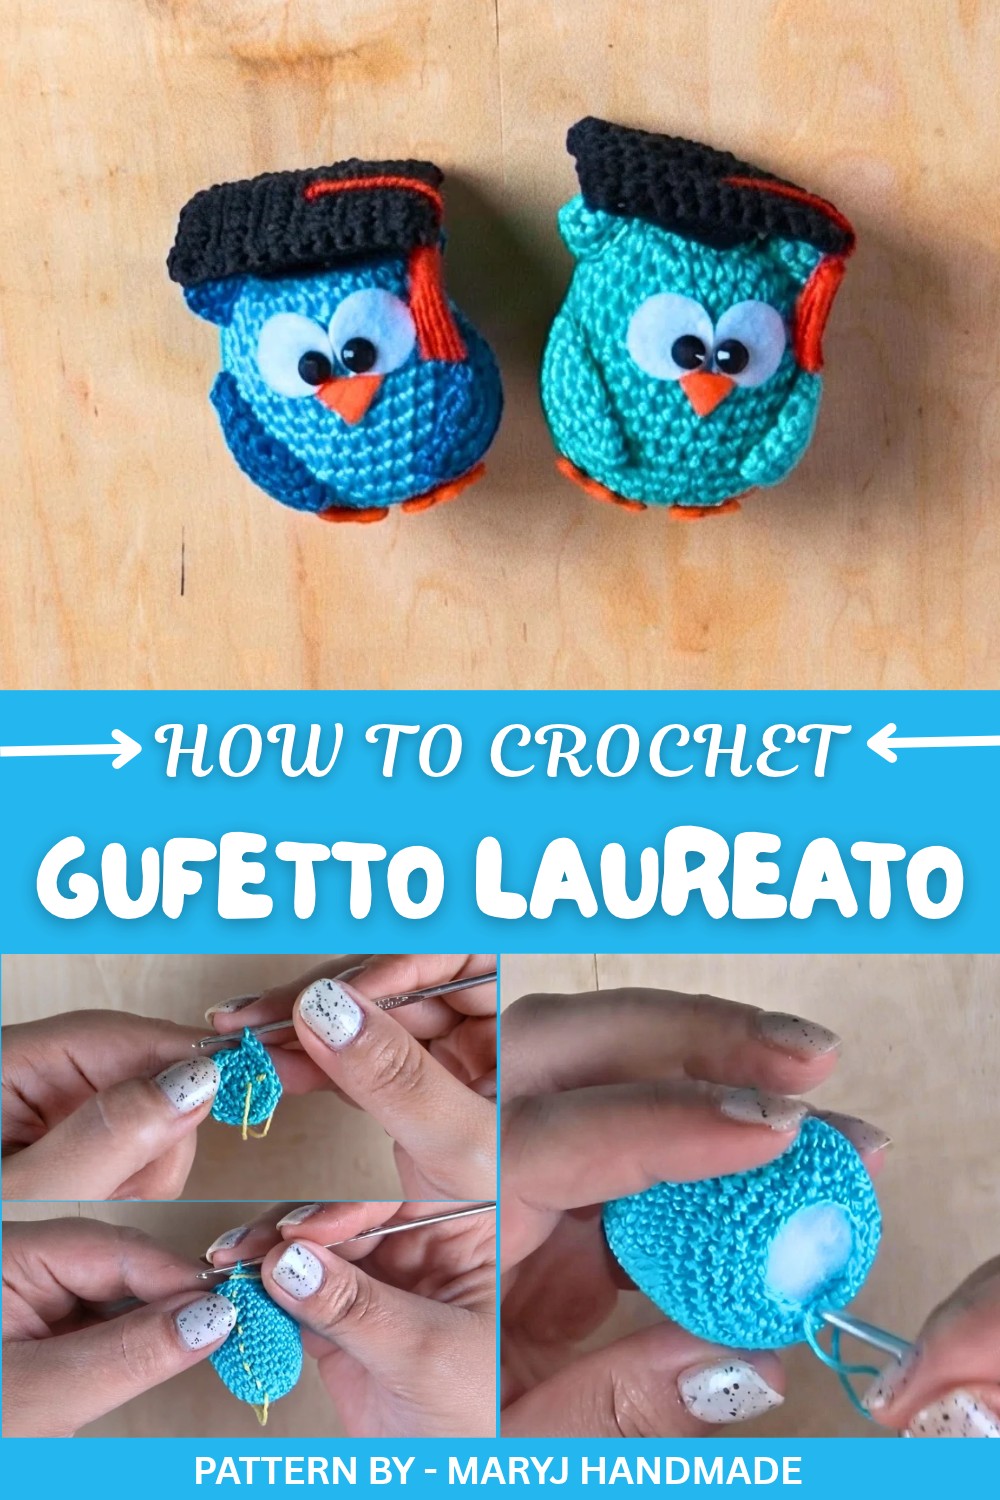
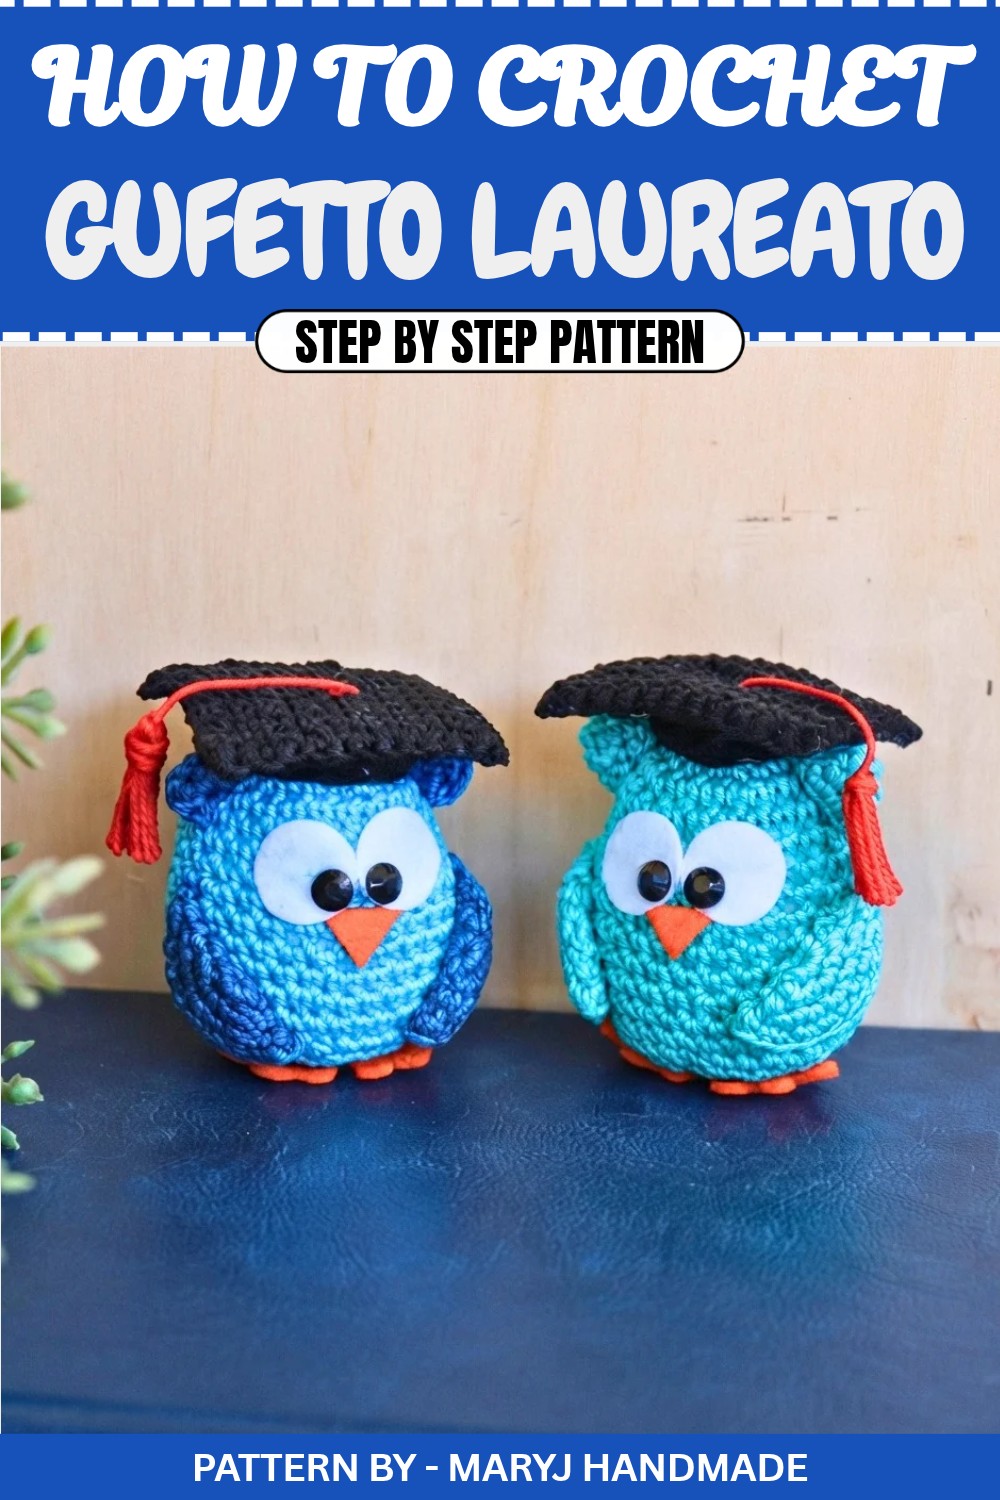
The most attractive part of the design is its balanced shape: a rounded body, tiny ears, and wings that sit nicely on the sides, plus the iconic “tocco” (graduation cap) that immediately tells the story of success and celebration. Many crocheters also add felt pieces for the beak, eyes, or feet, which gives a neat and polished look.
On the MaryJ Handmade channel, this project is presented in a warm, friendly way. Mary explains each step clearly, shares practical tips (like when to glue and when to sew, and how to handle different yarns such as cotton or acrylic), and shows how to assemble all the small parts so they sit perfectly on the owl. Her style makes the pattern feel personal and special, turning a simple amigurumi into a meaningful symbol of achievement and affection.
Adorable Crochet Gufetto Laureato Amigurumi
Quick Overview of Pattern
- Create a cute graduation themed owl amigurumi.
- Use simple stitches like single crochet, increases, and invisible decreases.
- Perfect for keychains, gifts, or decorations.
- This pattern is versatile—adjust the yarn type and hook size for different sizes.
Notes
- This pattern often uses a magic circle to start many pieces—familiarize yourself with its technique for seamless results.
- For larger owls, you can use thicker acrylic yarn and a bigger hook.
- If working with acrylic yarn, avoid attaching pieces with vinyl glue—it may not hold well compared to sewing or using alternative adhesives.
- Always plan your assembly by arranging all pieces before sewing or gluing to get the perfect placement.
Skill Level
Intermediate – Requires a basic understanding of crocheting rounds, single crochet, increases, decreases, and working with small pieces.
Materials
- Yarn: Cotton yarn (size 5 or preferred thickness for desired size)
- Crochet Hook: 1.75 mm (or adjust the size for your desired outcome)
- Stuffing: Polyfill or other preferred stuffing material
- Scissors: For trimming yarn
- Tapestry Needle: For sewing and weaving ends
- Stitch Marker: For marking the beginning of each round
- Felt: Small pieces for the eyes, beak, and feet (optional if not crocheting these parts)
- Glue (optional): For assembling small parts (e.g., white glue or fabric glue)
Measurements / Sizing
- Keychain Owl: Use size 5 cotton yarn and a 1.75 mm hook for a palm-sized graduation owl, ideal for keychains or small gifts.
- Larger Owl: Use thicker yarn, like acrylic, with a larger hook for a bigger version.
Gauge
Gauge is not critical for this pattern. Simply adjust your hook size and yarn weight to achieve the desired size for the owl.
Stitch Abbreviations
- ch – Chain
- sc – Single Crochet
- inc – Increase (2 sc in one stitch)
- inv dec – Invisible Decrease (crochet two stitches together invisibly)
- sl st – Slip Stitch
Special Stitches
Magic Circle
- Wrap the yarn around your finger to form an “X.”
- Insert the hook under the loop, grab the working yarn, and pull it through.
- Chain one to secure the loop and begin working inside the circle.
Invisible Decrease (inv dec)
- Insert hook only into the front loop of the first stitch.
- Insert hook into the front loop of the next stitch.
- Yarn over and pull through both front loops.
- Yarn over again and pull through remaining loops on the hook.
The Crochet Pattern
Body
- Using your chosen yarn, make a magic circle and work 6 sc into it. (6 sts)
- Pull the tail to tighten the circle and close it. Place a stitch marker.
- Round 2: Work 2 sc in each stitch around. (12 sts)
- Round 3: 1 sc, inc—repeat 6 times. (18 sts)
- Round 4: 2 sc, inc—repeat 6 times. (24 sts)
- Rounds 5 to 8: Work 1 sc in each stitch around for 4 rounds. (24 sts per round)
- Round 9: 3 sc, inc—repeat 6 times. (30 sts)
- Rounds 10 to 11: Work 1 sc in each stitch around for 2 rounds. (30 sts per round)
- Round 12: 4 sc, inc—repeat 6 times. (36 sts)
- Rounds 13 to 14: Work 1 sc in each stitch around for 2 rounds. (36 sts per round)
- Begin Decreasing:
- Round 15: 4 sc, inv dec—repeat 6 times. (30 sts)
- Round 16: 3 sc, inv dec—repeat 6 times. (24 sts)
- Round 17: 2 sc, inv dec—repeat 6 times. (18 sts)
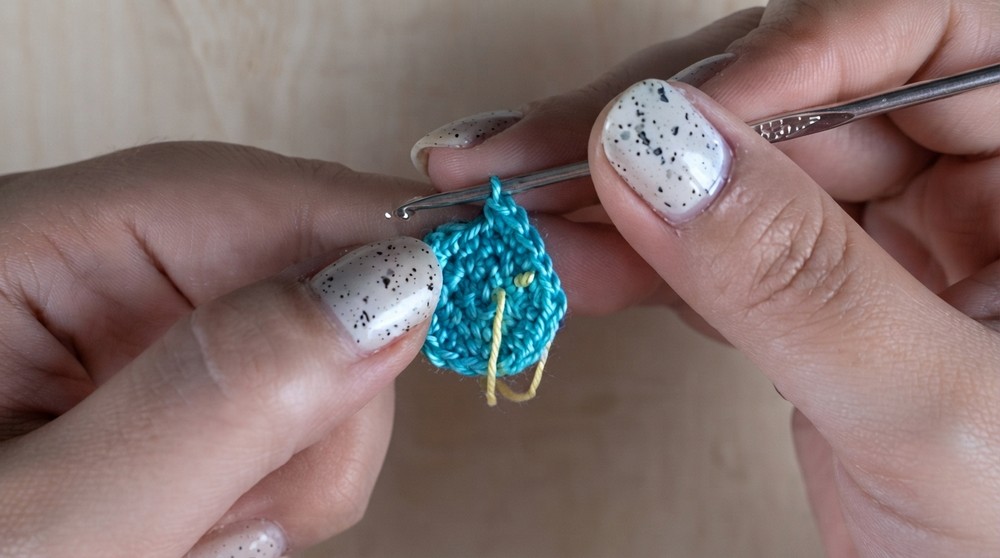
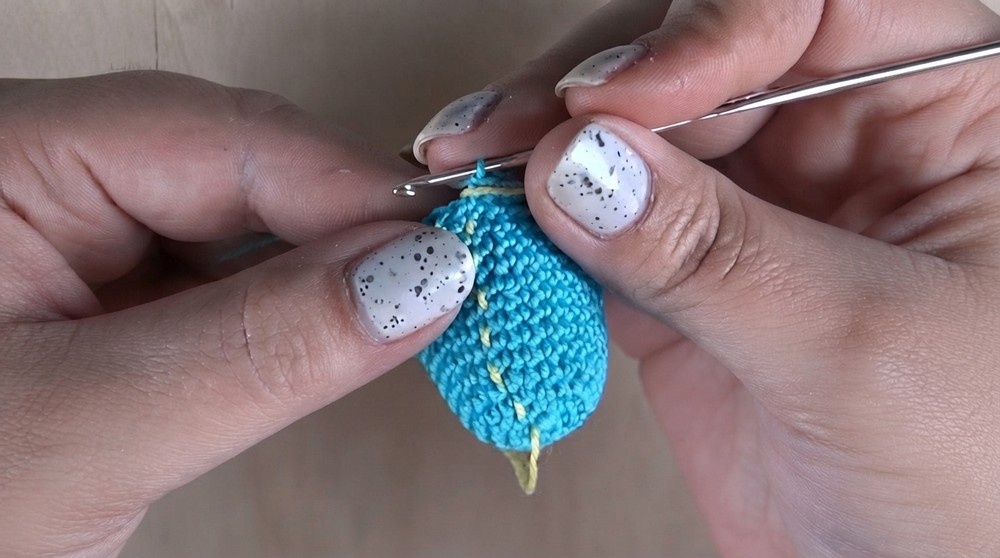
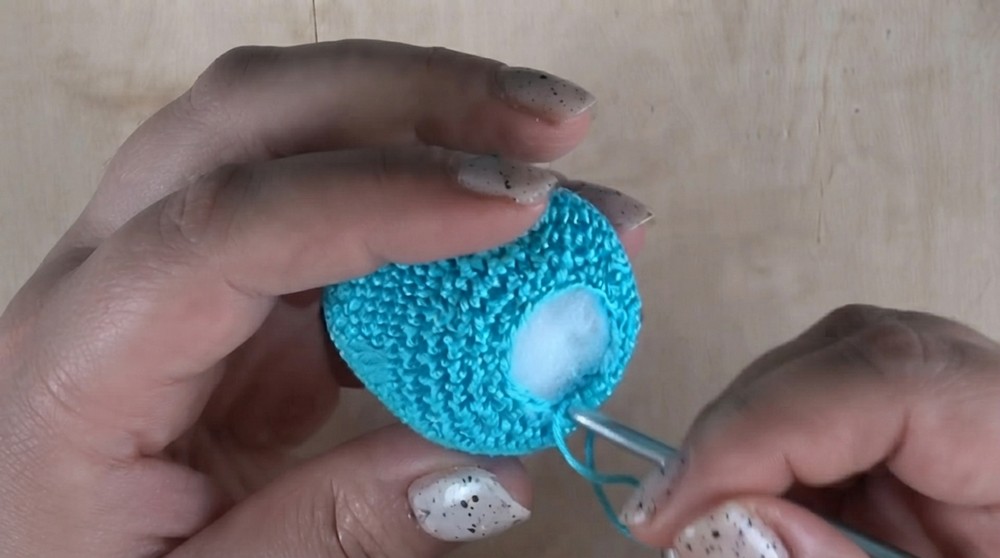
Stuff the Body
- Gently stuff the owl at this point, ensuring it retains its shape but isn’t overstuffed.
- Round 18: 1 sc, inv dec—repeat 6 times. (12 sts)
- Cut the yarn, leaving a long tail. Use a needle to sew through the front loops of the remaining stitches to close the gap. Pull tight and secure with a knot. Weave in the ends.
Ears
- Make a magic circle and work 5 sc into it. (5 sts)
- Round 2: 1 sc, inc—repeat twice. Work 1 sc in the last stitch. (7 sts)
- Round 3: Work 1 sc in each stitch around. (7 sts)
- Fasten off, leaving a long tail for sewing.
Optional Simple Ears Variation:
- In a magic circle, make: 1 sc, 1 dc, ch 1, 1 dc, 1 sc.
- Pull the tail of the magic circle to close. Fasten off, leaving a long tail for assembly.
Wings
- Follow the same steps as Rounds 1 to 3 of the body:
- Round 1: Magic circle (6 sc)
- Round 2: 2 sc in each stitch (12 sts)
- Round 3: 1 sc, inc—repeat 6 times. (18 sts)
- Work 1 increase in the next stitch to achieve 19 sts (for creating an odd number).
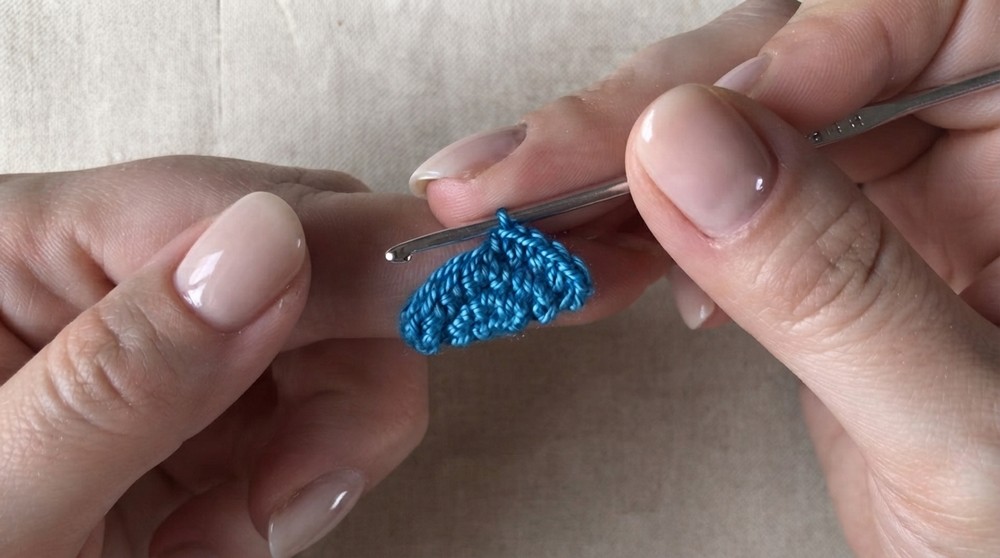
- Fold the circle in half and use sc stitching to crochet through both sides of the circle to shape the wing.
- Continue crocheting across the open edge. Fasten off, leaving a long tail for sewing.
- Repeat the steps to make a second wing.
Eyes (if crocheted)
- Start with a magic circle. Work 6 sc into the circle.
- Round 2: Work 6 increases around. (12 sts)
- Work one slip stitch to smooth the edge. Fasten off, leaving a long tail.
Alternatively, use felt circles for the eyes!
Beak and Feet
- The beak: Cut a small triangle from orange felt and glue or sew it into place. Alternatively, you can embroider the beak using orange yarn or thread.
- The feet: Cut two small pieces of orange felt in a shape that resembles tiny claws or use the crocheted claw pattern from your previous projects if you prefer.
Assembly and Finished Size
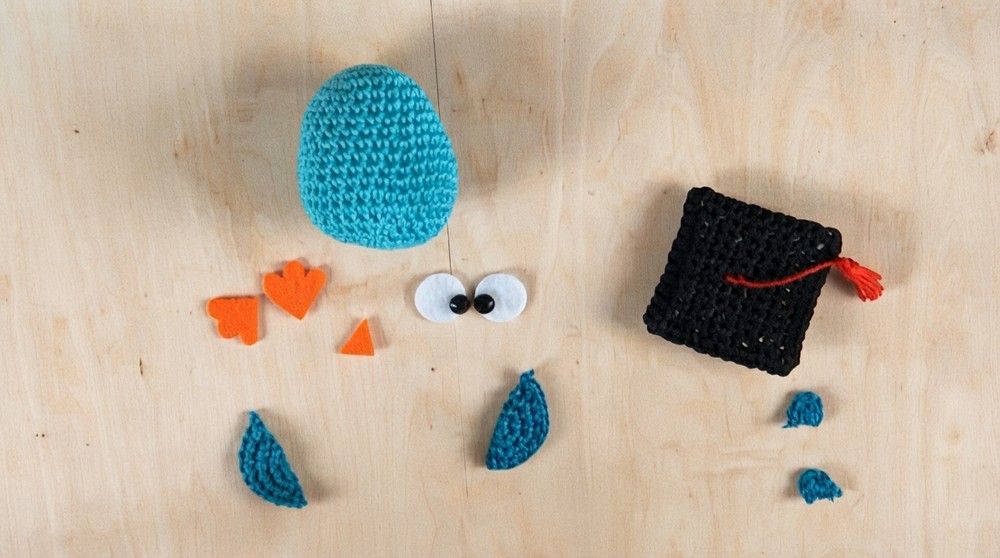
- Using either glue or a needle, attach both ears to the top sides of the owl body.
- Position and attach the wings on either side of the body.
- Glue or sew the felt eyes (or crocheted eyes) in place, ensuring they are even.
- Secure the beak just between and slightly under the eyes.
- Attach the feet to the bottom of the owl.
- Add any additional accessories, including the graduation cap (to be covered separately or attached if pre made).
Conclusion and Ending Words
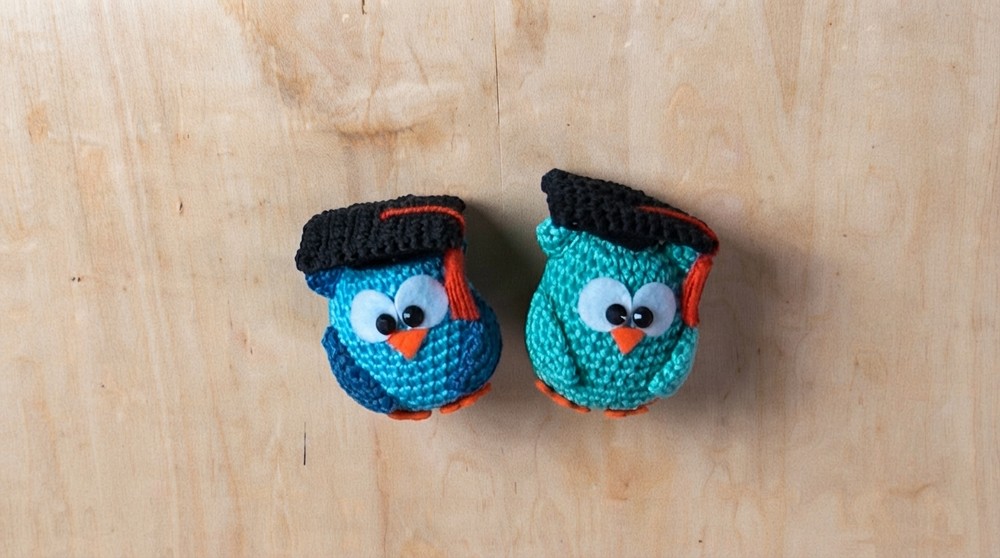
Congratulations, your charming graduation owl amigurumi is complete. Whether you gift it to a loved one graduating or keep it for yourself as a reminder of their achievement, this adorable crochet is full of personality.
If you enjoyed this tutorial, be sure to share your work and let me know how it turned out in the comments.