
Free Crochet Flower Granny Bag Pattern to Style Any Look
Brighten up your crochet collection with this vibrant Free Crochet Flower Granny Bag Pattern, perfect for bringing a touch of floral elegance to your wardrobe.
A granny bag with flower motifs brings together charm and functionality in the most delightful way. The Free Crochet Flower Granny Bag Pattern uses the timeless appeal of granny squares but with added floral interest to make it distinctive. This project offers a mix of texture and vibrant colors, giving the bag a fun and cheerful look. With its slightly structured shape and roomy interior, it’s perfect for carrying everything from books to daily essentials.
Featured By Amira Crafts
The process involves crocheting floral granny squares individually and then joining them to construct the main body of the bag. The arrangement of squares allows customization, whether you prefer bold contrasts or gentle pastels. Adding a lining gives the bag strength and durability, making it suitable for regular use. Crochet handles or straps in complementary colors add finishing touches to the design. A helpful tip: weave in ends as you go, especially with color changes, to keep things neat and save time later.
Free Crochet Flower Granny Bag Pattern to Add Floral Charm
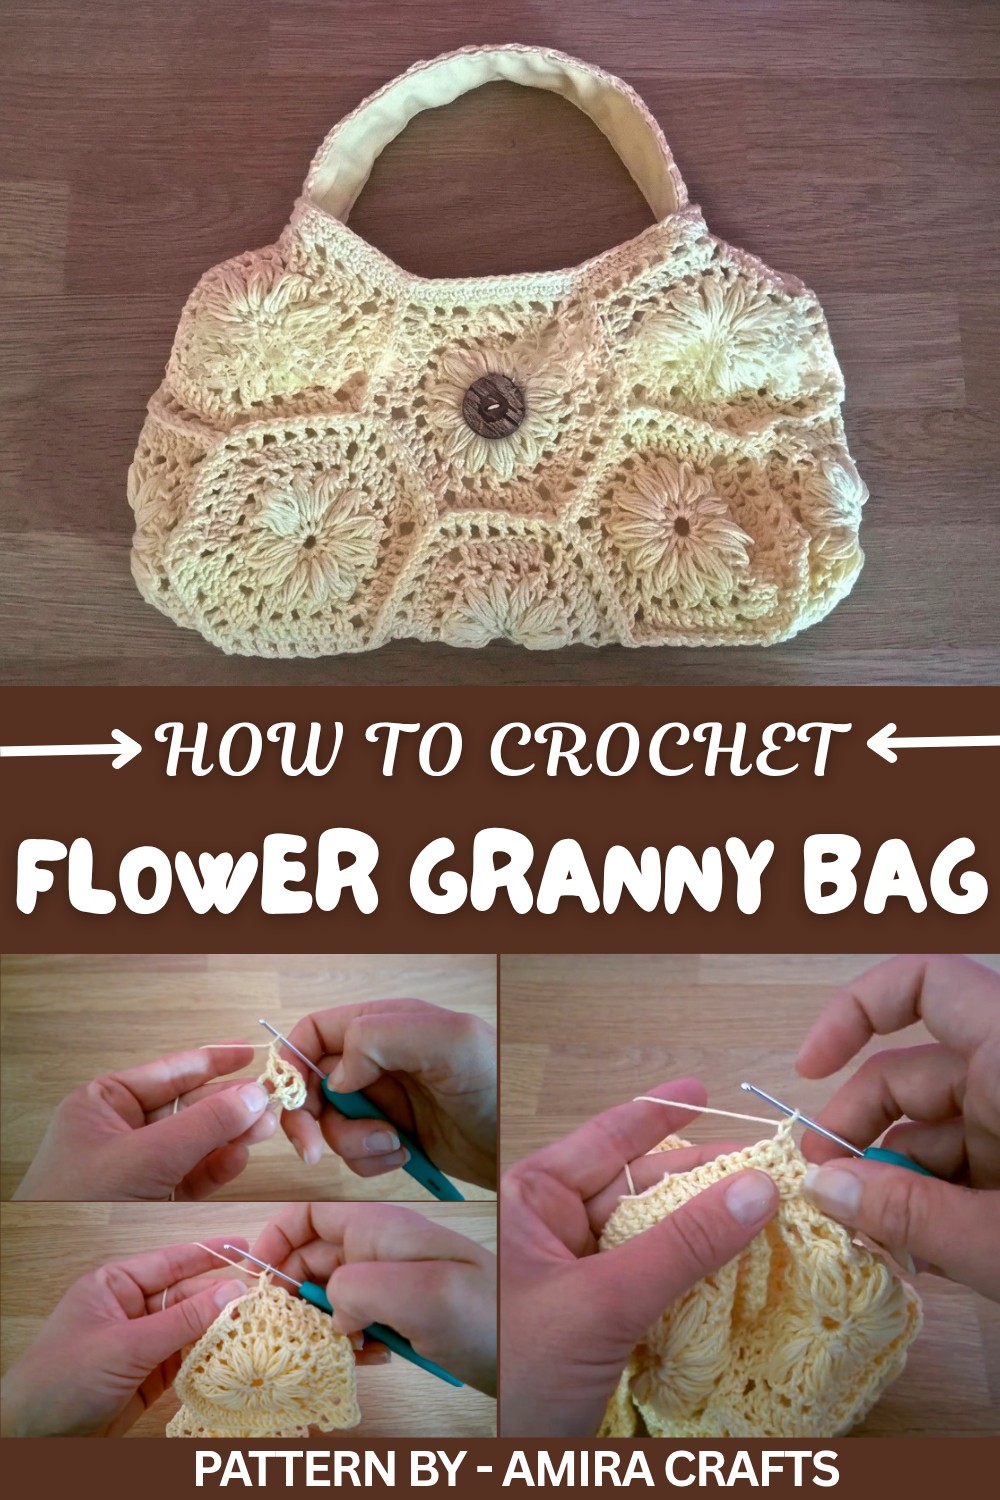
This bag makes a thoughtful gift for birthdays, festivities, or as a handmade accessory someone will cherish. It pairs beautifully with a casual outfit, making it ideal for spring or summer outings.
Don’t hesitate to experiment with different yarn combinations or embellishments, such as appliques or beads, to make it uniquely yours. The process is enjoyable, and the final result is a practical yet charming bag that stands out wherever you take it.
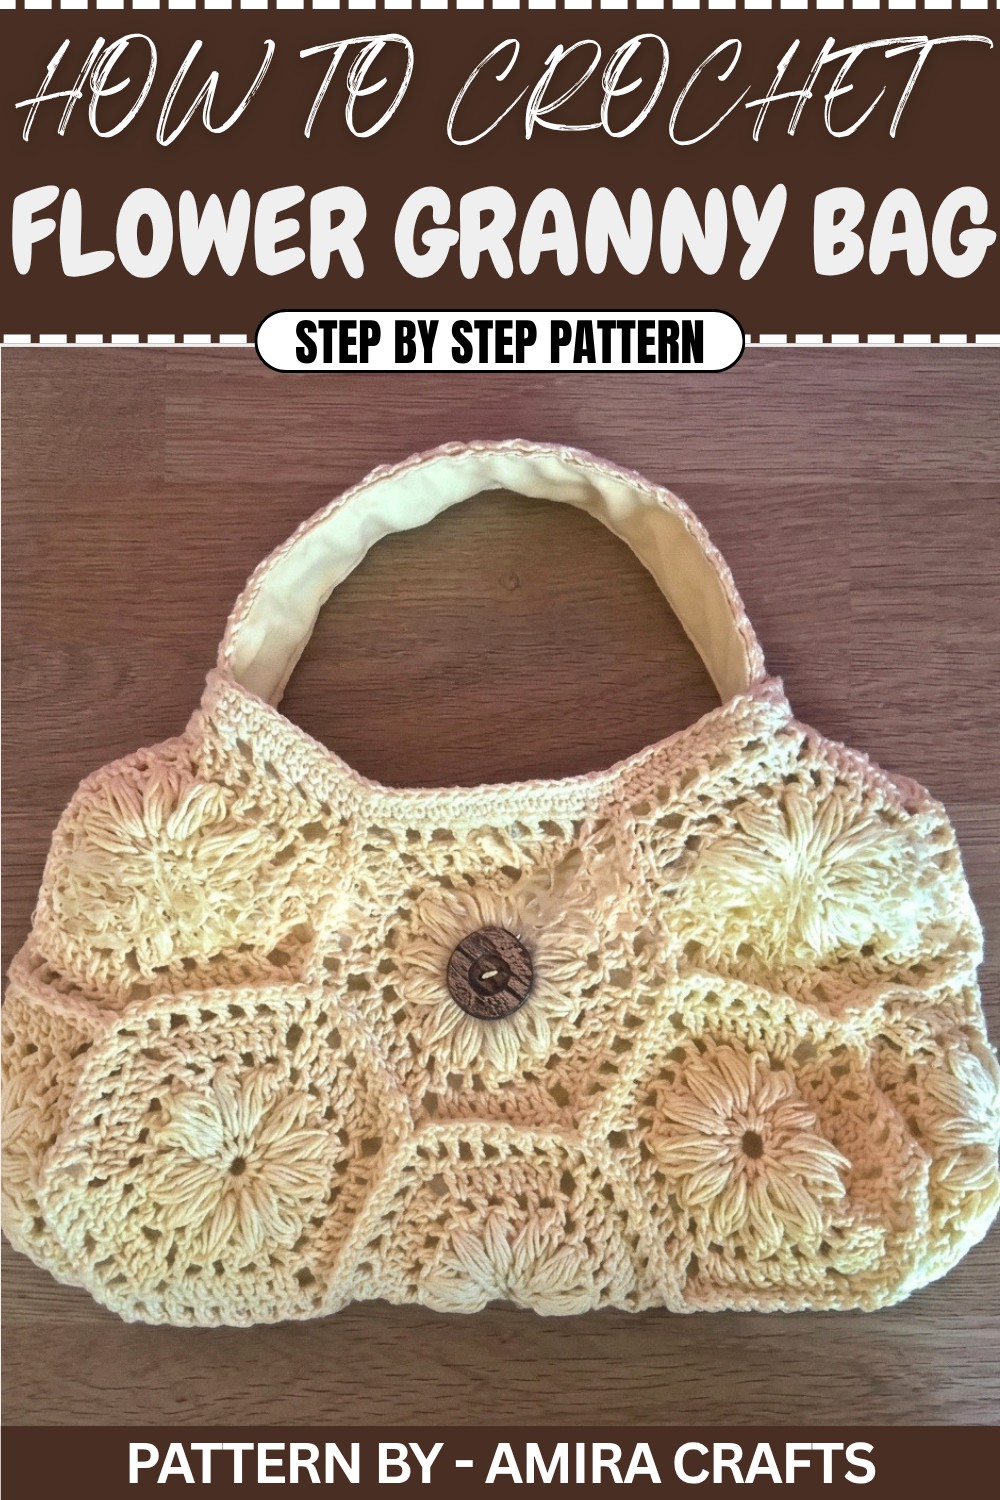
Crochet Flower Granny Bag Pattern
This beginner to intermediate crochet pattern will guide you step by step through making a stylish bag using hexagonal motifs. We'll create hexagons, join them, add edges, and attach handles, resulting in a chic and functional bag perfect for everyday use.
Quick Overview of the Pattern:
- Crochet multiple hexagonal motifs.
- Use puff stitches, chains, and double crochets to create the motifs.
- Join hexagons as you go to form the bag's structure.
- Add single crochet edging, optional lining, and a handle.
Pattern Details
Notes:
- Maintain consistent tension for a polished look.
- Corners for each hexagon are made with 2 dc, ch 2, 2 dc.
- Hexagons are joined on one side for each of the initial hexagons. Additional pieces are joined by slip stitching into other hexagons at specific points (instructions below).
Skill Level:
✔ Intermediate
Materials Needed:
- Yarn: Cotton or acrylic yarn in one or more colors. (~200 g in total)
- Hook Size: 3.5mm or 4mm crochet hook.
- Tapestry needle, scissors, pins.
- Button (optional) for closure.
- Fabric (optional) for lining, including sewing needle and matching thread.
Measurements:
This bag’s size can vary depending on the number of hexagons created. Example: A 6x6 hexagon bag size can fit medium essentials.
Stitch Abbreviations & Special Stitches:
- ch: Chain.
- sc: Single Crochet.
- dc: Double Crochet.
- sl st: Slip Stitch.
- ps: Puff Stitch:
- How to make Puff Stitch:
- Yarn over, insert the hook into the stitch.
- Yarn over, pull through (3 loops on hook).
- Repeat 3 more times (9 loops on hook).
- Yarn over, pull through all 9 loops on the hook.
- Chain 1 to secure the puff stitch.
- How to make Puff Stitch:
The Crochet Pattern
Part 1 – Make One Hexagon
Round 1:
- Make a slip knot and attach to your hook.
- ch 5 and join with a sl st to form a ring.
Round 2:
- Ch 4 (counts as dc + ch 1).
- [1 dc, ch 1] 11 times into the ring.
- You should have 12 dc and 12 ch-1 spaces at the end of this round.
- Join with a sl st to the third ch of the starting ch.
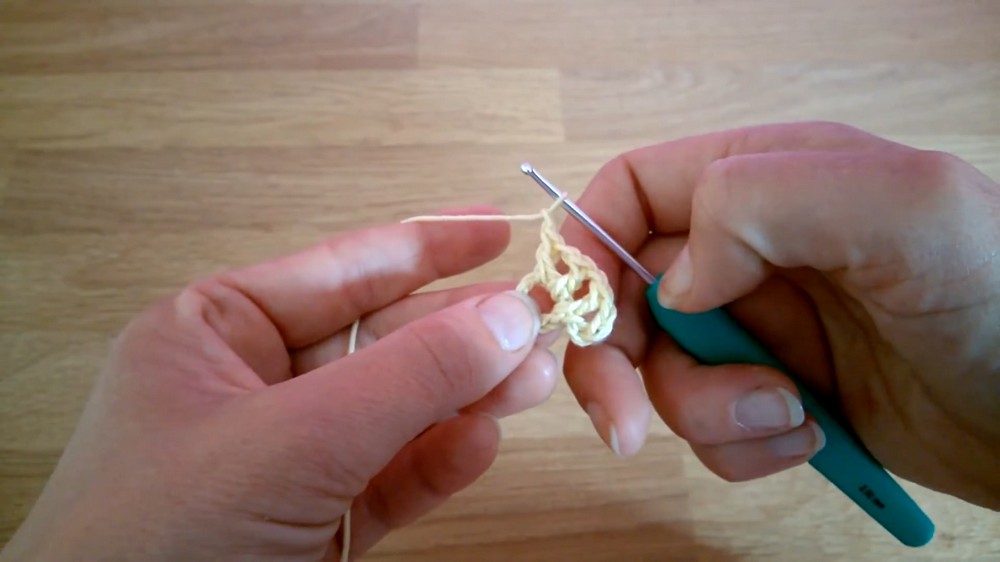
Round 3:
- Sl st into the ch-1 space.
- Ch 4 (counts as dc + ch 1).
- Work a puff st (ps) + ch 1 into the next ch-1 space.
- Then work 1 dc + ch 1 into the next dc.
- Alternate puff stitch + ch 1 in all ch-1 spaces and dc + ch 1 in all dc spaces.
- End the round with a puff stitch and ch 1.
- Join with sl st to the third ch of the starting ch.
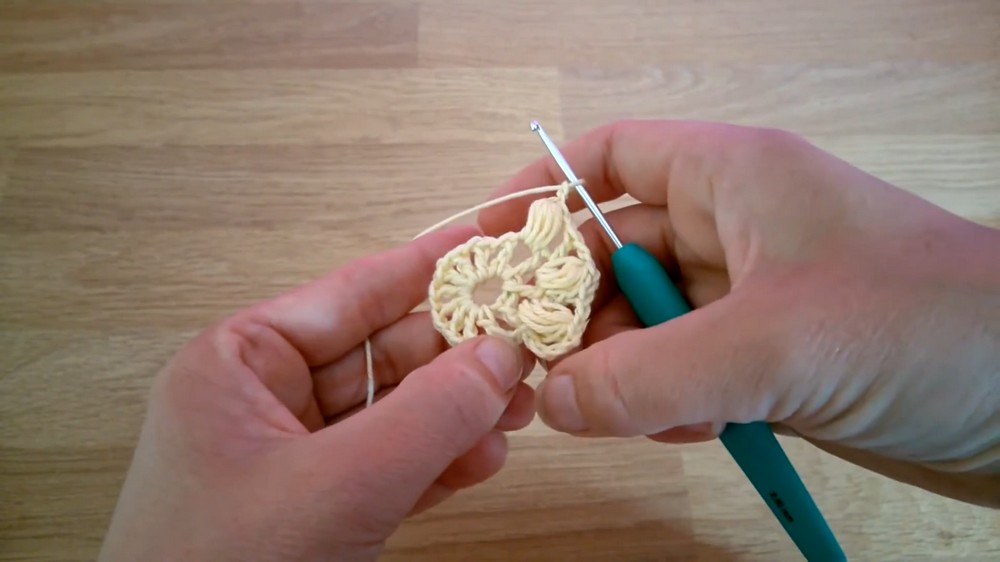
Round 4:
- Sl st into the next ch-1 space.
- Ch 4 (counts as dc + ch 1).
- Into every ch-1 space, work 1 dc + ch 1.
- Continue this pattern in every ch-1 space until the end of the round.
- Join to the third ch of the starting chain with a sl st.
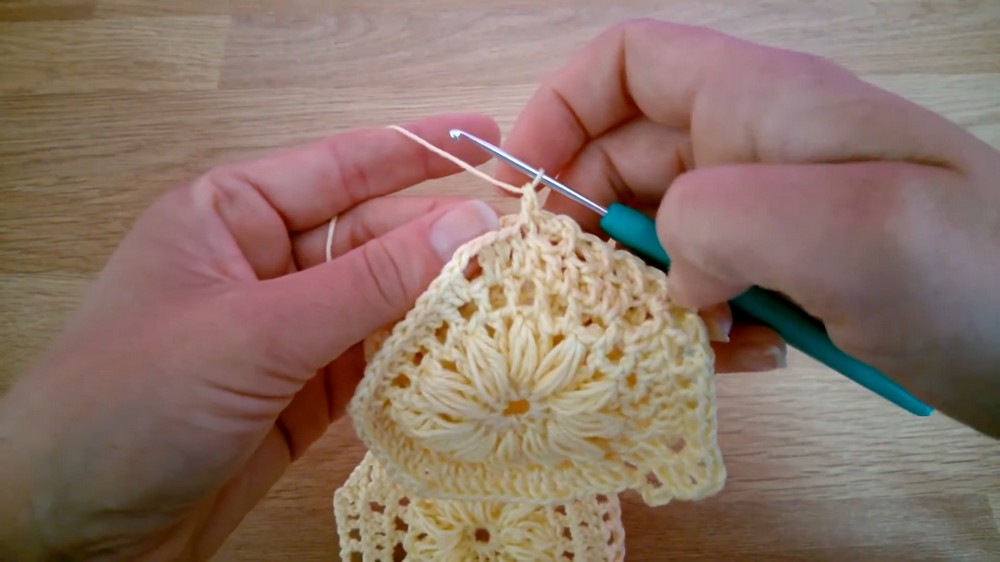
Round 5:
Form the corners for the hexagon in this round.
- Ch 3 (counts as 1 dc).
- Work 1 dc into the next ch-1 space.
- In the next ch-1 space (corner): Work 2 dc, ch 2, 2 dc.
- For the side, alternate:
- Work 1 dc into the next dc.
- Work 1 dc into the next ch-1 space.
⮞ Repeat until the next corner.
- Work the corner pattern again (2 dc, ch 2, 2 dc) at all corners.
- Join with sl st to the starting ch-3 to complete the round.
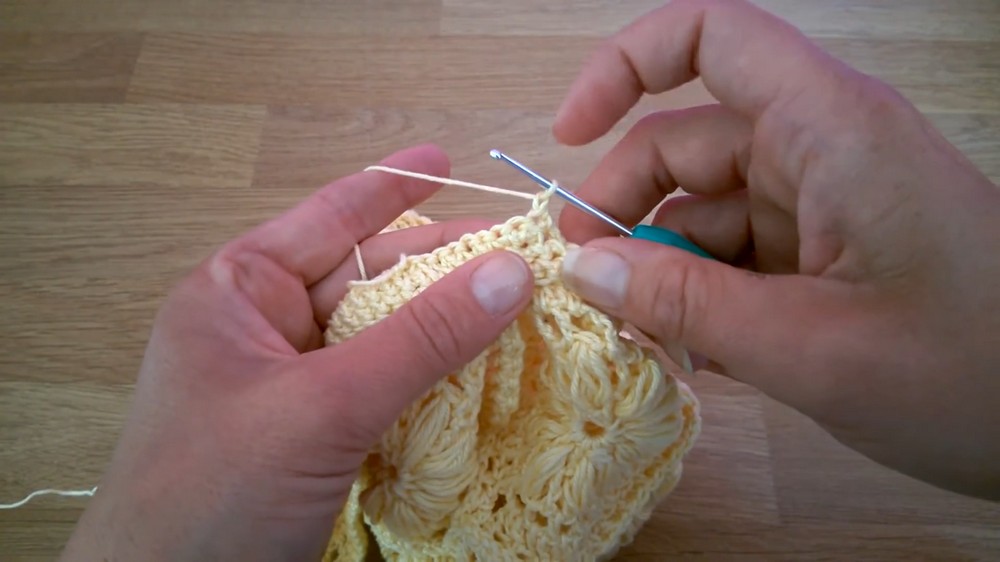
Round 6:
Creates the final hexagon round for joining.
- Ch 4 (counts as dc + ch 1).
- Skip 1 st, then work:
- dc, ch 1 into every other stitch along the side, skipping one stitch each time.
- In the corner, work:
- dc, ch 2, dc.
- Continue this pattern around, ensuring correct corner placement.
- Fasten off if done, or begin the joining process with the next hexagon.
Part 2 – Joining the Hexagons
- Join with Slip Stitches:
- While working the last row of a new hexagon, join one side to an adjacent hexagon by slip stitching into the appropriate chain spaces instead of chaining.
- At the corners, sl st into the corner ch spaces of both hexagons to join securely.
- Continue adding hexagons using the above method to form the following layout:
- Row 1: Three hexagons joined in a row.
- Row 2: Join two hexagons to the left and right sides of the first row, forming a “3, 2” shape.
- Row 3: Add two more hexagons to the left and right sides.
Part 3 – Edging the Completed Bag Base
- Attach yarn to any chain-space:
- Round 1: Work sc, ch 1 into each chain space around the edge of the hexagons. Join with sl st to the first sc.
- Round 2: Ch 1 (does not count as a stitch).
- Work 1 sc into each ch space and each sc from the previous round.
Part 4 – Handles
To Make a Handle (10 sc wide):
- Locate one side of the bag between two hexagon corners.
- Attach yarn to the second ch space before the corner.
Row 1:
- Work: 1 sc in each chain space across – 10 sts total.
Row 2 to Desired Length:
- Ch 1, turn. Work 1 sc in each sc across (10 sc in each row).
Attach to Opposite Side:
- Align the other side of the handle with corresponding corner spaces on the opposite side of the bag.
- Using slip stitches, attach the handle securely, working through both fabric and crochet stitches.
Part 5 – Optional Lining:
- Use bag as a template to cut two fabric pieces, leaving seam allowance along the edges. Sew three sides together, leaving the bag’s opening unstitched.
- For the handles:
- Cut fabric strips double the width of the crochet handles with seam allowance. Sew, turn inside out, and press flat. Attach to the inner handles.
- Insert the sewn lining into the bag, aligning the seams with the edges of the crochet.
- Pin the lining to the upper single crochet edge of the bag and sew securely.
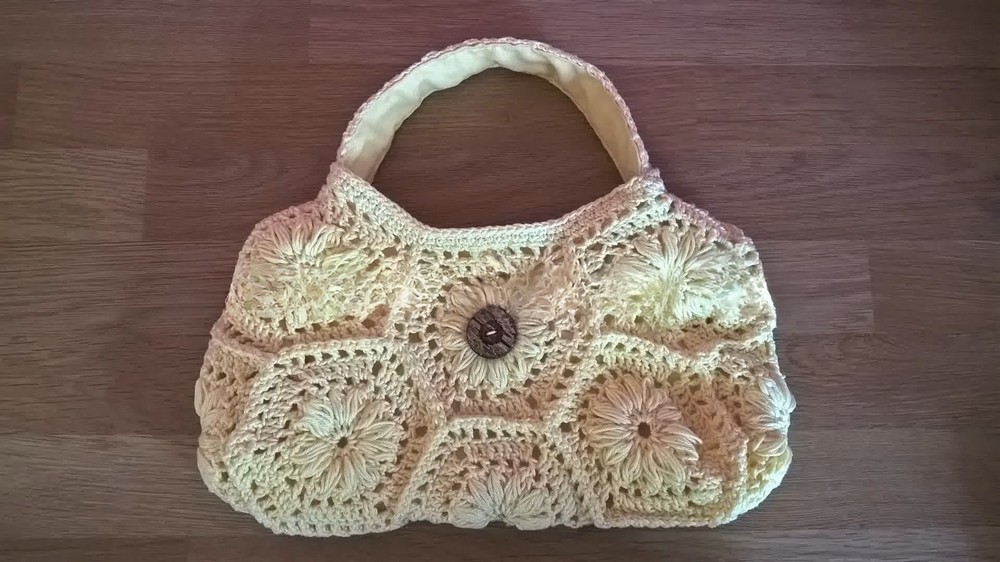
Assembly & Finished Size:
Once the lining and handles are attached, your bag will be ready to use. The dimensions depend on the number of hexagons and strap length you choose.
Conclusion:
Congratulations on finishing your beautiful Flower Granny Bag Pattern. This versatile and stylish accessory is perfect for everyday use and makes a lovely handmade gift. Feel free to get creative with your color palette, stitch designs, or even adding embellishments like tassels.