
Free Crochet Floppy Hat Pattern for Breezy Summer Looks
Add a delightful touch to your summer wardrobe with this free crochet floppy hat pattern that’s perfect for vacations, beach outings, picnics, and sunny strolls.
A floppy hat is a timeless accessory that combines style, function, and ease of making. The charm of this particular hat lies in its flowing brim and vibrant mix of colors, making it a perfect choice for sunny outings or for adding a casual statement to your wardrobe. Its structure ensures a comfortable fit while giving you lightweight sun protection, making it both practical and fashionable.
Free Crochet Floppy Hat Pattern for Relaxed Vacation Looks
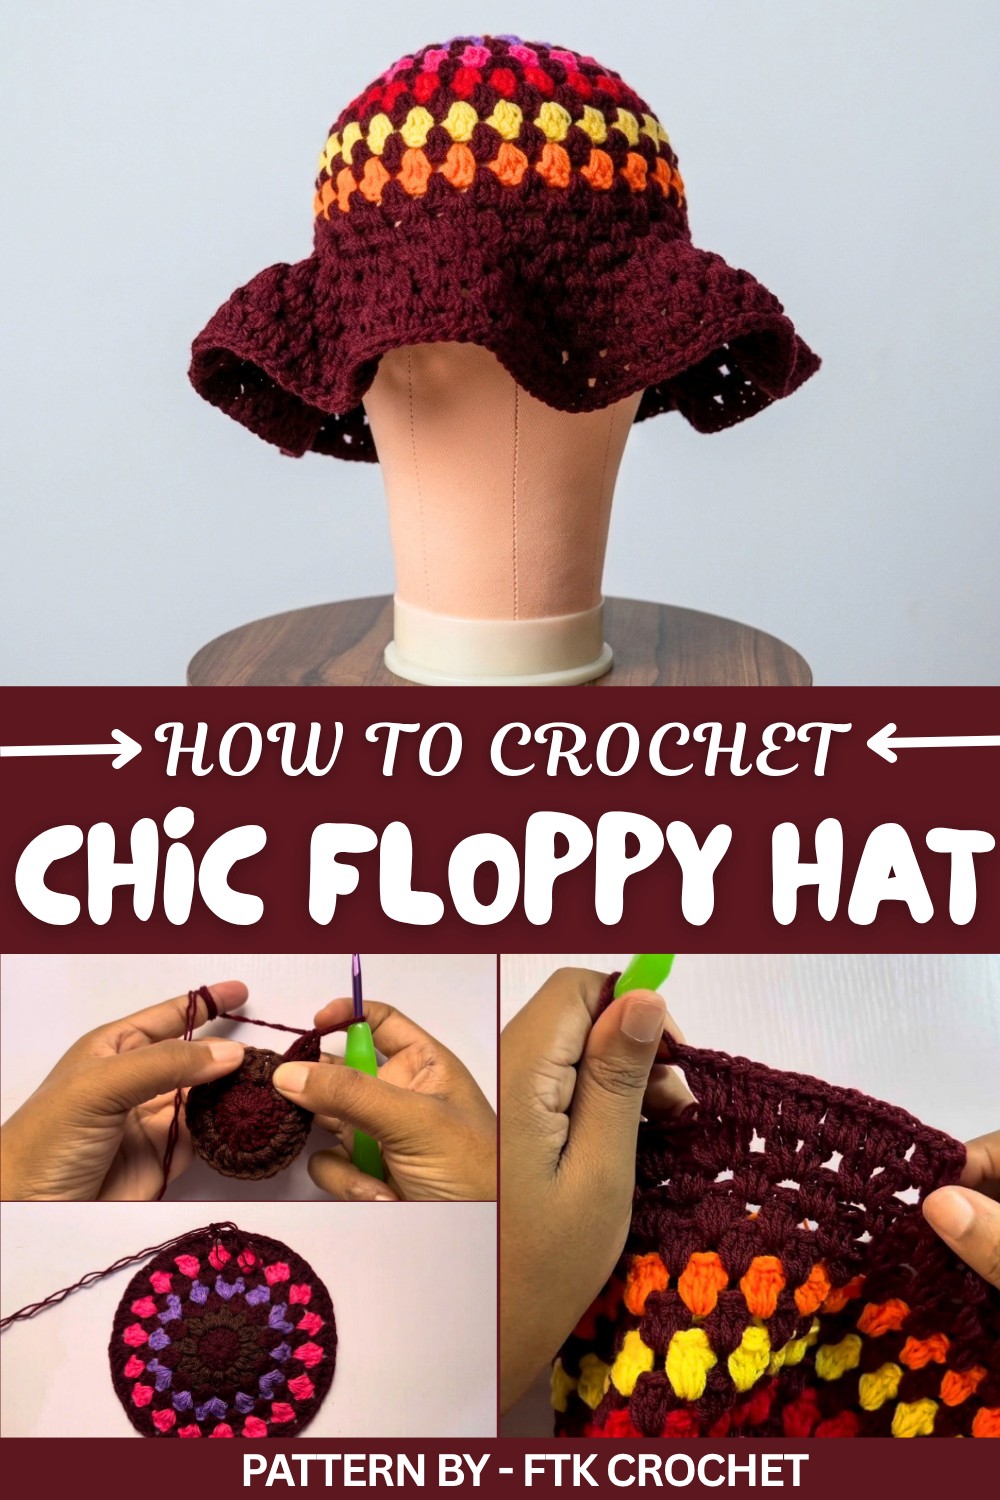
In the tutorial by FTK Crochet, the process of making this hat is explained step by step. The granny stitch technique takes center stage, starting with a magic ring for a neat and seamless foundation. Alternating between rounds of increases and regular stitches, the floppy brim is formed, giving the hat its breezy and playful look. The multicolor approach, featuring yarns like wine, brown, lilac, and pink, adds vibrancy without being overwhelming. Adjustments can be made for various sizes, allowing you to tailor the hat for adults or children with ease.
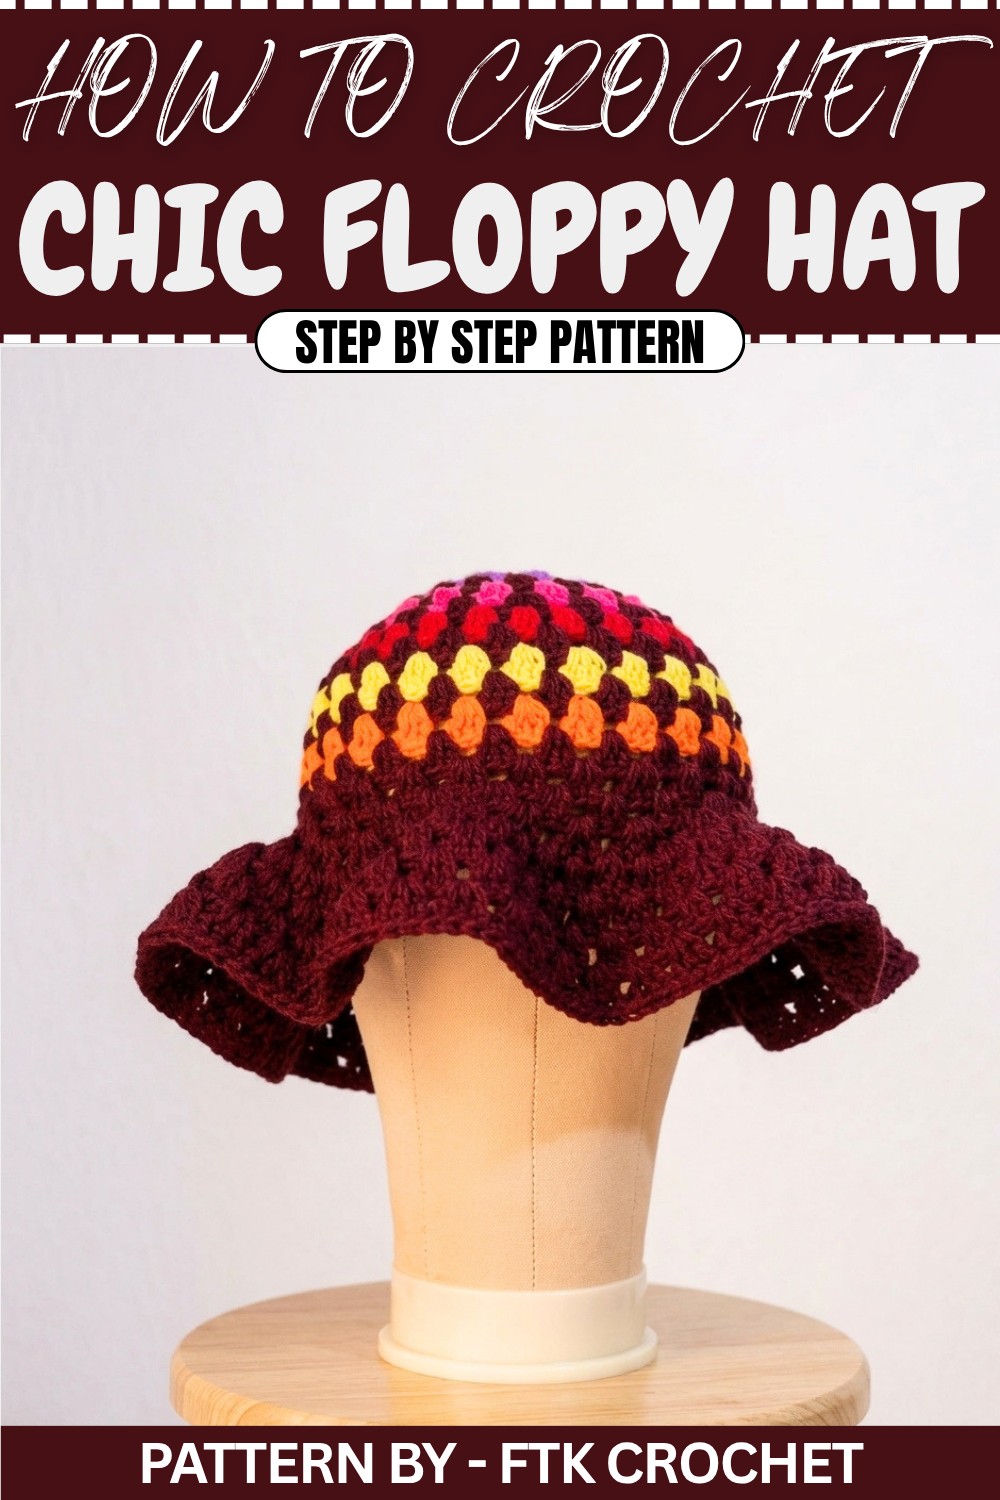
What sets this floppy hat apart is its versatility and charm. It’s lightweight, easy to wear, and perfect for shielding your face while outdoors. Plus, the ability to customize colors makes each finished piece unique and reflective of the maker's personality. Whether for personal use or as a thoughtful gift, this hat combines practicality and aesthetic appeal, making it a favorite project to try.
Free Crochet Pattern: Multicolored Floppy Hat
Quick Overview of the Pattern
- Hat Type: Multicolored floppy hat
- Crochet Technique: Granny stitch technique
- Construction:
- Top down hat starting with a magic ring
- Circular crown with color changes and consistent increases
- Straight rows for height
- Widening, floppy rows for the brim
- Single crochet border for a neat finish
- Customization: Add or reduce rows to achieve the desired size or brim width
Notes
- This hat is worked in rows, forming circles starting with a magic ring.
- Wine color is the base shade, paired with other colors like brown, lilac, pink, and red. You can use your favorite colors.
- The increase rows determine the hat size—stop increasing early for children or smaller sizes.
- The floppy brim is achieved using alternating increases, followed by straight granny stitch rows.
Skill Level
✔ Beginner Friendly
Requires basic familiarity with the following stitches and techniques:
- Magic ring
- Chain stitches
- Double crochet stitches
- Single crochet stitches
- Slip stitch
- Color changes
Materials
- Yarn:
- Medium-weight yarn (such as DK or worsted weight)
- Multiple colors: Wine (base), brown, lilac, pink, red, or any preferred selection
- Hook Size: 4.5 mm crochet hook
- Adjust hook size if your tension is loose or tight
- Other Tools:
- Scissors
- Tapestry needle for weaving in ends
- Measuring tape for accuracy
Measurements / Sizing
- Finished Size: Fits most adults; stop increasing sooner for smaller heads or babies.
- Brim Length: Customizable; you can adjust the number of rows for a shorter or wider brim.
Gauge
Gauge is not explicitly provided, but here are some guidelines:
- Designer uses a tight crochet tension and recommends the 4.5 mm hook size.
- If your tension is loose, you might opt for a 3.5 mm or 4 mm hook for a better fit.
Stitch Abbreviations
- ch – Chain stitch
- dc – Double crochet
- sc – Single crochet
- sl st – Slip stitch
- st – Stitch
Special Stitches
Magic Ring
A magic ring begins circular projects with a closed center.
The Crochet Pattern
Step A: Crown of the Hat
Round 1: The Foundation
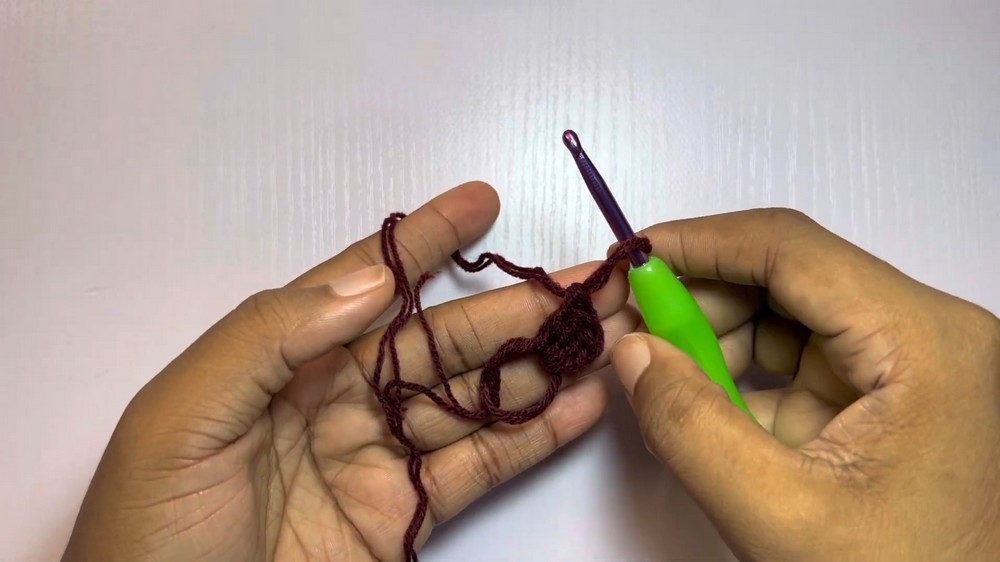
- Create a magic ring.
- Ch 2 (does not count as a stitch).
- Work 12 dc into the magic ring.
- Pull the magic ring tightly to close the center and sl st into the first dc to close the round.
- Fasten off the wine color yarn.
Round 2: First Increase (Brown Color)
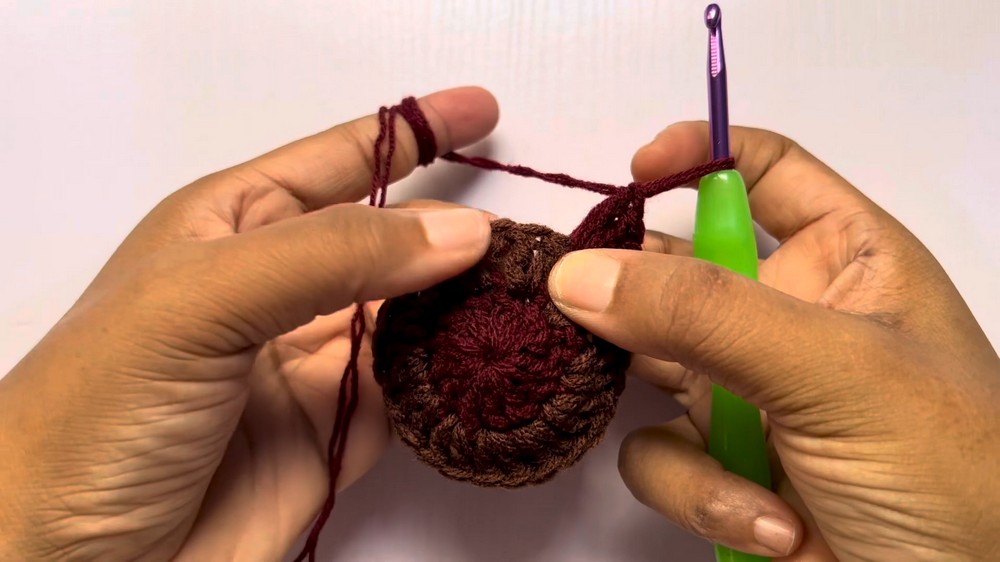
- Attach the brown yarn to the last stitch from Round 1 and ch 3 (counts as the first dc).
- Work 1 dc into the same stitch.
- Work 2 dc into each stitch around (increase in every stitch).
- At the end of this round, you should have 24 stitches.
- Sl st into the third ch at the start of the round to join. Fasten off brown yarn.
Round 3: Beginning Granny Clusters
- Attach a new color (e.g., wine) to any stitch. Ch 3, and work 2 dc into the same stitch to form your first granny cluster of the round.
- Skip 2 stitches and work 3 dc into the next stitch.
- Continue working granny clusters by skipping 2 stitches and placing 3 dc into the next stitch around.
- Sl st into the third ch at the start of the round to join. Fasten off.
Step B: Working the Hat Body
Round 4: Increases
- Attach a new color (e.g., lilac) into any space between granny clusters. Ch 3, then work 3 dc into the same space (starting a granny cluster).
- In alternating spaces, work 4 dc into one space and 3 dc into the next space. Alternate 4 dc / 3 dc clusters to create an increase round.
- Continue alternating until the end of the round. Sl st into the third ch to close. Fasten off lilac yarn.
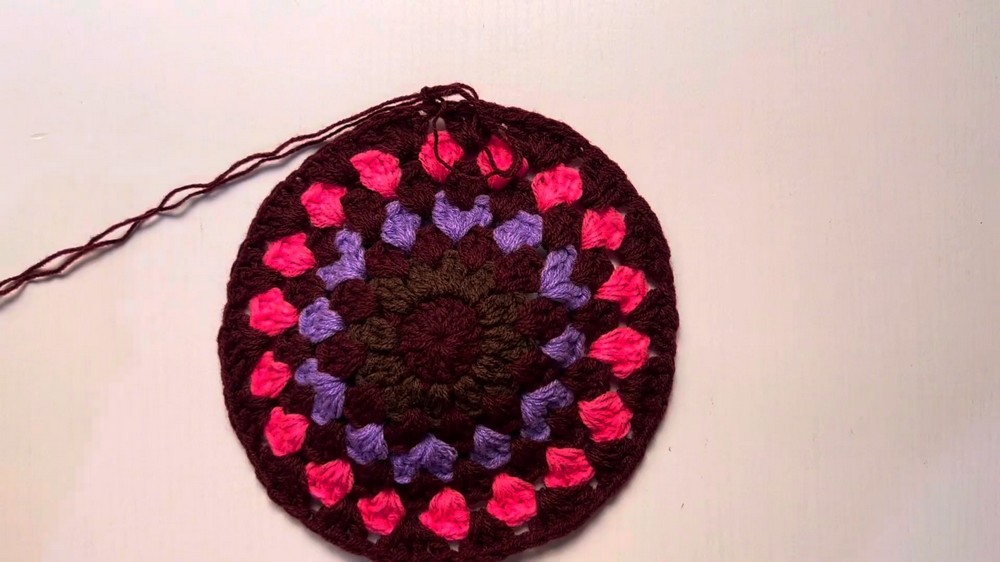
Round 5: Regular Granny Clusters
- Attach a new color and reattach yarn in any space. Ch 3, then work 2 dc into the same space (starting granny cluster).
- Work 3 dc into each space around without increasing.
- Sl st into the third ch to close. Fasten off the yarn.
Round 6–12: Straight Rows
- Continue working 3 dc granny clusters into each space around the hat without increasing.
- Add color changes for each row as desired.
- Complete 7 rows (or adjust to your preferred depth).
Step C: Creating the Floppy Brim
Round 13: Start Brim with Increases
- Reattach yarn (wine) in any space. Ch 3, then work 3 dc into the same space.
- In each space around, work 4 dc clusters (instead of 3 dc). This will widen the brim.
- Sl st into the third ch and fasten off.
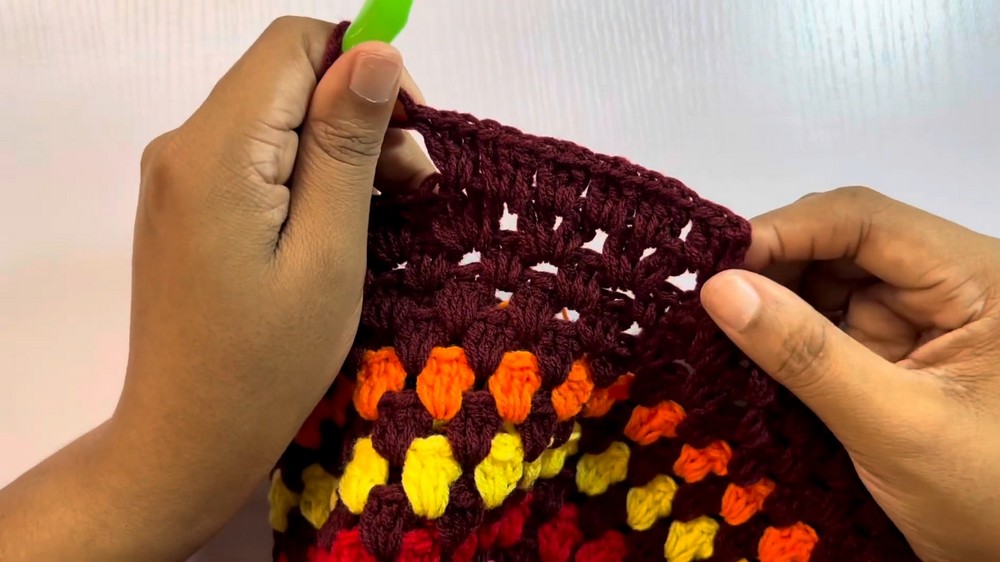
Round 14: Fine Tune Brim Increases
- Reattach a new color (red). Ch 3, then work 2 dc into the same space (same granny cluster).
- In each space, alternate: Work a 3 dc cluster for most spaces and then work a 3 dc cluster into the middle spaces of 4 dc clusters from the prior row for extra floppiness.
- Continue this pattern until the round is finished. Sl st and fasten off.
Rounds 15–18: Straight Brim Rows
- Work granny stitch clusters (3 dc in each space) without increasing, for 3–5 rows, depending on how long you want your brim to be.
Step D: Edging
- To finish, work a round of sc stitches around the entire brim. This clean edge will make the brim firmer.
- Fasten off and weave in all ends with a tapestry needle.
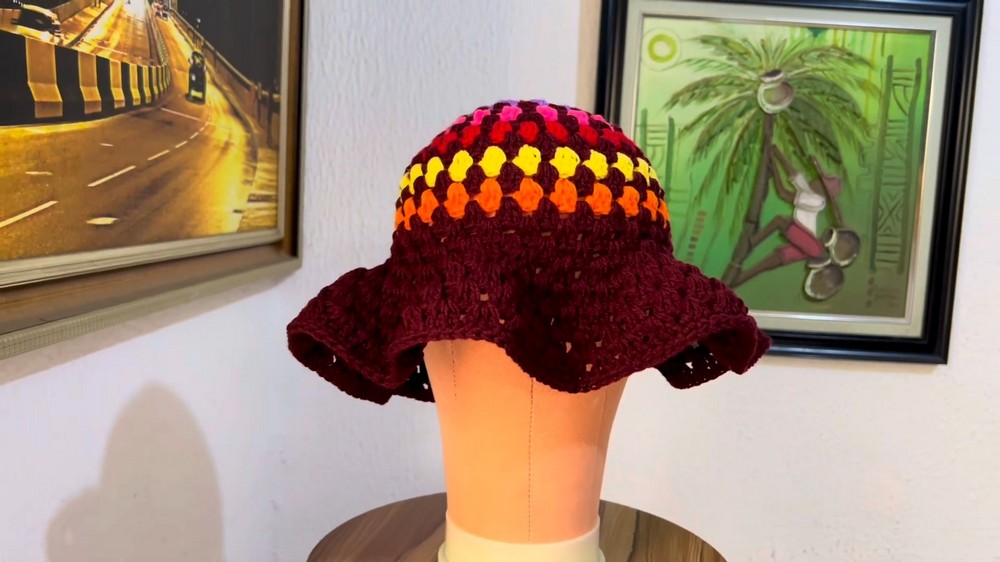
Assembly & Finished Size
- After weaving in all ends, trim the excess yarn.
- The hat should comfortably fit most adult heads.
- The brim can be adjusted by adding or reducing the number of floppy rows.
Conclusion and Ending Words
Congratulations, You’ve completed your multicolored floppy hat with this granny stitch technique. It’s a versatile and trendy accessory that’s perfect for brightening up any outfit. Feel free to experiment with colors, adjust sizes for kids, or embellish your hat with flowers or ribbons for extra flair.