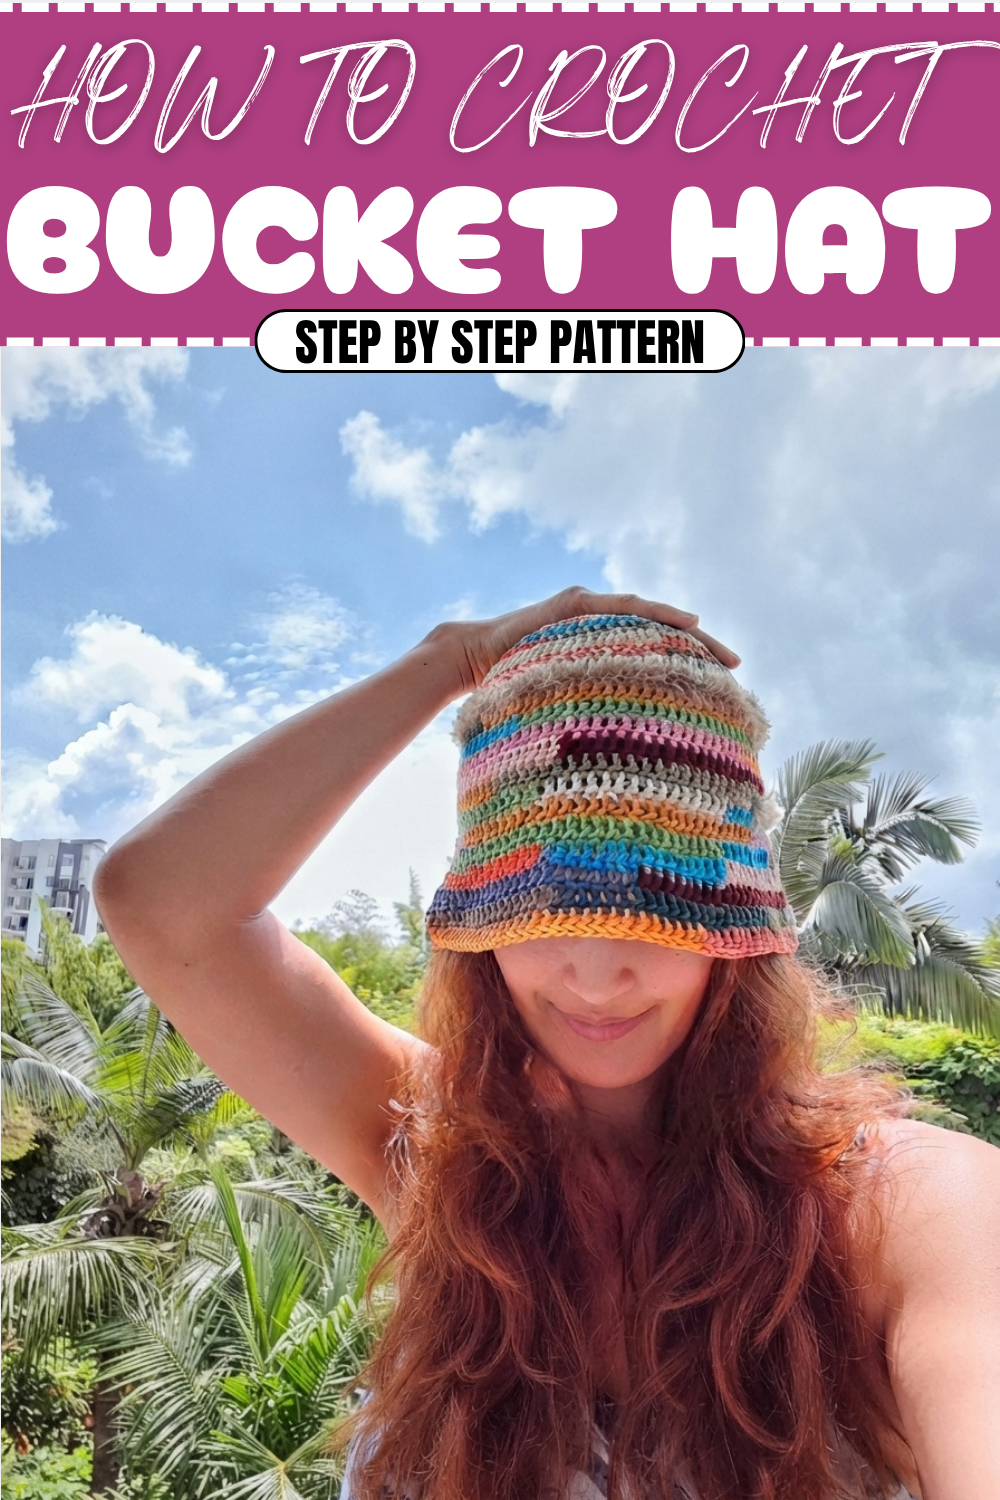
Free Crochet Colorful Bucket Hat Pattern For Bright Days
Pick a free crochet colorful bucket hat pattern to create cheerful, comfy hats that make every outfit pop and keep sunny days extra fun.
Bright colors and cozy textures combine to make a handmade bucket hat that instantly lifts your style and keeps you comfortable. This hat pattern is a wonderful way to use leftover yarn, turning small bits of cotton thread into a vibrant accessory perfect for sunny days or casual outings. The pattern is built with double crochet stitches worked in rounds, which gives the hat a soft, breathable fabric with just the right amount of stretch. Its colorful stripes and gradual increases help create a neat and even circle that fits comfortably on your head.
Crochet Your Own Colorful Bucket Hat Free Pattern For Festival Looks
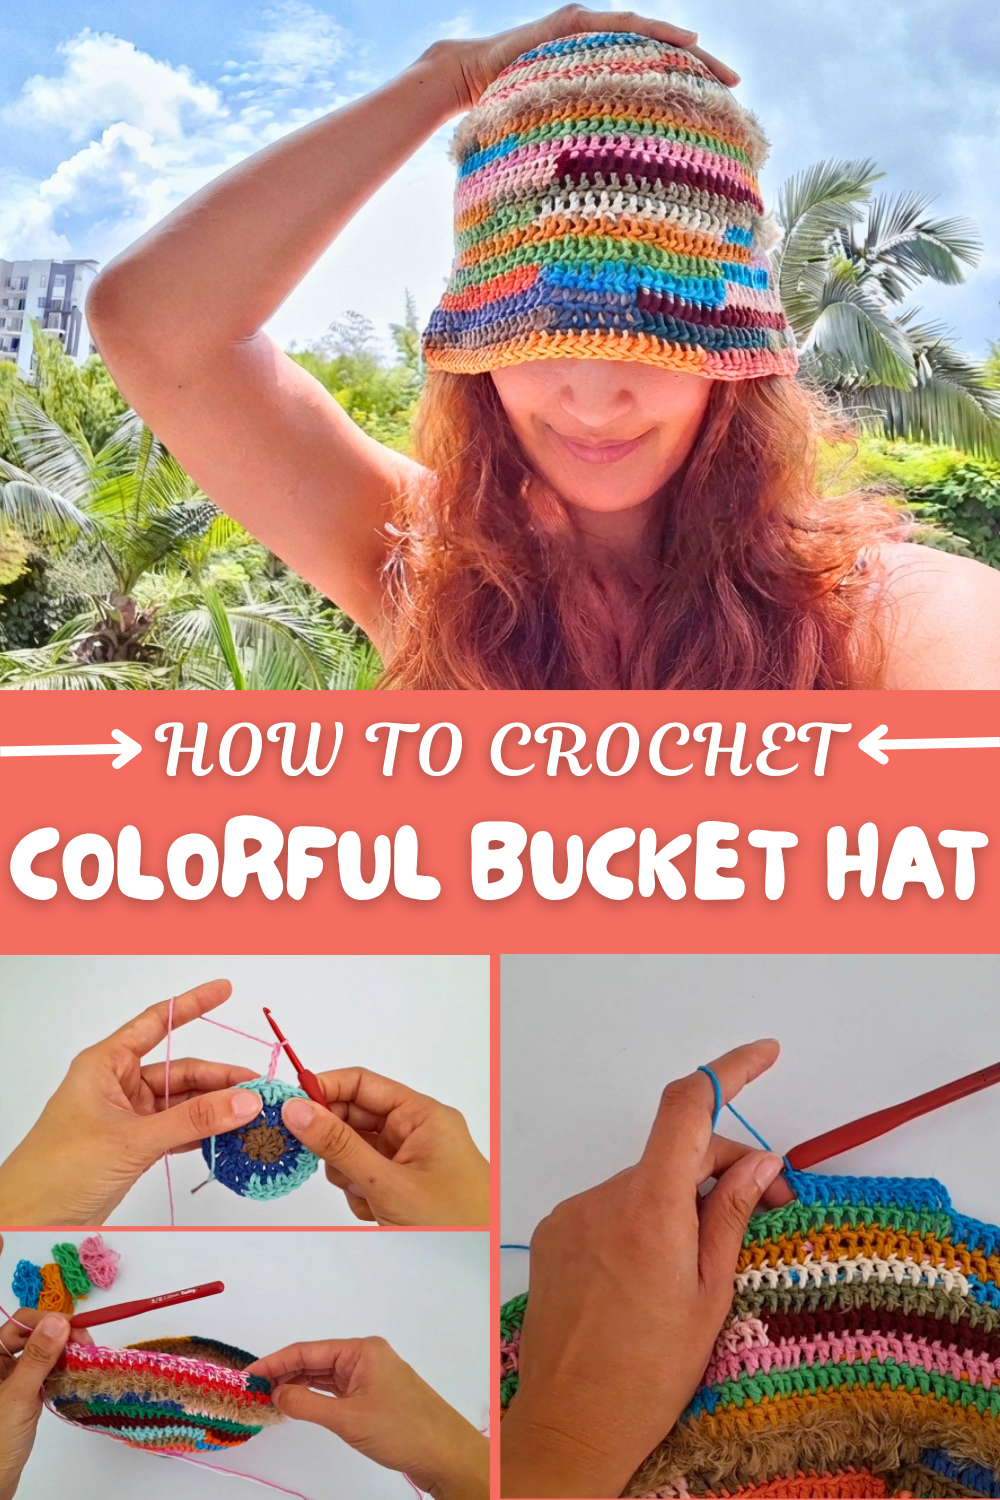
Starting from a magic ring, the pattern calls for careful counting as you increase stitches evenly in each round to shape the top of the hat. The sides are then formed by crocheting in the back loops only, giving a lovely texture and helping the hat maintain its bucket shape. What’s especially fun is the freedom to play with color changes, blending multiple yarns for a cheerful striped effect. The hat grows gracefully with each row, while the sturdy slip stitches secure the rounds for a clean finish. Whether for a child or an adult, this project offers a satisfying balance of simple stitches and creative color play.
Customizing and Expanding Your Crochet Skills
The technique used here for shaping and color changes can be applied to making other accessories like cozy headbands, simple bags, or even colorful coasters. Once you understand how to work in rounds, increase stitches, and switch colors smoothly, these skills open doors to many creative projects. Using different yarn textures or combining threads as shown in the pattern can add a unique touch to whatever you choose to make next. This bucket hat project is a delightful way to brighten your wardrobe and expand your crochet confidence.
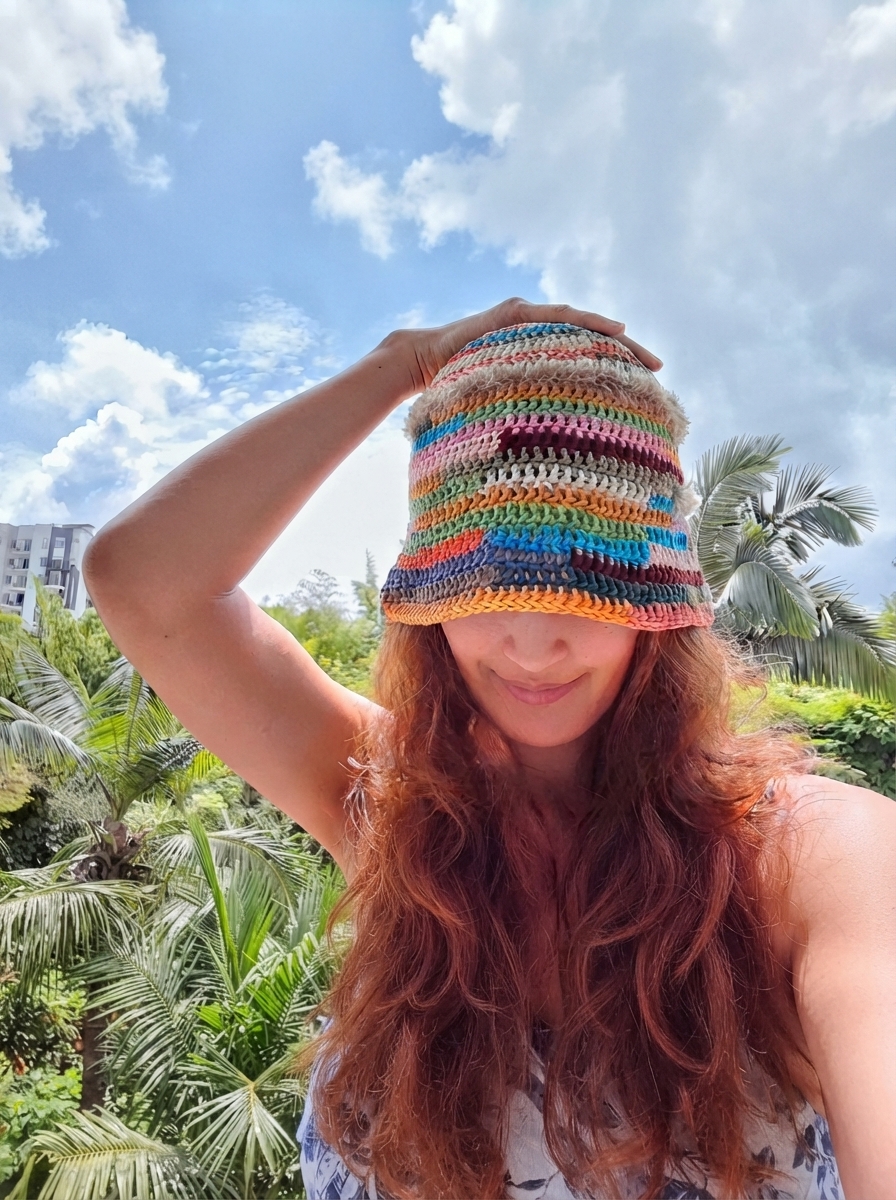
Colorful Crochet Bucket Hat Pattern
In this step-by-step tutorial, we’ll make a vibrant and customizable bucket hat perfect for the sunny outdoors! This playful design uses cotton yarn and allows you to incorporate various leftover colors to achieve a kaleidoscope effect. The hat includes a wide-brimmed visor for added style and practicality. With simple increases and high double crochet stitches, this project is perfect for all skill levels, whether you’re a beginner or an experienced crocheter looking for a fun and colorful project.
Skill Level & Terminology
Skill Level: Advanced Beginner
Terminology: Using US crochet terms
This pattern primarily uses double crochet (dc) and incorporates simple increases for shaping the hat.
Materials & Tools
- Yarn:
- Cotton or worsted-weight yarn in multiple colors of your choice.
- For added design texture, you may use thinner yarns or fuzzy yarn to mix things up.
- Crochet Hook: 3mm crochet hook.
- Scissors: For cutting loose threads.
- Tapestry Needle: Used to weave in loose ends and attach new pieces of thread.
Gauge
Gauge is not critical for this pattern, but for general instructions:
- 8 double crochet stitches = 2 inches, and 5 rows = 2 inches.
Feel free to adjust your hook size to match your materials.
Abbreviations List
- ch: Chain
- dc: Double crochet
- sl st: Slip stitch
- inc: Increase (2 dc in one stitch)
Special Stitch Instructions
- Magic Ring (MR):
- Wrap the yarn around your index and middle finger to form an X.
- Insert the hook under the front loop of the X, yarn over, and pull through.
- Chain 1 to secure the thread, then begin crocheting into the ring.
- Once done, pull the tail tightly to close the ring.
- Double Crochet (dc):
- Yarn over, insert hook into the stitch, yarn over, pull through (3 loops on hook).
- Yarn over, pull through the first two loops on hook, yarn over, pull through the remaining two loops.
- Increase (inc):
- Work 2 dc into a single stitch.
Finished Size
The finished bucket hat has a top diameter of 6.5 inches, a height of 6-7 inches, and an adjustable brim.
What You'll Learn
- How to crochet a bucket hat with rows of increasing double crochets to create a circular crown.
- How to seamlessly change yarn colors and manage multiple strands for unique designs.
- Techniques for adding textures and embellishments to personalize your hat.
The Pattern
Step 1: Create the Crown
The first 9 rounds are worked in the round with consistent increases to create the circular shape for the crown. Adjust the diameter of your circle to fit your desired head size.
Round 1:
- Begin with a Magic Ring.
- Ch 3 (counts as the first dc). Work 9 dc into the MR.
- Pull the tail to close the ring tightly and join to the top of the ch-3 with a sl st. (10 dc total, including ch-3).
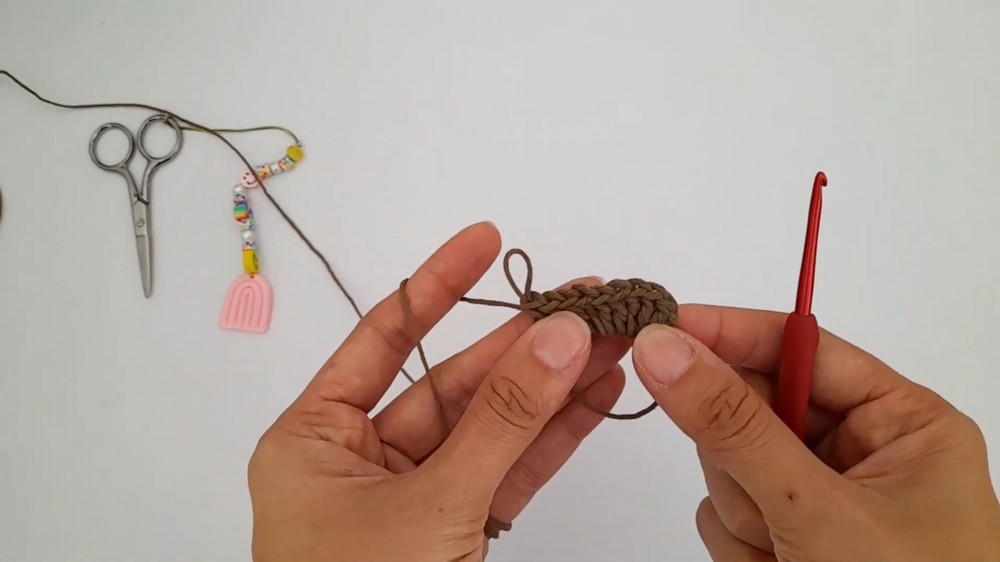
Note: A Magic Ring is essential for starting the crown neatly with no hole in the center. If unfamiliar with this technique, start with 4 chains joined in a loop, then proceed with your stitches.
Round 2:
- Attach a new color (optional). Ch 3 (counts as the first dc). Make 1 dc in the same stitch (this creates the first increase).
- Work 2 dc in each stitch around.
- Join to the top of the ch-3 with a sl st. (20 dc total).
Round 3:
- Ch 3, make 1 dc in the next stitch.
- In the next stitch, work an inc (2 dc in the same stitch).
- Repeat: 1 dc, inc around.
- Join to the top of the ch-3 with a sl st. (30 dc total).
Rounds 4–9:
Increase the size of the circular base incrementally:
- Round 4: Alternate 2 dc, inc. (40 dc total).
- Round 5: Alternate 3 dc, inc. (50 dc total).
- Round 6: Alternate 4 dc, inc. (60 dc total).
- Round 7: Alternate 5 dc, inc. (70 dc total).
- Round 8: Alternate 6 dc, inc. (80 dc total).
- Round 9: Alternate 7 dc, inc. (90 dc total).
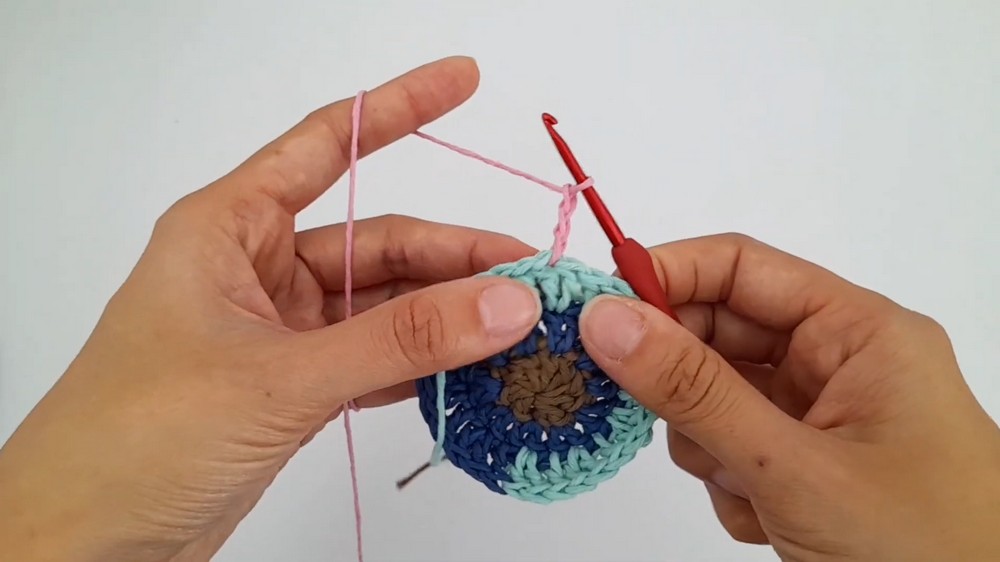
Tip: To add color changes in the middle of a round, complete the last yarn-over of a dc with the new color. This ensures a seamless transition.
Step 2: Build the Sides
From Round 10 onward, you’ll work without increases to form the sides of the hat.
Round 10:
- Ch 3, work 1 dc in BLO of each stitch around.
- Join to the top of the ch-3 with a sl st. (90 dc total).
This round creates a slight ridge that supports the structure of the bucket hat.
Rounds 11–17:
- Work 1 dc in each stitch around (without increases). Continue in the back loop for the next couple of rounds to maintain the textural alignment.
- Add color changes as desired, using either single strands of your colorful yarn or by holding two thinner strands together for a unique, variegated effect.
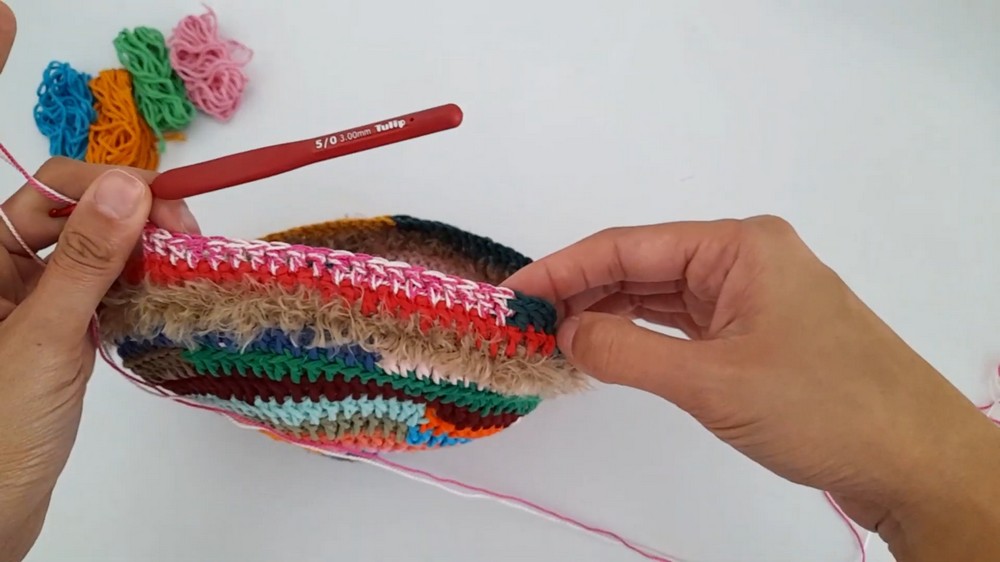
Step 3: Add Texture (Optional)
For lap 11, incorporate textured or fuzzy yarn for a decorative accent. Make sure to carefully count and pick up each stitch to avoid skipping with textured yarn.
Alternately, try holding two thinner complementary yarns together in your hook for a unique striped and colorful section of fabric.
Step 4: Create the Brim
To make an even and structured brim:
Round 18:
- Pick up the front loop only (FLO) of each stitch from the previous round.
- Work 8 dc in FLO, then 1 inc (2 dc in the same stitch) around.
- Join to the top of the ch-3 with a sl st. (100 dc total).
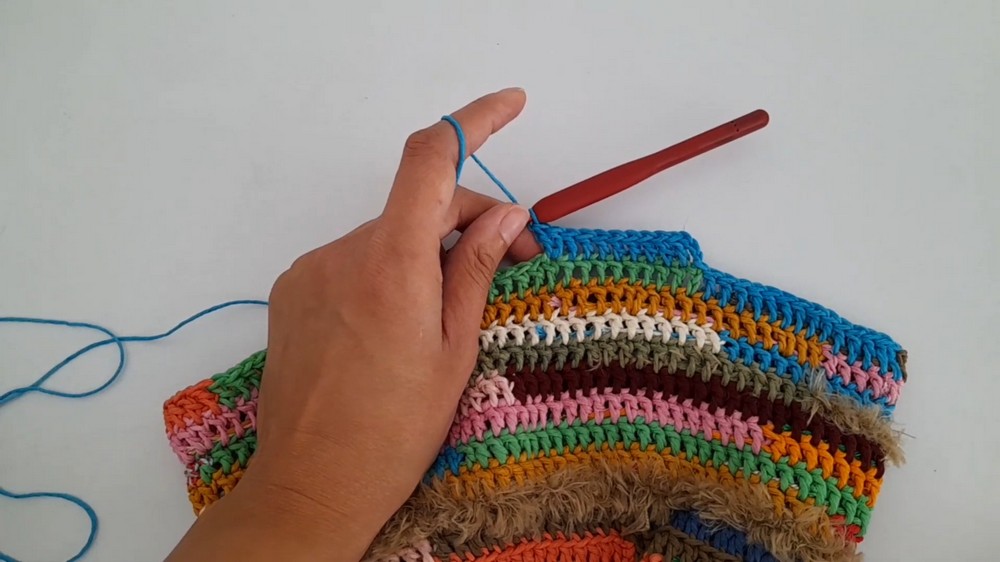
Rounds 19–23:
- Continue building the brim:
- Odd Rounds: Increase by 10 dc per round by alternating between (dc in BLO) and (7–10 dc in BLO, 1 inc) patterns.
- Even Rounds: Work 1 dc in each stitch for stability.
- The brim will gradually expand for full coverage. Adjust the number of rows and increases as desired for your hat.
- For a clean finish, complete the last row without increases.
Assembly & Finishing
- Weave in all loose ends securely using a tapestry needle.
- Steam-block the hat to even out the stitches, and gently shape the brim outward for a polished finish.
If desired, attach additional decorations such as appliqués, beads, or tassels.
Why I Love This Pattern
This colorful bucket hat invites creativity and personalization, making it enjoyable for all skill levels. The repetitive nature of the pattern is satisfying and meditative, and the vibrant outcome is a cheerful addition to any wardrobe. Whether you choose a single color or an array, the result is always stunning!