
Free Crochet Coaster Pattern for a Stylish Home Décor
Follow this free crochet pattern to create handmade coasters that are practical, beautiful, and super fun to make.
Crocheted coasters are a lovely way to add charm and functionality to your home. They are lightweight, beautifully designed, and can be customized with colors and patterns to match your décor. Whether you’re protecting your table from water rings or decorating for a special occasion, they’re a fantastic addition to your space. Their versatility also makes them a thoughtful handmade gift.
Designed by Anerom
This particular crochet coaster has a delicate star like design that is both visually appealing and practical. Made using thin yarn, such as 50% acrylic and 50% wool, or ideally 100% cotton for better stability, this intricate pattern creates a soft coaster that can be stiffened using a simple starching method. After brushing a combination of white glue and water onto the finished design and letting it dry overnight, the coaster becomes rigid, which ensures it holds its shape and keeps your drink steady.
Free Crochet Pattern for Cute and Trendy Drink Coaster
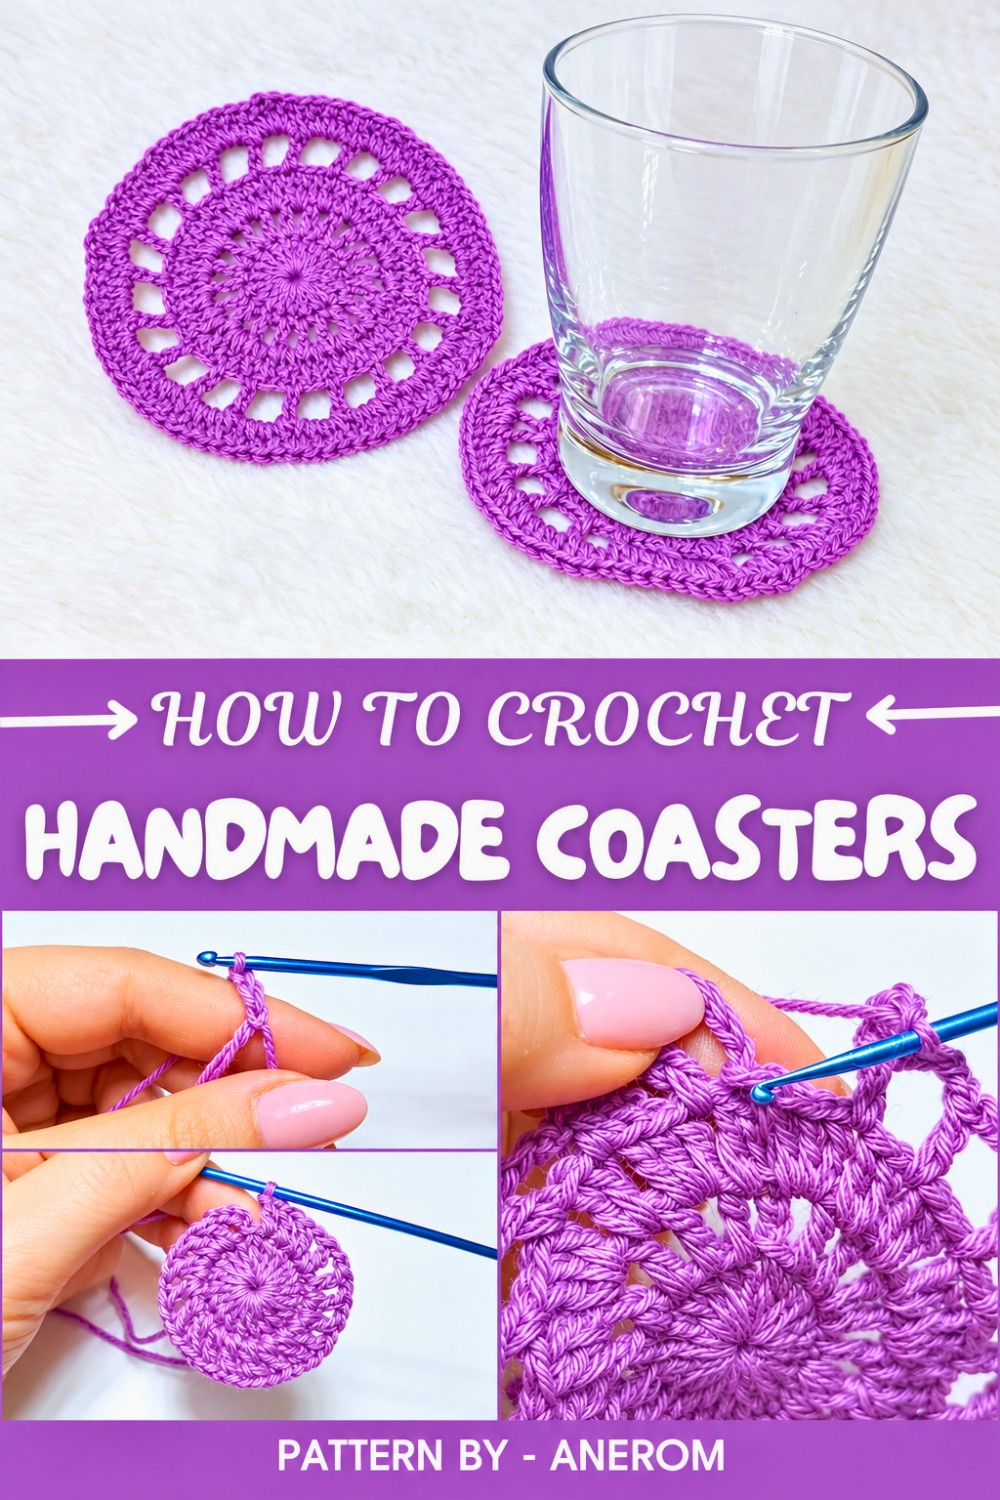
On Anerom’s YouTube channel, you can find incredibly detailed tutorials to help you crochet your own handmade decorations like this one. The creator of the channel, with her soothing teaching style, walks you through every step of the process, from creating the first magic ring to finishing the coaster with beautiful arches and embellishments. The instructions are clear, and you’ll learn important techniques such as double crochets, chain stitches, and slip stitches.
The most attractive feature of this coaster is its intricate combination of double crochets and chain spaces, which leads to elegant arches and a decorative design. The lightweight construction ensures that it’s both functional and attractive, while the optional starching process adds durability. With Anerom’s guidance, making this coaster can be a fun and rewarding project. Try it, and you’ll have a stunning little handmade item to brighten any room.
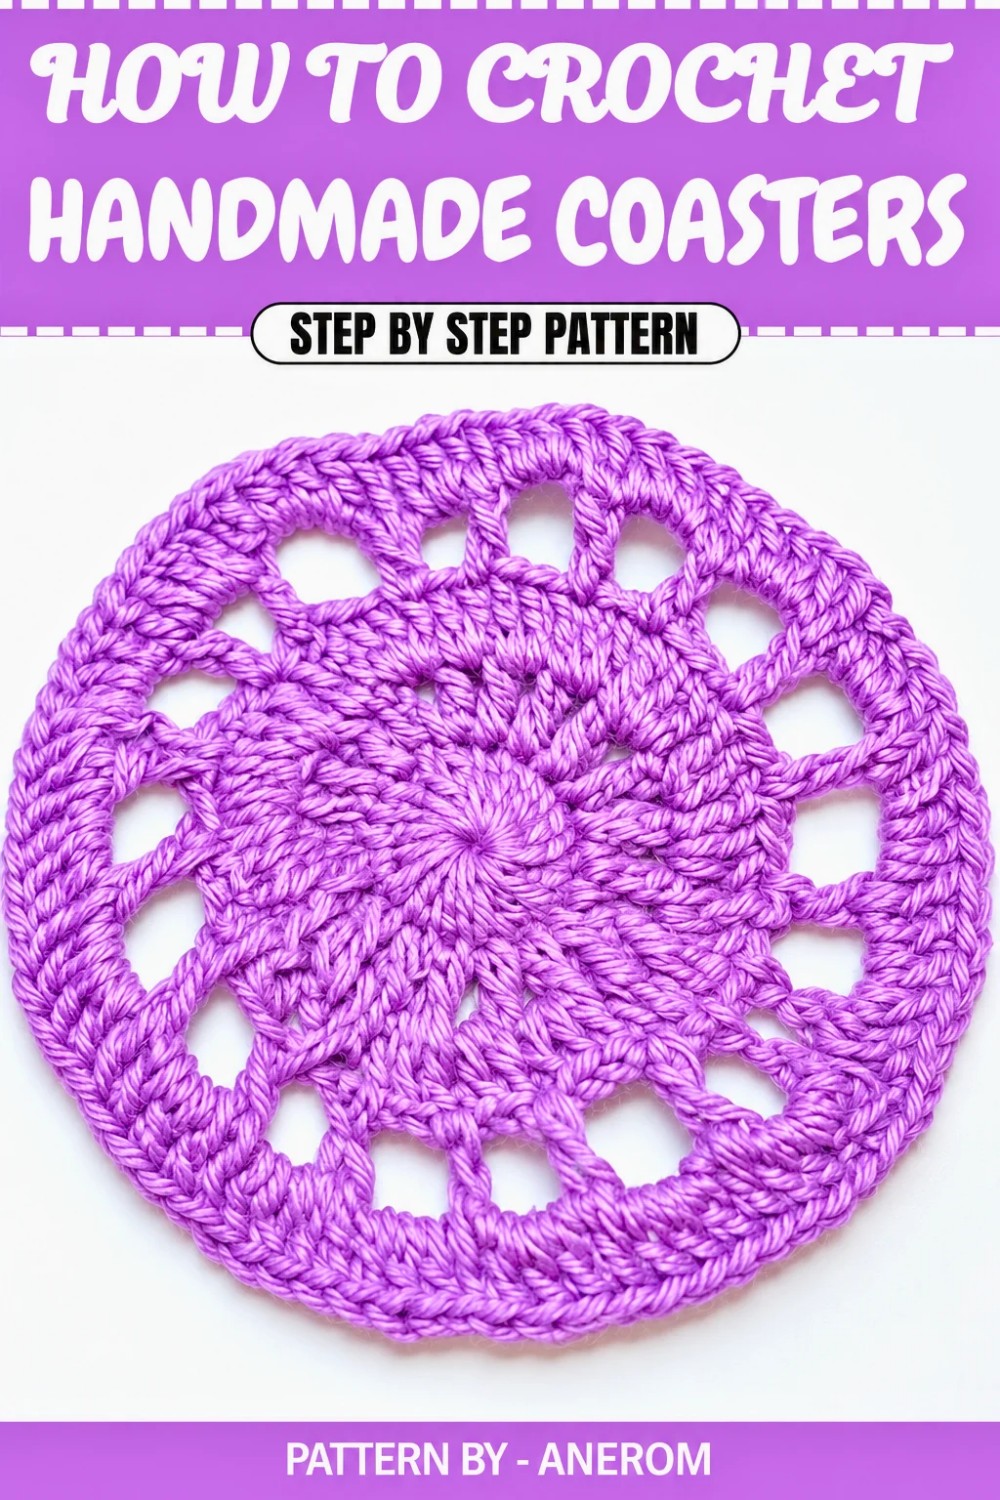
Crochet Pattern: Stiffened Coaster
In this tutorial, I’ll show you how to crochet this beautiful coaster, which can be stiffened for a rigid and polished finish. Whether you prefer the softer version or the stiffened one, this project is quick and simple to make. I’ll also share my method for stiffening the coaster using vinyl glue mixed with water, which works perfectly to give your project a durable, stable finish.
Quick Overview Of Pattern
- Project Type: Crochet coaster (stiffened optional)
- Uses: Protect surfaces, add charm to your table setting, or give as a handmade gift
- Customization: Perfect for cotton thread; size can vary based on yarn weight used
Notes
- You can stiffen the coaster using a mixture of vinyl glue with water (very little water). Apply with a brush, let it dry overnight, and the coaster will stay rigid.
- Avoid using 100% acrylic yarn unless it’s very thin. Thicker acrylic yarns make the coaster bulky and unstable for glassware.
- Use cotton yarn or any smooth, thin thread to create a stable and elegant finish.
Skill Level
Easy – This pattern uses basic crochet techniques, including chains, double crochets, and slip stitches.
Materials
- Yarn:
- Cotton or cotton blend yarn (recommended: 50% cotton, 50% acrylic)
- Crochet Hook: 2.5 mm hook
- Vinyl Glue: Optional (for stiffening)
- Water: Very little (optional, for stiffening)
- Paintbrush: To apply glue evenly
- Scissors
- Yarn Needle: To weave in ends
Measurements / Sizing
The final coaster measures around 8–10 cm (3–4 inches) in diameter, depending on the yarn weight and hook size used.
Gauge
Gauge is not critical for this project. Use a smaller hook to ensure tight stitches for a stiff finish.
Stitch Abbreviations
- ch: Chain
- dc: Double crochet (maglia alta)
- sc: Single crochet (maglia bassa)
- sl st: Slip stitch
- st(s): Stitch(es)
Special Stitches
Magic Ring (MR):
Start by creating a loop with the yarn, insert the hook into the loop, yarn over, and pull through. Work your stitches within the loop and pull the tail tight to close.
The Crochet Pattern
Step 1: Begin the Base
- Magic Ring: Start with a magic ring using your chosen yarn.
- Round 1: Chain 3 (this counts as your first dc). Work 19 dc into the magic ring. Pull the tail to close the ring and form a tight circle. [Total: 20 dc]
- Slip stitch into the third chain from the beginning to close the round.
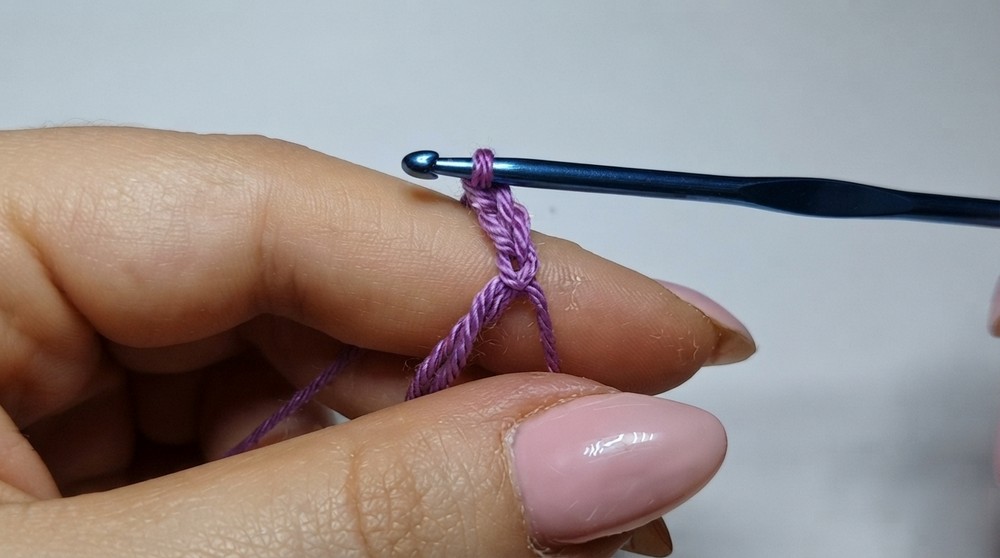
Step 2: Add Alternating Stitches
- Round 2: Chain 4 (this counts as 1 dc + 1 ch).
- In the next stitch, work 1 dc.
- Chain 1, work 1 dc in the next stitch.
- Repeat [1 dc, 1 ch] all around. [Total: 20 dc, 20 ch spaces]
- Slip stitch into the third chain from the beginning to close the round.
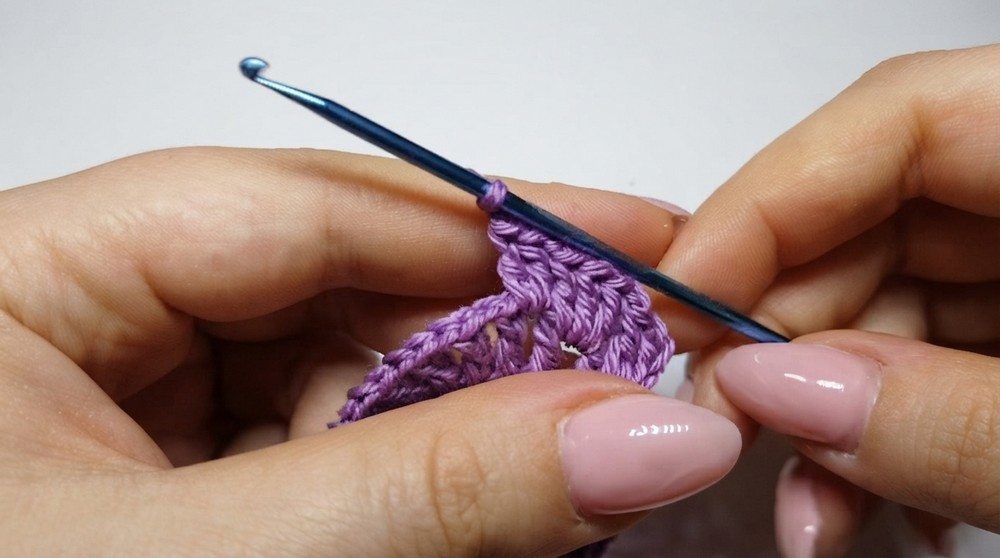
Step 3: Work Into Chain Spaces
- Round 3: Chain 3 (counts as 1 dc). Work the following sequence:
- In the next ch space, crochet 2 dc.
- Chain 1, move to the next ch space and crochet 3 dc.
- Chain 1, crochet 2 dc in the next ch space.
- Alternate between [2 dc, ch 1] and [3 dc, ch 1] all around.
- Slip stitch into the third chain from the beginning to close.
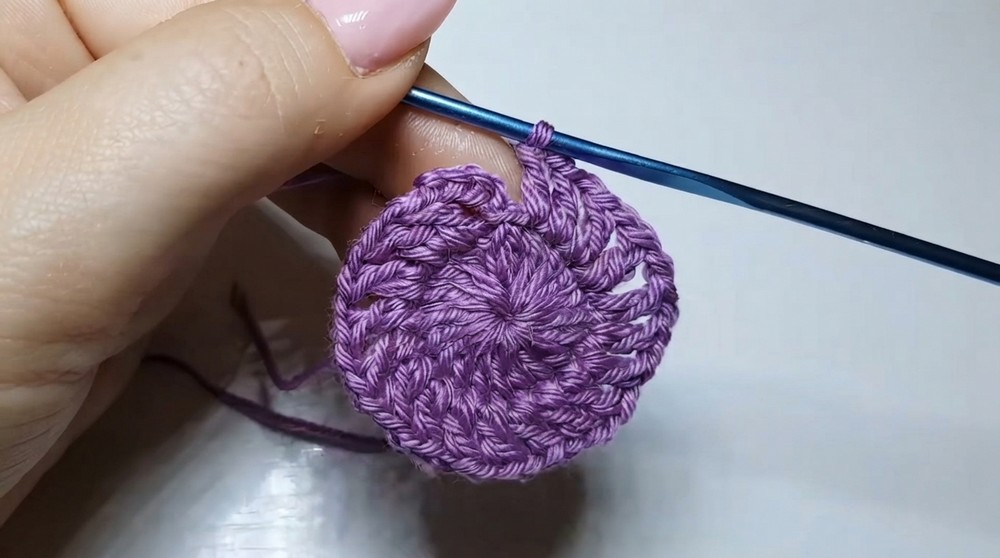
Step 4: Expand the Coaster
- Round 4: Chain 4 (counts as 1 dc + 1 ch).
- Work 1 dc in each chain space created by the previous round.
- Chain 4, work 1 dc into the next chain space.
- Repeat [4 ch, 1 dc in ch space] for the entire round.
- Slip stitch into the third chain to close.
Step 5: Final Round
- Round 5: Chain 3. In each chain space created by the previous round:
- Crochet 3 dc into the chain space.
- Work 1 dc on top of the dc stitch from the previous round.
- Alternate between [3 dc in chain space] and [1 dc over stitch] all around.
- Fasten Off: Slip stitch into the third chain from the beginning of the round. Cut the yarn and weave in the ends securely with a yarn needle.
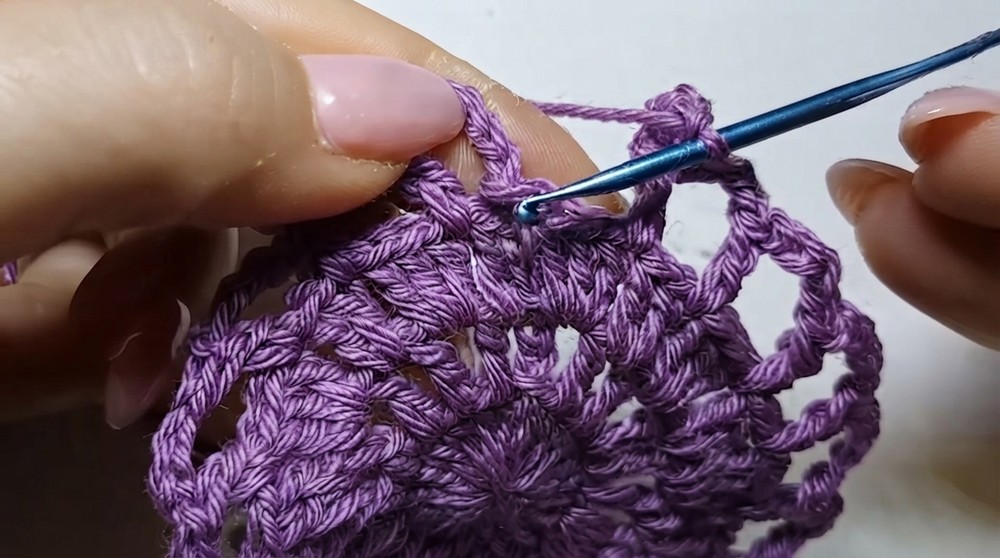
Assembly & Finished Size
Once the coaster is completed, you can choose whether to leave it soft or stiffen it.
Optional Stiffening:
- Mix vinyl glue with a tiny amount of water to thin it slightly. Use a paintbrush to apply the mixture evenly to the surface of the coaster, both front and back.
- Let the coaster dry completely overnight. The stiffened coaster will be rigid, durable, and perfect for use as a table accessory.
After stiffening, the coaster will remain firm with a slight glossy finish.
Conclusion and Final Words
Congratulations on finishing your stiffened crochet coaster. This beautiful and functional item is perfect for protecting surfaces or adding charm to your home décor. With the option to stiffen it, you’ll have a polished, rigid design ideal for table settings.