
Free Crochet Christmas Candle Pattern that warms dinner tables
Refine your bedroom holiday setup with a Free Crochet Christmas Candle Pattern since flame free plush candles add sweet cheer to nightstands.
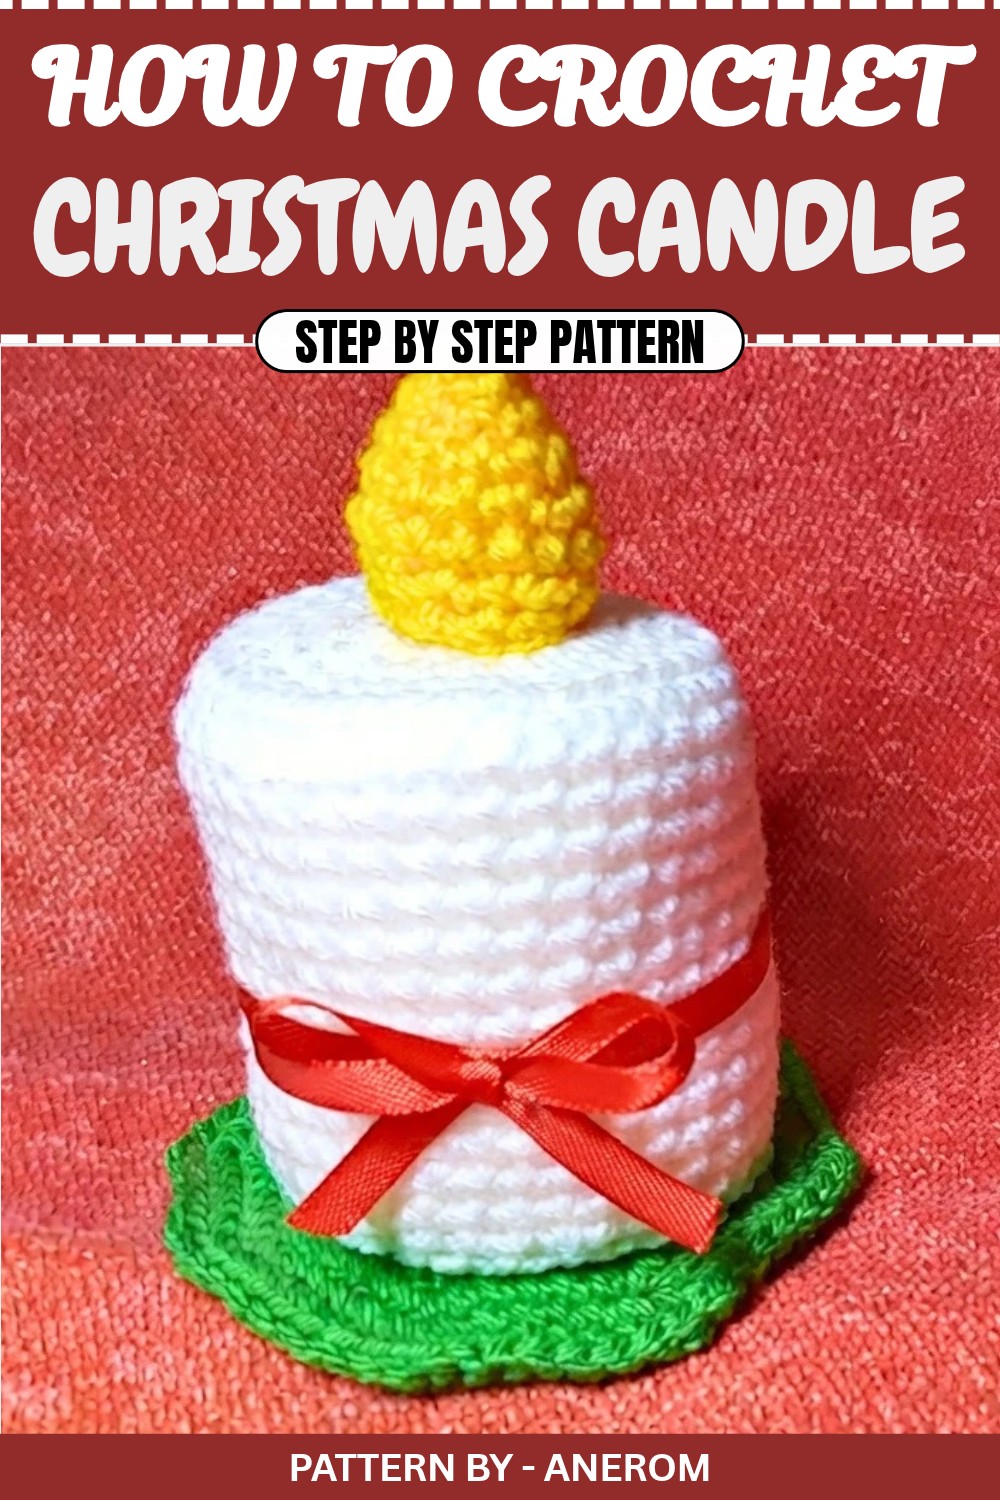
The crochet candle is a stunning addition to holiday décor that perfectly captures the warmth and charm of Christmas. Shaped like a classic festive candle, it features a sleek, upright design with a textured cylindrical body and a vibrant, glowing flame on top. The delicate red ribbon tied around the candle adds a touch of holiday spirit, making it a must have for your Christmas display. The beauty of this handmade decoration lies in the simplicity of its design, which allows you to personalize it with colors and embellishments to match your own holiday aesthetic.
Free Crochet Christmas Candle Pattern as a festive gift
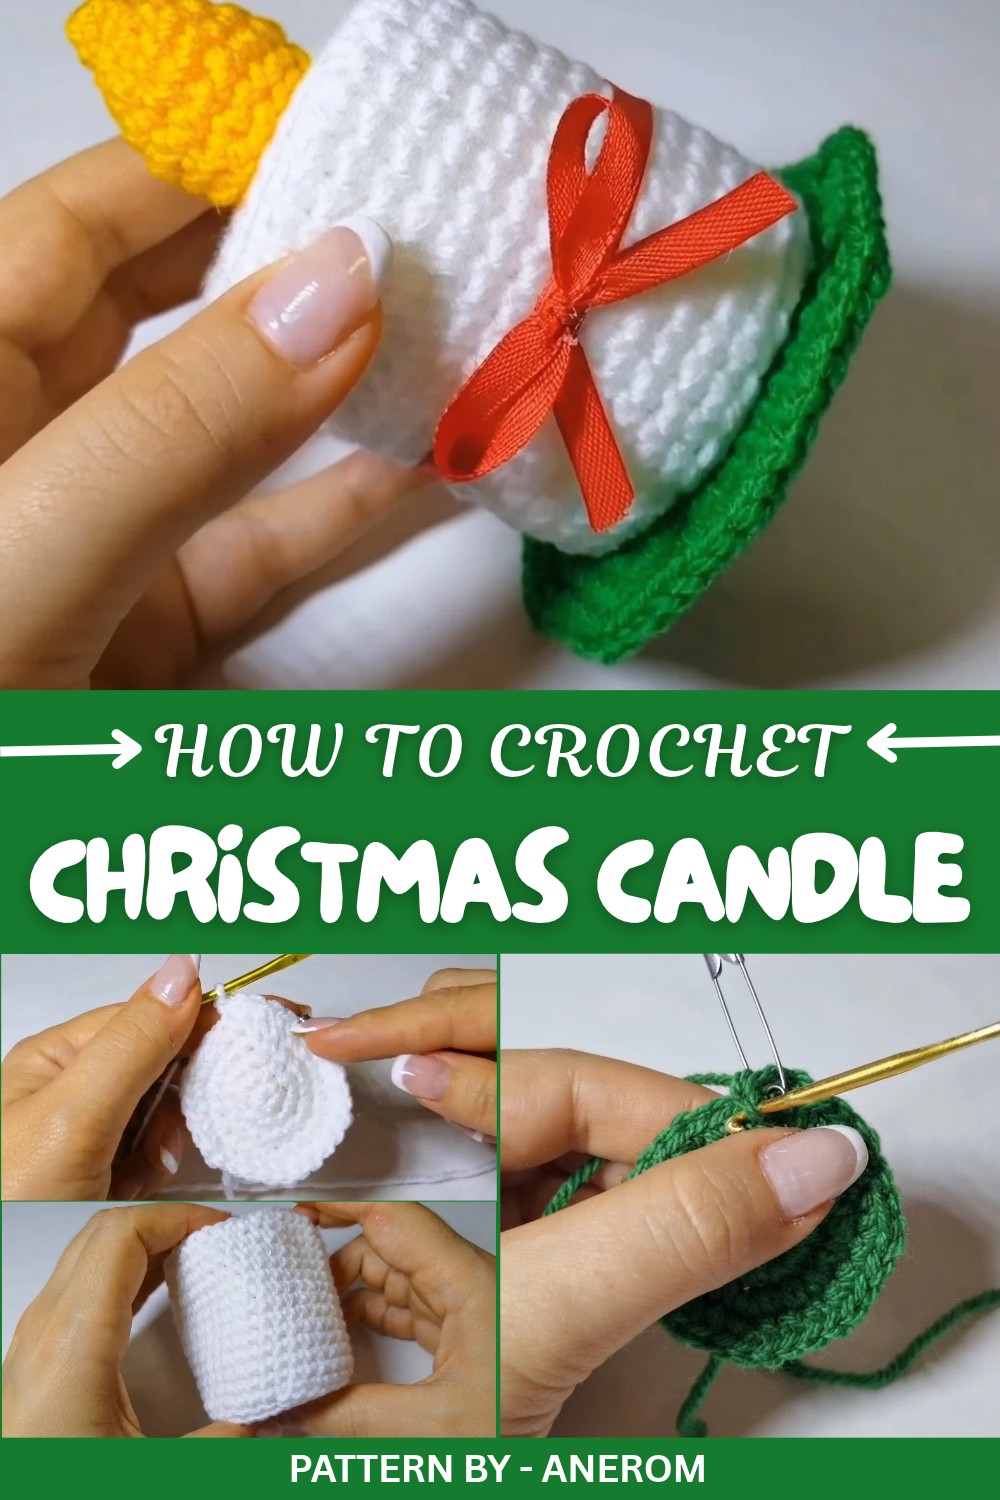
What makes this project so useful is how versatile it is, place it on your mantel, use it as a centerpiece for your Christmas dinner, or even gift it to loved ones as a heartfelt, homemade present. The candle’s timeless shape and clean details make it stand out, whether you’re decorating a traditional or modern holiday setup. Plus, the sturdy green base provides stability, allowing it to complement any surface it’s placed on.
The pattern involves working in rounds with single crochet stitches to create the candle’s body, base, and flame. The base is reinforced with cardstock circles for extra durability, while hot glue is used for easy assembly, making this project stress free for beginners. Stuffing is added to both the candle and flame to give it that soft yet firm look.
This delightful tutorial is brought to us by the talented creator behind the Anerom YouTube channel. Known for offering clear and approachable crochet guides, the channel ensures that even complex creations are made simple through detailed step by step explanations. Whether you're new to crochet or a seasoned crafter, this project is a joy to make and adds a personal touch to your festive celebrations. Give it a try and see how it lights up your holiday mood.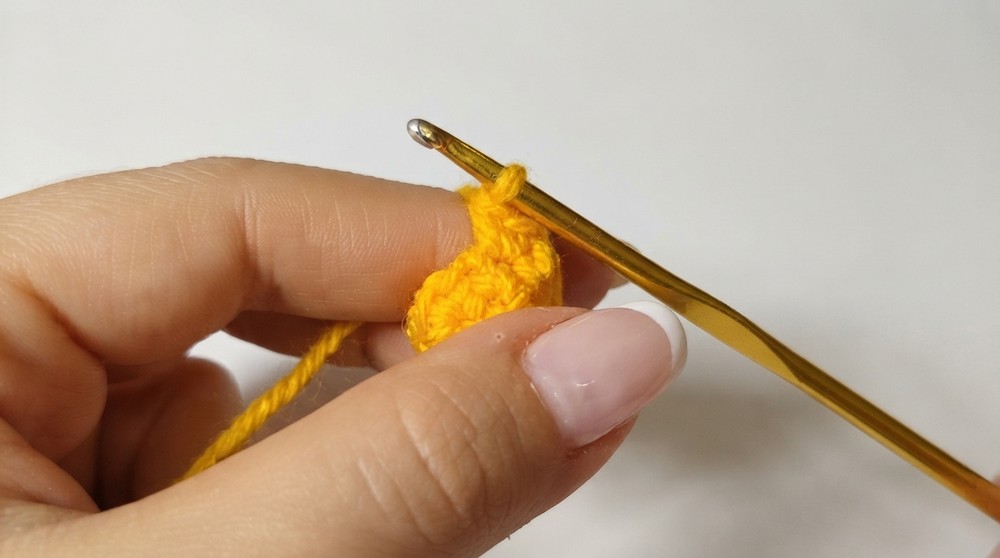
Crochet Christmas Candle Pattern
Quick Overview of Pattern
- Type: Christmas Candle Decoration
- Difficulty Level: Beginner
- Techniques Used: Magic ring, single crochet, increases, back loop only (BLO), sewing parts together
- Features: Candle body, base, flame, and red ribbon for holiday touch
Notes
- This pattern works in rounds unless specified otherwise.
- Use a stitch marker to mark the beginning of each round.
- All instructions are written in US crochet terms.
- For assembly, hot glue is used for stability, but you can sew the parts together as an alternative.
Skill Level
Beginner – Basic knowledge of single crochet, increases, decreases, and working in the round is needed.
Materials
- Yarn:
- White acrylic yarn for the candle body
- Green acrylic yarn for the base
- Yellow-orange acrylic yarn for the flame
- Red ribbon for decoration
- Hook: 3.5 mm crochet hook (or any suitable size for your yarn)
- Fiberfill for stuffing
- Cardboard circles (x2) for added stability (measure according to the base size)
- Hot glue gun (or sewing needle and thread)
- Scissors
- Stitch marker
- Tapestry needle
Measurements / Sizing
- Finished Height: Approximately 12–14 cm (including the flame)
- Base Diameter: Approximately 6–7 cm
Gauge
- Not critical for this project, but for reference: 6 single crochet stitches = 2 cm.
Stitch Abbreviations
- ch – Chain
- sc – Single Crochet
- inc – Increase (2 sc in one stitch)
- dec – Decrease (single crochet 2 stitches together)
- sl st – Slip Stitch
- BLO – Back Loop Only
Special Stitches
Magic Ring:
Create a loop with the yarn, insert the hook into the loop, pull up a loop, and chain one. Work the required number of stitches into the ring, then pull the tail tight to close the loop.
The Crochet Pattern
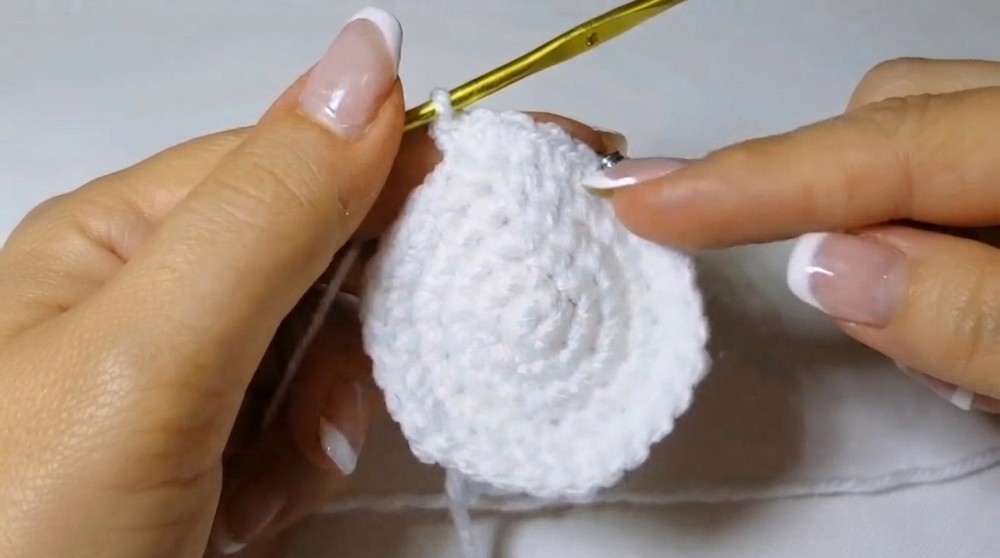
Candle Body
- Round 1: Start with a magic ring. Work 6 sc into the ring. (6 stitches)
- Round 2: Work 2 sc in each stitch around (1 inc in each stitch). (12 stitches)
- Round 3: Sc in the first stitch, inc in the next stitch — repeat around. (18 stitches)
- Round 4: Sc in the next 2 stitches, inc in the next stitch — repeat around. (24 stitches)
- Round 5: Sc in the next 3 stitches, inc in the next stitch — repeat around. (30 stitches)
- Round 6: Sc in the next 4 stitches, inc in the next stitch — repeat around. (36 stitches)
- Round 7: Work in BLO for this round. Sc in each stitch around without increasing. (36 stitches)
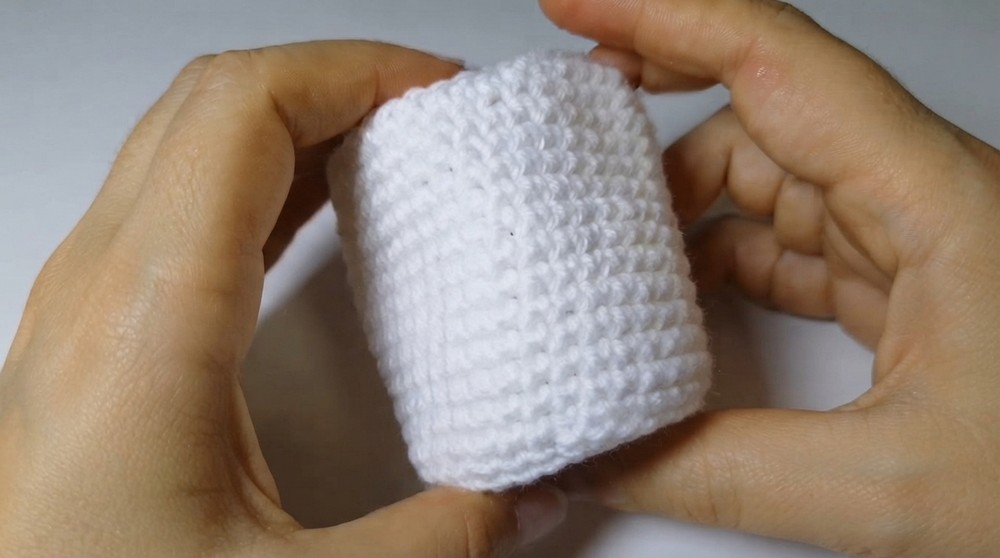
- Rounds 8–21: Work sc in each stitch around. Repeat for 14 rounds to create the height of the candle.
- Finish off: Sl st in the next stitch, fasten off, and leave a long tail for sewing.
Top of the Candle
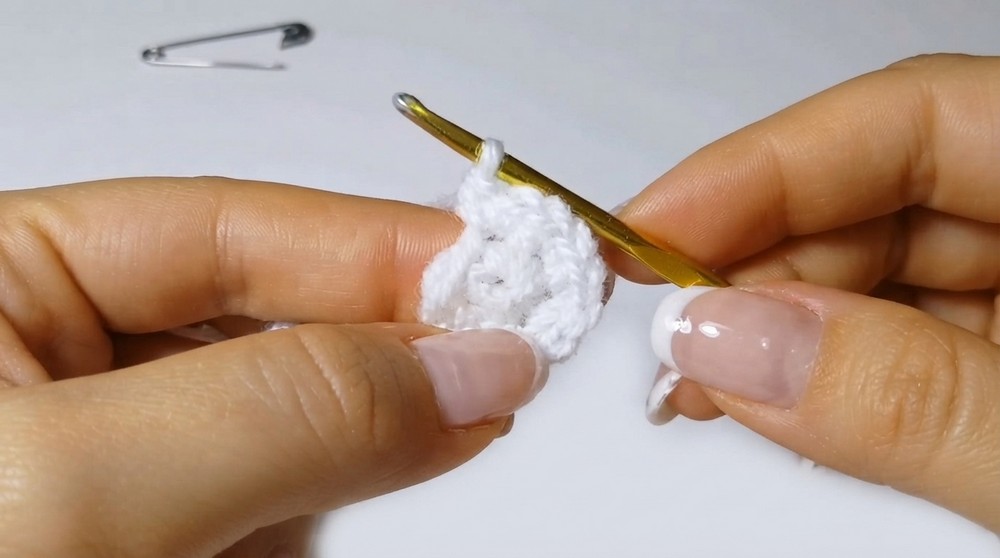
- Round 1: Start with a magic ring. Work 6 sc into the ring. (6 stitches)
- Round 2: Work 2 sc in each stitch around (1 inc in each stitch). (12 stitches)
- Round 3: Sc in the next stitch, inc in the next stitch — repeat around. (18 stitches)
- Round 4: Sc in the next 2 stitches, inc in the next stitch — repeat around. (24 stitches)
- Round 5: Sc in the next 3 stitches, inc in the next stitch — repeat around. (30 stitches)
- Round 6: Sc in the next 4 stitches, inc in the next stitch — repeat around. (36 stitches)
- Finish off: Sl st in the next stitch, fasten off, leaving a long tail for sewing.
Base of the Candle
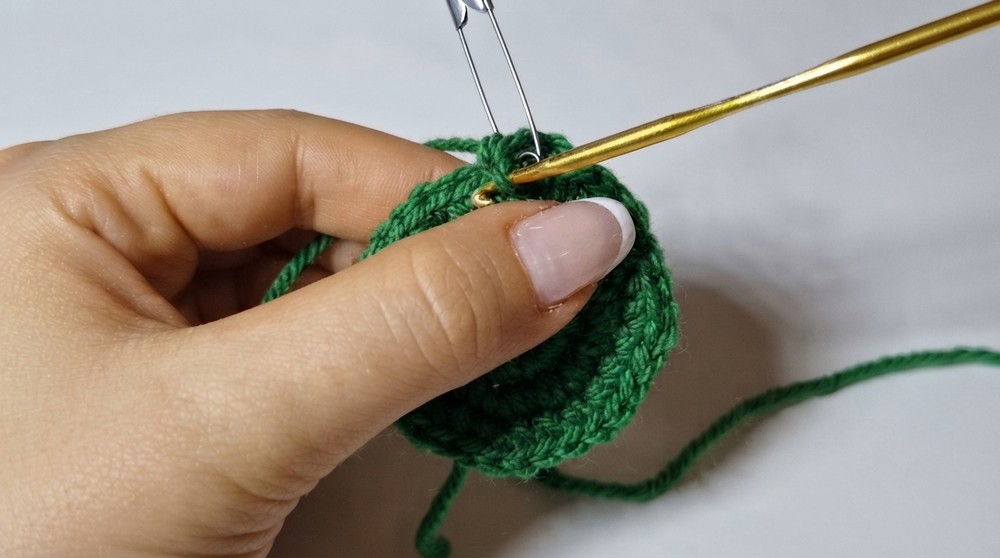
- Round 1: Start with a magic ring. Work 8 sc into the ring. (8 stitches)
- Round 2: Work 2 sc in each stitch around (1 inc in each stitch). (16 stitches)
- Round 3: Sc in the next stitch, inc in the next stitch — repeat around. (24 stitches)
- Round 4: Sc in the next 2 stitches, inc in the next stitch — repeat around. (32 stitches)
- Round 5: Sc in the next 3 stitches, inc in the next stitch — repeat around. (40 stitches)
- Round 6: Sc in the next 4 stitches, inc in the next stitch — repeat around. (48 stitches)
- Finish off: Sl st in the next stitch, fasten off, and weave in the ends.
Flame
- Round 1: Start with a magic ring. Work 5 sc into the ring. (5 stitches)
- Round 2: Sc in each stitch around. (5 stitches)
- Round 3: Work 1 inc in each stitch. (10 stitches)
- Round 4: Work 10 sc around. (10 stitches)
- Round 5: Sc in the first stitch, inc in the next stitch — repeat around. (15 stitches)
- Rounds 6–7: Sc in each stitch around. (15 stitches per round)
- Round 8: Sc in the first stitch, dec in the next stitch — repeat around. (10 stitches)
- Round 9: Sc in each stitch around. (10 stitches)
- Finish off: Sl st in the next stitch, fasten off, and leave a long tail for sewing (or weave in if you use hot glue).
Assembly & Finished Size
- Insert Base Stability:
- Cut out 2 cardboard circles that match the diameter of the candle base.
- Place one circle at the bottom inside the candle. Stuff the candle firmly with fiberfill before adding the top cardboard circle.
- Attach Top of the Candle:
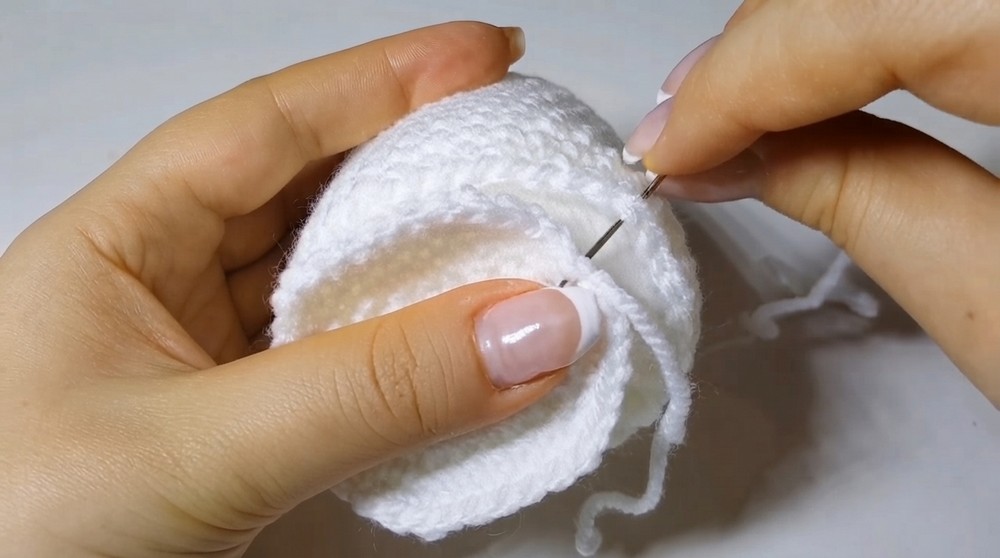
- Sew or glue the top circle (made in white) onto the candle body using the long tail left earlier. Ensure that the stuffing and cardboard are secured inside.
- Attach the Base:
- Apply a generous amount of hot glue to the bottom of the candle body and attach it to the green base. Alternatively, you can also sew the base to the candle body.
- Add the Flame:
- Stuff the flame lightly and use hot glue (or sew) to attach it at the top center of the candle.
- Decorate with Ribbon:
- Wrap a red ribbon around the candle's body and glue it securely in place with hot glue. Tie a small bow with the same ribbon and glue it to the front for a festive touch.
Conclusion
Congratulations, You’ve completed your beautiful crochet Christmas candle. This charming decoration is sure to add warmth and a handmade touch to your holiday festivities. It’s a perfect craft for beginners and a thoughtful gift for your loved ones.