
Free Crochet Beaver Amigurumi Pattern With Bobble Paws
Stitch this free crochet beaver amigurumi pattern to make a cute pocket piece and make your own simple amigurumi animal companion today.
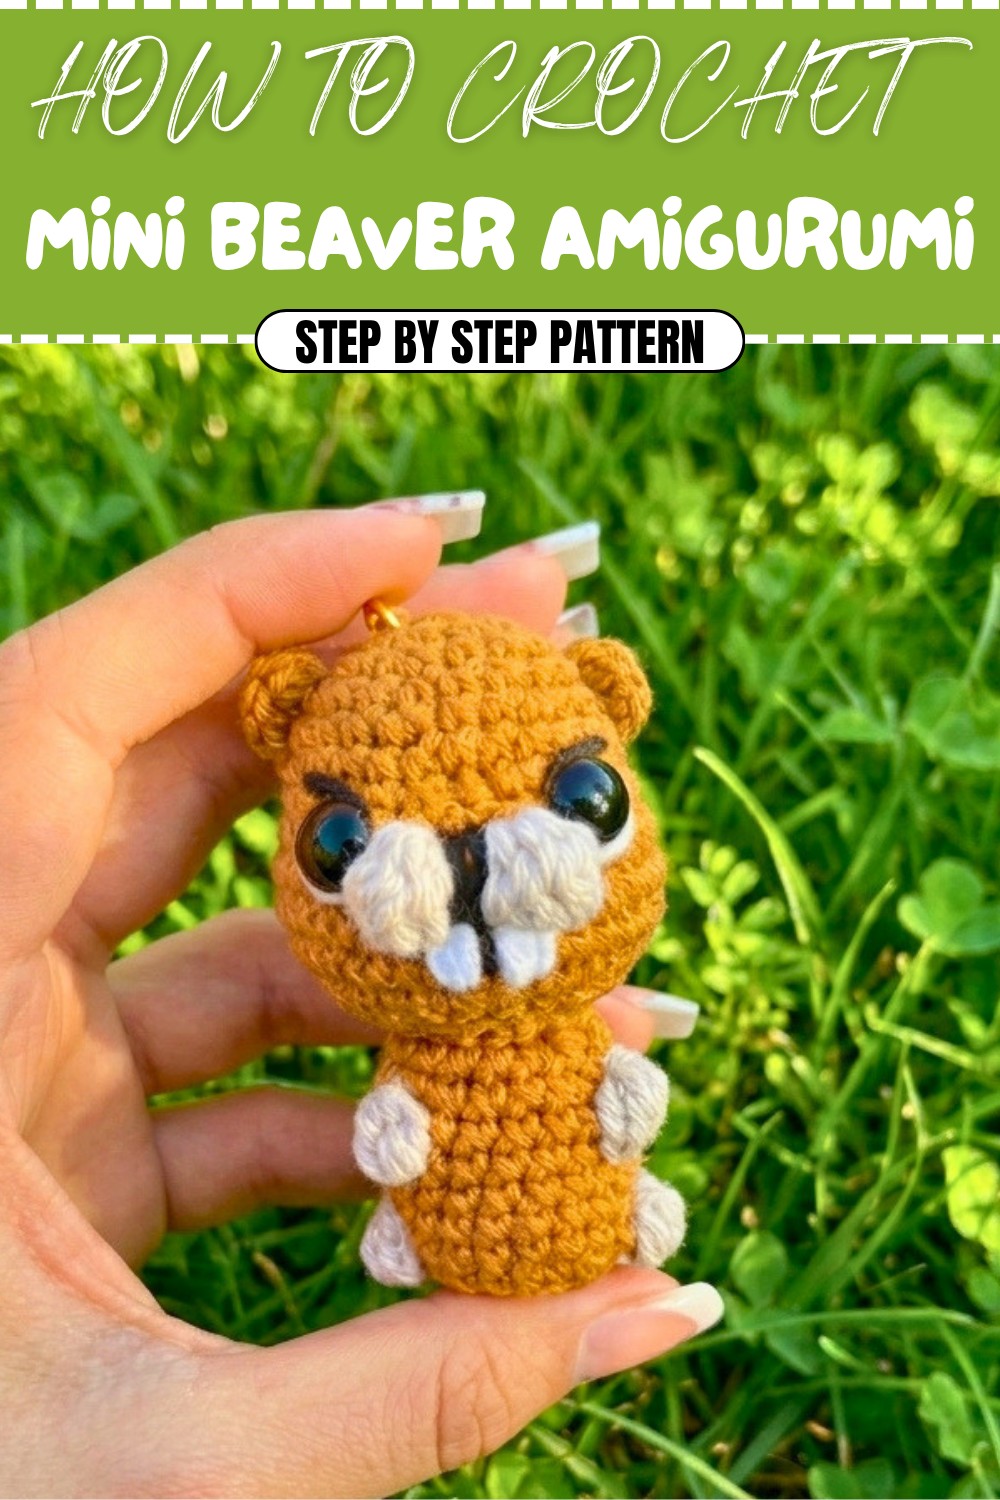
If you’re looking for a charming and simple crochet project, this pocket-sized beaver keychain is the perfect place to start. Measuring just seven to eight centimeters tall, this little beaver makes for a delightful accessory or thoughtful handmade gift. The pattern is beginner-friendly, relying on smooth rounds and basic stitches to make the process both easy and enjoyable, yet producing a neat and polished result.
Crochet Beaver Amigurumi Free Pattern For Fun
To create this adorable beaver, you’ll need small amounts of brown, gray, and black yarn, ideal for using up leftovers from your stash. The project begins with crocheting a cozy, round head, inserting safety eyes, and stuffing it until it’s nicely plump. The body follows, featuring a clever technique where the tiny paws are made directly into the body with textured bobble stitches, eliminating the need for extra assembly steps.
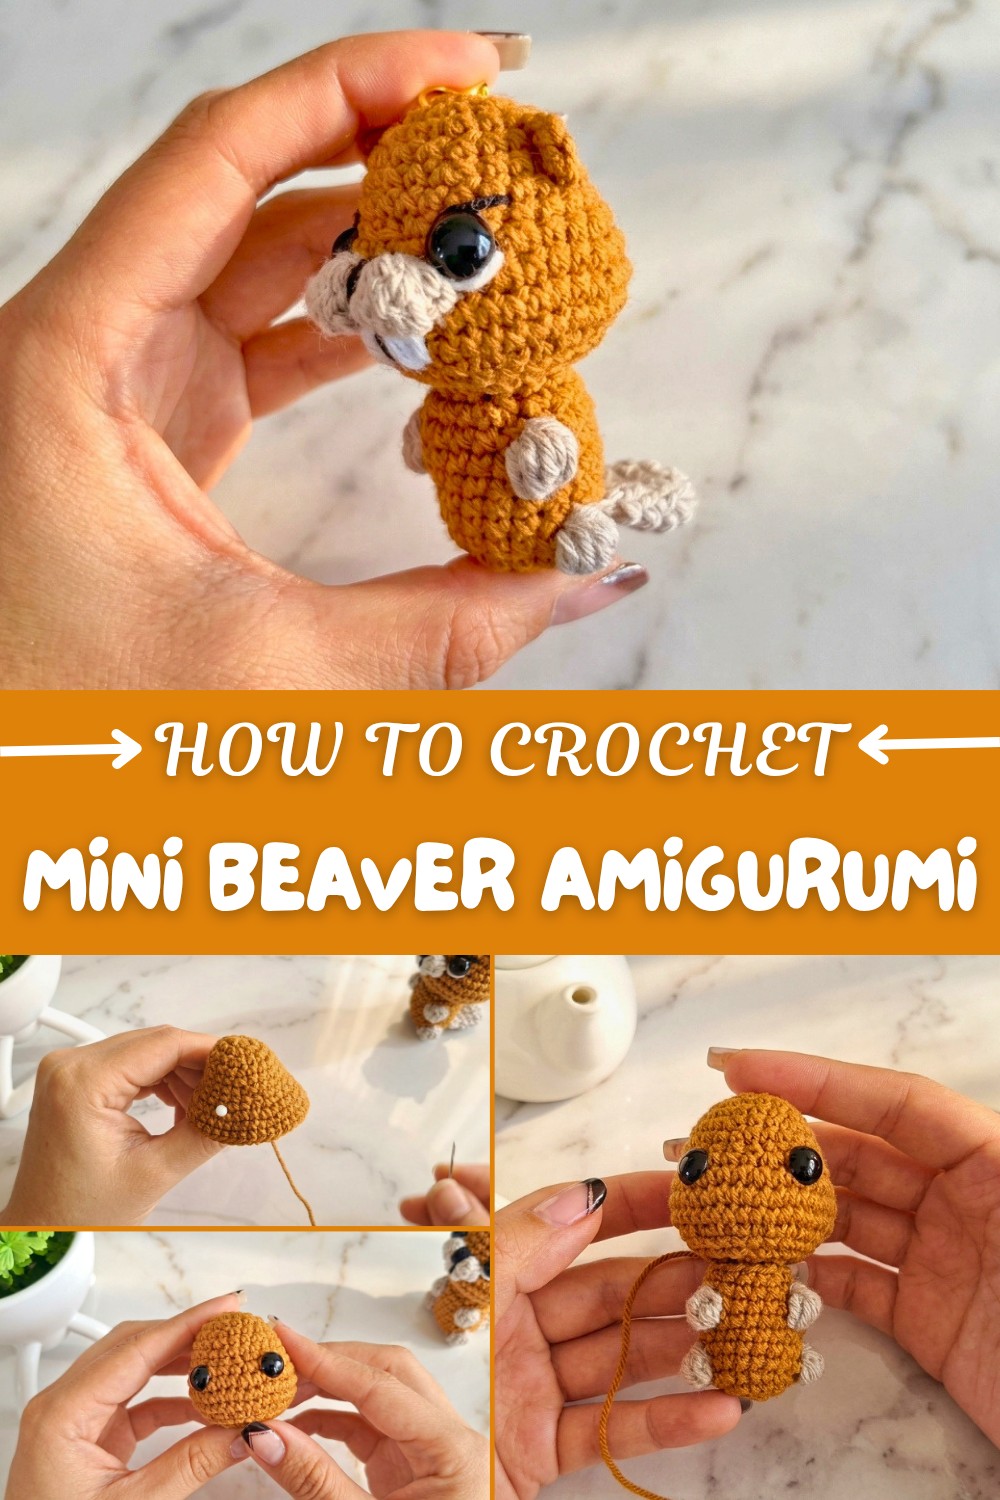
After the main body and head are finished, you’ll add personality by crocheting two small ears and a wide, flat tail, which are then attached to the back. Final facial features, including chubby cheeks, a tiny nose, and classic white beaver teeth are stitched on with embroidery thread.
For a functional finishing touch, simply secure a metal key ring at the top, and your handcrafted beaver is ready to accompany your keys or brighten someone’s day as a cute gift.
Mini Beaver Amigurumi Keychain Crochet Pattern
You’ll crochet a cute Mini Beaver measuring about 7–8 cm tall. Featuring prominent front teeth, sweet cheeks, and a little tail, it’s perfect as a keychain, a small gift, or adorable desk companion. This pattern combines standard amigurumi methods (magic ring, increases, decreases), easy color changes, bobble stitches, and basic embroidery for the face, making it a fun project for adventurous beginners and more experienced crocheters alike.
Skill Level & Terminology
- Skill Level: Confident Beginner/Intermediate
- Terminology: US Crochet Terms
Materials & Tools
- Yarn:
- Brown (main)
- Light brown/lead (for paws/feet and body accents)
- Black (for nose, mouth, embroidery)
- White (for teeth and face details)
- Crochet Hook: 2.5 mm
- Stuffing: Hypoallergenic fiberfill
- Tapestry Needle
- Scissors
- Stitch Marker
- Pins
- 9mm Safety Eyes
- Keyring (optional for keychain)
Gauge
Gauge is not crucial for amigurumi, but the fabric should be tight enough that stuffing does not show. The finished beaver is about 7–8 cm tall.
Abbreviations List
| Abbr. | Meaning |
|---|---|
| MR | Magic ring |
| ch | Chain |
| sc | Single crochet |
| inc | Increase (2 sc in same st) |
| dec | Decrease (sc2tog) |
| sl st | Slip stitch |
| st(s) | Stitch(es) |
| FO | Fasten off |
| BL | Back loop |
Special Stitch Instructions
- Bobble Stitch (5 loops):
- (Yo, insert hook in stitch, yo, pull up loop) x5 times in same stitch, then yo, pull through all loops on hook.
- Invisible Decrease: Work decrease in the front loops only of the next two stitches.
- Magic Ring (MR):
- Wrap yarn into a ring, insert hook, pull up loop, ch 1, and work stitches into ring; pull tail to tighten.
Finished Size
Approx. 7–8 cm tall (2.75–3.15”), customizable by yarn and hook used.
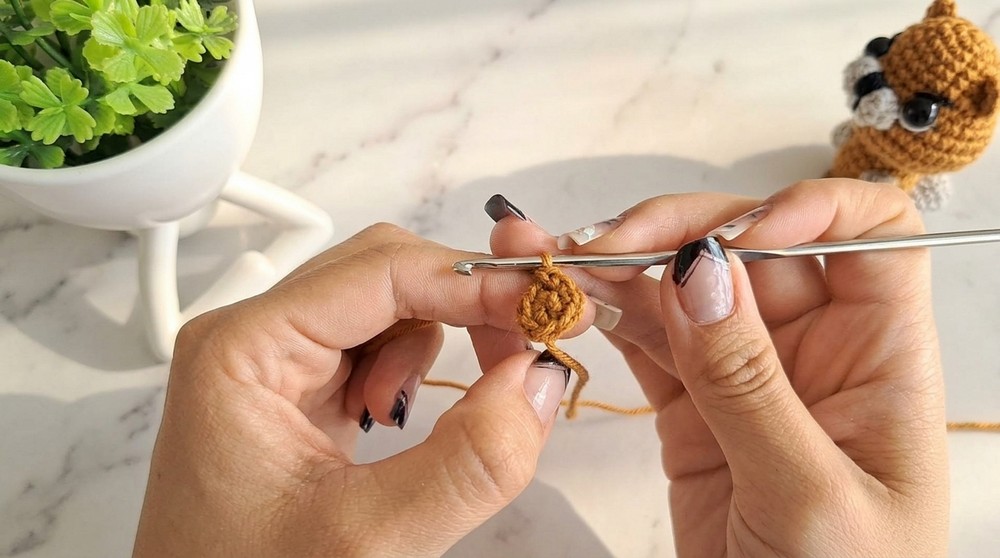
Stitches Used & How To Start
This project is worked in continuous rounds using single crochet, increase, decrease, and bobble stitches. Start each piece with a magic ring. Facial features and details are added with simple embroidery and color changes. If unfamiliar with reading patterns, work mostly in spiral rounds and use pins for accurate part placement.
Certainly! Here is a summarized version of the three informative paragraphs for the start, mid, and end of your pattern:
Amigurumi offers endless creative opportunities, and this mini beaver project will introduce you to essential techniques like shaping, color changes, and simple embroidery—all perfect for both beginners and experienced crocheters.
The Pattern Itself
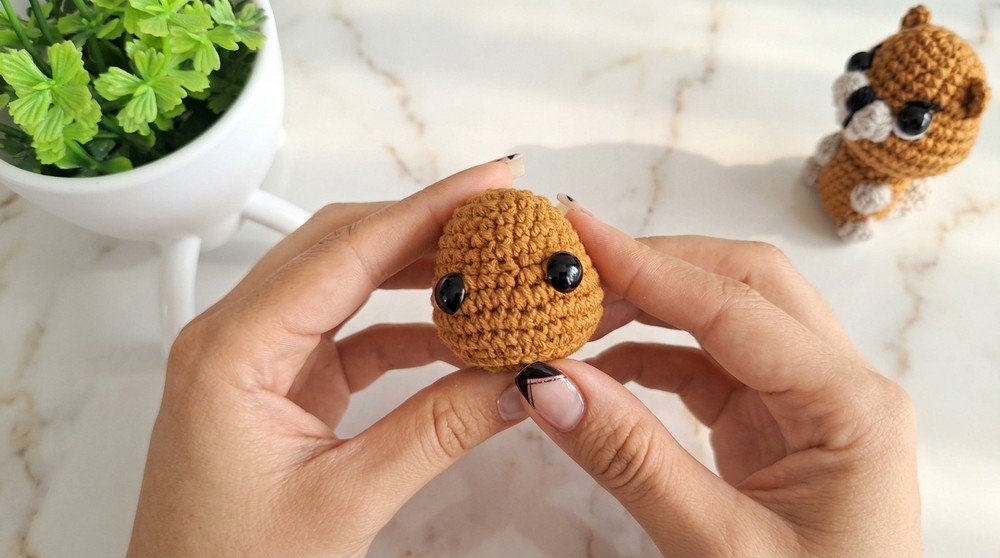
HEAD
With brown yarn:
- R1: MR, 6 sc in ring (6).
- R2: (inc) x6 (12).
- R3: (sc, inc) x6 (18). Place stitch marker.
- R4: sc in each st around (18).
- R5: (sc x2, inc) x6 (24).
- R6: sc in each st around (24).
- R7: (dec, sc x10) x2 (22).
- R8: (inc, sc x2) x7, inc in last st (30).
- R9: (inc, sc x3) x7, inc, sc (38).
- R10–11: sc in each st around (38, 2 rounds).
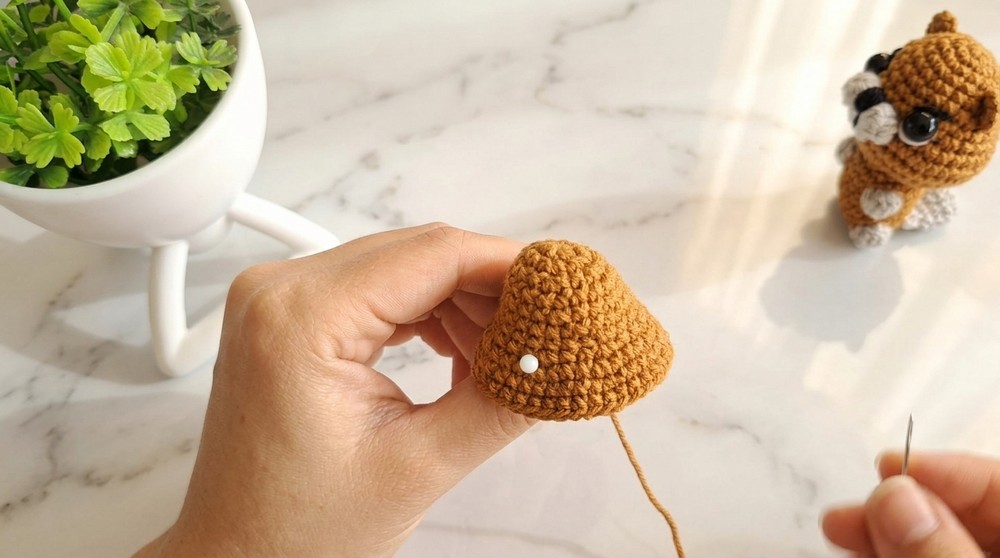
Place safety eyes between rounds 8 and 9, about 5 stitches apart.
- R12: (dec, sc) x12, dec, sc (25).
- R13: sc in each st around (25).
- R14: (dec) x12, sc (13).
- Stuff head firmly.
- R15: (dec) x6, sc (7).
- Cut yarn, use tapestry needle to weave through front loops of final 7 sts, pull tight to close and hide end.
If you don’t read patterns: Start with a magic circle, increase until round, place eyes, and decrease as you stuff, then close the top tightly.
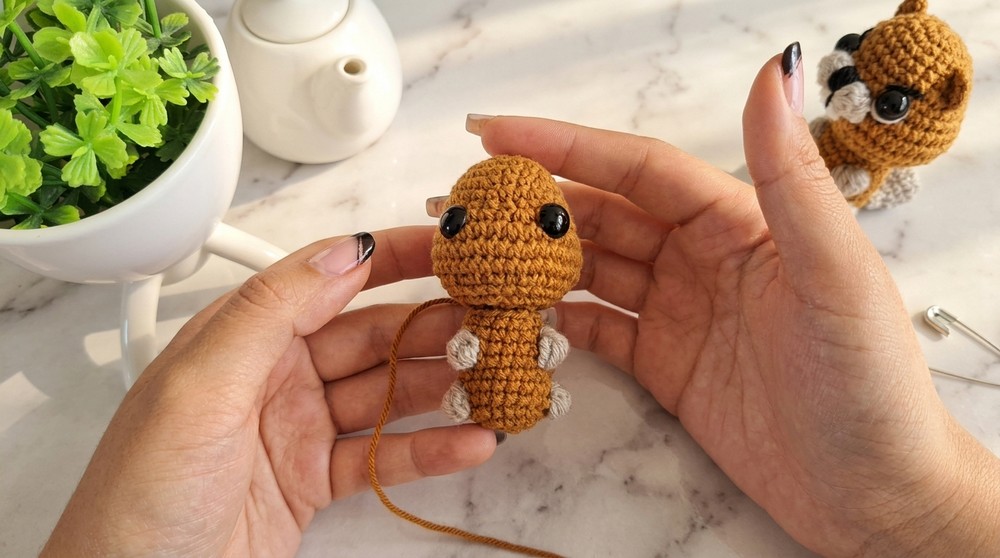
BODY
With brown yarn:
- R1: MR, 6 sc (6).
- R2: (inc) x6 (12).
- R3: (sc, inc) x6 (18).
R4 (Feet - Use light brown):
- Switch to light brown.
- sc x4, bobble stitch (with lead color), switch back to light brown: sc x8, bobble stitch (lead), switch to brown, sc x4 (18).
- Tie/cut color changes at the back after each bobble.
R5–R7: sc in each st around with light brown (18, 3 rounds).
R8 (Arms):
- sc x6, bobble stitch (lead), sc x5, bobble stitch (lead), sc x5 (18).
R9: sc in each st around with brown (18).
R10: (dec, sc x5) x2, dec, sc x2 (15).
Cut yarn, FO leaving long tail to sew body to head.
- Stuff the body before attaching.
If not pattern-savvy: Work increases for a tube, add ruffled bumps (bobble stitches) at the side for feet and arms, then decrease and stuff before closing.
As you crochet through the pattern, you’ll see your beaver take shape with unique details such as bobble stitch paws and carefully placed safety eyes. Personal touches added during assembly make each beaver expressive and one-of-a-kind.
EARS (Make 2)
With brown:
- MR, 4 sc. Sl st, ch 1, cut yarn leaving tail for sewing.
- Make 2 flat ovals; do not stuff.
CHEEKS (Make 2)
With white:
- MR, bobble stitch (5 loops), ch 1, sl st, ch 1, cut yarn.
- Make 2, leaving tail for sewing.
TAIL
With brown:
- MR, 5 sc (5).
- (inc) x5 (10).
- R3–R5: sc in each st (10; 3 rounds).
- Fold in half, sc through both layers to close (5 sc), fasten off with tail for sewing.
ASSEMBLY & FINISHING
- Embroider facial details:
- Sunken eyes: Using brown or black thread, insert needle from top of head out below one eye, then insert below second eye and exit at top. Pull gently to indent eyes, knot and hide ends.
- Eyebrows: Black thread, two lines per brow, slightly curved above each eye.
- Under-eye marks: Embroider below each eye with white thread for cuteness.
- Nose & mouth: Black thread—embroider a small triangle for the nose between the cheeks, and vertical lines to divide and accentuate the teeth.
- Sew cheeks between rounds 9–10, just below eyes.
- Embroider teeth: With white, vertically below nose, about 2–3 stitches tall and thick, centered between cheeks.
- Sew ears: Two stitches to side of the eyebrow and three below magic ring on head; use pins for even placement.
- Sew head securely to body. Fill body as you go for firmness.
- Sew on tail: At third row from body magic ring, centered on the back.
- Attach keyring at top if making a keychain.
If you don’t read patterns: Attach all parts where shown, embroider face details by copying a beaver’s photo, and use plenty of stuffing.
Finishing your beaver is a rewarding experience as you add final details, assemble all parts, and attach the keychain. Celebrate your new skills and enjoy sharing or gifting your adorable handmade amigurumi.
Conclusion
Congrats! You’ve completed your mini beaver amigurumi. This project uses the magic ring, single crochet, increase, decrease, color changes, bobble stitches for paws, and basic embroidery for a cute, well-finished look. Try different shades for the body, add a ribbon, or scale up with thicker yarn.