
Easy Crochet Granny Stripe Stitch Pattern for Everyday Projects
Try the Free Crochet Granny Stripe Stitch Pattern for quick and happy stripes, perfect for kids or anyone who loves bright colors.
Crocheting can be a wonderful way to unwind while creating something beautiful and useful. This pattern features clusters of three double crochet stitches, called granny clusters, which come together to form charming stripes with a textured, petal-like appearance. The design is straightforward, working best with a foundation chain made in multiples of three plus four extra stitches for the edges, helping keep the rows neat and the sides straight.
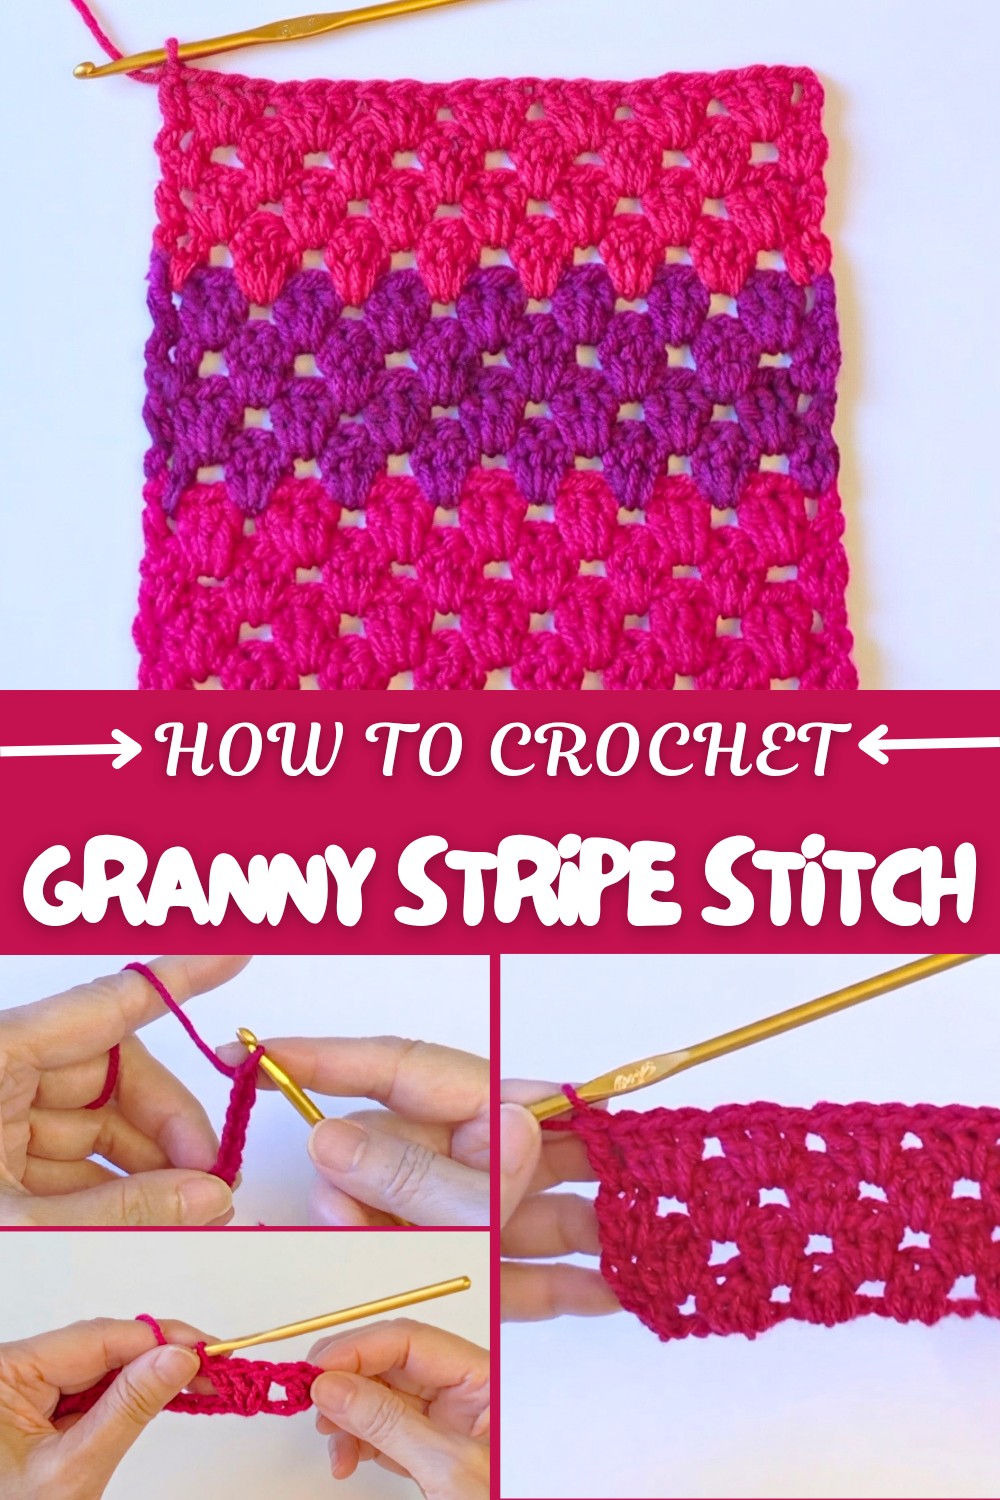
The magic of this stitch lies in the way the granny clusters build up across the rows, offering an appealing rhythm and flow. Edges are carefully shaped using single and double crochet stitches, giving the piece a clean, professional look without curling. It’s a gentle pattern that’s easy to learn, making it ideal for beginners but elegant enough for advanced crocheters wanting a quick, satisfying project.
With every row, the fabric grows with soft, textured stripes that feel both warm and lightweight. The balance between the clusters and open spaces creates an airy feel, perfect for crocheting cozy blankets, scarves, or even stylish beanies. The repetitive nature of the stitch helps build confidence and makes it fun to watch your work take shape.
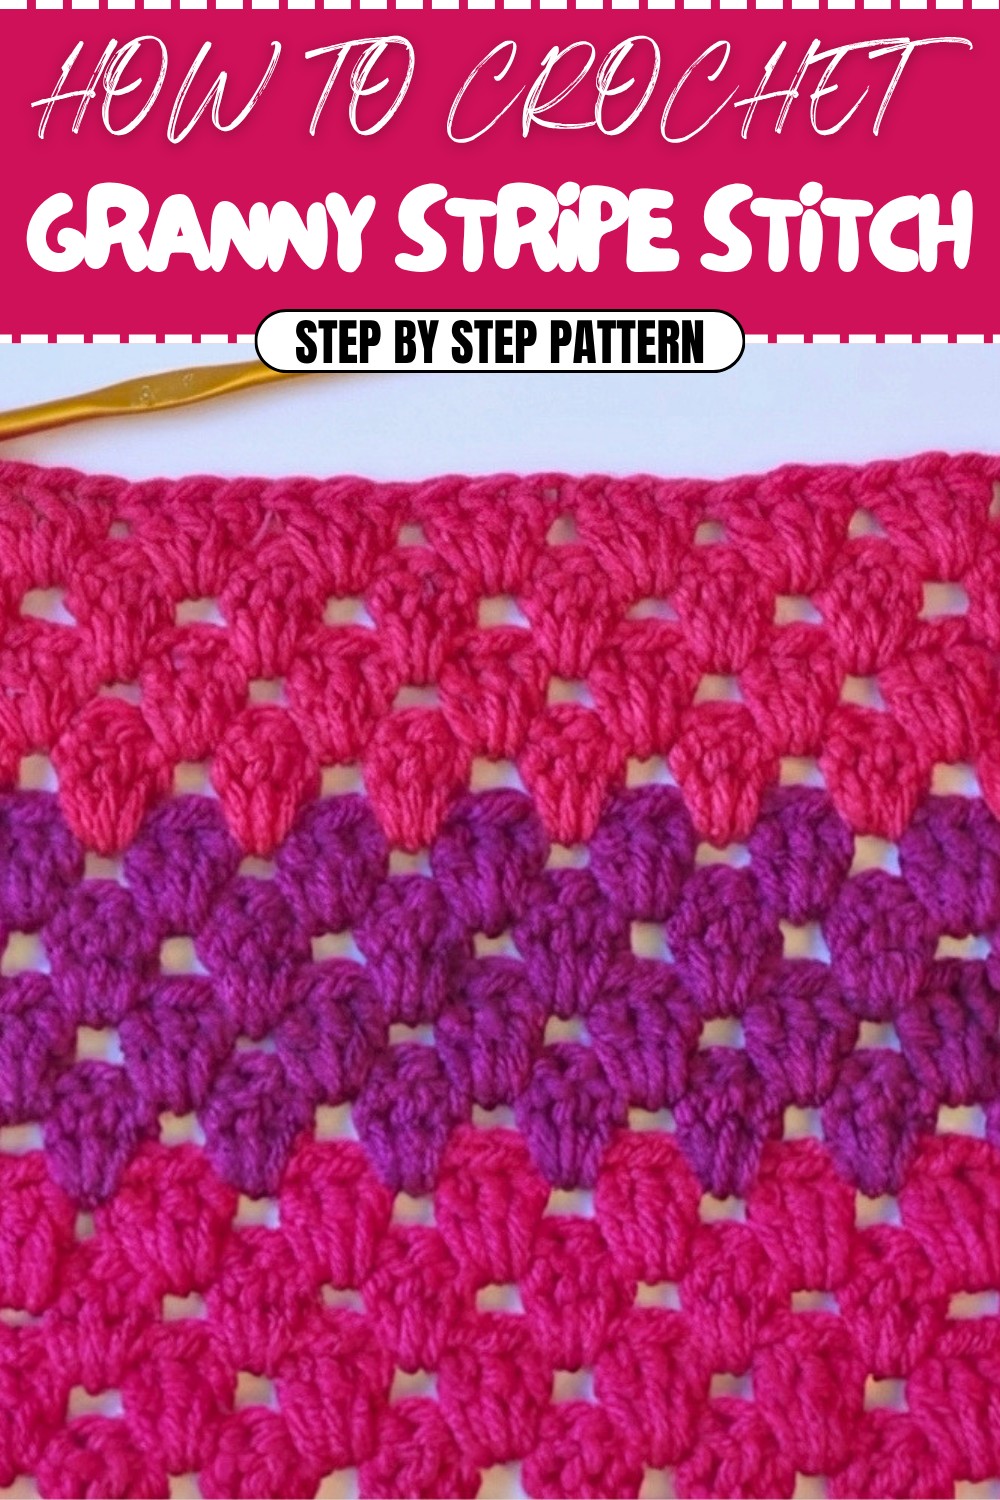
This versatile stitch pattern is also excellent for making cardigans, cushion covers, or wraps. By changing colors or yarn types, you can customize each project to suit your style or home décor. Whether you’re creating gifts or treating yourself, this stitch offers endless possibilities to explore your creativity and make beautiful, lasting crochet items.
Crochet Pattern: Granny Stitch
The granny stitch is a beloved foundational pattern in crochet, creating a stunning texture with clusters of three double crochet stitches worked together. Quick to learn and simple to repeat, this stitch pattern is ideal for projects such as blankets, scarves, and beanies. Its repetitive nature makes it a relaxing and gratifying technique for both beginners and experienced crocheters alike.
Skill Level & Terminology
- Skill Level: Beginner
- Terminology: This pattern uses US crochet terms.
The granny stitch is fantastic for crocheters who are just starting out and want to explore textured patterns. Because of its straightforward nature, it helps beginners master spacing, clusters, and maintaining straight edges.
Materials & Tools
You’ll need:
- Yarn: Any soft yarn (size 4 medium-weight yarn recommended for this tutorial).
- Hook: Crochet hook suitable for your chosen yarn (5 mm hook suggested for medium-weight yarn).
- Notions:
- Scissors
- Yarn needle
Gauge
Gauge is not crucial for this project, as the pattern works beautifully in most sizes. For reference:
- Approximate gauge: One granny cluster measures 1 inch wide by 1 inch tall when using medium-weight yarn and a 5 mm hook.
Abbreviations
Here’s a helpful reference to the abbreviations used in this pattern:
- ch: Chain
- dc: Double crochet
- granny cluster: A group of 3 double crochet stitches worked into the same space.
Special Stitch Instructions
Double Crochet (dc):
- Yarn over, insert your hook into the stitch or space, and pull up a loop (3 loops on hook).
- Yarn over and draw through 2 loops (leaving 2 loops on hook).
- Yarn over again and draw through both loops (dc complete).
Granny Cluster:
- Yarn over, insert your hook into the designated space, and pull up a loop (3 loops on hook).
- Yarn over and pull through 2 loops (leaving 2 loops on the hook), then yarn over and pull through the next 2 loops (dc complete).
- Repeat two more double crochet stitches in the same space to create a granny cluster.
Finished Size
The completed size of your project depends on how many rows you repeat. For example:
- Sample Swatch: Approximately 6 x 6 inches with 4 rows using medium-weight yarn on a 5 mm hook.
- Repeat rows for larger projects such as blankets and scarves.
What You’ll Learn from This Pattern
By working through this pattern, you’ll learn:
- How to create granny clusters and arrange them evenly across rows.
- Techniques for maintaining straight edges, ensuring polished finishes.
- How to scale your project for various dimensions by adjusting the foundation chain.
The Pattern Itself
Step 1: Foundation Chain
- Chain a multiple of 3 plus 4 stitches for the foundation.
- Example: Ch 22 for a sample swatch.
- Keep your chain relaxed to avoid tightness that could distort the edges.

The foundation chain sets the desired width of your project. This simple starting point ensures even spacing throughout the pattern.
Step 2: Row 1 – Establish Granny Clusters
- Ch 3 (counts as the first dc), then dc into the 4th chain from the hook.
- These first two stitches keep the edges straight.
- Yarn over, skip 2 chains, and work a granny cluster (dc, dc, dc) into the next chain.
- Skip 2 chains, then cluster into the next chain.
- Repeat the sequence (skip 2 chains, granny cluster) across the row until 3 chains remain at the end.
- Skip 2 chains, then work 2 dc into the last chain.
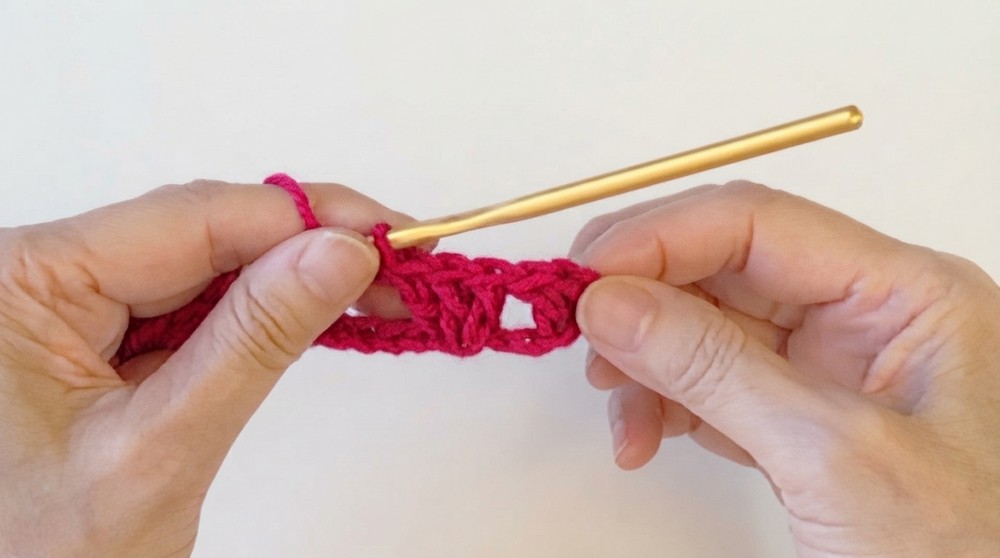
Your completed Row 1 should consist of:
- 2 dc at the beginning and end to maintain straight edges.
- A line of granny clusters spaced evenly across the row.
Row 1 lays the foundation for the alternating clusters, creating a balanced structure with straight edges.
Step 3: Row 2 – Work Granny Clusters into Chain Spaces
- Ch 3 (counts as the first dc), then turn your work.
- Work a granny cluster (dc, dc, dc) into the first chain space created in Row 1.
- Continue working granny clusters into each chain space across the row.
- Work the cluster tightly within the chain space for neat petals.
- After the last granny cluster, dc into the top of the ch-3 turning chain from the previous row.

Your completed Row 2 will have aligned clusters stacked neatly above the previous row.
Row 2 completes the first repeat of granny clusters and starts building the texture of your project.
Step 4: Row 3 – Introduce Alternating Clusters
- Ch 3 (counts as the first dc), then turn your work.
- Dc into the narrow chain space at the beginning (border stitch).
- Work granny clusters into each chain space across the row, keeping edges tidy.
- Finish with 1 dc into the top of the ch-3 turning chain from the previous row.

Repeat Row 3 for additional rounds, adjusting for the desired size of your project.
Row 3 adds depth and maintains the symmetry of stacked clusters with clean, straight edges.
Step 5: Subsequent Rows
- Repeat Row 2 and Row 3 alternately, building clusters row by row.
- Continue until your project reaches the desired length or size.

The repeating rows allow you to scale up or down while maintaining the consistent granny stitch texture.
Step 6: Finishing Touches
- After the final row, fasten off by securing the yarn tightly.
- Use a yarn needle to weave in loose ends neatly.

Neatly woven ends ensure durability and give your piece a polished look.
Assembly & Finishing
This pattern can be used as a standalone project for scarves, swatches, or panels. It can also serve as a building block for larger designs like blankets and garments. To join multiple pieces, use slip stitches or whipstitch for seamless connections.
Why You’ll Love This Pattern
The granny stitch is a timeless crochet technique that’s easy to master but endlessly versatile. Its repetitive structure makes it beginner-friendly while allowing plenty of opportunities for creative flair and customization. The result is a cozy, textured fabric that works well in any project.