
Buzz into fun with this Free crochet Bee Amigurumi Pattern, making cute, cuddly bees that bring charm, playfulness, and a delightful handmade touch to any space.
Create a buzz of creativity with this delightful project that allows you to craft an adorable Crochet Bee Amigurumi Pattern. This charming, plush bee is perfect for decorations, thoughtful handmade gifts, or simply a cute addition to your collection.
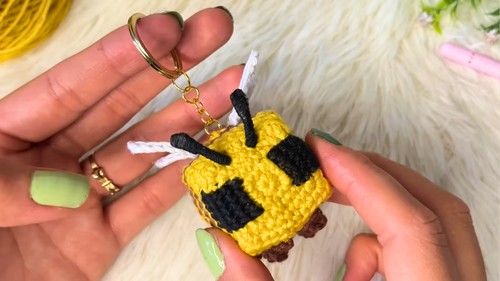
Playful Crochet Bee Amigurumi Pattern To Decorate Keys
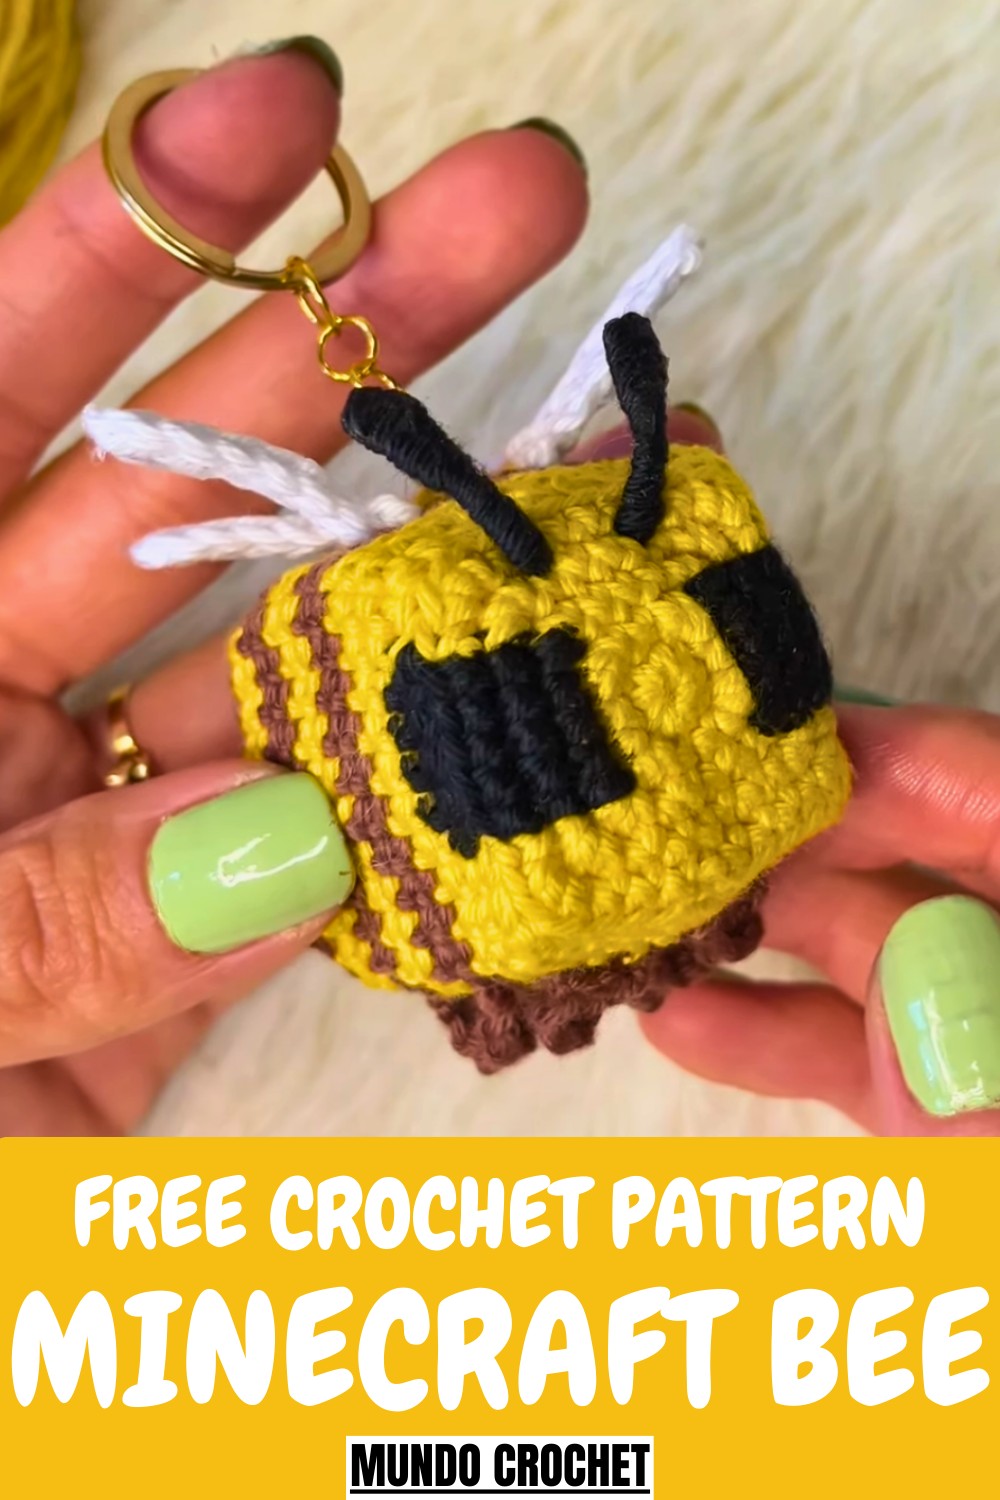
Its cheerful design, with vibrant yellow and black stripes, soft wings, and a round, cuddly body, adds a whimsical touch to any space. Perfect for beginners and experienced crocheters alike, this pattern helps enhance shaping and stitching skills. Whether as a desk buddy, a child's toy, or a keychain accessory, this miniature bee brings joy and personality wherever it’s displayed.
Pro Tip
When switching between black and yellow yarns, leave enough slack to secure the stitches without gaps. This ensures a seamless and professional look in the final product.
How to Crochet a Bee Keychain
Welcome to this detailed step-by-step guide on how to crochet a charming Minecraft bee keychain. This adorable project combines the beloved Minecraft aesthetic with the creativity of crochet, perfect for both Minecraft enthusiasts and crochet lovers. This guide will walk you through each step and provide all the necessary information to complete your colorful bee.
Materials Needed
- 2 mm Crochet Hook
- Yellow, Black, Brown, and White Yarn
- Scissors
- Stitch Marker
- Sewing Needle
- Acrylic Paint or Fabric Paint (optional, for eyes)
- Wire (for antennas)
- Hot Silicone Glue
Uses
- Keychain
- Decorative item
- Gift for Minecraft fans
- Creative DIY project
Step-by-Step Crochet Instructions
1. Starting the Magic Ring
- Use the yellow thread to make a magic ring.
- Chain 1 to secure it, then make 8 single crochets inside the ring.
- Pull the small strand to close the ring.

2. Round 2: Triple Increases
- Go to the first point of the magic ring and slide in.
- Chain 1 to go up.
- In the same point, make 1 single crochet and mark it.
- Continue with 1 single crochet in the next point, then a triple increase (3 single crochets in the same space).
- Repeat the sequence of 1 single crochet and 1 triple increase three more times.
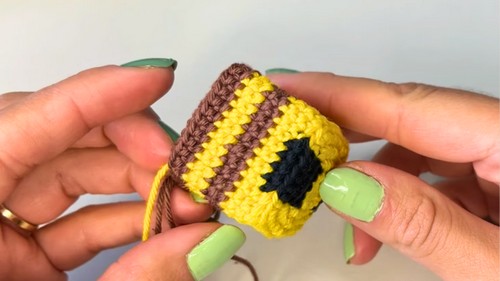
3. Round 3: Colour Changes
- Repeat the process by following these steps:
- Single crochet and triple increase sequence, adding black yarn in specific points as described.
- Continue around, alternating colors between yellow and black, ending with 24 stitches.
- Single crochet and triple increase sequence, adding black yarn in specific points as described.
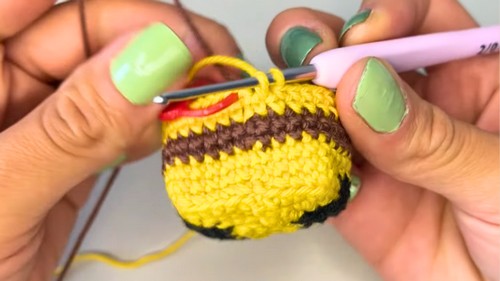
4. Rounds 4 to 18: Shape and Structure
- Continue building the bee by following the sequences of single crochets and triple increases, adjusting colors for the stripes.
- Utilize hot glue to shape the edges and add structure:
- Rounds 9-10: Use brown yarn for body coloring and keep shaping.
- Round 14: More silicone for structure.
- Round 18: Final shaping with glue.
5. Round 19 to 22: Decreasing and Final Touches
- Start decreasing using triple decreases and maintain structure with silicone glue.
- By Round 22, you should have 8 stitches left to close up the body.
- Finish with the proper shaping and securing of the final strands.
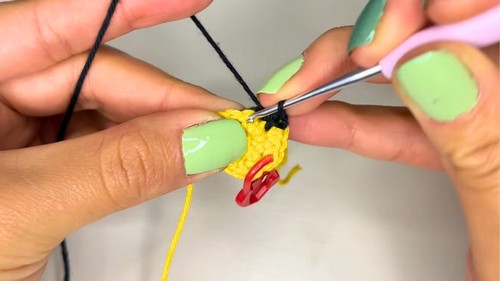
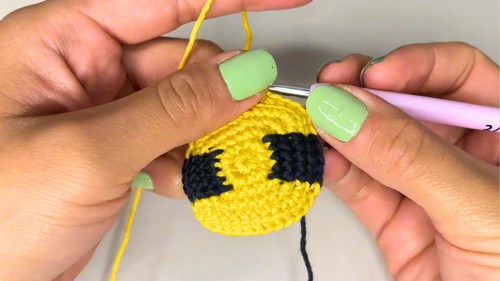
6. Creating the Eyes
- Use acrylic markers/paint to give the eyes a distinct square shape.
7. Making the Legs and Wings
- Legs: Use brown yarn to make six legs:
- Slip knot -> Chain 4 -> 3 single crochets back.
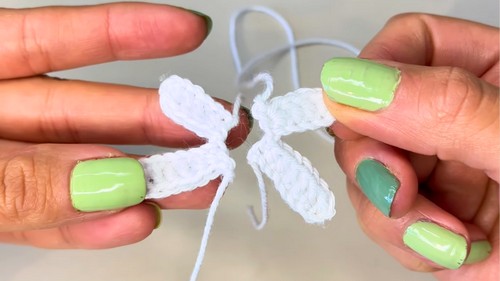
- Wings: Use white yarn for each wing:
- Right Wing: Chain 9 -> Double crochets -> Half double crochets -> Single crochets.
- Left Wing: Chain 7 -> Continue similarly.
- Use glue to make wings firm and then attach them based on eye alignment.
8. Creating and Positioning the Antennas
- Use wire wrapped in black yarn, glued securely:
- Insert between rounds 4 and 5, spacing antennas three stitches apart.
- Insert between rounds 4 and 5, spacing antennas three stitches apart.
Special Features
- The bee has intricate details with carefully managed color changes for a polished look.
- Techniques like the magic ring and triple increase are fundamental, providing a good skill practice.
- Incorporating hot glue makes for a sturdy, well-shaped final product.
Level of Difficulty
This project is beginner-friendly but also engaging for experienced crocheters due to the inclusion of color changes and shaping techniques.
Tutor's Suggestions
- Keep calm with the magic ring technique; practice separately if needed.
- Always mark key stitches to maintain accuracy.
- Manage yarn changes smoothly to avoid tangling and ensure neat color transitions.
Conclusion
You have now crafted a delightful and functional Minecraft bee keychain. This project not only serves as a fun and rewarding experience but also makes a great gift or personal keepsake. Enjoy displaying your bee proudly and use your new skills in future crochet projects.


