
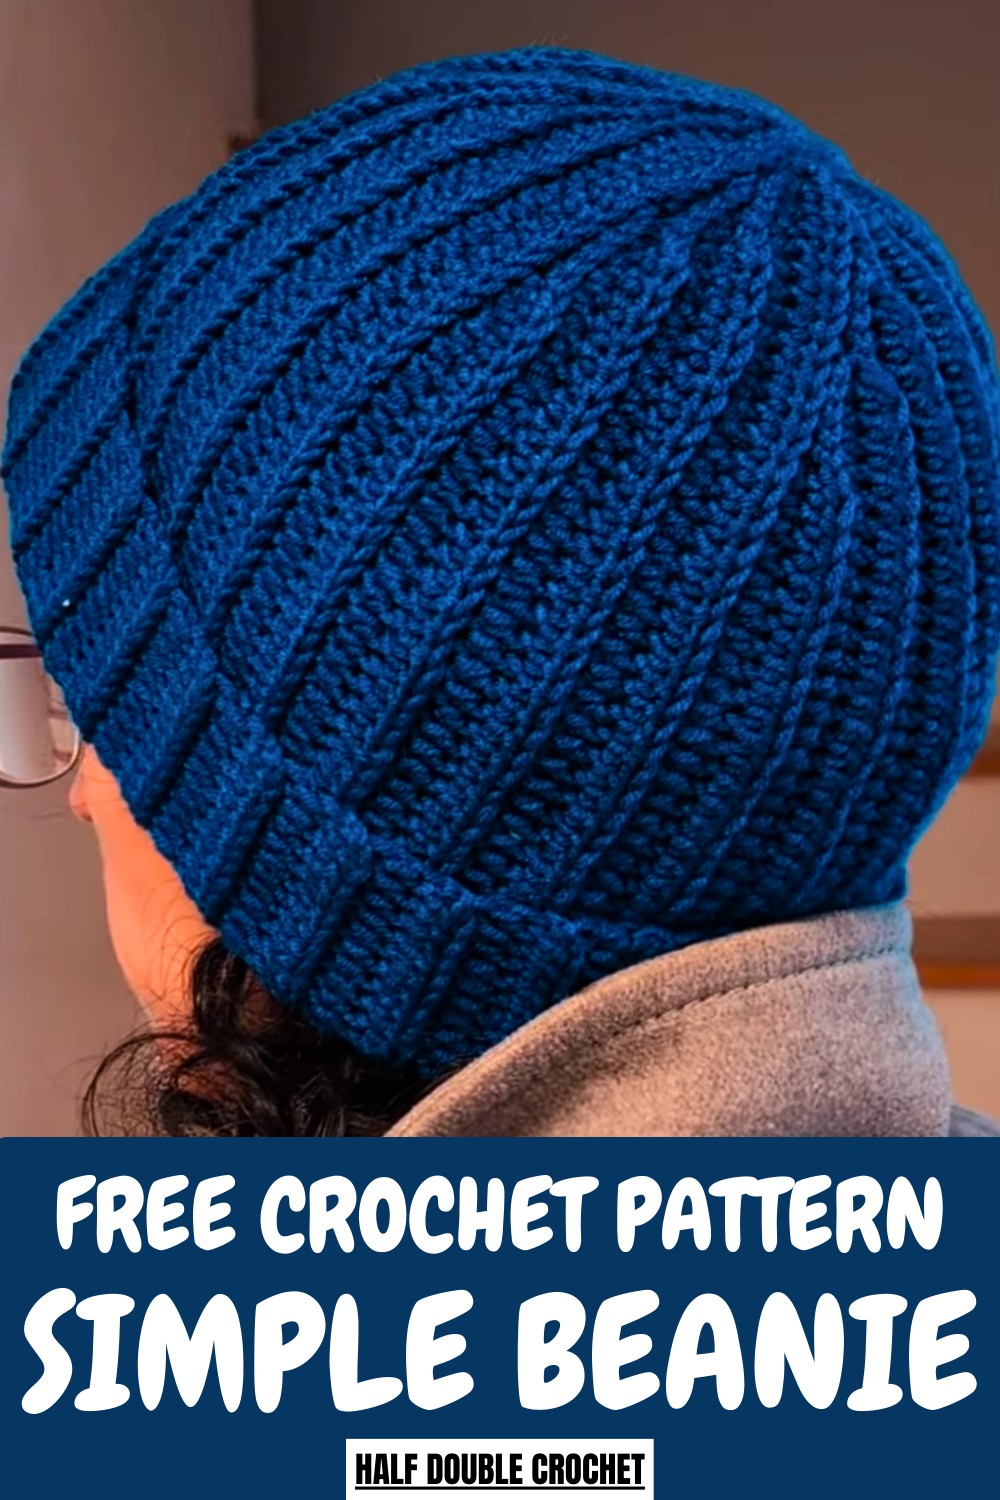
Get cozy this winter with this Free Crochet Beanie Pattern, featuring a warm, comfortable design perfect for chilly days and casual wear.
Achieving a polished and cozy aesthetic for the chilly season is a seamless process when following a Crochet Beanie Pattern. This guide serves as a sophisticated blueprint for a versatile headwear piece that effortlessly transitions from casual outdoor walks to high-fashion winter gatherings. By utilizing this design, you produce a dense, insulating layer that offers superior warmth while remaining light and breathable on the crown.
Minimal Crochet Beanie Pattern Perfect for Classic Looks
The visual appeal is immense, featuring a sleek, snug fit often accentuated by intricate stitch work or a plush, folded brim for added dimension. A major benefit is the ability to select premium natural fibers like alpaca or merino wool, ensuring a luxuriously soft feel against the skin.
Ultimately, the finished product provides a custom, professional look that radiates timeless charm. This pattern empowers you to curate a high-quality accessory that defines seasonal style through its refined texture and perfectly tailored silhouette.
Step-by-Step Instructions
Step 1: Gather Materials
You’ll need the following materials for this project:
- Yarn: She uses yarn by Hobby, specifically the “Kind Feather” variety in a blue color. Feel free to choose your desired yarn and colorway.
- Crochet Hook: 5.5 mm crochet hook.
- Darning Needle: To close the top of the beanie.
- Scissors: For trimming excess yarn.
Step 2: Create the Foundation Chain
- Start with a slip knot on your hook.
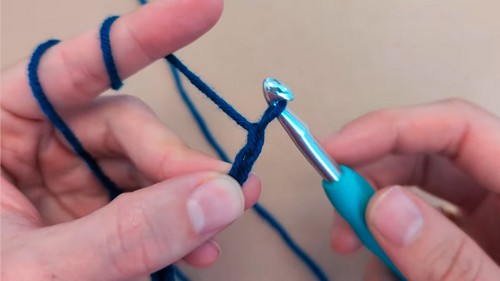
- Create a chain long enough to measure from the highest point on your head to your upper lip. This ensures a snug fit for the finished beanie.
- Add two more chains once you’ve determined the proper length for your head.
3: Begin the First Row
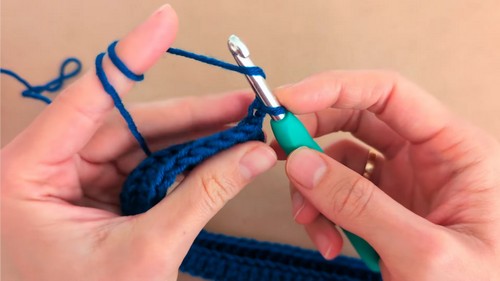
- Yarn over and insert your hook into the third chain from the hook.
- Work a half double crochet (HDC): pull the yarn through the stitch (you’ll have three loops on your hook), yarn over, and pull through all three loops.
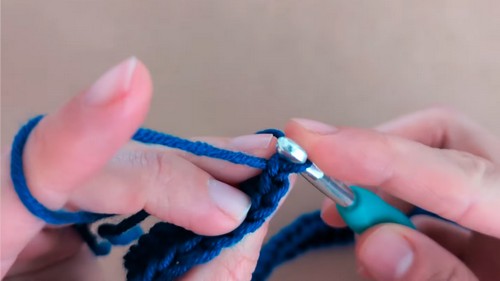
- Continue working one half double crochet (HDC) into each chain across the row until five chains remain.
- In the last five chains, work slip stitches:
- Insert your hook into each chain, yarn over, and pull through both loops on the hook.
At the end of the row, there will always be five slip stitches.
4: Start the Second Row
- Turn your work and chain one.
- Work a slip stitch into each of the five slip stitches from the previous row. Only insert your hook into the back loop of each stitch for this step, maintaining the textured effect of the beanie.
- After completing five slip stitches, switch to half double crochet (HDC) in the same way as the first row, working only into the back loop of each stitch, until you reach the row’s end.
5: Alternate Rows and Shape the Beanie
- For the next row, chain two, turn your work, and do HDCs through the back loop of each stitch until there are 17 stitches left in the row.
- Then, work five slip stitches into the next five stitches (always through the back loop). Once you’ve completed the five slip stitches, leave the remaining 12 stitches unworked.
- Turn your work—immediately start with five slip stitches on the back loops, then HDC back to the end of the row.
- Keep creating alternating rows, following the same steps, but gradually decrease the number of stitches you leave unworked at each turn:
- After 17 stitches remain, work through the row as described.
- Then work until 13 stitches remain, and so on, following the pattern.
- Continue until the piece wraps entirely around the head (approximately 52 rows for an average adult male).
- After 17 stitches remain, work through the row as described.
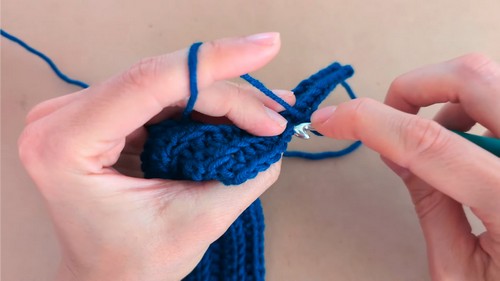
6: Join the Edges
- Fold the rectangular piece in half with the right side facing inward. Align the edges.
- Slip stitch the edges together to create a seam:
- Insert your hook into the front loop of your current edge and the first stitch on the opposite edge.
- Pull the yarn through both stitches and complete a slip stitch.
- Work slip stitches all the way down to the end of the edge.
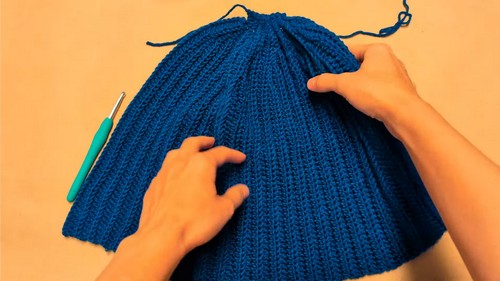
7: Close the Top of the Beanie
- Thread a darning needle with a long length of yarn.
- Use a zigzag sewing motion through the wide opening at the top of the beanie, weaving the needle in and out across the top edge.
- Gently pull the yarn to cinch the opening closed until it puckers completely.
- Tie a knot to secure, cut excess yarn, and sew in any loose ends.
Special Features
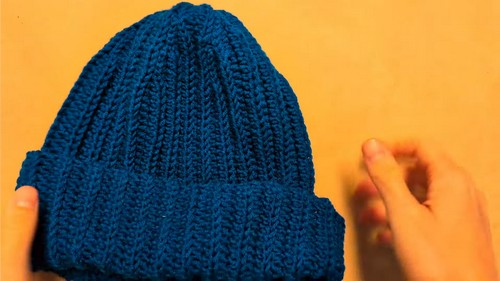
- Foldless Design: The beanie is snug and compact, with no folds around the edges, making it a clean and neat option for people who prefer a sleek style.
- Stretchy Fit: The use of slip stitches for shaping and HDC in the back loop creates a flexible and comfortable product.
- Customizable: You can adapt the number of rows or foundation chains to fit any head size, whether for an adult, child, or infant.
- Textured Look: The back-loop-only technique gives the beanie a lightly ribbed texture that adds a touch of elegance.
Level of Difficulty
This project is rated easy-to-moderate in terms of difficulty. While the overall process involves basic techniques like chains, slip stitches, and half double crochets, maintaining consistency in working the back loop and shaping might require attention, especially for beginners. Still, the repetitive nature of the stitches makes this a forgiving project for those who are relatively new to crochet.
Tutor’s Suggestions
- Measure for Fit: Adjust the foundation chain to suit your head size. It’s better to make the chain slightly longer than shorter, as you can customize the snugness when sewing it closed.
- Work with Consistency: Ensure every slip stitch and HDC is made into the back loop only to preserve the ribbed texture of the design.
- Take Breaks: If you feel your tension is uneven, pause briefly and recheck your stitches to avoid creating inconsistent fabric.
- Use Quality Yarn: Choose medium-to-thick weight yarn for a warm and soft finish, especially if you’re making the beanie for the winter.
Uses and Materials
Materials:
- Hobby “Kind Feather” yarn or any soft, medium-weight yarn.
- 5.5 mm crochet hook.
- Darning needle and scissors.
Uses:
- A warm, snug-fitting winter beanie.
- A gift for friends or family—adjust the colors and size for a personal touch.
- A quick crochet project for donations to charity during the colder months.
Conclusion
This crochet beanie is a versatile, stylish, and functional project that’s quick to make yet satisfying to complete. The pattern simplifies every step, making it approachable for beginners who want to try their hands at slip stitches and half double crochet. With its ribbed texture and tailored fit, this beanie is ideal for everyone who values comfort and practicality during the winter season.
Bonus Tip
When joining the edges with slip stitches, work loosely to avoid making the seam too tight. A stretchy seam ensures the beanie keeps its shape and fits comfortably on the head.


