
Dress your pet in style with this Crochet Pet Bandana Pattern, perfect for creating a cute, comfortable, and charming accessory effortlessly.
Give your furry friend a stylish and charming accessory that adds personality to every walk or playtime. Lightweight, comfortable, and easy to wear, this accessory instantly elevates a pet’s look while keeping them cozy and adorable. Its versatile design allows for casual outings, photoshoots, or festive occasions, making it a practical and fashionable addition to any pet’s wardrobe.

Materials and Uses
Materials You Need:
-
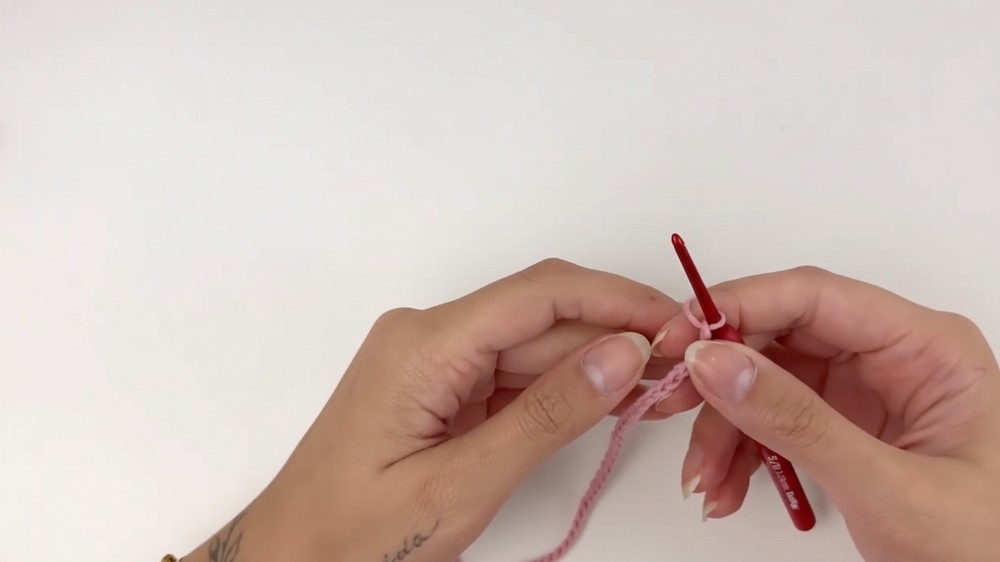
Yarn/Thread: Use any thread you prefer (The tutorial uses Balão Amigo yarn).
-
Hook: Use a 3 mm crochet hook for a soft, flexible finish. You can use a smaller hook (e.g., 2.5 mm) if you prefer a stiffer texture.
-
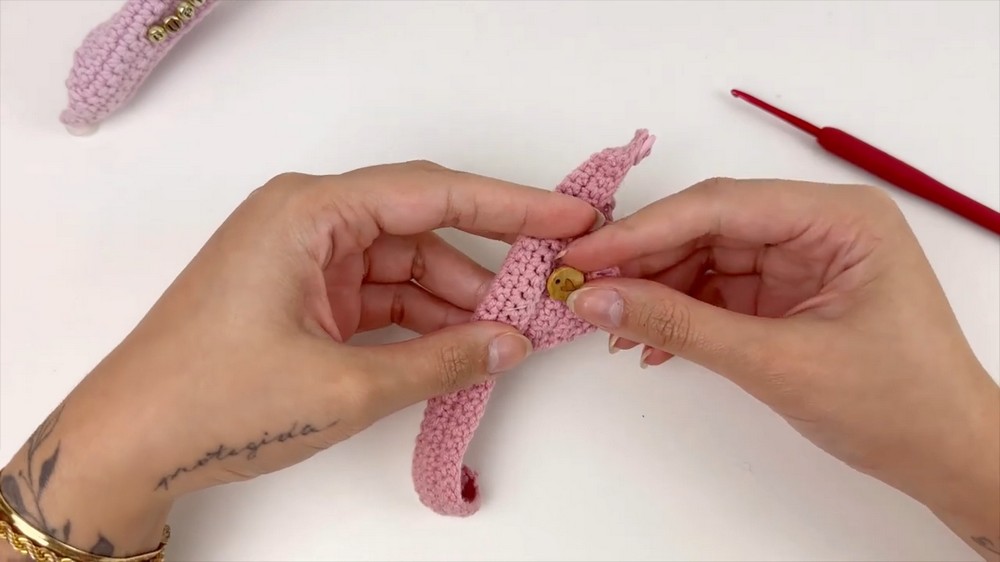
Notions: A small shirt button (or any decorative button), a finer needle for sewing the button, a tapestry needle for weaving in ends, and a stitch marker (optional).
-
Special Tool for Threading: Use a thin piece of wire, like a "cat's whisker" (bigode de gato), to help thread thicker yarn through a fine sewing needle.
Uses:
-
Amigurumi Accessory: Dress up your amigurumi pets (like dogs or cats).
-
Customization: Personalize the bandana by sewing on letter beads to spell the pet's name or adding small decorative pendants.
-
Gifting: Create a charming, personalized accessory to accompany a gifted amigurumi pet.
Special Features and Difficulty
Special Features:
-
Customizable Size: The pattern is flexible; you can increase or decrease the starting number of chains to create bandanas of various sizes for different amigurumi pets.
-
Button Loop Closure: The design includes a chain loop at one end to easily fasten the bandana with a small button.
-
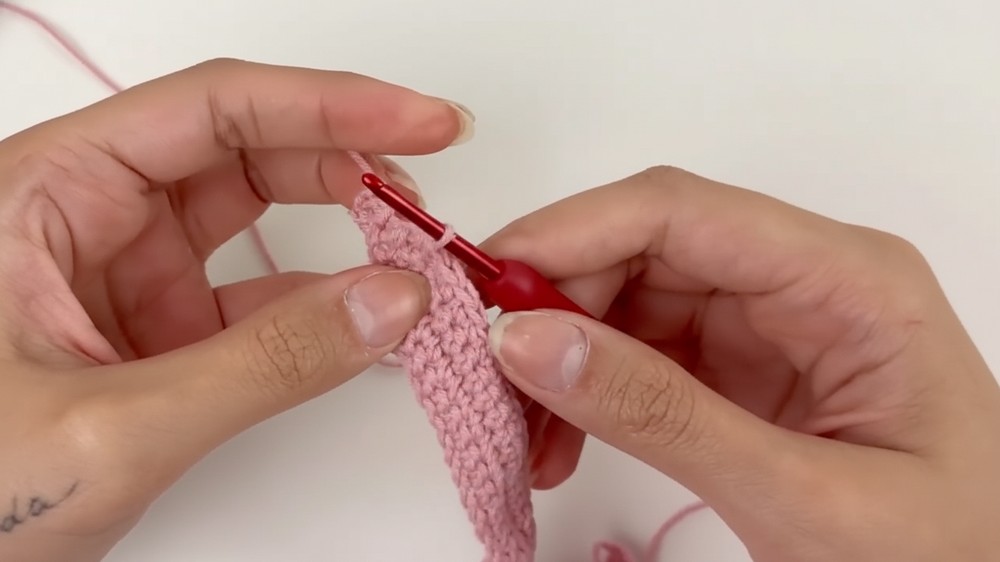
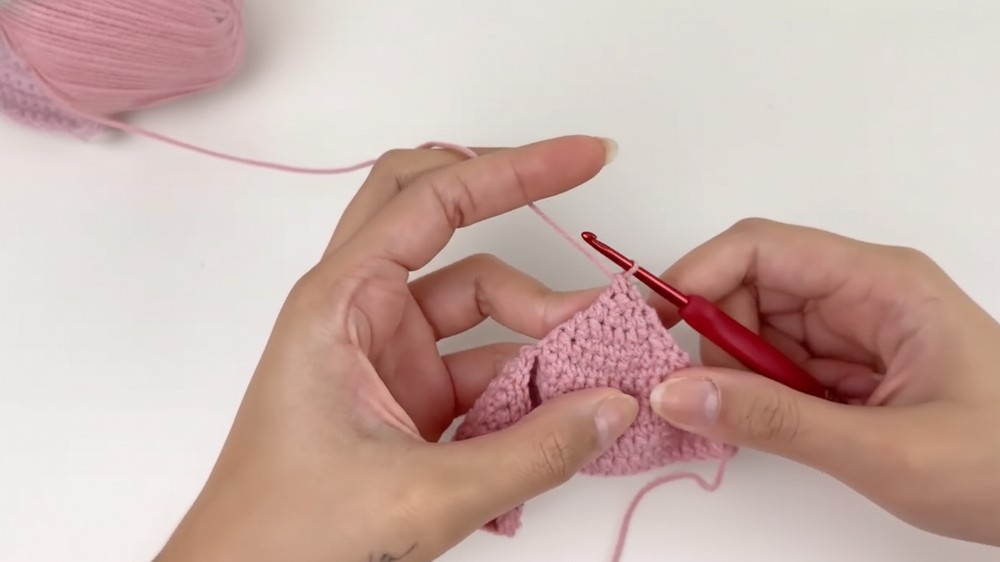
Triangular Shaping: The consistent decreases on both sides of the rows create the perfect triangular shape characteristic of a pet bandana.
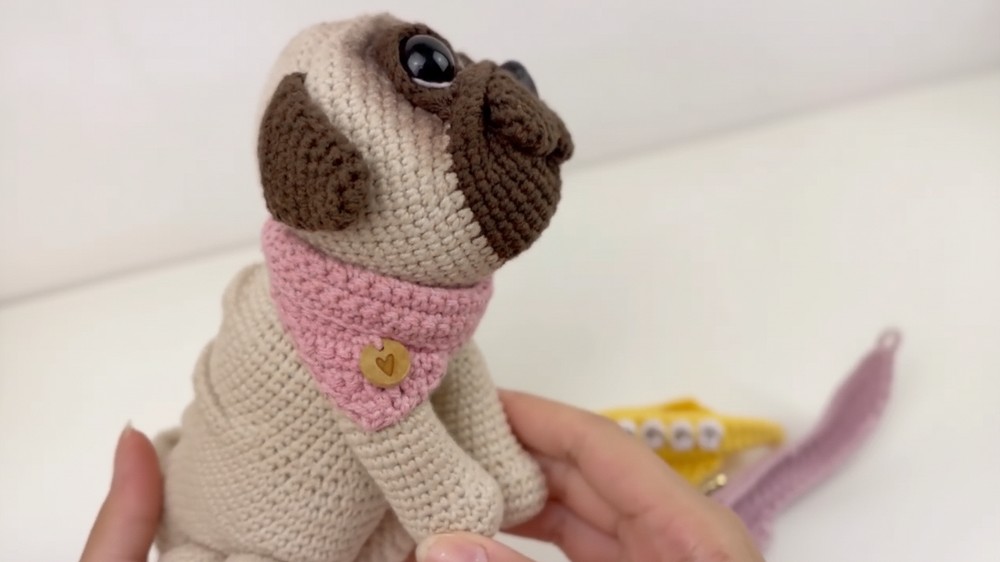
Giftable Crochet Pet Bandana Pattern for Pet Lovers
The Crochet Pet Bandana Pattern features soft, breathable stitches that ensure comfort for pets of all sizes while providing a neat, triangular shape that drapes beautifully around the neck. The pattern combines basic crochet techniques with thoughtful finishing touches, resulting in a polished, boutique-like accessory.
Makers can explore a variety of colors, patterns, and even small embellishments, allowing each bandana to be customized to match your pet’s personality or seasonal themes. Its easy-to-follow steps guide through creating a durable and lightweight accessory that is both stylish and practical.
Tutor's Suggestions:
-
Yarn/Hook Pairing: Use a slightly larger hook (like the 3 mm) relative to your yarn size to ensure the fabric remains soft and "maleável" (flexible), allowing the bandana to drape nicely on the amigurumi pet.
-
Leaving a Long Tail: If you plan to sew the button with the same yarn color, leave a long tail at the beginning of the project.
-
Button Placement: Use a very fine needle when sewing the button, as the holes in buttons are often too small for a regular tapestry needle.
-
Finishing Look: You can fold the top edge of the bandana outwards to create a contrast border or fold it inwards for a thicker edge.
Level of Difficulty:
This project is suitable for Beginners familiar with basic crochet stitches (chain, slip knot, single crochet, and decrease). The instructions focus on maintaining a simple pattern of row decreases.
Beyond aesthetics, this bandana offers the benefit of being gentle on the pet’s skin while remaining secure and flexible during movement. Perfect for gifting to pet lovers or adding a handmade touch to your own pet’s wardrobe, it blends functionality, creativity, and charm seamlessly.
Conclusion
You have finished crocheting a charming and personalized bandana for your amigurumi friend! This accessory fits snugly and adds a unique, handcrafted element to your pet collection. Enjoy creating variations using different colors, details, and sizes to complete all your amigurumi projects.
Final Tip
When sewing your button, ensure you center the button vertically to align perfectly with the chain loop. Test the button size beforehand to confirm it passes easily through the loop, allowing for hassle-free attachment and removal.


