
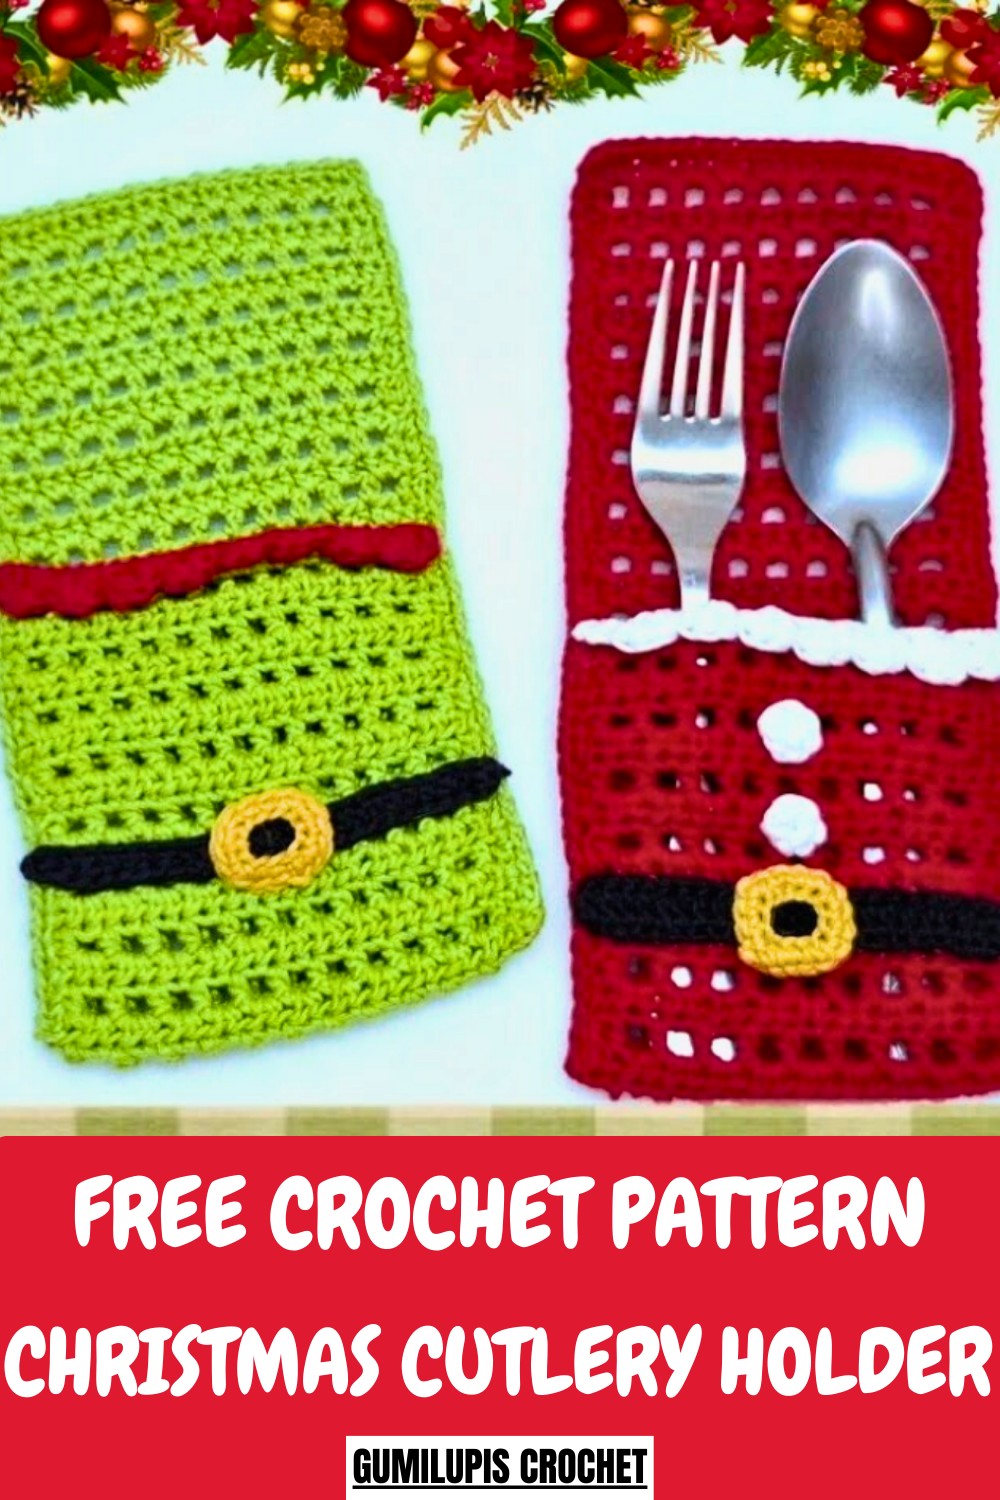
Deck your table with this Free crochet Christmas Cutlery Holder Pattern, making festive, charming holders that bring holiday cheer, elegance, and a handmade touch.
There’s nothing quite like adding a personal, handmade touch to your holiday celebrations. The Crochet Christmas Cutlery Holder Pattern is a charming way to elevate your table decor while showcasing your creativity. Designed to hold cutlery in a festive and practical way, these patterns often feature heartwarming designs like Santa Claus, snowmen, or holiday accents.
Stylish Crochet Christmas Cutlery Holder Pattern For Festive Dining
Perfect as thoughtful keepsakes for guests or eye-catching decorations, they’re as functional as they are beautiful. Whether you're a beginner or an advanced crocheter, this project allows you to craft something meaningful while spreading holiday cheer with every stitch. It’s pure festive magic!
Pro Tip
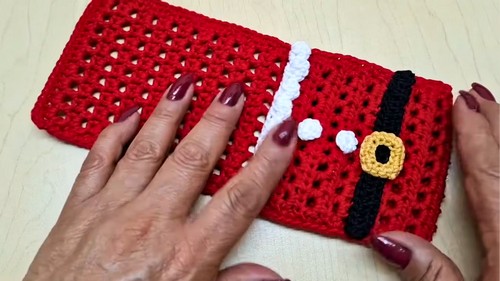
When stitching the white border and belt, ensure you take small stitches from the edges only to avoid mistakenly closing the cutlery pocket. This ensures the holder remains functional and maintains a polished look.
Crochet Santa and Grinch Cutlery Holder
Materials Needed
- Yarn Colors:
- For Santa: Red, black, white, and gold
- For Grinch: Green, lemon green, black, red, and gold
- Crochet hook (2.5 mm recommended)
- Needle for sewing
- Scissors
- Fiberfill (optional for customization like puffed buttons)
- Liquid silicone glue (for attaching decorations like belts and buttons)
- Measuring tape (optional)
Uses
- Christmas Table Decor: Adds a playful and cozy touch to your dinner presentation.
- Unique Gifts: Let your guests take home these adorable handmade holders.
- Customizable Crafts: Swap colors and details to match different holiday characters or personal preferences.
Step-by-Step Instructions
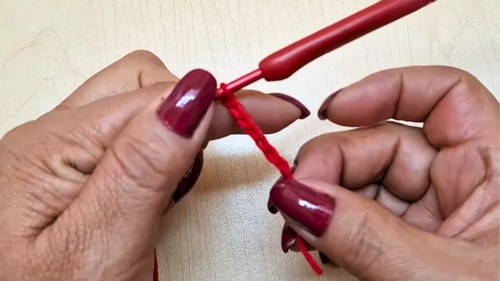
1. Start with the Cutlery Holder Base
- Foundation Chains:
- Create a slipknot using red yarn (for Santa) or green yarn (for Grinch).
- Crochet 21 chains for the base.
- First Row:
- Skip the last chain from the hook, then make 20 single crochets—one stitch in each chain.
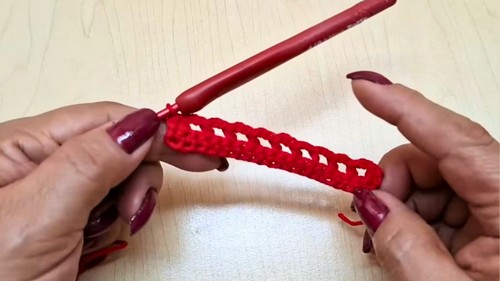
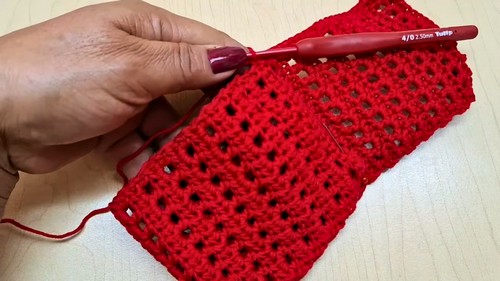
- Second Row:
- Chain 1 and turn your work.
- At the first stitch, begin making half double crochets (HDCs) across the row.
- Alternate 2 chains, skip 1 stitch, and make another HDC to create small squares.
- Follow this till you reach the end of the row.
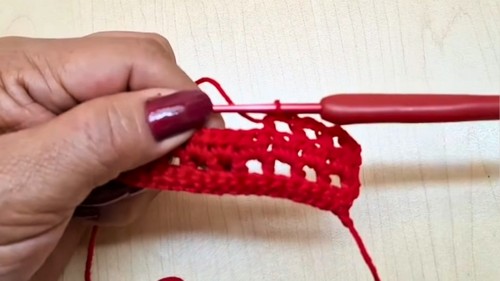
- Third Row Onwards:
- Chain 1, turn, and make an HDC at the start of the row.
- For spaces between the squares, work 2 HDCs in each space to maintain the pattern.
- Repeat these rows for 48 rounds to complete the base. (Adjust the number of rows based on the size of your cutlery.)
- Fold and Close the Base:
- Fold the crocheted piece to determine the size needed for your cutlery (adjust if required).
- Use pins to hold the fold and crochet single stitches along the edges to secure the sides together.
- Ensure you stitch from front to back, grabbing one layer from each side to keep the pocket secured.
2. Create the White Border (Santa Hat Edge)
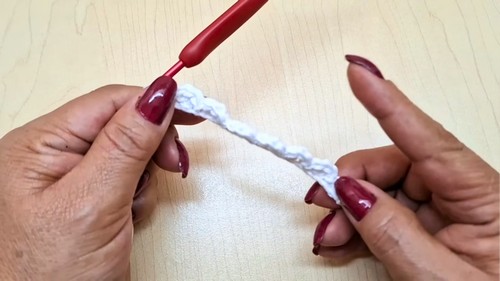
- Foundation Chains:
- Using white yarn, crochet 23 chains for Santa (or 25 chains for Grinch if wider).
- First Row:
- Skip the first chain and start working 3 double crochets per stitch.
- Alternate skipping 1 stitch and slip stitching into the next, creating a “snowflake-like” effect.
- Attach the Border:
- Sew or crochet the white border along the top of the holder.
- You can position it straight up or upside down, depending on the look you prefer.
3. Crochet Santa/Grinch Decorations
A. Belt
- Foundation Chain:
- Use black yarn to create 24 chains.
- Skip the last chain and work 23 double crochets into the remaining chains.
- Attach the Belt:
- Position the belt slightly below the top edge and sew or glue it in place.

- Position the belt slightly below the top edge and sew or glue it in place.
B. Buckle
- Start with Golden Yarn:
- Create a magic ring and crochet 12 chains in golden yarn.
- Close the chain into a circle with a slip stitch.
- Add a Decorative Edge:
- Crochet single crochet stitches and add small increases at the corners to form a square shape.
- Glue the buckle onto the center of the belt.
C. Buttons (for Santa)
- Create Buttons:
- Use a magic ring to crochet 6 single crochets in black yarn.
- Pull the ring closed and finish with a slip stitch.
- Attach the Buttons:
- Glue or sew the buttons in a line above the belt.
- Glue or sew the buttons in a line above the belt.
4. Final Assembly
- Ensure all decorations are securely attached with glue or stitching.
- Straighten the finished piece and align any details.
- Customize the length of the pocket or base if needed based on your cutlery size.
Special Features
- Festive Design: Perfect for Christmas dinner settings, offering unique Santa and Grinch-inspired decorations.
- Customizable: Adjust the size, colors, or character to fit your theme (e.g., snowman, gingerbread man).
- Dual Purpose: Functions as both cutlery holders and small gifts your guests can take home as mementos.
- Beginner-Friendly: Simple stitches and clear repetitions make it great for beginners or quick, last-minute projects.
Level of Difficulty
This pattern is beginner-friendly, with straightforward techniques like single crochets, half-double crochets, magic rings, and decorative assembly. The design allows room for slight changes and adjustments, making it achievable for crocheters with basic skills.
Tutor’s Suggestions
- Adjust Width and Length: Vary the number of foundation chains based on your cutlery's size.
- Secure Attachments: Use either sewing or liquid silicone glue to ensure decorations stay in place.
- Start Small: Focus on one design (e.g., Santa first) before branching out to other characters like Grinch.
Conclusion
By following this step-by-step guide, you can create stunning Santa Claus and Grinch Cutlery Holders to brighten up your Christmas celebrations. These adorable and functional creations combine creativity with festive spirit, making them great for gifting or decorating. With easy-to-follow instructions and plenty of room for personalization, this crochet project is sure to bring joy to you and your loved ones.


