
Free Crochet Shell Stitch Top Pattern That Will Make Heads Turn
Revamp your wardrobe with this easy and chic crochet shell stitch top pattern and create something stunning and useful.
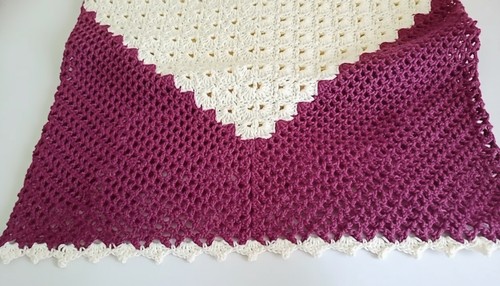
If you’re looking to add a handmade touch to your wardrobe, this beautiful crochet top might be just what you need. Designed with a mix of shell stitches and V stitches, it’s the perfect combination of texture and simplicity. The design is light, breathable, and stylish—ideal for summer wear or layering during cooler months. Its elegance shines through the use of two complementary colors, wine and cream, which create a timeless look suitable for various occasions.
One of the most striking features of this top is its detailed craftsmanship. The shell stitch creates a flowing and decorative texture, while the picot edged hemline adds a dainty and feminine flair. The V shaped neckline looks flattering on all body types, and the adjustable strap length allows you to customize it for a perfect fit. The overall shape is chic and modern, with enough versatility to pair with skirts, jeans, or shorts depending on your mood or style.
Free Shell Stitch Top Pattern for the Ultimate Handmade Style
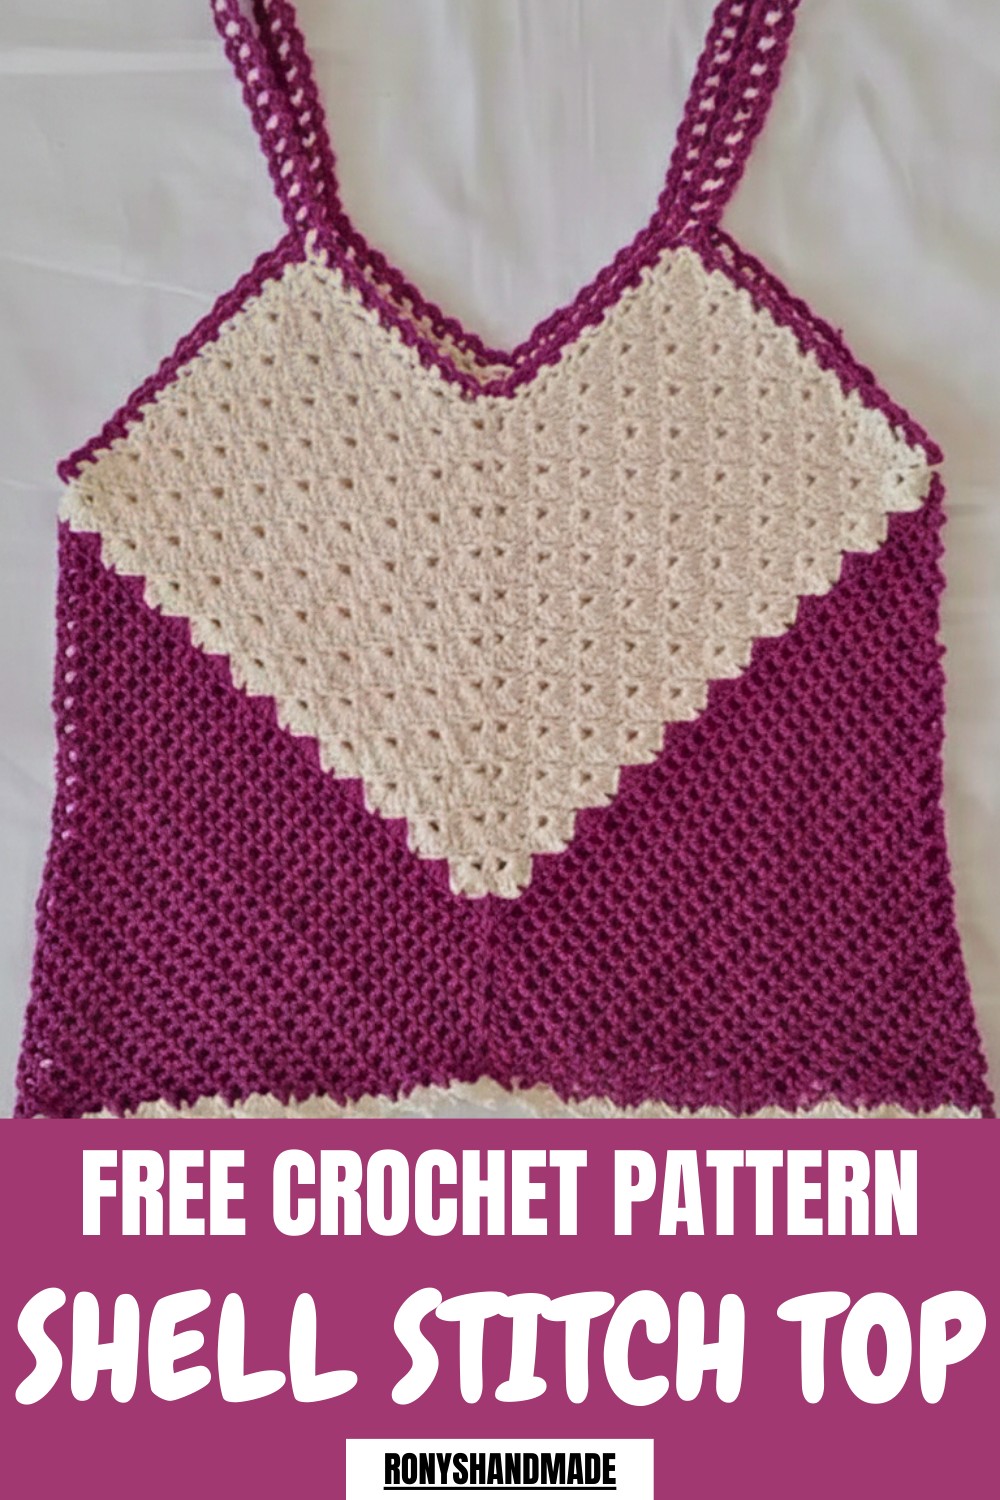
Created using 100% cotton yarn and a 3.5 mm crochet hook, this top not only feels soft and comfortable but also holds its shape beautifully. Guided by RonysHandmade’s easy to follow tutorial, even beginners can dive into this project with confidence. The video explains each step clearly, allowing you to create a masterpiece with ease.
Whether you’re crocheting it for yourself, as a gift, or to sell, this pattern offers endless possibilities. With its customization options and stylish appeal, this crochet piece is sure to become a cherished favorite in any wardrobe. Let your creativity shine and enjoy making something truly unique.
Wine & Cream V Stitch Crop Top Free Crochet Pattern
Quick Overview of Pattern
- Design: Stylish and trendy sleeveless crop top.
- Techniques Used: Shell stitches for texture, V stitch for body pattern, and picot edged shell stitches for the hemline.
- Structure: Consists of neckline loops, armhole detailing, and shell stitched hem.
- Best For: Two color designs. Easily customizable.
Notes
- Use even numbers for loop counts to ensure symmetry.
- Ensure the stitch work doesn’t twist while joining the neckline loop to maintain its shape.
- The crop top is highly customizable; you can adjust the number of rows for your desired length and fit.
- Test your tension to keep the garment proportional.
Skill Level
Advanced Beginner – Knowledge of basic crochet stitches (chain, single crochet, double crochet, slip stitch) is required, along with the ability to create V-stitches and shell stitches.
Materials
- Yarn: 100% Cotton Yarn in Wine (Color A) and Cream (Color B).
- Hook: 3.5 mm crochet hook.
- Tapestry Needle: For weaving in ends and final assembly.
- Measuring Tape: To ensure accurate sizing.
- Scissors
Measurements / Sizing
- Neckline Circle: Approximately 9 inches from shoulder to neckline dip (adjustable).
- Bust Circumference: 34 inches (can be adjusted by adding/removing rows).
- Hemline: Shell stitches with picot edging for an elegant finish.
Gauge
- Gauge Pattern: 10 cm x 10 cm = 20 double crochets x 15 rows.
Stitch Abbreviations
- ch: Chain
- sc: Single Crochet
- dc: Double Crochet
- sl st: Slip Stitch
- sp: Space
- st: Stitch
- pc: Picot Stitch (chain 3, slip stitch into the same base stitch)
Special Stitches
- V Stitch: (dc, ch 2, dc) in the same loop or space.
- Shell Stitch: (3 dc, ch 1, 3 dc) in the same space.
- Picot: Work 3 chains and sl st into the first chain to create a small decorative loop.
Crochet Pattern
Step 1: Create the Neckline Loops
- Foundation Chains:
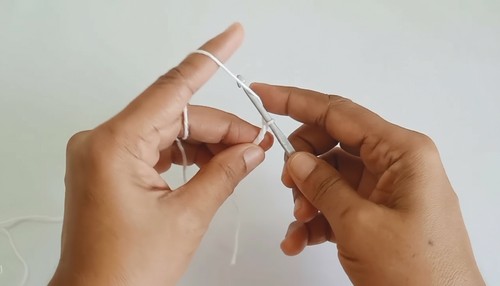
- With Wine (Color A), ch 3.
- Yarn over and work a dc into the first chain to form a loop.
- Forming the Loops:
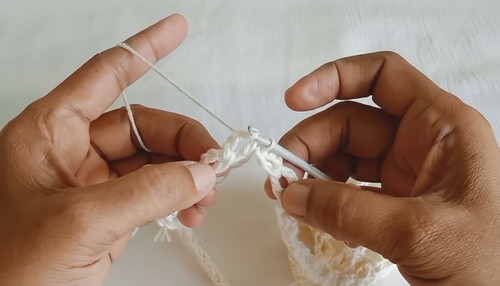
- Ch 3.
- Work 1 dc into the space between the previous dc posts.
- Repeat this across to create a total of 84 loops (ensure the number of loops is even).
- Tip: Adjust the number of loops based on your desired neckline depth.
- Joining the Loops:
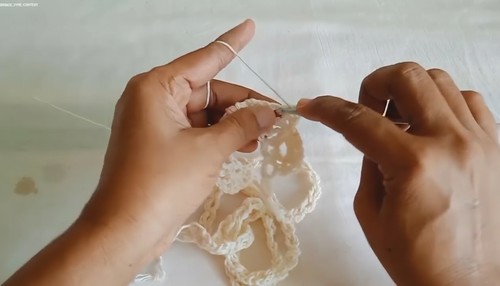
- Fold the strip into a circle and ensure it is not twisted.
- Join the ends with a sl st into the first loop.
- This forms the neckline's base.
Step 2: Starting the V Stitch Pattern
- Set Up the V Stitches:
- Begin with 1 sc into the first loop.
- In the next loop: (dc, ch 2, dc). This creates your first V stitch.
- Repeat: Ch 1, sc into the next loop, ch 1, V stitch in the following loop.
- Continue this pattern to create 4 V stitches.
- Increase at the Center:
- At the center loop, work 2 V stitches into the same loop (dc, ch 2, dc, ch 1, dc, ch 2, dc).
- This creates the base for shaping the V neck.
- Mirror the Pattern:
- Work 4 V stitches on the opposite side.
- Join with a sl st to finish the round.
Step 3: Add the Shell Stitches
- Beginning the Shell Pattern:
- From the first loop, work 3 dc, ch 1, 3 dc into the same loop (shell stitch).
- Sc into the next loop.
- Repeat Across Sides:
- Work one shell stitch into each V-stitch loop across until the increase loop is reached.
- Increase Section:
- In the center, work 2 shell stitches into the two center V-stitches from the previous round.
- Complete the Round:
- Mirror the shells on the opposite side and join with a sl st to complete the row.
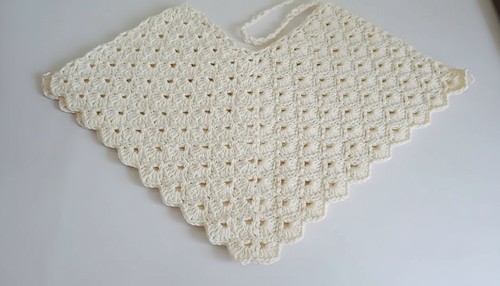
Step 4: Build the Body
- Alternate Rows:
- Alternate between rounds of V stitches and shell stitches as described in Steps 2 and 3.
- Ensure to work increases in the center of the V-neck for each row.
- Length of the Body:
- Continue repeating the pattern until you reach your desired length.
- Typically, 11 rows will result in a bust size of 34 inches. Adjust rows for larger or smaller sizes.
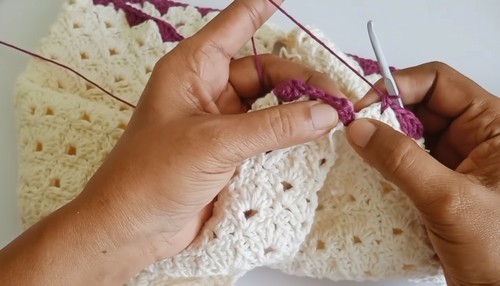
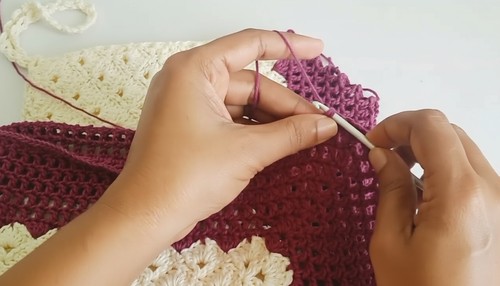
Step 5: Hemline with Picoted Shell Stitches
- Foundation Row:
- Work sc evenly around the bottom edge of the garment to prepare for the hemline.
- Shell with Picots:
- In each sc, work: (3 dc, ch 3, sl st into the ch 3 base for a picot, 3 dc). This forms one shell stitch.
- Sc into the next sc and repeat the shell.
- Continue around the hemline and join with a sl st to complete.
Step 6: Neckline and Armhole Edging
- Work Edging:
- For a refined look around the neckline and armholes, use the Wine (Color A).
- Work ch 2, 1 dc into the same st. Move to the next space and make a sc. Alternate this pattern for a scalloped effect.
- Continue Around:
- Repeat the edging pattern around both armholes and the neckline.
- Join with sl st and fasten off.
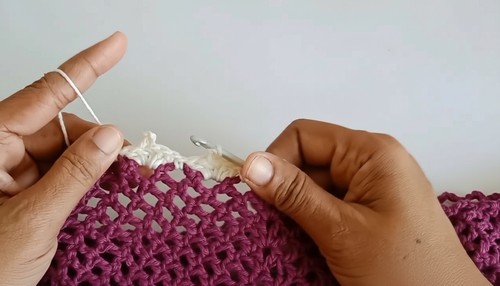
Assembly & Finishing
- Join Sides: Use a tapestry needle or sl st to securely seam the sides of the top.
- Weave in Ends: Carefully weave in all loose ends with a tapestry needle for a polished look.
- Steam Block: Lightly steam the garment to relax the stitches and improve drape.
Conclusion & Final Words
Your gorgeous Wine & Cream V-Stitch Crop Top is now complete. With its elegant color combination, intricate neckline, and picoted hemline, this top is both stylish and comfortable. Perfect for summer days or layering in cooler weather, this project is versatile and fun to make. Show off your creation by customizing it with bold color choices or adding sleeves.