
Crochet Keepsake Box Pattern Perfect for Minimalist Storage Ideas
Tired of losing your favorite hair clips and earrings on your dresser so stitch a neat crochet keepsake box with a snug fitting lid right.
You know those small treasures you hold dear, maybe a tiny seashell from a beach you visited, or a little note from a loved one? Finding the perfect spot for them can be tricky. This idea brings life to a fun, hands on project that’s as practical as it is charming: a keepsake box made from yarn and a simple plastic container. By turning plain items into personalized storage pieces, you’re not just keeping memories safe, you’re giving them a lovely home.
Pattern By Anerom
This project focuses on using single crochet stitches and a technique called the magic ring, which are essential for creating circular shapes. These stitches allow you to make snug and neat fits for your container, transforming it into something delightful and unique. It’s a wonderful start for anyone learning new techniques, teaching you how to shape yarn pieces and even fasten them safely to an item.
Customize This Crochet Keepsake Box for Any Occasion
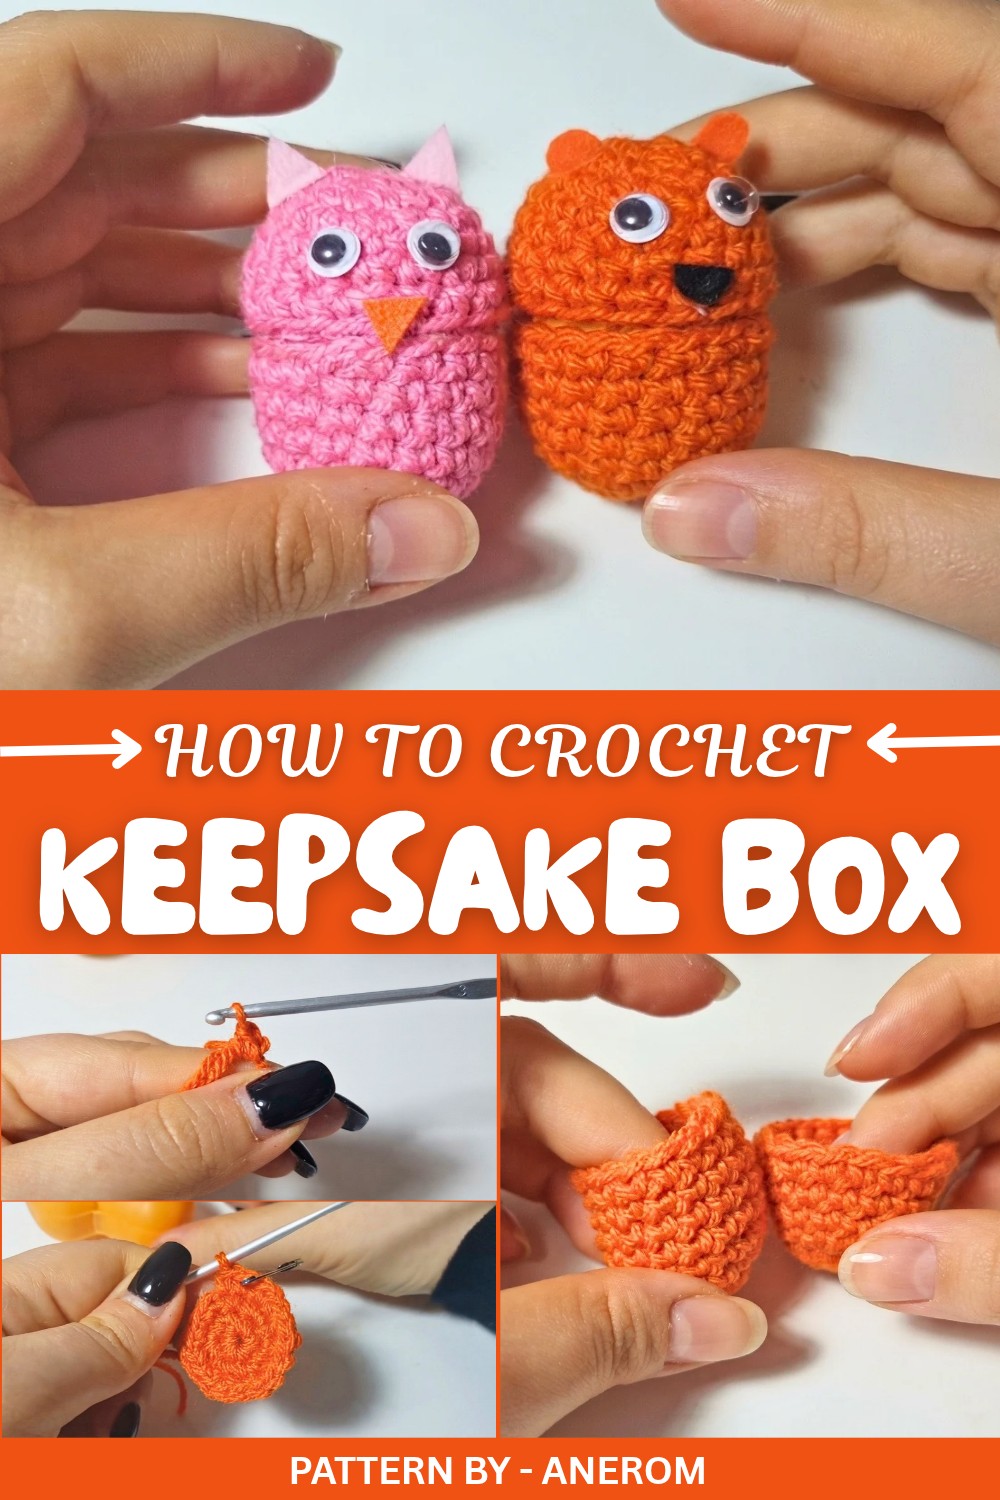
Think beyond keepsake boxes, you could work on cute coin pouches, small fruit shaped holders, or even tiny toy homes. These skills translate beautifully to other projects, including little bowls for odds and ends or colorful Christmas ornaments, making it an adaptable and fun hobby.
Hold onto those cherished moments with a keepsake box. It’s simple, functional, and brings a personal touch to those tiny pieces of joy.
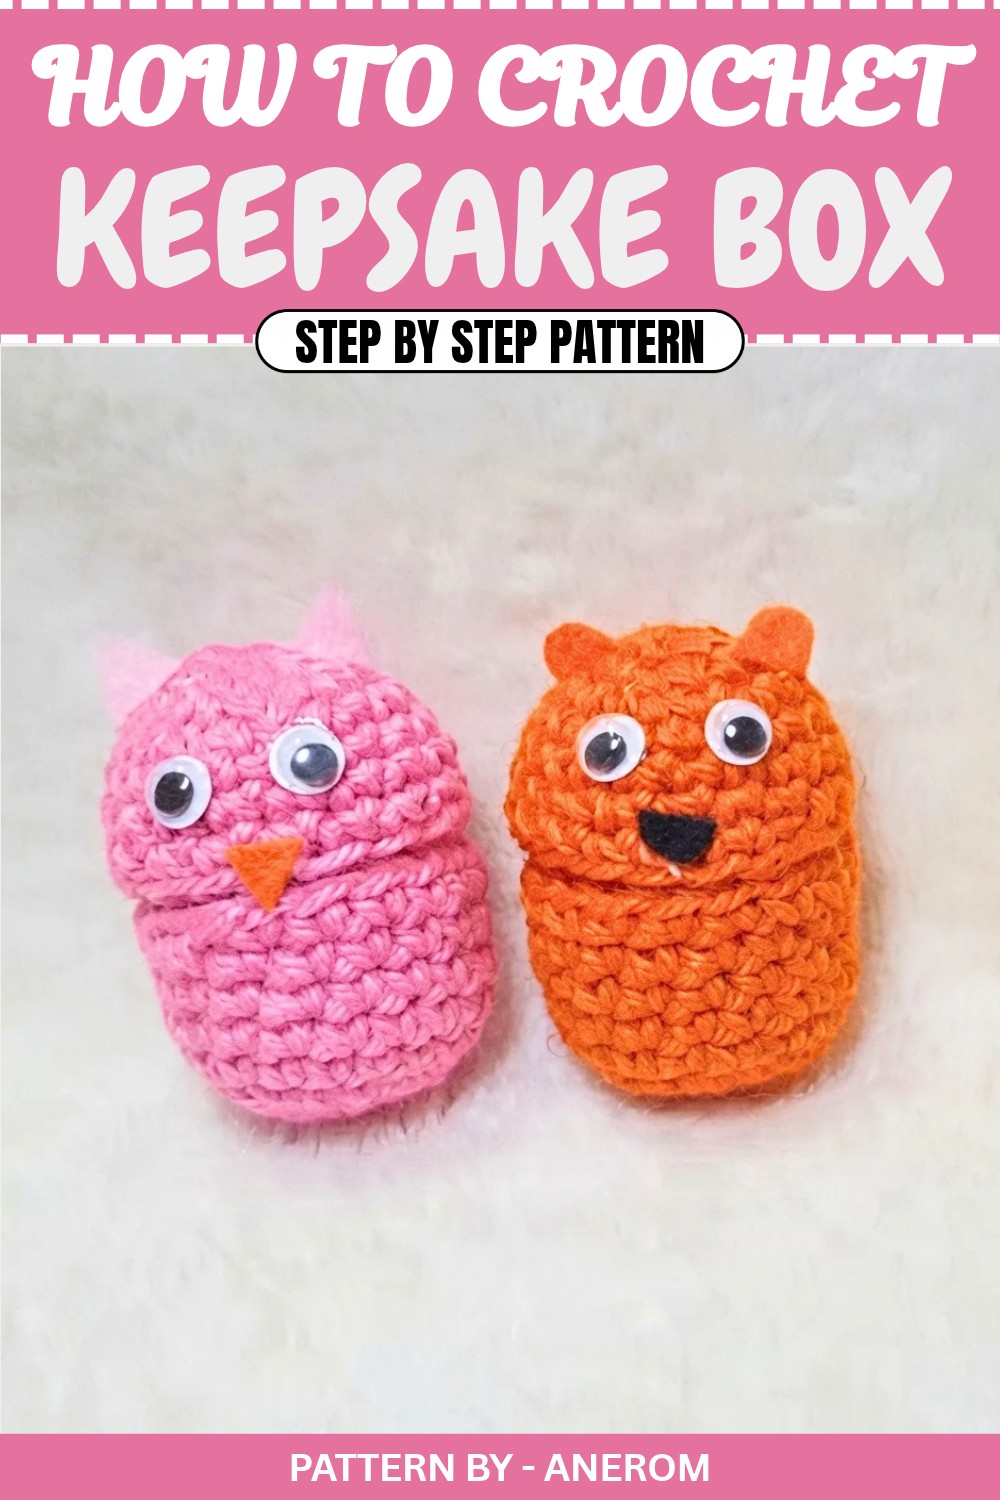
Crochet Keepsake Box Pattern
Create a charming and functional crochet keepsake box using a simple Kinder Egg container. This step by step tutorial will guide you to craft an adorable, small keepsake box perfect for preserving baby teeth, storing small treasures, or simply adding a touch of handmade creativity to your space.
Quick Overview of the Pattern
- Crocheted covers for the top and bottom parts of a Kinder Egg container.
- Stitched in rounds using single crochet for simplicity.
- Customizable features, such as different colors, decorative elements with felt, and googly eyes.
- A practical and fun design, suitable as gifts or small storage items.
Notes
- Work in continuous rounds (spiral), using a stitch marker to indicate the starting stitch of each round.
- Leave the threading grooves of the Kinder Egg container uncovered for smooth closure functionality.
- You can play with different colors and decorations to personalize your keepsake box.
Skill Level
Beginner friendly.
Materials
- Yarn: Acrylic yarn (choose colors that fit your preference). The tutorial uses orange yarn and pink accents.
- Hook: Size 3.5mm or 4mm crochet hook.
- Tools: Yarn needle, scissors, stitch markers, hot glue gun, and paintbrush for glue application.
- Container: Empty Kinder Egg surprise container (both bottom and top halves).
- Adornments: Googly eyes, felt sheets for decorations (e.g., ears and mouth).
- Glue: PVA glue (e.g., Vinavil) and hot glue sticks.
Measurements / Sizing
The keepsake box will snugly cover a standard Kinder Egg container. The container measures approximately 5–6 cm in height and fits small items like baby teeth or trinkets.
Gauge
Gauge is not essential for this project. Simply ensure your piece fits snugly around the container. Adjust your tension as necessary.
Stitch Abbreviations
- ch: Chain
- sc: Single Crochet
- sl st: Slip Stitch
- inc: Increase (two stitches in the same stitch)
- st(s): Stitch(es)
Special Stitches
- Magic Ring: Create a loop with the yarn, insert hook, pull through yarn, and begin crocheting the first round into the ring.
The Crochet Pattern
Bottom Cover
- Start with a Magic Ring: Using your chosen yarn (e.g., orange), make a magic ring and crochet 6 single crochet (sc) stitches into the ring. Pull the tail to close the ring securely. (6 sts)
- Round 2: Crochet 2 sc into each stitch (6 increases). You should have a total of 12 stitches. (12 sts)
- Round 3: 1 sc in the first stitch, inc in the next stitch. Repeat** throughout the round**. This will result in 18 stitches. Use a stitch marker to mark the beginning of the next round. (18 sts total)
- Rounds 4–9 (6 rounds): Work 1 sc in each stitch around without increasing. (18 sts each round)
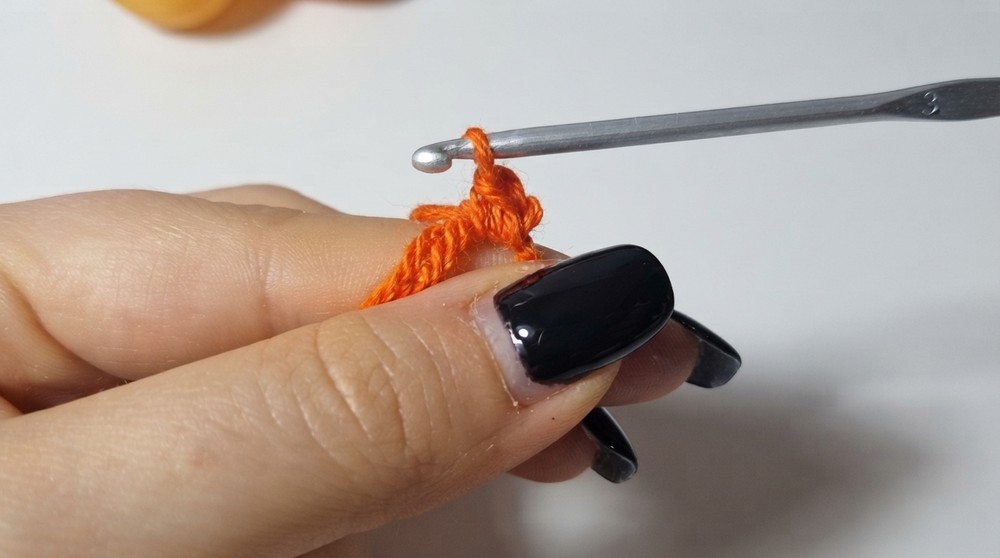
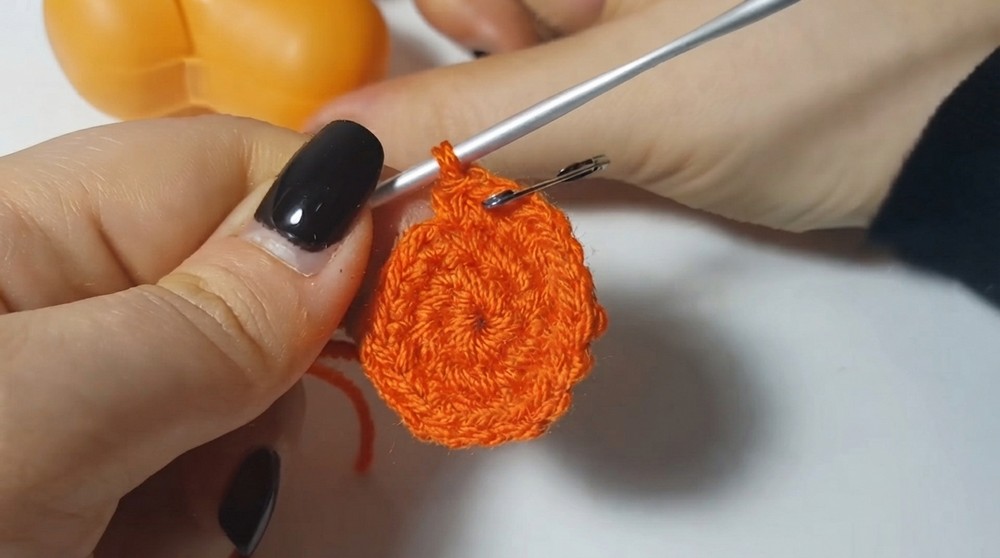
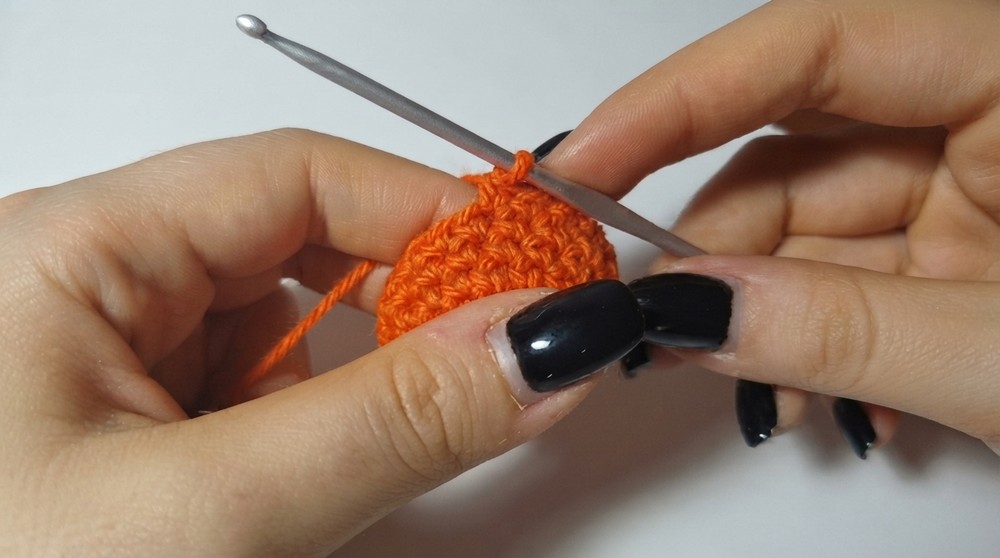
Check Fit for the Bottom Half:
Insert the bottom half of the Kinder Egg container into your crocheted piece. Ensure it fits without stretching or covering the threading grooves. Add or reduce rounds as necessary for a snug fit.
- Finish the Bottom Cover:
- Work a single slip stitch (sl st) in the next stitch and fasten off.
- Use your yarn needle to weave in any loose ends into the work. Cut excess yarn and set this part aside.
Top Cover
- Start with a Magic Ring: Start again with the same yarn and crochet another magic ring with 6 sc stitches. Pull the tail to close the ring securely. (6 sts)
- Round 2: Crochet 2 sc into each stitch (6 increases). Total: 12 stitches in this round. (12 sts)
- Round 3: 1 sc in the first stitch, inc in the next stitch. Repeat _ around* for a total of 18 stitches. (18 sts)
- Rounds 4–7 (4 rounds): Crochet 1 sc in each stitch. (18 sts each round)
Check Fit for the Top Half:
Slide the top half of the container into the crocheted piece, ensuring it fits comfortably and securely without shifting.
- Finish the Top Cover:
- Work a single slip stitch (sl st) into the next stitch and fasten off.
- Use your yarn needle to weave in loose ends and trim any excess yarn.
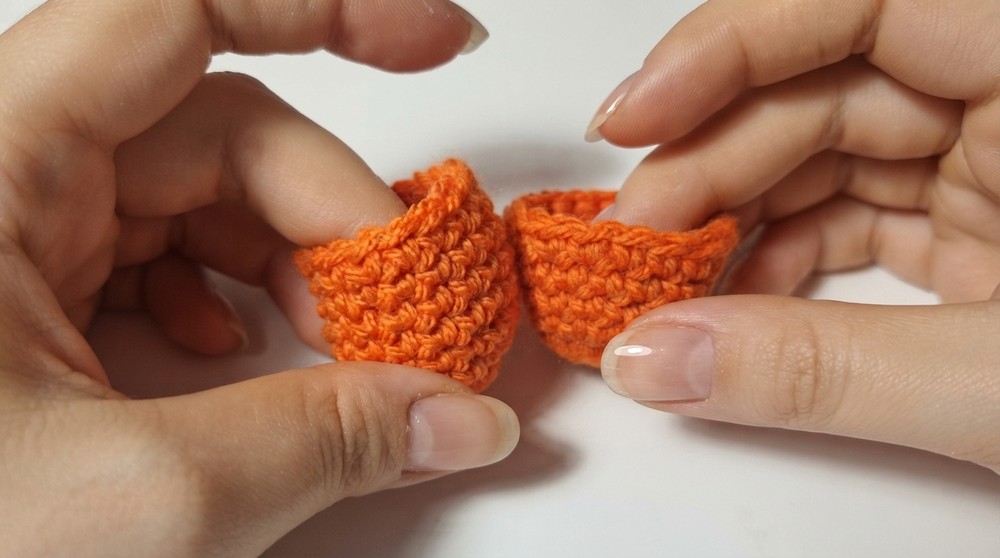
Assembly
Attaching to the Container
- Apply a thin layer of PVA glue on the inner surface of the crocheted bottom cover. Be careful to avoid the threading grooves of the container.
- Place the bottom cover onto the Kinder Egg container and press it snugly into place. Allow the glue to dry completely.
- Repeat the process for the top cover, applying glue to the crochet piece’s inner surface and fixing it onto the top half of the container.
Adding Decorations
- Eyes: Attach googly eyes using a hot glue gun. Ensure they are centered and placed appropriately for a fun look.
- Ears: Cut felt sheets into ear shapes and glue them to the sides of the cover using hot glue. Experiment with different styles and lengths for creative variations.
- Mouth: Use black felt and cut out small shapes to make mouths. Glue them in place beneath the eyes.
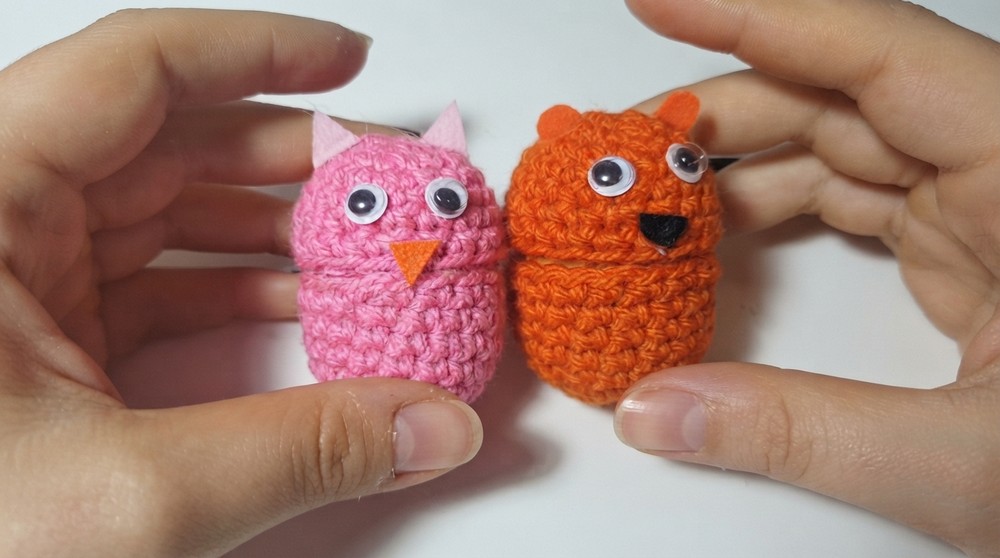
Alternative Design Ideas
- Create different animal faces with various felt ear shapes.
- Experiment with bright yarn colors and themed designs based on holidays or occasions.
- Use additional embellishments like flowers, bows, or sequins to make them unique.
Finished Size
Final assembled keepsake box measures about 5–6 cm in height and can store small items such as baby teeth, rings, or desk knick-knacks.
Conclusion
Congratulations, You’ve successfully created your own crochet keepsake box using a Kinder Egg container. This project is perfect for gifting, storing small treasures, or simply as a fun way to repurpose everyday items. Its simple and customizable design allows anyone, beginners included, to craft something creative and unique.