
Crochet Halloween Mini Ghost Pattern with Silly Ghost Charm
Tuck a tiny spooky friend into your October gift box with the Crochet Halloween Mini Ghost Pattern for a cute surprise that suits the season beautifully.
A tiny crochet ghost brings a playful touch to Halloween without looking too scary. The Crochet Halloween Mini Ghost Pattern is featured in a YouTube tutorial from Ochy Crochet, which presents the project as a baby ghost keychain and credits an earlier pattern with a few changes. Its small character style makes it a cheerful choice for anyone who prefers cute Halloween accessories.
The appeal of a miniature ghost comes from its simple, recognizable shape. A little ghost does not need lots of decoration to stand out, so its outline and face become the main focus. The crochet texture gives the familiar Halloween character a softer look, making it feel friendly rather than frightening. This balance of seasonal charm and simplicity is what makes a small ghost accessory so appealing.
Crochet Halloween Mini Ghost Pattern that Suits Fall Decor
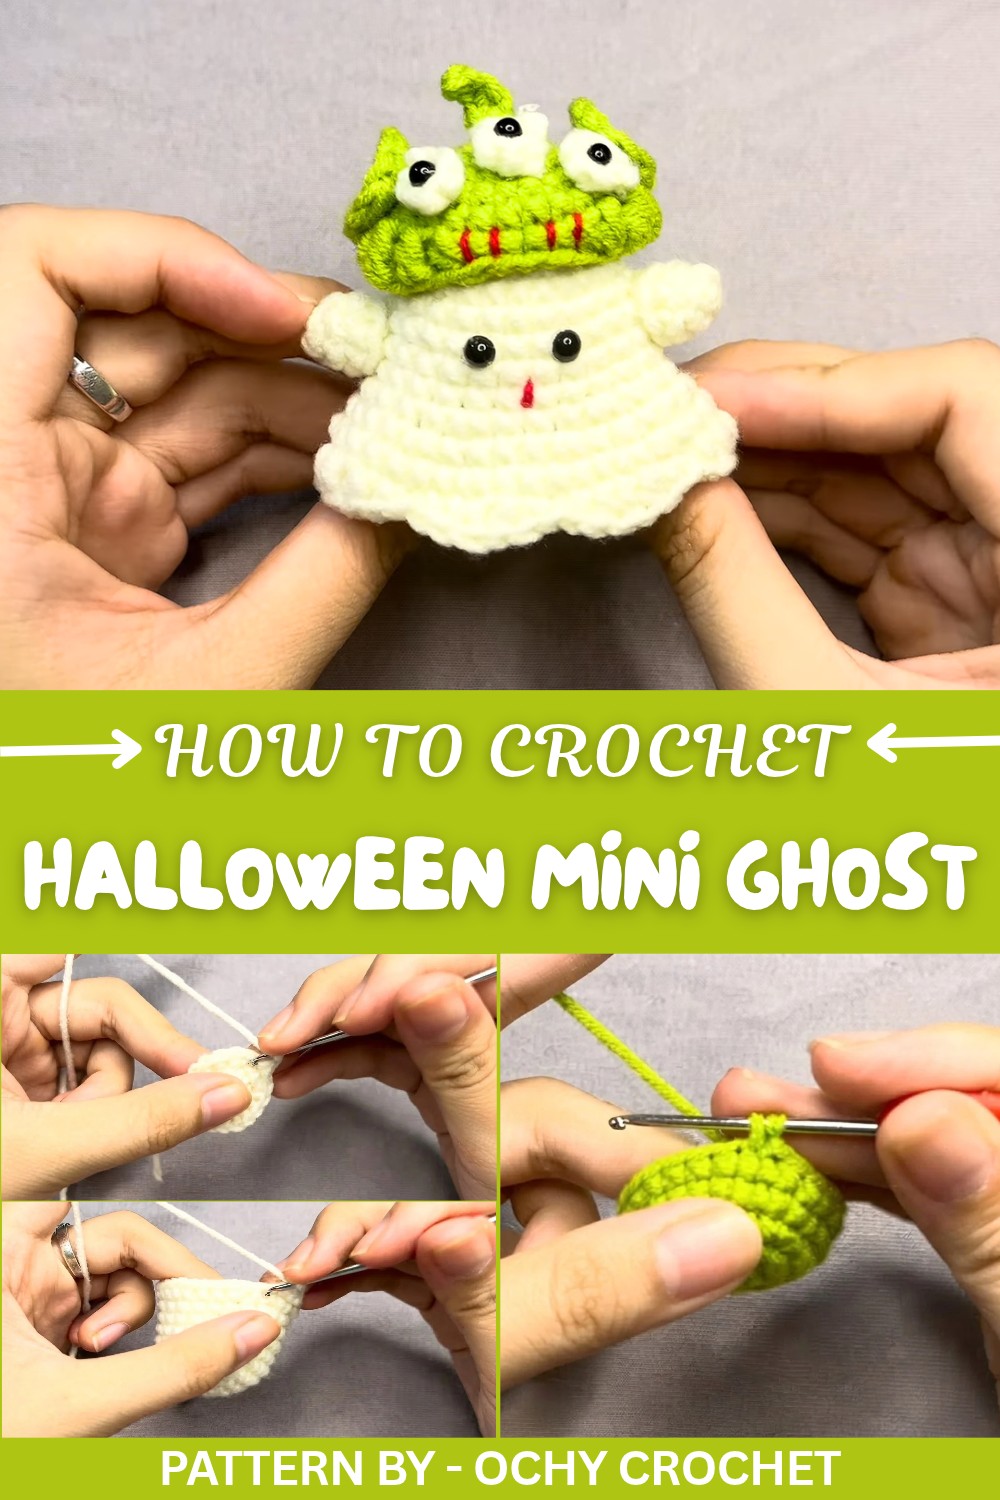
As a keychain, the finished piece can give everyday keys a fun Halloween touch. It could also hang from a bag or pencil pouch, where its little shape is easy to notice. For someone who enjoys seasonal decorations, a mini ghost can sit among small pumpkins or become part of a desk display. It also offers a thoughtful present for a friend who collects tiny crochet characters.
The working style focuses on a small crochet figure rather than a large wearable project. Careful shaping, even tension, and neat finishing matter because small details are easy to see at this scale. Taking time with the outline helps the character look tidy and clear.
Crochet Adorable Ghost Pattern
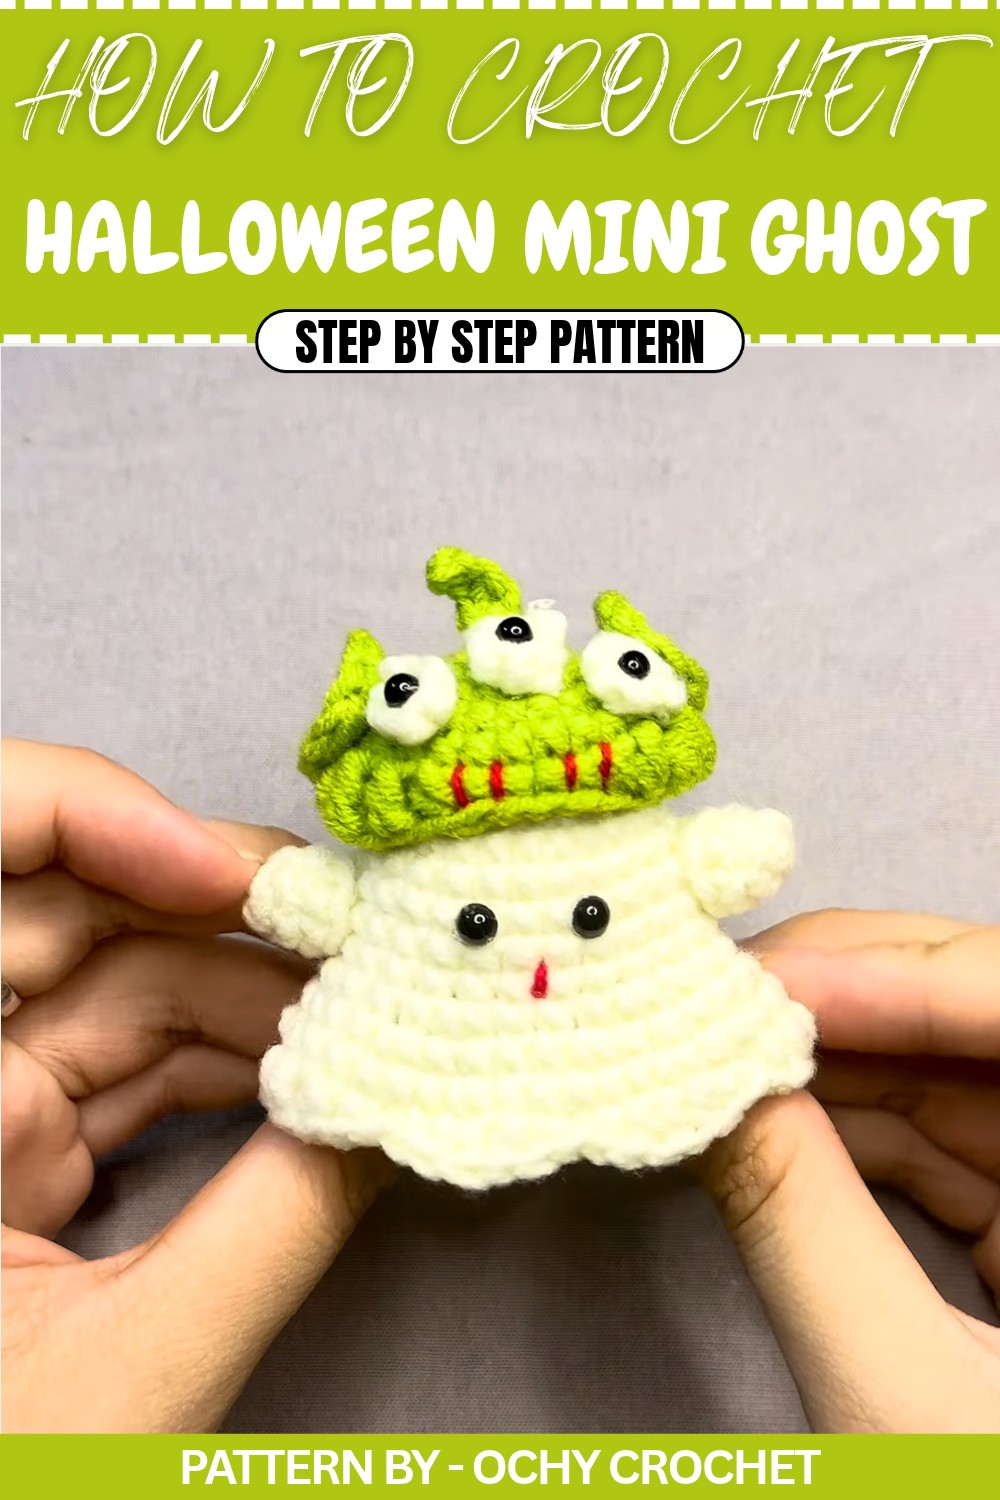
This guide is inspired by Ochi Rose’s fantastic crochet tutorial. By following this pattern, you'll create an enchanting little ghost complete with a body, arms, antenna, and face details that bring it to life.
Quick Overview of Pattern
- Learn to crochet an adorable ghost, complete with body, antenna, and arms.
- The project uses basic stitches such as single crochet, slip stitches, and chains.
- Ideal for beginners and advanced crocheters alike.
- Perfect for Halloween decorations, gifts, or whimsical room decor.
Notes
- Maintain even tension throughout the project to achieve a consistent finish.
- Use a stitch marker to keep track of rounds and make the process smoother.
- Use strong glue or thread to attach details securely.
Skill Level
Beginner to Intermediate – Requires basic knowledge of single crochet, slip stitches, and simple increases.
Materials
- Yarn: Cotton yarn in white for the ghost body, and black or gray for details.
- Crochet Hook: 2.5 mm or size suitable for your yarn.
- Tools: Stitch markers, scissors, yarn needle, glue gun for assembly.
- Optional Accessories: Toy safety eyes or embroidery thread for customization.
Measurements / Sizing
- Finished ghost size: Approximately 12 cm tall, depending on yarn tension and customization.
Gauge
Gauge is not critical for this pattern. However, maintain consistent stitches and tension for a polished look.
Stitch Abbreviations
- MR: Magic Ring
- sc: Single Crochet
- ch: Chain
- sl st: Slip Stitch
- dc: Double Crochet
- tr: Treble Crochet
- incr: Increase (2 sc in the same stitch)
Special Stitches
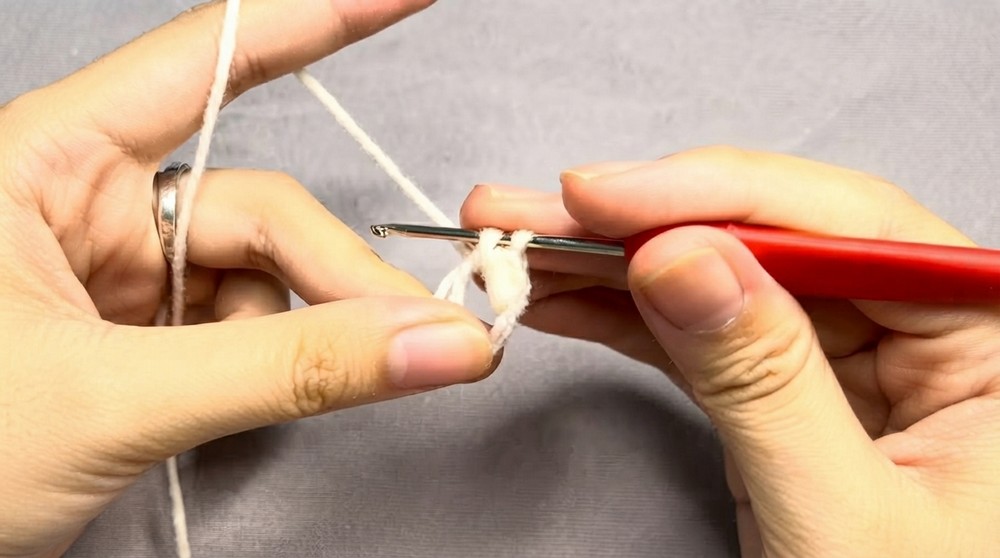
Magic Ring (MR): Wrap the yarn around your finger, insert hook through the loop, yarn over, and pull through, creating an adjustable circle. Continue crocheting into the circle.
The Crochet Pattern
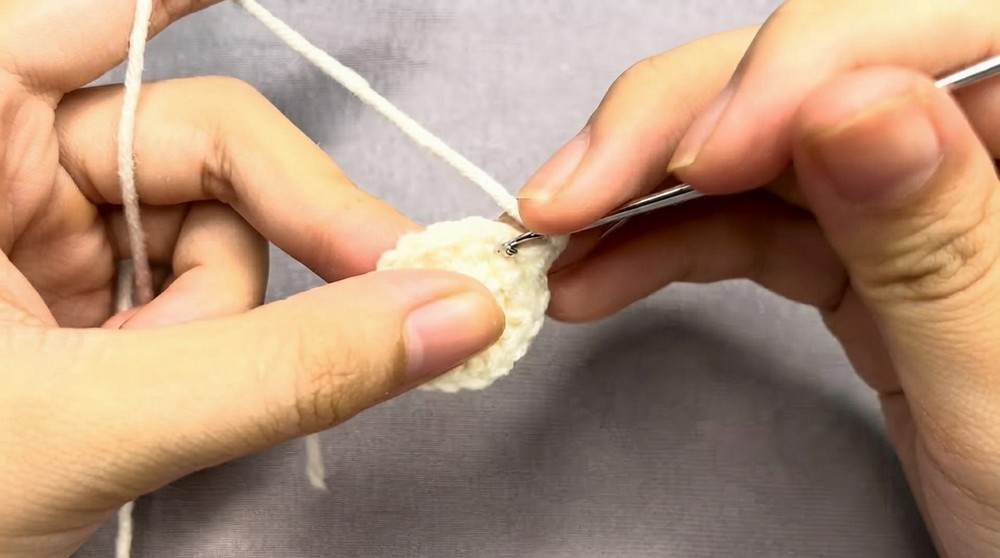
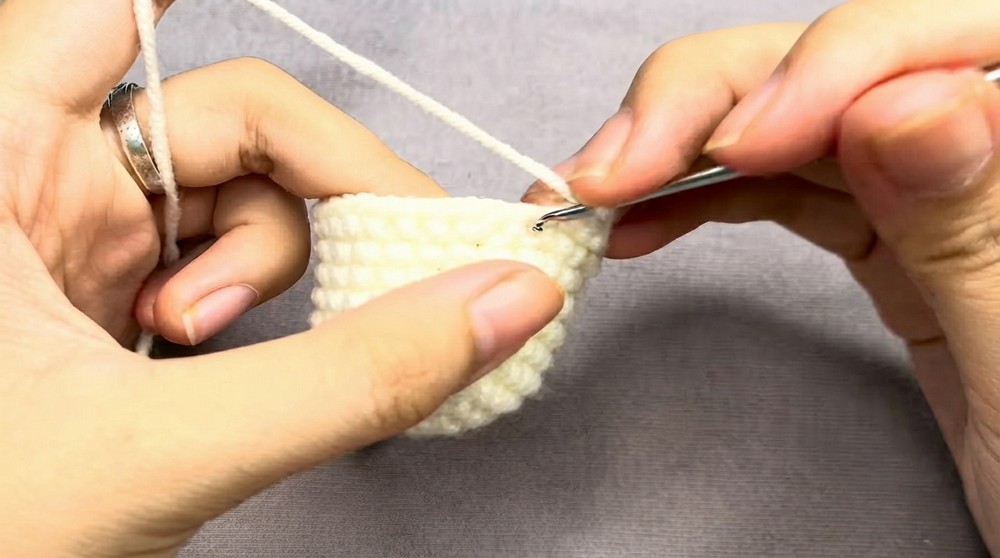
Step 1: Create the Ghost Body
- Round 1:
- Use a magic ring (MR) and work 6 sc into the ring.
- Pull the ring tight and finish with sl st into the first stitch.
- Round 2:
- Chain (ch) 1. Work 1 sc, 1 incr into each stitch around.
- Repeat this pattern (1 sc, 1 incr).
- Round 3:
- Chain (ch) 1. Work 1 sc, 1 sc, 1 incr into consecutive stitches.
- Repeat: 2 sc, 1 incr to the end of the round.
- Round 4:
- Chain (ch) 1. Work 1 sc, 1 sc, 1 sc into each stitch around for a total of 24 sc stitches.
- Rounds 5–9:
- Work 1 sc into each stitch around for 5 rounds.
- Round 10:
- Chain (ch) 1, then work 3 sc, 1 incr into consecutive stitches.
- Repeat: 3 sc, 1 incr.
- Round 11:
- Chain (ch) 1. Work 2 sc, 1 incr, 2 sc into consecutive stitches across the round.
- Round 12:
- Work 5 sc, then 1 incr.
- Repeat: 5 sc, 1 incr to complete the round.
- Round 13:
- Begin with 1 sc; work 1 hdc (half double crochet) in the next stitch.
- For the next stitch: Work 1 dc (double crochet) followed by 1 tr (treble crochet).
- Continue the sequence across all stitches to create the textured bottom ruffle.
- Completion:
- Finish the body by weaving in all loose ends using a yarn needle. Cut any excess yarn neatly.
Step 2: Create the Ghost Hat
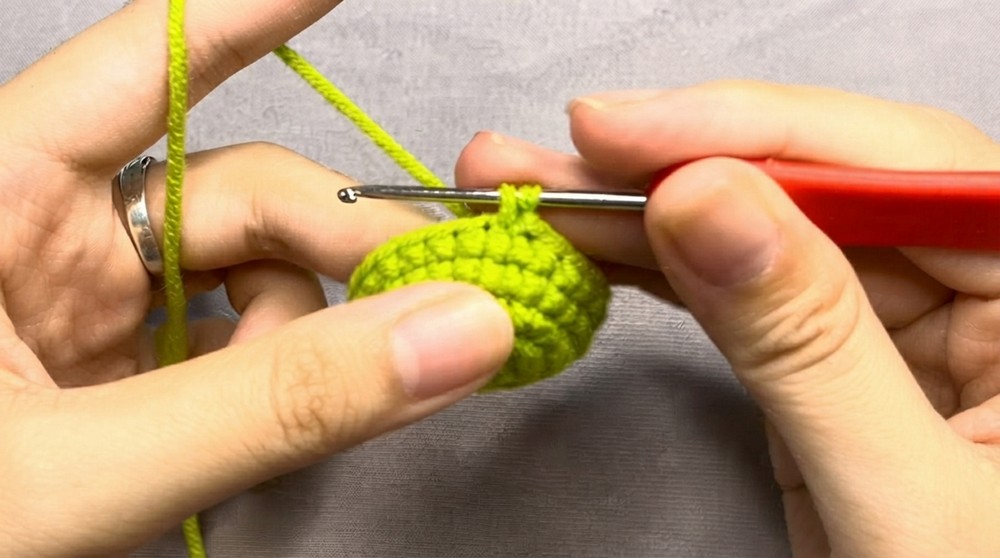
- Round 1:
- Begin with a magic ring (MR) and work 8 sc into the circle. Pull the yarn tight and secure with sl st into the first stitch.
- Round 2:
- At each stitch, work 1 incr (two sc into the same stitch) until the end of the round.
- Round 3:
- Chain (ch) 1. Work 1 sc, 1 incr into every other stitch across the round.
- Rounds 4–5:
- Work 1 sc into each stitch around for two rounds.
- Round 6:
- Start with 4 sc, then work 1 hdc, 1 dc, 1 tr, and 1 dtr into the next stitch. Proceed with the pattern across the round to create a wavy brim edge for the hat.
- Completion:
- Finish the hat by fastening off and weaving in the ends.
Step 3: Create Ghost Arms
- Arm Part:
- Begin with a magic ring. Work 2 sc into the circle, followed by 1 hdc.
- Chain (ch) 3, turn, and sl st into the base of the chain to shape the arm.
- Repeat this for a second identical arm.
Step 4: Create Antenna
- Antenna:
- Make a slip knot and chain (ch) 4.
- Single crochet (sc) into the second, third, and fourth chains to create a small tube.
- Fasten off and set aside for assembly.
Assembly & Finished Size
- Attach Antenna:
- Place the antenna on top of the hat and secure firmly with either a glue gun or hand stitching.
- Attach the Hat:
- Position the hat on top of the ghost’s body. Glue or stitch it securely.
- Attach the Arms:
- Stitch or glue arms onto the sides of the ghost’s body for the finished look.
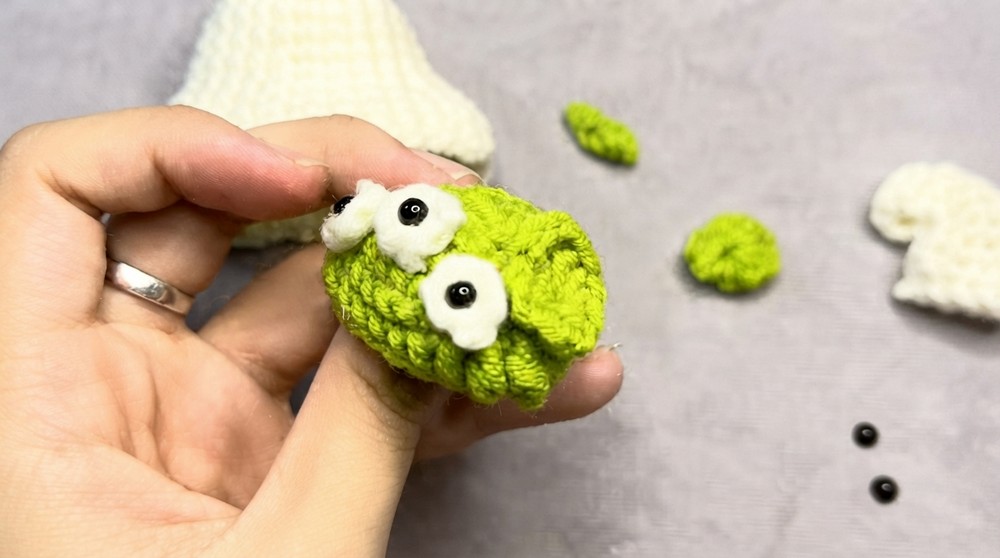
- Face Details:
- Use safety eyes for the ghost’s eyes or embroider small circles.
- Add embroidered lines or simple accents for a fun and personalized appearance.
The finished ghost is approximately 12 cm tall (depending on yarn tension).
Conclusion and Ending Words:
Congratulations, You’ve just completed your Cute Crochet Ghost pattern with hat, antenna, and arms. This adorable project is perfect for adding some whimsy to your Halloween decorations or gifting to friends. Feel free to use different yarn colors and personalize the details to make each ghost unique.