
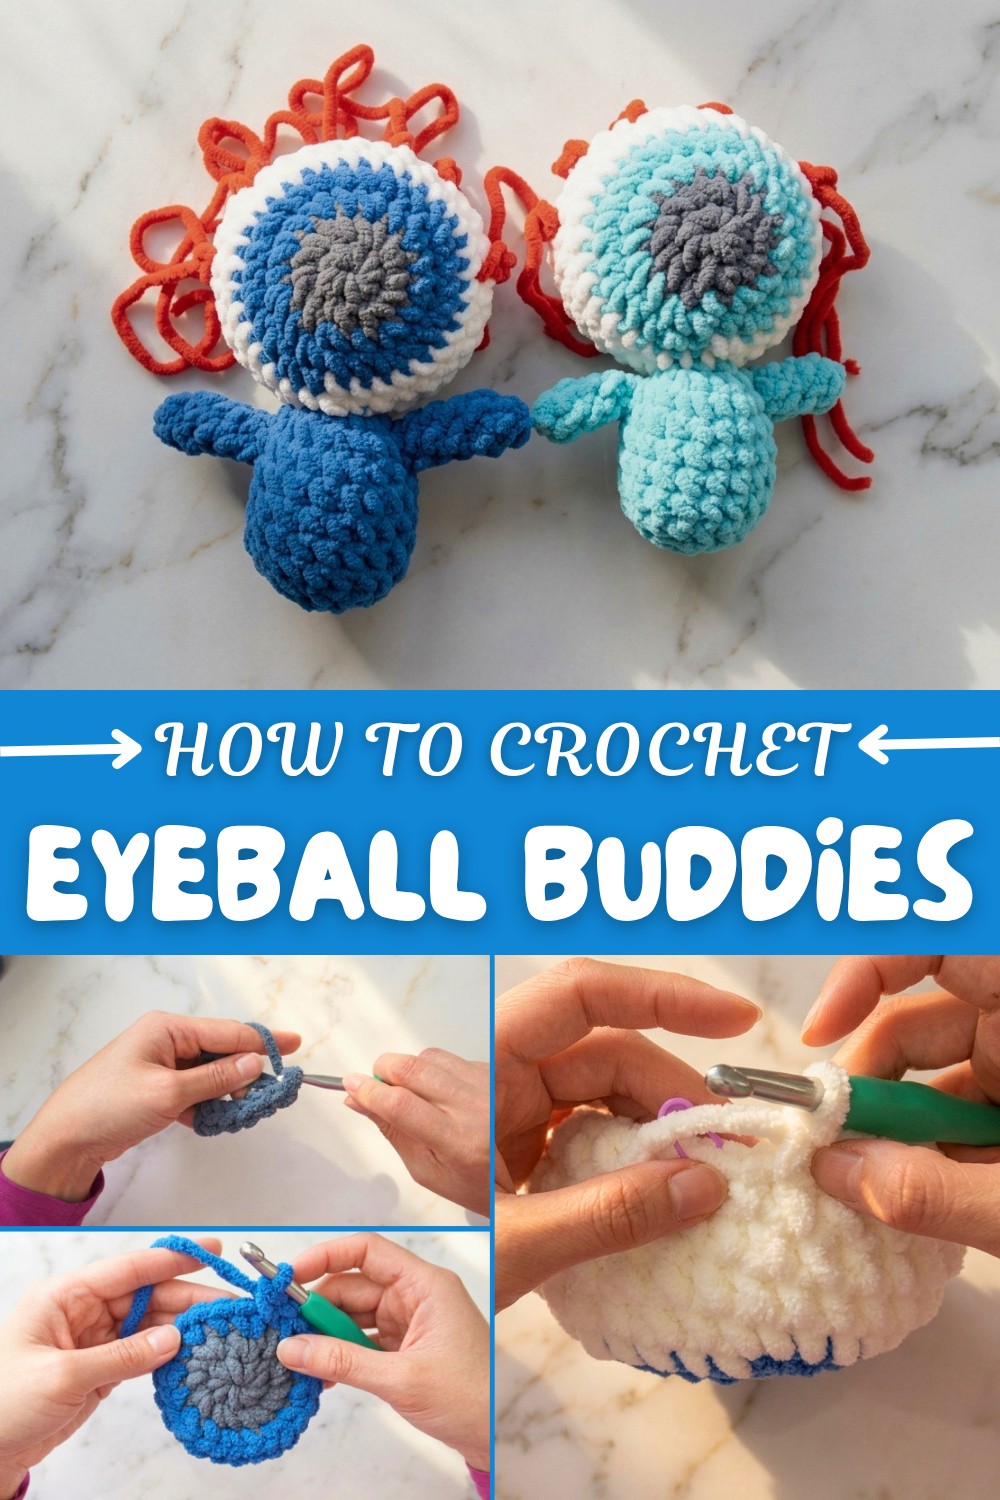
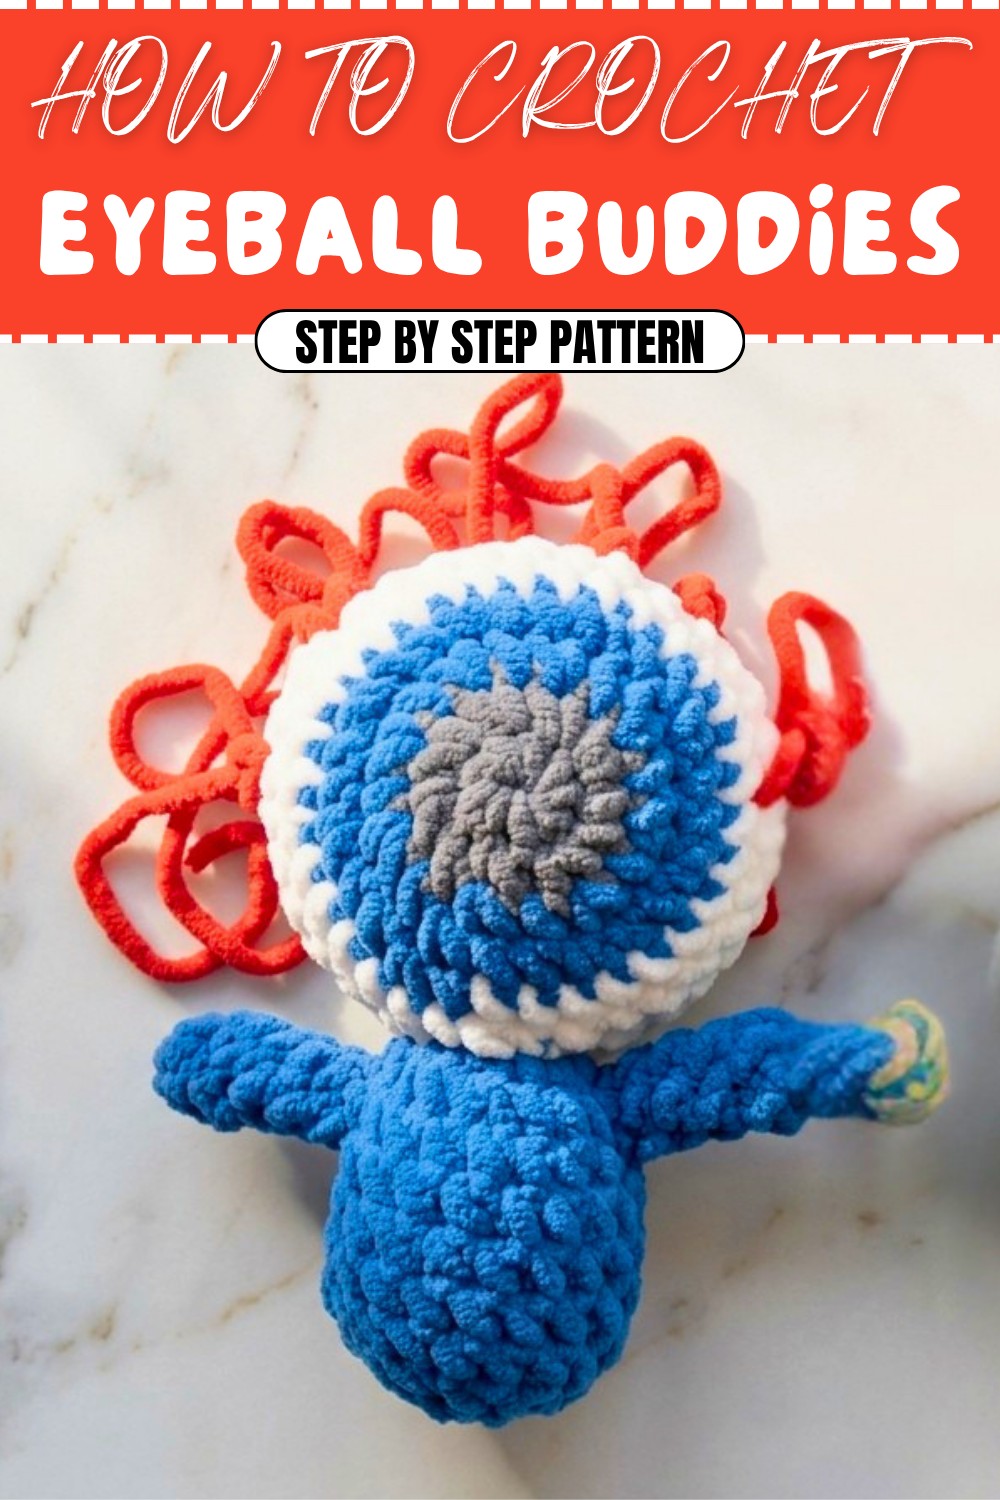
Crochet Eyeball Buddies Pattern Free Halloween Amigurumi
Bring Halloween to life by making your own eerie yet adorable crochet eyeball buddies with this free pattern that's perfect for beginners to customize with ease.
If you're seeking a playful and unique plush for your Halloween décor or a quirky gift, this seasonal amigurumi project is just the thing. The Free Eyeball Buddies Pattern invites crocheters to create a lighthearted, customizable buddy that’s perfect for display, gifting, or collecting. This soft, spherical toy is a fantastic choice for handmade party favors, whimsical decorations, or even as a charming addition to a child’s playroom or your workspace.
Free Crochet Eyeball Buddies Pattern for Amigurumi Lovers
What sets this pattern apart is its distinctive construction and expressive design. Each Eyeball Buddy is shaped as a classic amigurumi sphere, featuring bold colors for the pupil and iris, a crisp white backdrop, and delightfully random red yarn veins for an authentic, slightly spooky look. The plush includes playful little arms and a softly stuffed body, lending both character and tactile appeal. Thanks to the clever use of color changes and simple shapes, every creation takes on its own personality, especially since the yarn "veins" are added freestyle, making no two alike.
The Eyeball Buddy pattern is ideal for beginners, relying primarily on single crochet stitches, basic increases and decreases, and the magic circle technique. Essential amigurumi skills are covered, including invisible decreases for seamless shaping, changing yarn colors, and basic assembly for attaching arms and body. No advanced stitches are required, making it approachable for those new to three-dimensional crochet as well as experienced makers eager for a fast, satisfying project.
Whether you turn your Eyeball Buddy into a festive ornament, fun Halloween favor, or lighthearted desk companion, this pattern brings creativity and seasonal flair to your crochet repertoire. It’s an engaging choice for crafters of all levels who want to experiment with color and shape—so why not make a whole collection for your next spooky celebration or as memorable, handmade gifts?
Halloween Eyeball Buddy Plushy Pattern
This friendly, step-by-step amigurumi pattern guides you through creating a Halloween eyeball plush. Written with full explanations after each section, it ensures success for beginners as well as more advanced crocheters.
Before You Start
- Read through the entire pattern before beginning.
- Choose four yarn colors: one very dark (for the pupil), one bright (iris), white (sclera), and red (veins).
- Gather all your materials in one place for convenience.
- Use a stitch marker to mark the beginning of each round, especially if you’re new to working in the round.
- If new to crocheting in the round, practice the magic ring technique before starting.
Pattern Notes
- This pattern is worked in joined and continuous rounds unless specified.
- Amigurumi is tightly crocheted for a firm structure—if you see stuffing show through, use a smaller hook.
- Instructions for color changes are included; always secure unused yarn tails inside your plush.
- Invisible decrease technique prevents gaps or holes.
- All stitches are single crochet unless noted otherwise.
- Stuffing is added before the final closes of each piece.
- Gauge is not crucial, but aim for similar tension throughout.
How I Made the Crochet Pattern
- Created the eyeball center with consecutive increases and color changes.
- Used single crochet decreases to close the shape while adding stuffing inside.
- Crocheted a small body and tube-shaped arms, all assembled together.
- Added random lengths of yarn as "veins" using simple embroidery techniques.
- Assembled and secured all components for a finished plush.
Skill Level
Beginner Friendly (perfect for new amigurumi makers)
Finished Size
Roughly 4" (10 cm) tall, 2.5" (6 cm) wide using bulky (fluffy/chunky weight) yarn and a 9 mm hook.
Materials
- 4 colors of yarn (bulky weight or similar; e.g. black/dark, bright/iris, white, and red)
- 9 mm crochet hook
- Scissors
- Darning/tapestry needle
- Polyester fiber stuffing
Measurements / Sizing
- Head: Approx. 2.5" (6 cm) diameter
- Body: Approx. 1.5" (4 cm) long
- Arm: Approx. 1.25" (3 cm) each
Gauge
- Gauge is not critical for amigurumi.
- For reference: 5 sc x 6 rows = 2" with bulky yarn and 9 mm hook.
Stitch Abbreviations
- ch – chain
- sc – single crochet
- inc – increase (2 sc in same st)
- dec – decrease (single crochet two together; see Special Stitches)
- st(s) – stitch(es)
- sl st – slip stitch
- rnd – round
Special Stitches
Magic Ring (MR):
Make a loop, insert hook, yarn over and draw up a loop, ch 1, work stitches into ring, pull tail to tighten.
Invisible Decrease (inv dec):
Insert hook into front loop of next st, then into front loop of following st (2 loops on hook), yarn over and pull through both loops, yarn over and pull through final 2 loops.
The Pattern!
Eyeball (Head)
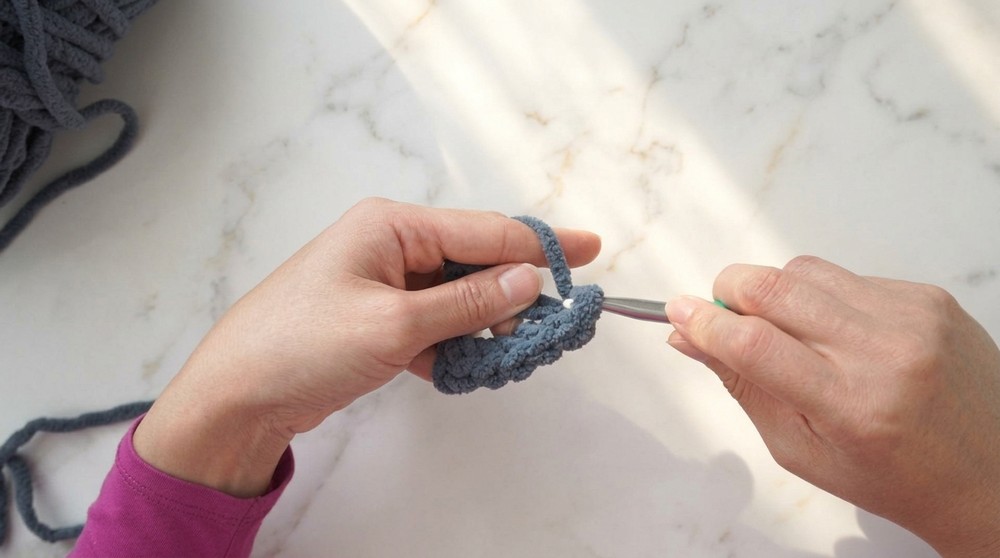
Rnd 1 (Pupil - Darkest Color):
- MR, ch 1.
- 8 sc into ring.
- Pull tail tight.
- Do not join—work in continuous rounds.
You’ve created a tiny dark circle that will become the pupil of the eyeball. Make sure to pull the ring closed for a neat center.
Rnd 2:
- 2 sc in each st around (inc in every st). (16 sts)
By working two stitches in each stitch, you double the number of stitches and form a flat circle (the pupil expands).
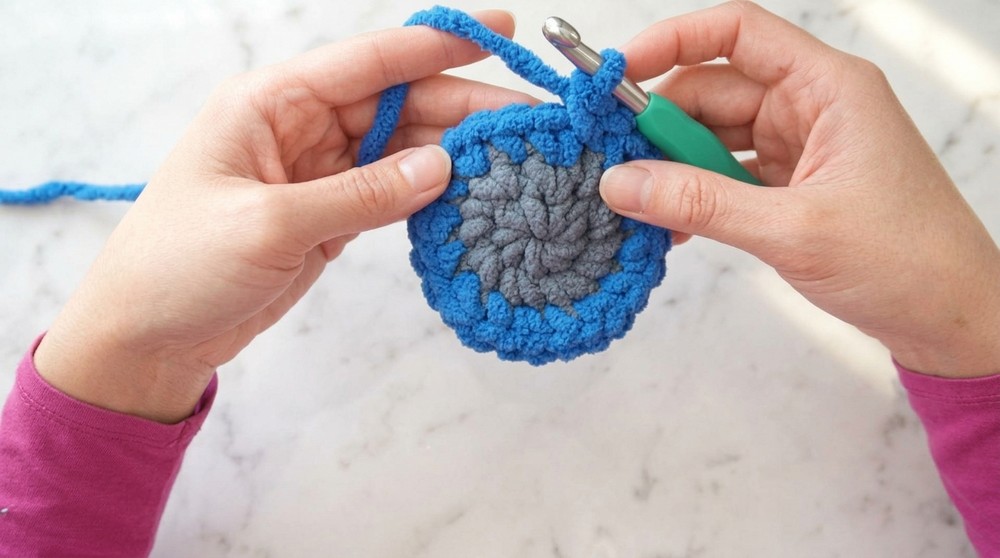
Rnd 3 (Change to Iris Color):
- With new color, sc in first st (joining color change),
- Continue: (inc in next st, sc in next st) around (alternating increases and singles). (24 sts)
This round transitions to the iris, gradually increasing the size of your eyeball. Change color as you crochet; fasten off the previous color and knot tails inside.
Rnd 4 (Change to White):
- With new color, (sc in next 2 sts, inc in next st) around. (32 sts)
The white is now building up the main part (sclera) of the eyeball. Tails from color changes can be tied and left inside—no need to weave in.
Rnd 5-8:
- Sc in each st around (no increases). (32 sts per rnd, 4 rnds total)
Continue with single crochets for four more rounds. This height extends the roundness of your eyeball plush.
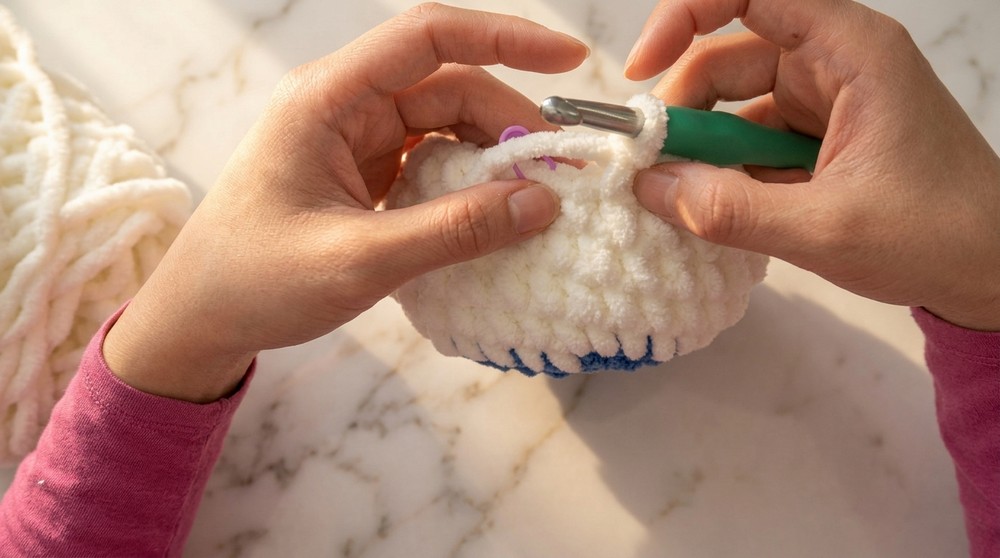
Rnd 9 (Begin Decreasing):
- (sc in next 2 sts, inv dec) around. (24 sts)
Start shaping the dome by working decreases every third stitch. Use invisible decrease for a smooth look.
Rnd 10:
- (sc in next st, inv dec) around. (16 sts)
Your sphere is closing. Now is a good time to begin stuffing—work decreases and add stuffing as you go.
Rnd 11:
- Inv dec in each st around. (8 sts)
- Fasten off leaving a long tail for sewing.
Add more stuffing and close the opening tight. Use the yarn tail to weave around remaining stitches, pull tight, knot, and hide the yarn end inside.
In Plain English:
You make a ball by working in a circle—starting with 8 single crochets, then doubling, then increasing gently while changing color. Do 4 rows in white, then start decreasing and stuffing as you go. The invisible decrease makes the hole close neatly; tie off, and your eyeball shape is ready.
Body
Rnd 1:
- With iris or body color, MR, ch 1.
- 6 sc into ring. Pull closed.
- Do not join—work in continuous rounds.
Rnd 2:
- 2 sc in each st around. (12 sts)
Rnd 3:
- (sc in next st, inc) around. (18 sts)
Rnd 4-7:
- Sc in each st around (no increases). (18 sts per rnd, 4 rnds total)
This forms a short cylinder for the body. Again, continue in a spiral with no joins.
Rnd 8 (Begin Decrease):
- (sc in next st, inv dec) around. (12 sts)
Rnd 9:
- Inv dec in each st around. (6 sts)
- Fasten off, leaving a long tail for sewing.
Stuff the body firmly before final decrease—this gives a squishy feel. Use the tail to close the hole and weave in.
Plain Explanation:
You crochet a small tube starting with 6 sc, then gradually increase and work several plain rounds. When you begin to decrease, stuff, close, and secure with your needle.
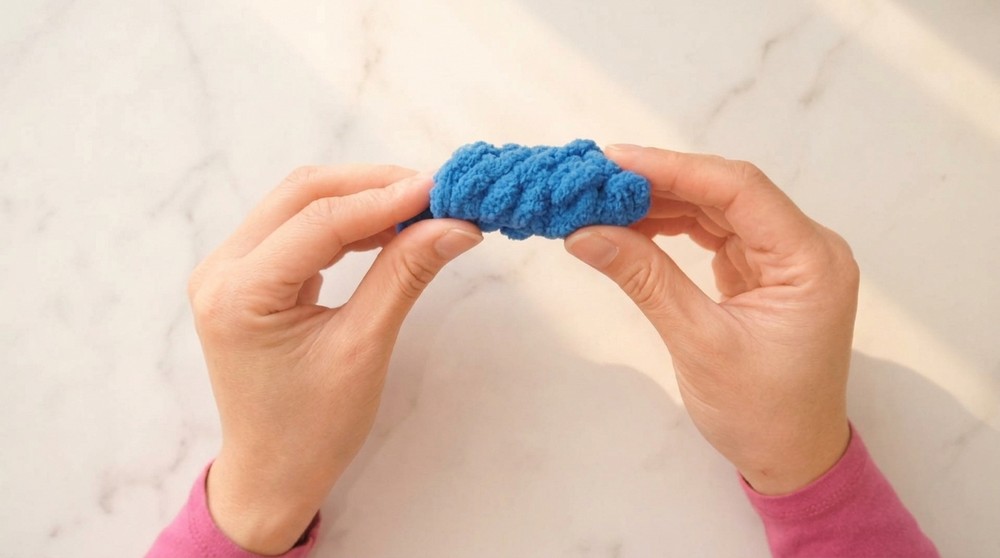
Arms (Make 2)
Rnd 1:
- With body color, MR, ch 1.
- 4 sc into ring. Pull tight.
Rnd 2-6:
- Sc in each st around (4 sts) (make about 5 rounds for length).
- Fasten off, leaving a long tail for sewing.
- No stuffing is required for these little tube arms.
You create a skinny tube for each arm, then finish with a long yarn tail to sew it onto the body later.
Veins (Freestyle Embroidery)
- Cut 5-7 strands of red yarn in varied lengths.
- Use tapestry needle to embroider each vein—a random surface stitch—start at the top of the eyeball and bring the needle out at any point.
- Loop and secure each end inside the head.
Every eyeball will look unique as you 'draw' red vein lines with yarn—make some longer, some shorter, or have them curl around for a spooky effect.
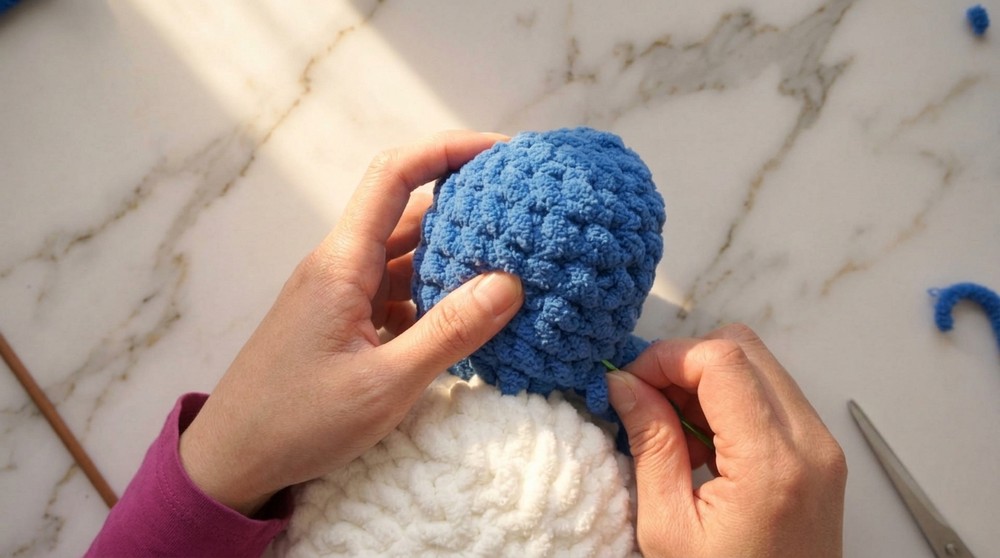
Assembly & Finishing
- Weave in all remaining yarn tails securely inside each piece.
- Place head on body and pin in place if needed.
- With a tapestry needle and long yarn tail, sew head to body securely using whip stitch.
- Attach arms to either side of body, sewing them flat or slightly angled for character.
- Embroider red veins randomly over the eyeball using a tapestry needle and strands of red yarn.
- Fasten off and hide any ends inside.
- Shape your plush by gently pressing and arranging stuffing as needed.
Solution of Problem
- Problem: Large holes or stuffing showing on body or head.
Solution: Use a smaller hook size or tighten your tension; always use invisible decreases when closing. - Problem: Color changes look messy or yarn tails come out.
Solution: Tie knots with color-change yarn tails, tuck them inside the plush, and always begin new colors on a fresh round. - Problem: Veins unravel or pull out.
Solution: Double knot both ends of the red yarn strands and secure tightly; weave ends inside for extra security. - Problem: Shape is lopsided.
Solution: Add stuffing gradually and evenly. Reshape gently with your hands after assembly.
What You Can Make by Using These Stitches
- Halloween plushies and amigurumi decorations
- Cartoon monster dolls
- Baby rattles (use safety eyes for small children)
- Decorative pillows (make in larger size)
- Keychains or backpack charms (use lighter yarn)
- Embroidered and novelty home accents (tabletop items, party favors)