
Crochet Designer Poncho Free Pattern That Turns Heads
Keep little ones cozy with the Crochet Baby Hoodie Pattern, a soft and charming piece perfect for warmth, comfort, and adorable everyday wear.
Pattern By Craft & Crochet
Chunky yarn and soft stitches combine to make a baby hoodie that feels warm, snug, and absolutely adorable a piece that parents and makers both love. The pattern demonstrates building the hoodie step by step, starting with the body and gradually shaping the hood for a perfect fit.
Crochet Designer Poncho Pattern Perfect for Chilly Days
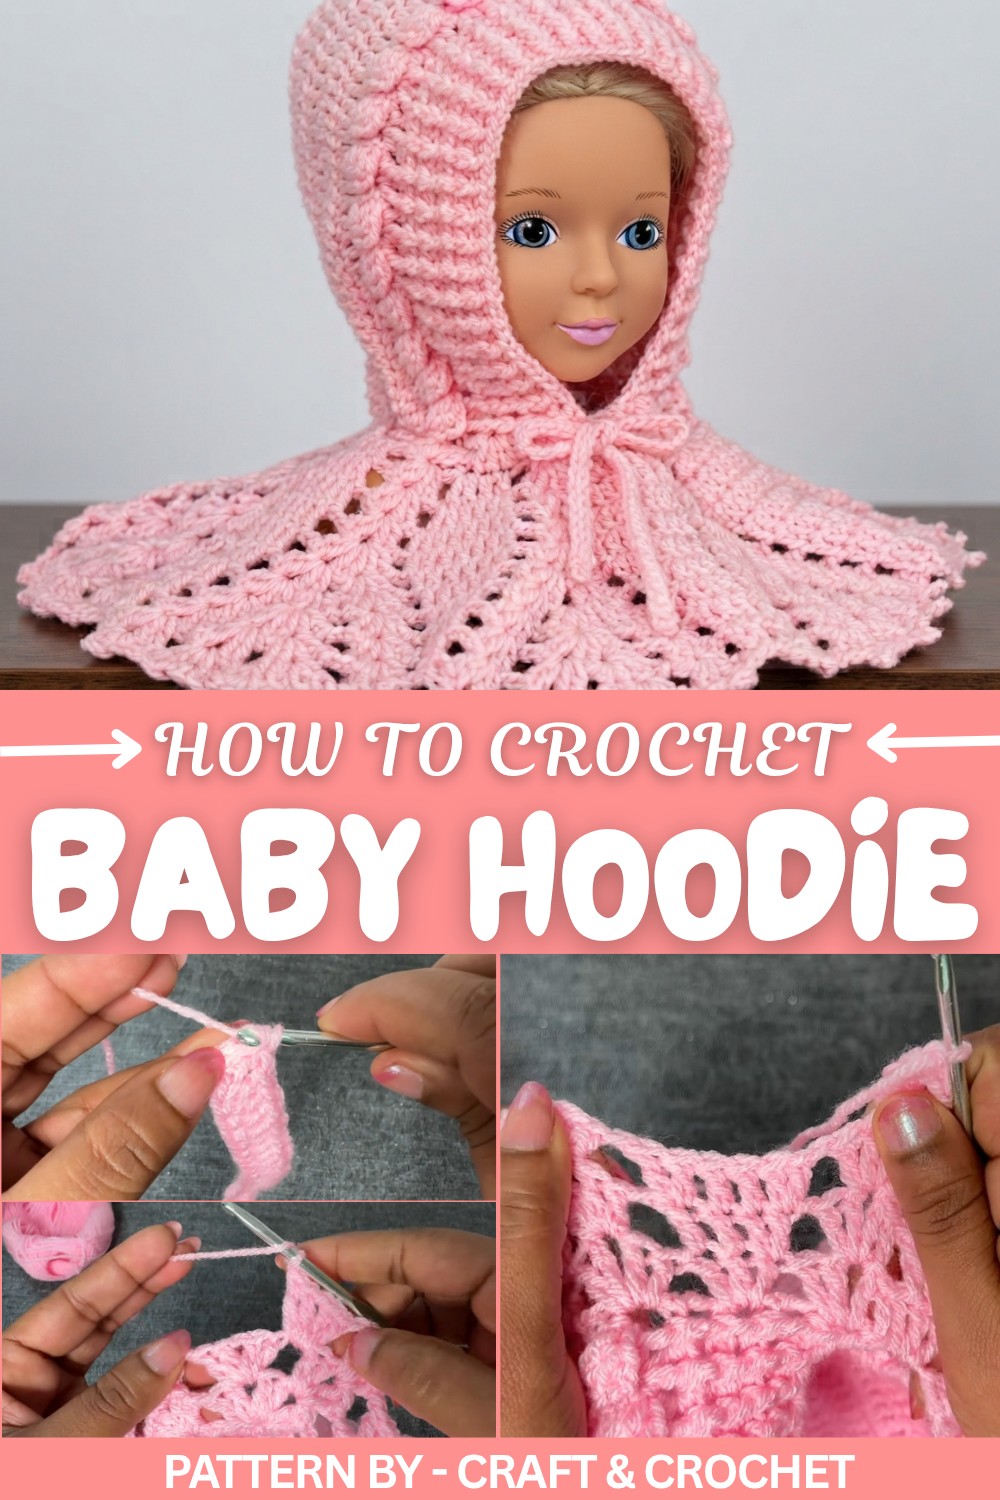
With its combination of comfort, style, and handmade charm, the Crochet Baby Hoodie pattern adds warmth and personality to a little one’s wardrobe, making it both functional and delightful. Small details, like textured stitches add extra charm and personality to the finished hoodie. The cozy fabric makes it ideal for cooler days, keeping a baby comfortable while still looking stylish.
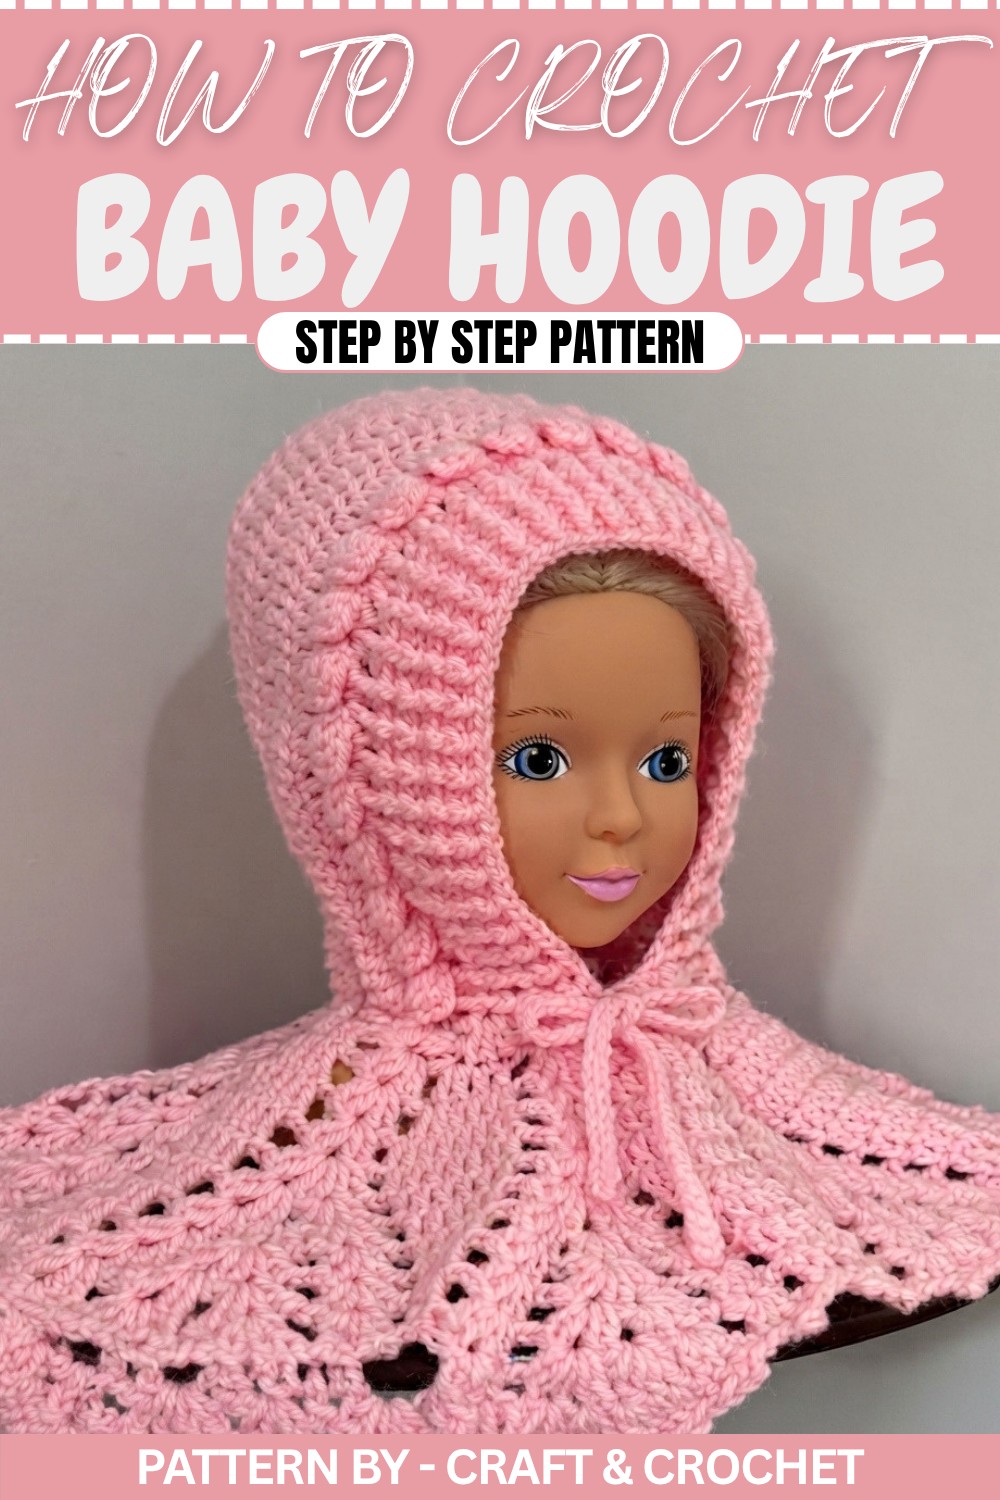
One of the great advantages of this design is its stretch and breathability, which is gentle on delicate skin compared with some store-bought alternatives. The hoodie is versatile, perfect for everyday wear, special outings, or as a thoughtful handmade gift for baby showers or new parents.
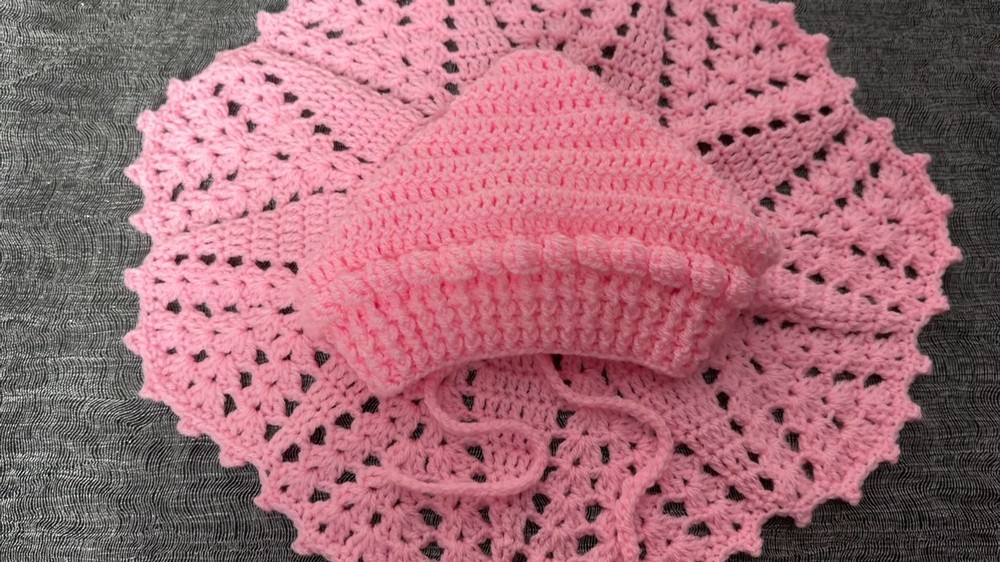
Baby Hoodie Crochet Pattern
A baby hoodie is an ideal project blending functionality and cuteness, resulting in a soft, comfortable garment for babies and toddlers. The frill edge and textured stitches in this design add a subtle decorative touch, while practical instructions and adjustable sizing make it a versatile choice for gifting or keeping little ones cozy. With options for four sizes and a customizable drawstring, this pattern is designed to suit a variety of needs and skill levels.
Skill Level
Beginner Friendly
This pattern is straightforward, using commonly practiced stitches and simple shaping. The step-by-step instructions are tailored for those new to crochet, but the final result is equally appealing for experienced crocheters.
Materials
- Yarn: 1 ball (100g/330m) Double Knitting (DK) yarn (Color code used: CE011 or similar)
- Crochet Hook: 4mm
- Yarn Needle: For weaving in ends
- Scissors
- Pom Pom Maker: Optional, for embellishments
- Measuring Tape
Special Stitches
- Foundation Double Crochet (FDC): An alternative to starting with a foundation chain, offering a stretchier edge. Not required—can use traditional chain and double crochet if preferred.
- Front Post Double Crochet (FPdc): Yarn over, insert hook from front to back around the post of the stitch below, complete as dc.
- Back Post Double Crochet (BPdc): Yarn over, insert hook from back to front around the post of the stitch below, complete as dc.
- Picot: Ch 3, slip stitch into the first ch.
Stitch Abbreviations
| Abbreviation | Stitch Name |
|---|---|
| ch | Chain |
| sc | Single Crochet |
| sl st | Slip Stitch |
| dc | Double Crochet |
| FPdc | Front Post Double Crochet |
| BPdc | Back Post Double Crochet |
Useful Tips
- Maintain even tension throughout for a neat, professional look.
- The hoodie starts with either a foundation chain or foundation dc; choose whichever method suits you best.
- Make sure to count stitches at the end of each row to ensure accuracy, especially when working increases at the corners.
- Adjust the number of rows for body and hood length if needed for custom sizing.
- Always check your gauge for best results and fit.
- The frill creates a 3D texture; follow each row’s steps carefully for the intended effect.
Detailed Pattern
Available Sizes
- 0–6 months: Start with 30 dc, 63 dc after first round
- 6–12 months: Start with 32 dc, 67 dc after first round
- 1–2 years: Start with 34 dc, 71 dc after first round
- 2–3 years: Start with 36 dc, 75 dc after first round
Sizing is based on width and length: Example for 6–12 months—Width: 21 cm, Height: 23 cm, Frill: 17–18 cm.
Hoodie Body
Round 1
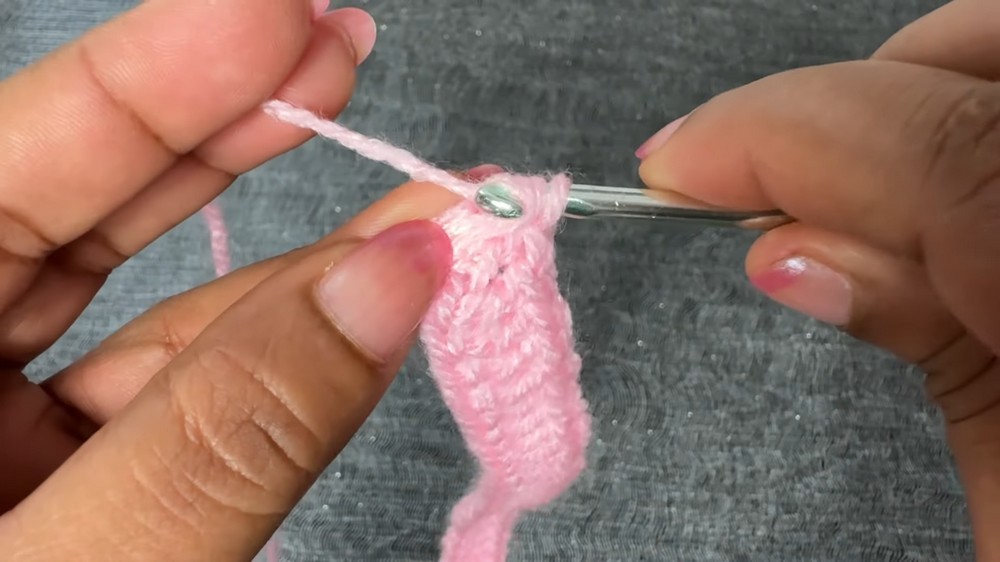
- Start with a slip knot.
- Choose your preferred method:
- Foundation Chain: Ch the required number for your chosen size (e.g., 35 ch for 32 dc base).
- Or Foundation Double Crochet: Work the required number of foundation dc for your size.
- In the 4th ch from the hook, work the first dc. Dc across the row (ending with required base dc).
- In the last stitch, place 3 dc to form the corner.
- Continue working along the opposite side of the starting chain, making 1 dc in each.
- End: In final st/corner, make 3 dc.
- Total for 6–12 months: 67 dc.
Round 2
- Ch 3 (counts as first dc), turn.
- Dc in each dc to the first corner.
- At each corner (groups of 3 dc), work 2 dc in each corner st for a total of 6 corner increases.
- Continue with dc in each stitch down the side.
- End: For 6–12 months, 70 dc.
Round 3
- Ch 3, turn.
- Dc across, including corners. No increases in this row.
- Maintain the correct stitch count based on size (e.g., 70 dc).
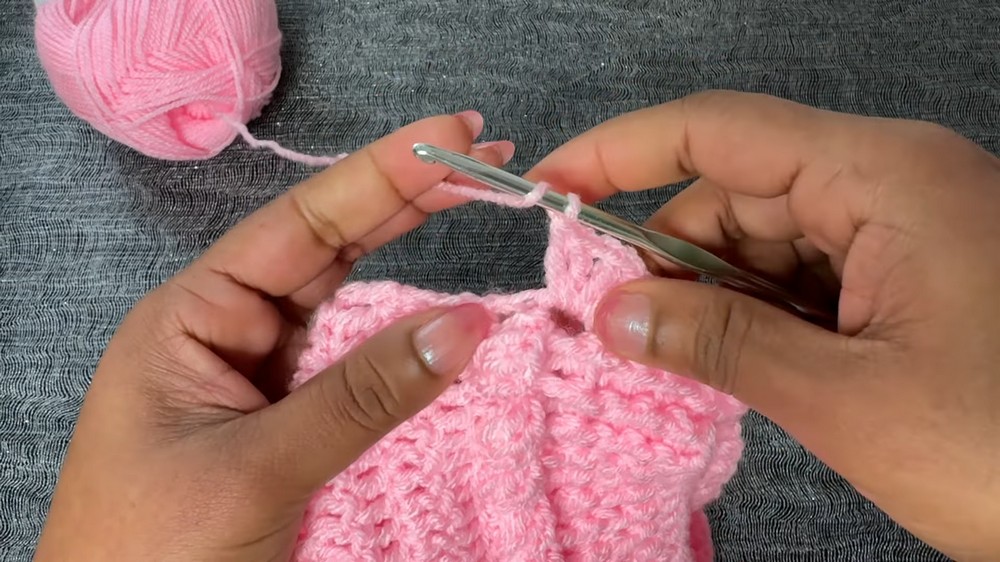
Rounds 4–11
- Repeat row 3 for the required number of rows, adjusting for desired hoodie size.
- For 6–12 months: Work 11 rows in total, achieving approx. 14–23 cm body length.
Frill Body (Creates the Flouncy Edge, Rows 12+)
Round 12 (3D Frill Setup)
- Ch 3, add 3 more ch (6 in total), turn.
- Skip next 2 dc, sc in next dc.
- Ch 3, turn, 2 dc in previous sc, ch 3, sc in the third chain.
- Continue: Skip 2 dc, 2 dc in next, repeat pattern to create 3D stitches and scallops.
- Count 3D sets for even spacing; for 6–12 months, 23 scallops.
Round 13
- Ch 3, turn.
- For each 3D group: 2 dc in first dc, 1 dc in next dc (3 dc in each group).
- Continue across all groups and sides.
Round 14
- Ch 3, turn.
- Alternate BPdc and FPdc across (Back/Front post double crochet) for ribbed effect.
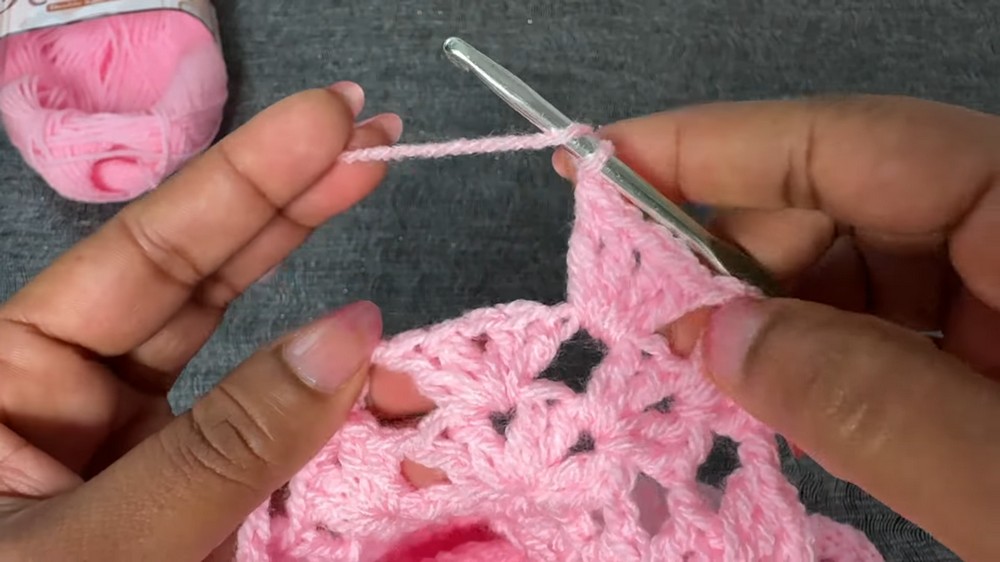
Rounds 15–17
- Repeat the ribbed border created in round 14.
Frill Edge (Worked in Rounds Along Body Edge)
Round 1
- Attach yarn to edge.
- Ch 3 (as dc), dc in same space.
- Ch 1, 2 dc in same space—V-stitch made. Skip 1 dc, 3 dc in next, skip 1 dc, V-stitch in next, repeat to end of round.
- For 6–12 months: Aim for 9 sets of “V-stitch + 3 dc”.
Round 2
- Ch 3, dc in same ch-space, ch 1, 2 dc in same ch-space.
- In 3 dc group from previous round: Work 2 dc in first dc, 1 dc in each of the rest (except for V-stitch).
- Continue pattern, increasing 3 dc to 4 dc in the V-stitch sections.
Round 3
- Ch 3, dc in same space, ch 1, 2 dc in same space.
- In 4-dc group: 2 dc in first dc, 1 dc in each next dc, increase last dc to 2 dc (total 6 dc).
- Continue V-stitch and double crochet increases as established.
Round 4
- Work V-stitch (2 dc, ch 1, 2 dc) in each V-space, and increase the dc groups to 8 dc (2 dc in first, 1 dc in each, 2 dc in last).
- Continue all around.
Round 5
- Repeat pattern, working V-stitch in each chain 1 space, skipping first dc in each dc group, work 7 dc, continue.
Remaining Rounds (Up to Round 11)
- Continue in established pattern, working increases and V-stitches as before, reducing number of dc in groups as the frill narrows.
- Finish with a round of picot edging: Sc in next st, ch 3, sl st into first ch, sc in same space, repeat for each chain space.
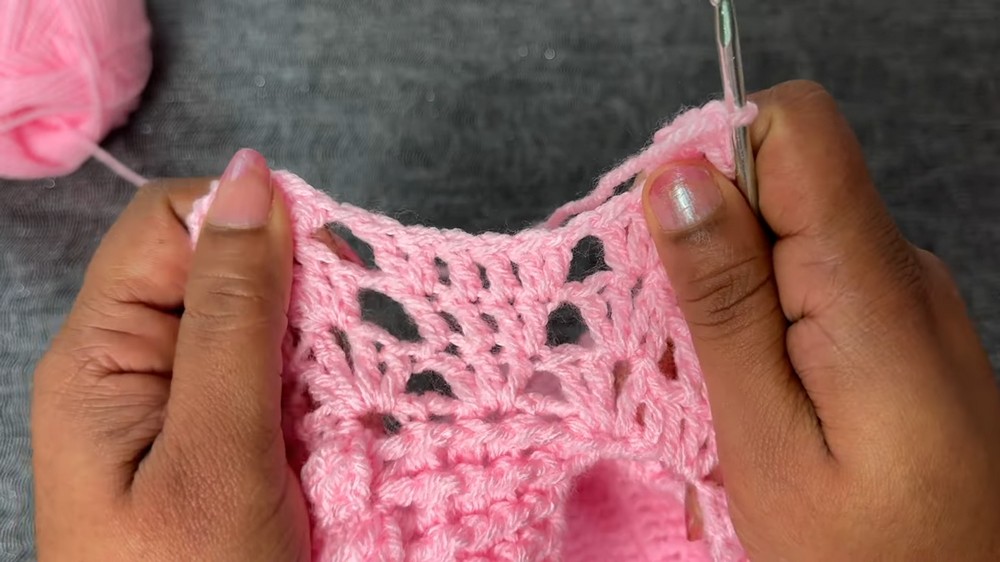
Hood Drawstring (Cord)
- Make a slip knot and chain approx. 125–225 (measure across hood neck and body for length; 125 chain is approx. 78 cm).
- Sl st into each chain across.
- Weave through the neck edge; optionally, add pom-poms at the ends.
Assembly and Sizing
After finishing the body and frill, fold hoodie in half, sew or slip stitch the back seam for the hood. Thread drawstring through designated rows using hook or needle. Attach pom-poms if desired. Weave in all ends with yarn needle for a tidy finish.
Finished Measurements for 6–12 months:
- Side to side (body): 21 cm
- Height: 23 cm
- Frill: 17–18 cm
- Hood circumference: approx. 40–44 cm with drawstring
Conclusion
This baby hoodie pattern with a frill border is adaptable for multiple ages and emphasizes comfort, warmth, and cheerful design. Straightforward construction in flat pieces, combined with charming details like the 3D frill and textural ribbing, makes it ideal for beginners eager to improve and for experienced crocheters seeking a reliable, beautiful go-to pattern. Personalizing with color changes or appliqués will make each garment unique and special for any baby’s wardrobe.