
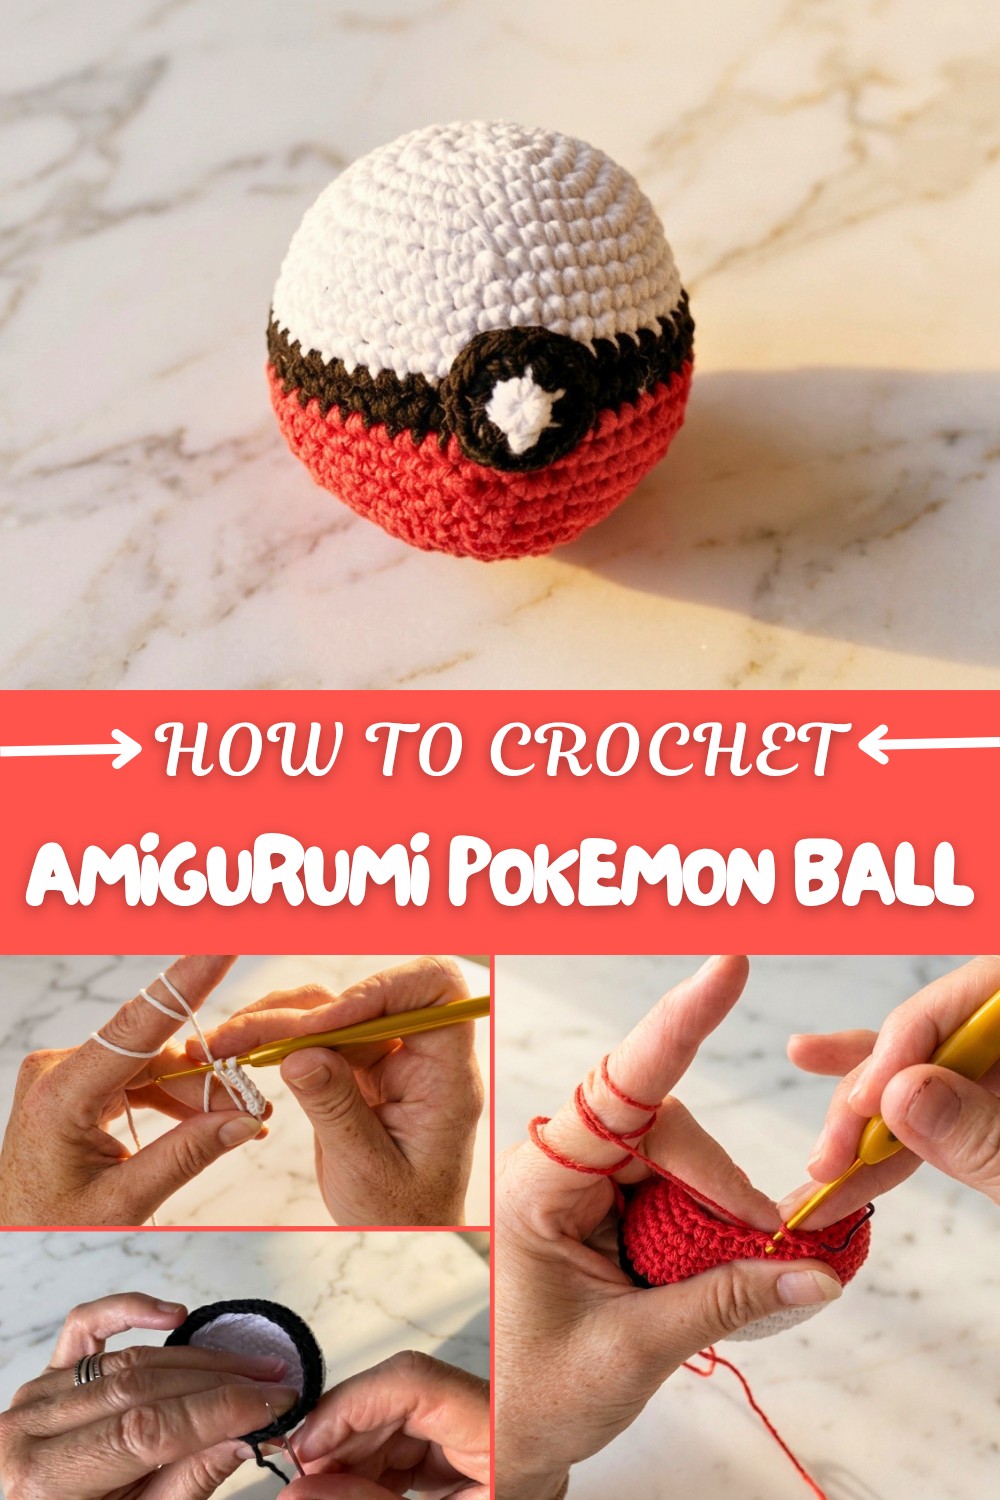
Crochet Amigurumi Pokemon Ball Pattern for Cute Room Decor
Refresh your decor setup with a free crochet amigurumi Pokemon Ball pattern that's cool, whimsical, and ideal for fans everywhere.
There’s something magical about creating a piece that brings nostalgic joy, and this crochet project does just that! The Amigurumi Pokémon Ball pattern is perfect for anyone who wants to combine their love for Pokémon and handmade creativity. With its minimalistic yet iconic design—a bright red and white sphere divided by a bold black stripe topped with a simple circle emblem—this little creation is sure to delight fans of all ages. The best part is that you only need three colors (red, white, and black), a crochet hook, a few basic tools, and some stuffing to bring this fun piece to life. It’s a quick and simple project that’s both beginner-friendly and incredibly rewarding.
Charming Crochet Pokemon Ball Amigurumi Pattern for Party Favors
This pattern introduces you to fundamental skills such as working with magic circles, creating perfect spheres using increases and invisible decreases, and mastering seamless color transitions to ensure the colors flow smoothly without any jagged edges. Each round builds upon the last, bringing you closer to that perfectly round ball shape. And the small circle emblem adds the perfect finishing touch, teaching you how to crochet and sew on details effectively.
What Else Can You Make Using These Skills?
This pattern opens up a world of creative crochet possibilities! Here’s what else you can create using the techniques you’ll learn:
- Pokémon-Themed Toys: Crochet Ultra Balls, Great Balls, or even Master Balls with simple color adjustments.
- Keychains & Bag Charms: Transform the pattern into portable, giftable mini Poké Balls.
- Holiday Décor: Use festive colors to create ornaments or decorations for special occasions.
- Fun Stress Balls: Create colorful stress-relief toys by tweaking the size and feel.
Highlights of This Pattern
- Beginner-friendly: Ideal for learning and honing essential amigurumi techniques.
- Quick and versatile: Finish this in a single sitting and customize as needed.
- Fun for everyone: Perfect for kids, collectors, and Pokémon enthusiasts!
- Great gift idea: Handmade tokens of love and creativity that no one can resist.
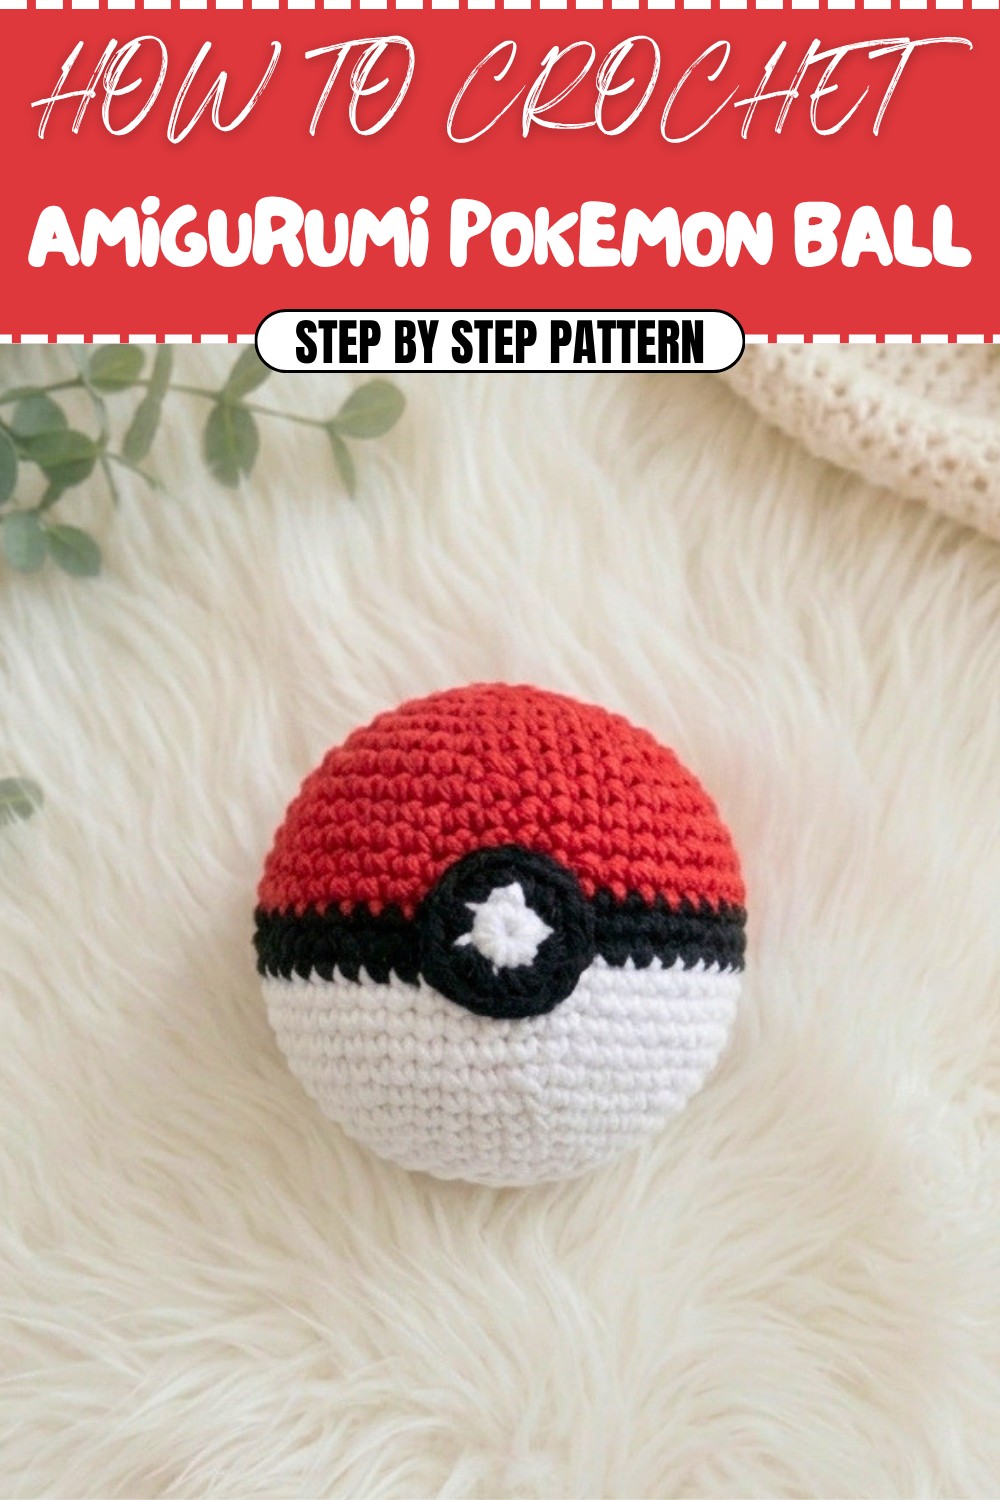
Pokémon Ball Crochet Amigurumi Pattern
Creating a Pokémon ball is a fun and straightforward crochet project that integrates skills like magic circles, seamless color changes, and invisible decreases. Perfect for beginners and beyond, this amigurumi pattern will teach you how to craft this iconic item step by step. The bold red, black, and white colors blend beautifully, making this project ideal for kids, collectors, or gifts. If you're looking for a quick project with detailed instructions, you're in the right place!
Skill Level & Terminology
- Skill Level: Beginner
- Terms Used: US Crochet Terminology
Materials & Tools
- Yarn: Black, Red, and White (any DK or worsted weight yarn)
- Crochet Hook: 2.5mm
- Stuffing: Polyester fiberfill or similar
- Scissors: For trimming ends
- Needle: Darning/tapestry needle for sewing
- Stitch Marker: To mark the beginning of your rounds
Gauge
This project does not require strict adherence to gauge, but ensure your stitches are tight enough that no stuffing will peek through.
Abbreviations List
- sc: Single Crochet
- inc: Increase (2 sc in the same stitch)
- dec: Invisible Decrease (single crochet 2 stitches together)
- sts: Stitches
- sl st: Slip Stitch
- ch: Chain
Special Stitch Instructions
- Magic Circle: Wrap the yarn around your two fingers to form a loop, insert the hook into the loop, pull up a loop, and chain 1 to secure before working your stitches.
- Invisible Decrease: Insert the hook into the front loop of the next two stitches, yarn over, pull through both loops, yarn over again, and pull through the last two loops to create a smooth decrease.
Finished Size
Approximately 2.5 inches (6.5 cm) in diameter when crafted with DK yarn and a 2.5mm hook.
The Pattern
Starting and Stitches Used
This Pokémon ball pattern begins with a magic circle and is worked in continuous rounds using single crochet stitches. You will also use increases and invisible decreases to shape the ball and create a seamless look. Below is a detailed, easy-to-follow breakdown.
Step-by-Step Instructions
Top Half (Red Section)
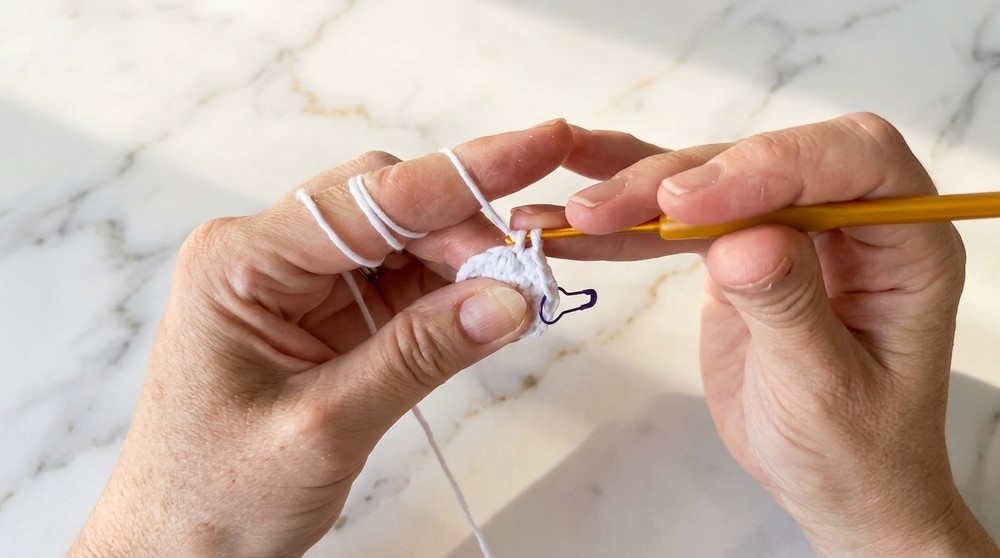
Row 1: Start with a magic circle and do 6 sc into the magic circle. (6 sts)
Close the circle tightly by pulling the tail end of the yarn.
Row 2: Inc in each st around. (12 sts)
Add 2 single crochets in each stitch to gradually expand your circle.
Row 3: (1 sc, inc) x 6. (18 sts)
Alternate between one single crochet and an increase in the next stitch.
Row 4: (2 sc, inc) x 6. (24 sts)
Row 5: (3 sc, inc) x 6. (30 sts)
Row 6: (4 sc, inc) x 6. (36 sts)
Row 7: (5 sc, inc) x 6. (42 sts)
Rows 8–11: Work 1 sc in each st around. (42 sts)
These rows form the sides of the ball. Work evenly to maintain the structure.
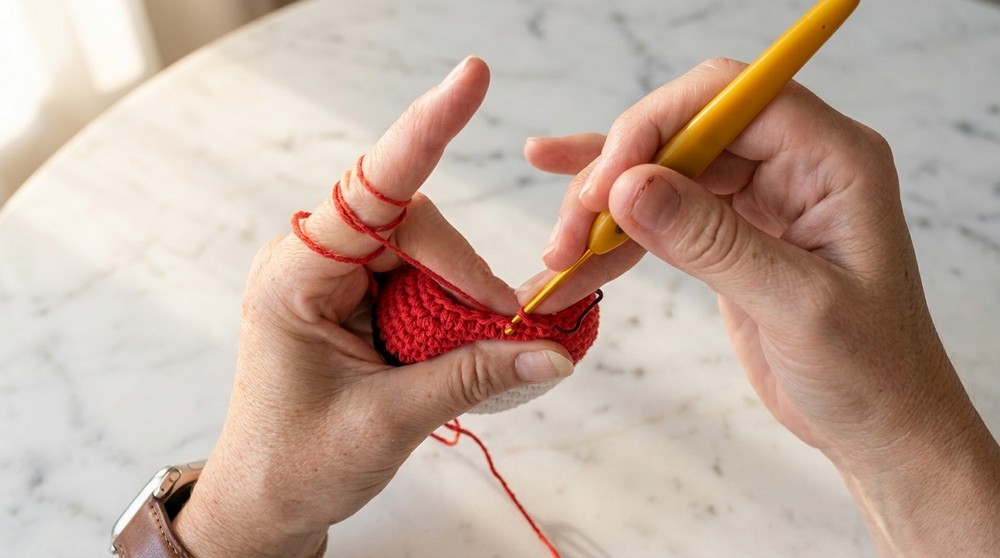
Black Band
Switch to black yarn for the band. Use a clean color change method as detailed in the instructions.

Rows 12–13: 1 sc in each st around. (42 sts)
Keep your stitches tight to create a neat contrast band.
Bottom Half (White Section)
Switch to white yarn for the bottom half.
Rows 14–17: 1 sc in each st around. (42 sts)
Row 18: (5 sc, dec) x 6. (36 sts)
Begin shaping the ball by adding decreases.
Row 19: (4 sc, dec) x 6. (30 sts)
Row 20: (3 sc, dec) x 6. (24 sts)
Row 21: (2 sc, dec) x 6. (18 sts)
Row 22: (1 sc, dec) x 6. (12 sts)
Stuff the ball firmly at this point for a nice round shape.
Row 23: Dec all the way around. (6 sts)
Closing the Ball
Cut the yarn, leaving a long tail. Use your needle to sew through the front loops of the remaining 6 sts, pull tight to close the hole, and secure the yarn inside the ball.
Pro Tip: Once the ball is closed, manipulate it slightly to create a smooth, round shape.
Emblem (Front Motif)
White Circle:
- Create a magic circle, and make 6 sc into the magic circle. (6 sts)
- Slip stitch into the first stitch to close the round. Fasten off.
Black Border:
- Attach black yarn to any stitch of the white circle.
- Inc in each st around. (12 sts)
- Slip stitch to join, leaving a long tail for sewing.
Assembly & Finishing
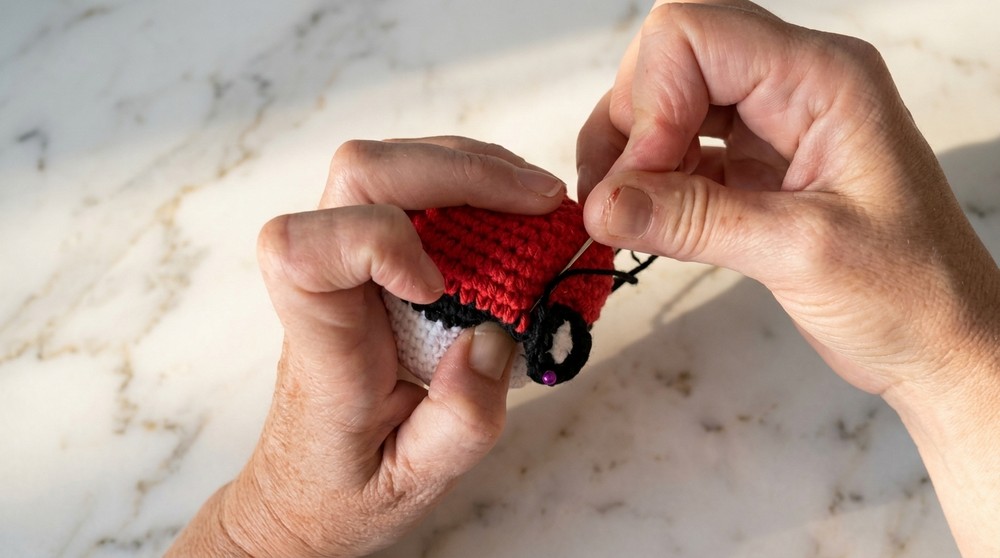
- Position the Emblem: Pin the emblem to the center of the ball, aligning it to cover the seam created by the color changes.
- Sew the Emblem: Using the long tail, sew around the emblem using a whip stitch or your preferred sewing method, ensuring the edges are secure. Work from the back loops to keep the stitches nearly invisible.
- Hide Ends: Pull all loose ends into the ball, trim excess yarn, and reshape the ball if necessary.
Key Takeaways for Beginners
- The magic circle technique creates a seamless, tight starting point for crochet projects.
- Practicing invisible decreases ensures smooth shaping for amigurumi.
- Color changes are best done by mimicking stitches to avoid jagged transitions.
Why You'll Love This Pattern
- Quick and beginner-friendly—ideal for gifts or personal use!
- Easily adaptable to different sizes and designs.
- Helps you practice essential amigurumi techniques like shaping and finishing.
- Fun for kids, collectors, or anyone who loves Pokémon!
This Pokémon ball pattern combines practicality and creativity, offering a delightful crochet experience for crocheters of all skill levels.