
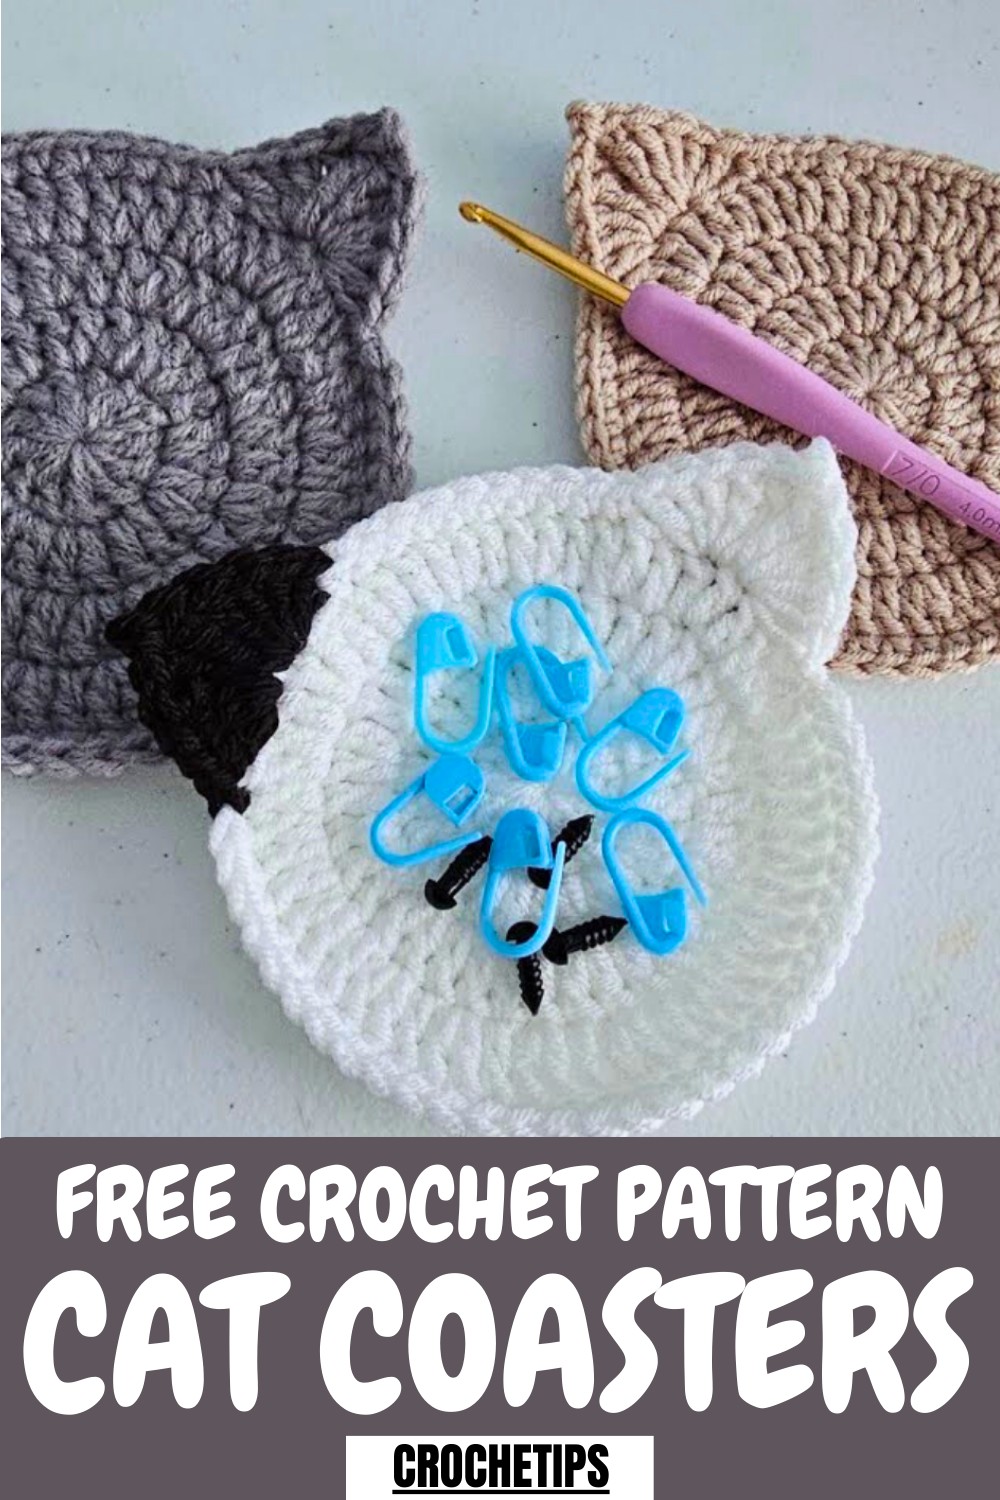
Shield your table in style with Free crochet Cat Coaster Pattern featuring simple steps to create a cute, durable, and decorative handmade coaster.
Looking for a fun and practical way to protect your table while adding a touch of charm? This cat-themed coaster is the perfect solution. Featuring a cute feline silhouette, it not only prevents heat, moisture, and scratches from cups or mugs but also adds a playful, decorative touch to any space.
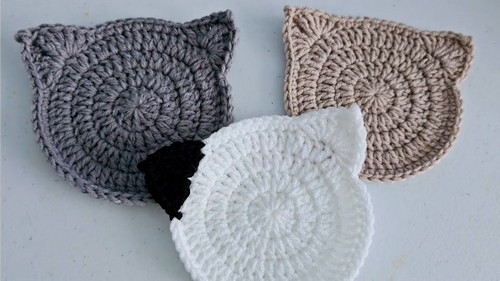
Trendy Crochet Cat Coaster Pattern for Fun Handmade Decor
Materials
-
Yarn: 3 mm yarn/wool (The tutor uses a light worsted or DK weight yarn).
-
Crochet Hook: 4 mm hook.
Uses
-
Create cat-shaped coasters for cups, mugs, or drinks.
-
Use as small decorative doilies (aleros).
-
Function as a tray for organizing and displaying small jewelry items like rings, earrings, and necklaces.
Special Features
-
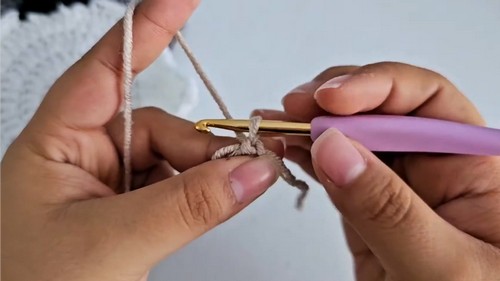
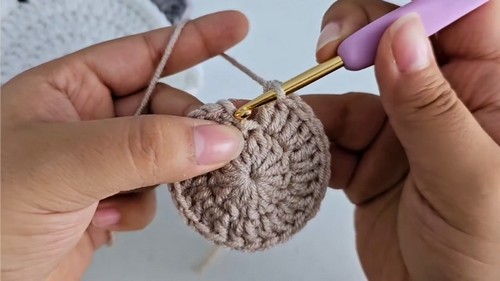
Magic Circle Start: The base begins with a unique method for creating a secure magic circle using three wraps around the finger.
-
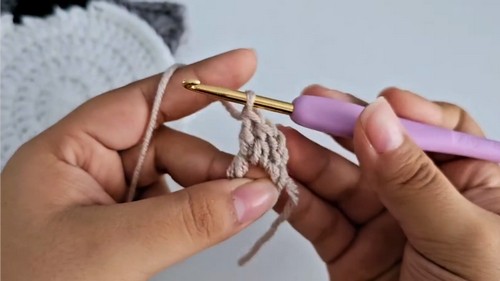
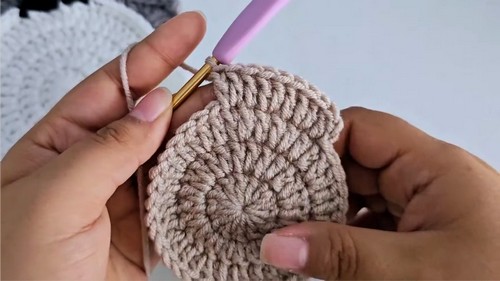
Simple Increasing Circle: The circular base uses a standard increase formula for flat crochet circles (starting with 12 stitches and increasing stitches in subsequent rounds), making it easy to grow the size.
-
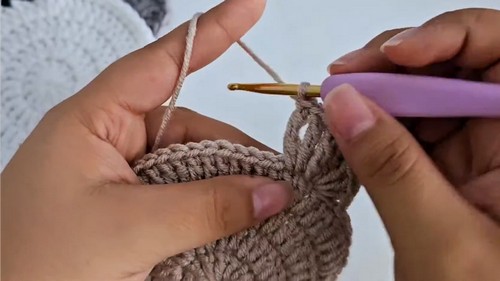
Defined Ears: The cat ears are shaped using a combination of triple crochet (double treble) and double crochet stitches, giving them a distinct, pointed profile.
-
Two-Color Option: You can easily change the yarn color for the ear section to create a contrasting effect for the cat's ears.
Level of Difficulty
This project is Easy. It requires knowledge of basic stitches (slip stitch, single crochet, double crochet) and the ability to follow a simple increasing pattern for crocheting a flat circle. The triple crochet stitch used for the ears is slightly more advanced but is clearly demonstrated.
Tutor's Suggestions
-
Secure the Magic Circle: When closing the magic circle, pull the moving strand first, which tightens the loop around the remaining tail. Then, pull the starting tail to fully close the circle, ensuring a tight center.
-
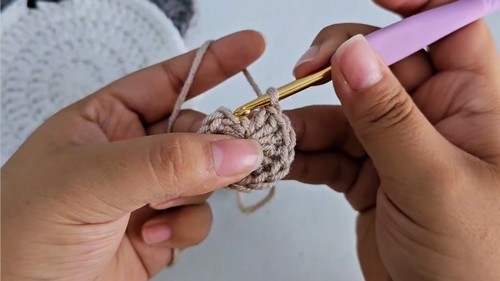
Ignore Starting Chains: Always ignore the starting two chains of each round when closing the circle. Join the round directly to the first true double crochet stitch with a slip stitch for a cleaner seam.
-
Adjust Size: If you want a larger doily, simply continue the standard increasing pattern for the next few rounds before adding the ears.
Crochet Cat Coaster
Its compact size makes it easy to place anywhere, while the cat design appeals to both animal lovers and anyone who enjoys unique handmade accessories.
This pattern is ideal for beginners and experienced crocheters alike, teaching basic stitches such as single crochet, slip stitch, and working in rounds, while also helping improve precision and control when shaping small motifs.
The coaster can be made in a variety of yarn colors, allowing you to customize it to match your home décor or personal style. Lightweight and washable, it is both practical and long-lasting.
Beyond everyday use, this coaster makes a thoughtful handmade gift for friends, family, or fellow cat enthusiasts. Quick to complete, it offers satisfying results in a short time. Overall, this pattern combines functionality, creativity, and charm, giving you a cute, protective, and decorative accessory that enhances any table or living space.
Conclusion
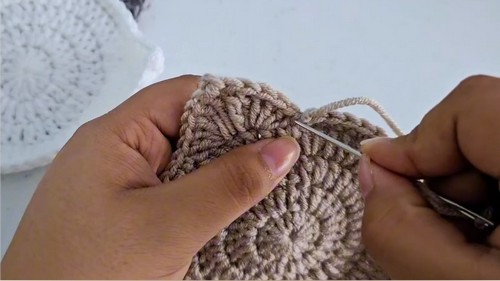
You have successfully crocheted a charming cat coaster or small doily. This project teaches you how to quickly transition from a flat circular base to a dimensional shape, utilizing different height stitches (DC and TR) to perfectly define the ears. The result is a fun, functional, and decorative accessory.
Tip
For a clean edge and smoother shaping, work the final Single Crochet border loosely. If you pull the Single Crochet stitches too tightly, they can cause the outer edge of the coaster to curl or warp instead of lying perfectly flat.


