
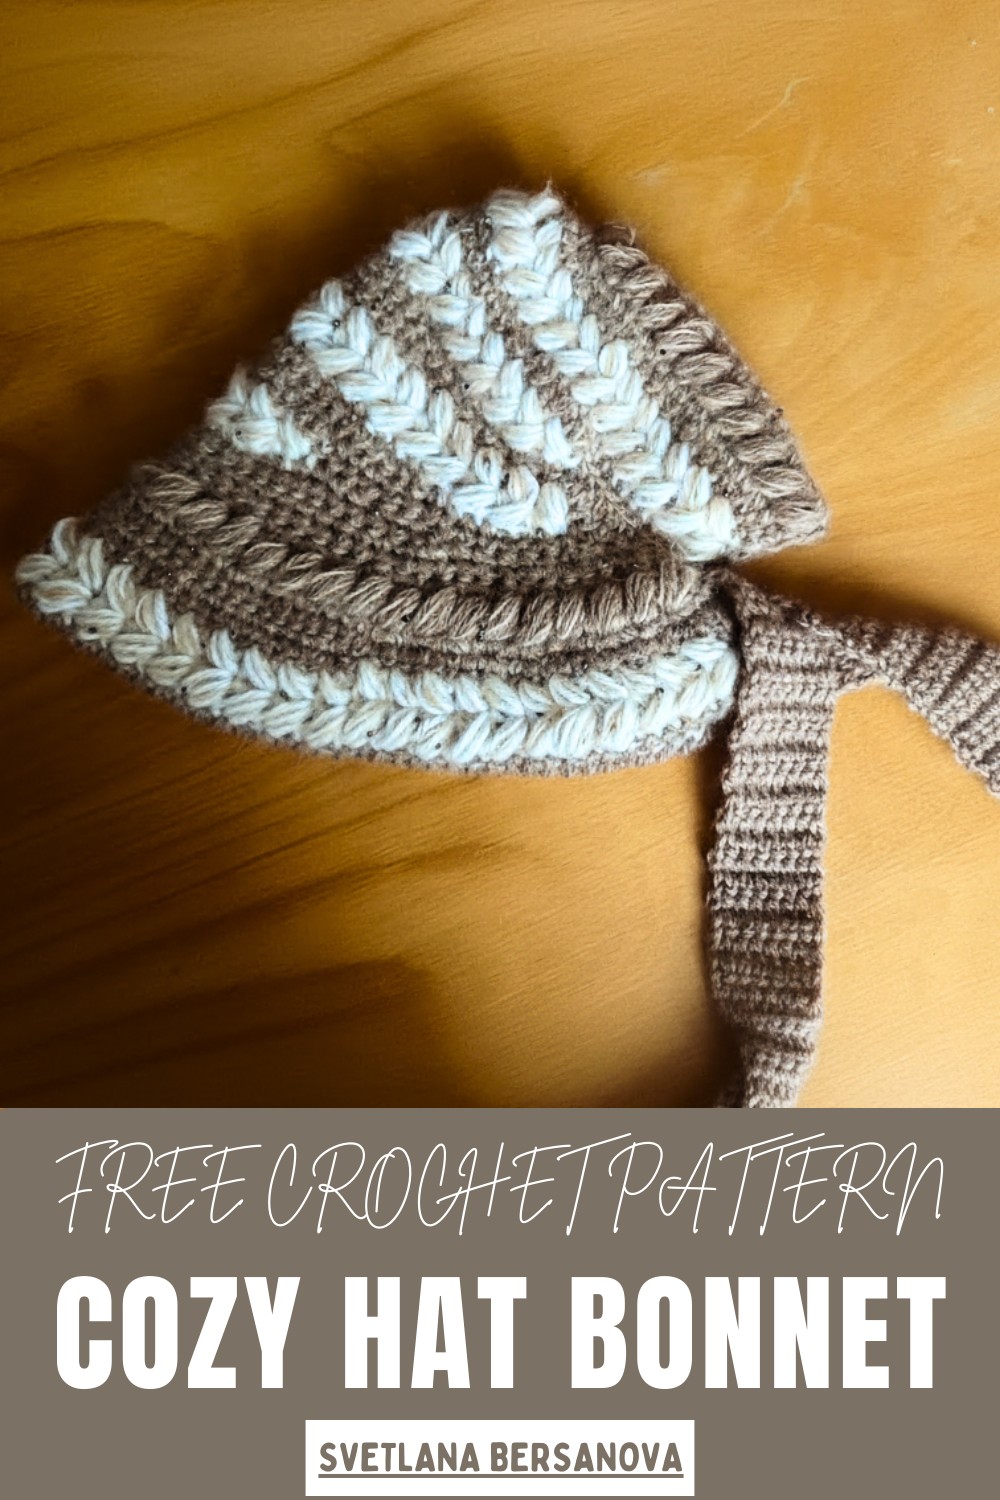
Keep little heads warm and stylish with the Free crochet Hat Bonnet Pattern and enjoy a cozy, cute, and handmade accessory for any occasion.
Bring cozy, handmade charm to any outfit with this adorable crochet hat bonnet that’s as charming as it is practical! Perfect for babies, kids, or even adults, this bonnet keeps heads warm while giving a playful, stylish flair. The gently rounded shape fits snugly and comfortably, and the little ties or accents give it a sweet, classic look that makes everyone smile.
Cozy & Cute: Crochet Hat Bonnet Pattern for Every Season
Uses
-
Wear this finished piece as a warm winter bonnet or capote.
-
The tight knit and textured stitch make it an excellent accessory for cold weather, covering the head, neck, and ears.
Materials
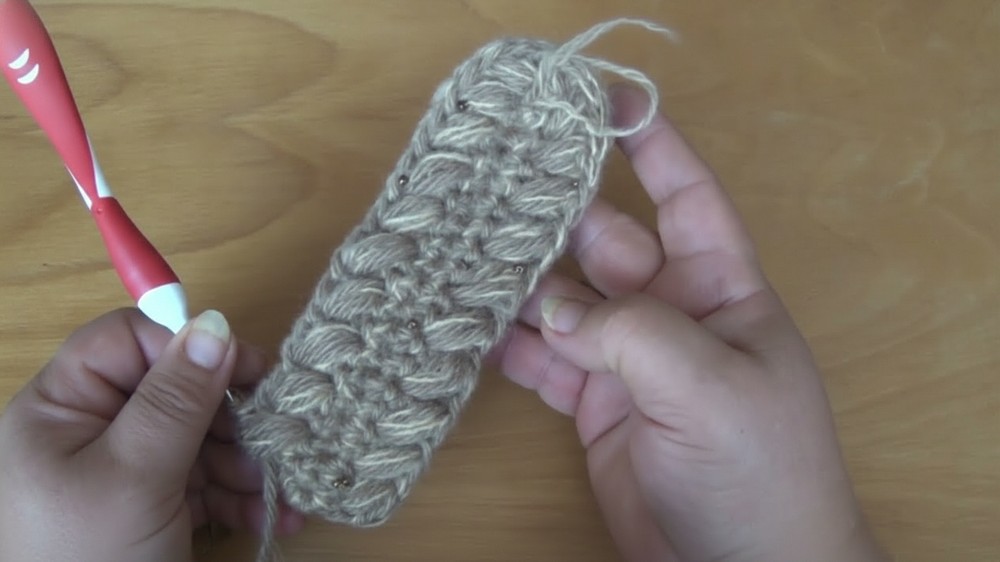
Main Yarn: (Yarn 1) A thick yarn, approximately 130–150 meters per 100 grams. (The tutor used a "Coffee with Milk Troika" shade.)
Accent Yarn (Yarn 2): A lighter, fluffy, or textured yarn, such as a mohair blend, often with sequins or beads for sparkle. (The tutor used a YarnArt with beads, approximately 80 m per 25g.)
Hook: 3.5 mm to 4.5 mm, selected to match the thickness of your double-stranded yarn (if substituting thin yarn).
Notions Stitch Markers (2) and Scissors.
Special Features
-
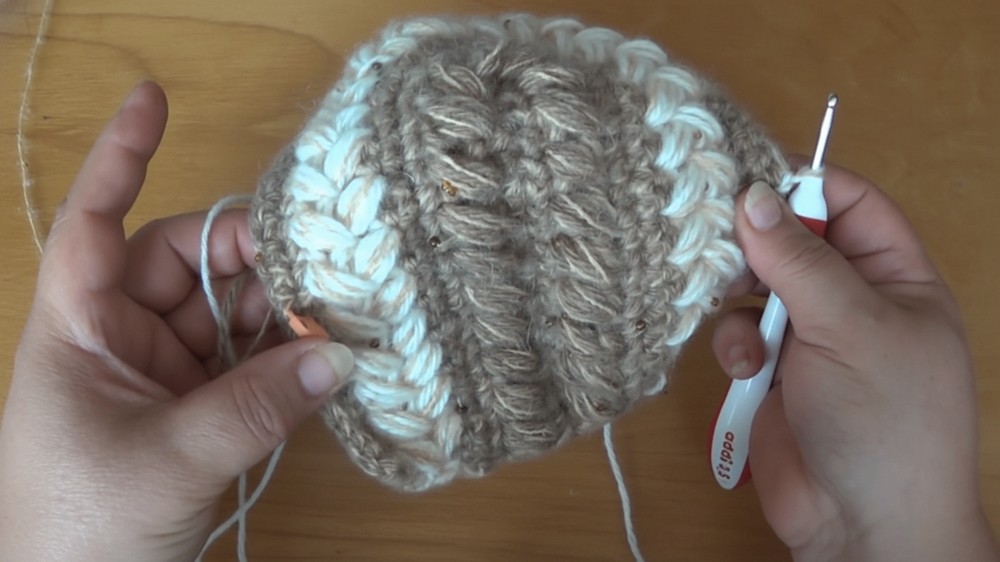
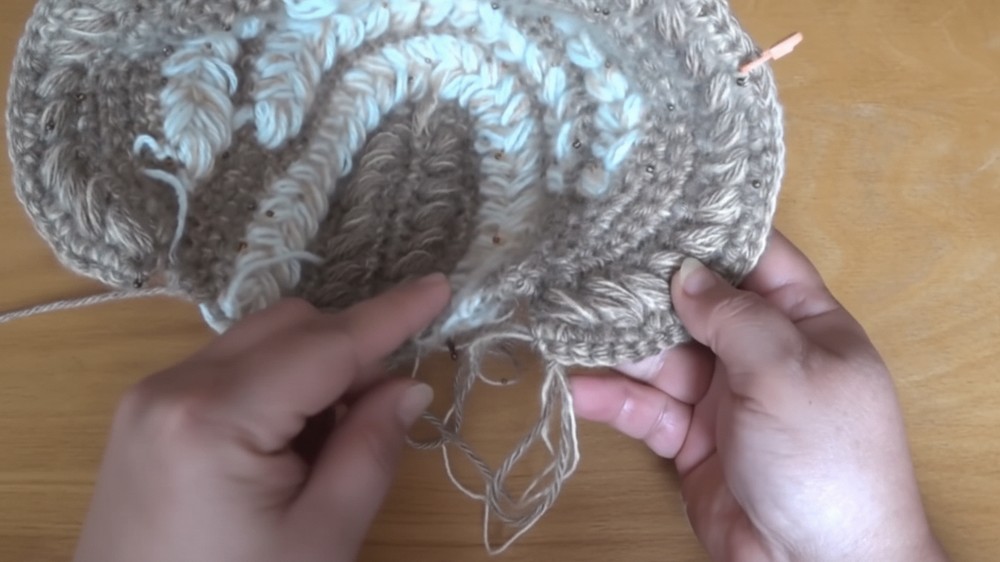
Two-Tone/Two-Texture Design: The pattern alternates between a thick main color and a lighter, decorative accent color (mohair with beads), creating a striking visual contrast.
-
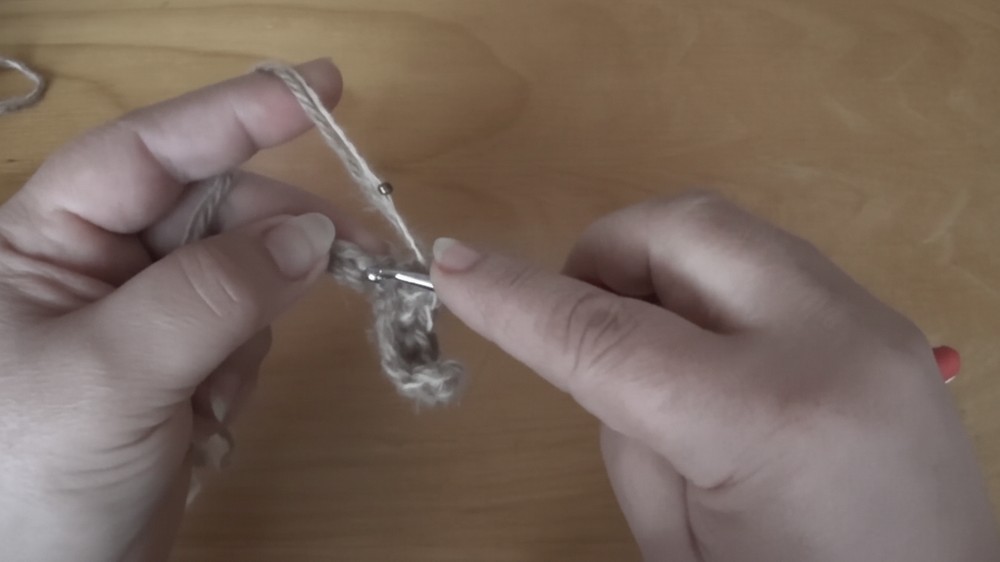
Puff Column Stitch: The primary stitch creates a dense, interlocking braid-like texture (often called a Lush/Puff Column or Lush Stitch - "пышные столбики" in Russian). This involves working a Double Crochet (DC) into a stitch, then returning to the base of the previous DC to pull up three loops for a puff, creating a dense, warm fabric.
-
Customizable Sizing: The final size (approximately 54–56 cm circumference) is achieved by adjusting the length of the starting chain and the number of increases on the crown.

Level of Difficulty
This pattern is Intermediate. You must execute a tight foundation chain, manage two yarn colors and textures, and maintain symmetry while working precise increases within a textured, patterned stitch (Puff Column) to shape the back of the hat.
Tutor's Suggestions
-
Adjust Initial Chain: Adjust the length of the initial chain to match your head circumference. The tutor's chain of 20 stitches measured 17–18 cm.
-
Substitute Yarn: If you do not have thick yarn (130–150 m/100g), use two strands of a thinner yarn (e.g., two strands of 300 m/100g yarn) to achieve the necessary thickness for the main yarn.
-
Maintain Symmetry: Ensure you perform the same number of stitches on both straight sides of the hat and that your increases across the crown are symmetrical to maintain the hat's shape.
-
Be Precise with Increases: Carefully follow the increase schedule for the puff stitch rows to ensure the back of the hat rounds smoothly without buckling.
You can choose bright, cheerful colors for a fun vibe or soft, neutral tones for a gentle, timeless feel. Making this bonnet is as enjoyable as wearing it—each stitch builds a cute, cozy piece while giving you a relaxing and satisfying crochet experience.
It’s lightweight but warm, making it perfect for chilly days, outdoor adventures, or simply giving everyday outfits a handmade charm. Beyond being stylish and snug, it’s a wonderful gift idea that shows care and creativity.
Whether it’s for playful outdoor moments, family photos, or simply keeping warm with style, this crochet hat bonnet brings joy, comfort, and a sprinkle of handmade magic to every day.
Watching simple yarn transform into a soft, lovely bonnet is as rewarding as seeing it worn with smiles and happy giggles.

Conclusion
You have established the textured back and front flap of your Bonnet Hat. Continue repeating the pattern in Part 3 until the hat reaches the desired depth on the face. Finish by attaching a braided yarn tie to the side seams and adding a final SC border to smooth the edges.
Tip
When working the Puff Stitch pattern (Row 2 and beyond), always make sure you pull the loops for the puff column to the same height as the DC stitch in the group. If the puff is too short, the resulting braid texture will be uneven and pull the fabric inward. Maintaining an even height ensures the texture is uniform and gives the piece its necessary volume.


