
Celebrate spring with Free Crochet Easter Bunny Pattern, making adorable handmade bunnies that add charm to décor and festive gifts.
A tiny bundle of springtime charm can instantly brighten any corner, infusing your home with warmth and festive cheer. Soft textures, gentle shaping, and playful features combine to create a figure that feels alive and full of personality. The Crochet Easter Bunny Pattern transforms yarn into a whimsical companion that captures the joy of the season while offering endless opportunities for customization.
Materials and Uses
Materials You Will Need:
-
Yarn: Amigurumi-weight yarn in two main colors (e.g., White and Orange). You also need a small amount of thin pink yarn (e.g., Anne) to embroider the nose.
-
Crochet Hook: A 2.5 mm hook.
-
Accessories: Size 8 safety eyes, fiberfill stuffing, a tapestry needle, scissors, stitch markers, and a small amount of pink blush with a fine brush for detail.
Uses:
-
You use the finished bunny as a charming addition to Easter baskets or holiday decor.
-
You create a beautiful, handmade gift.
-
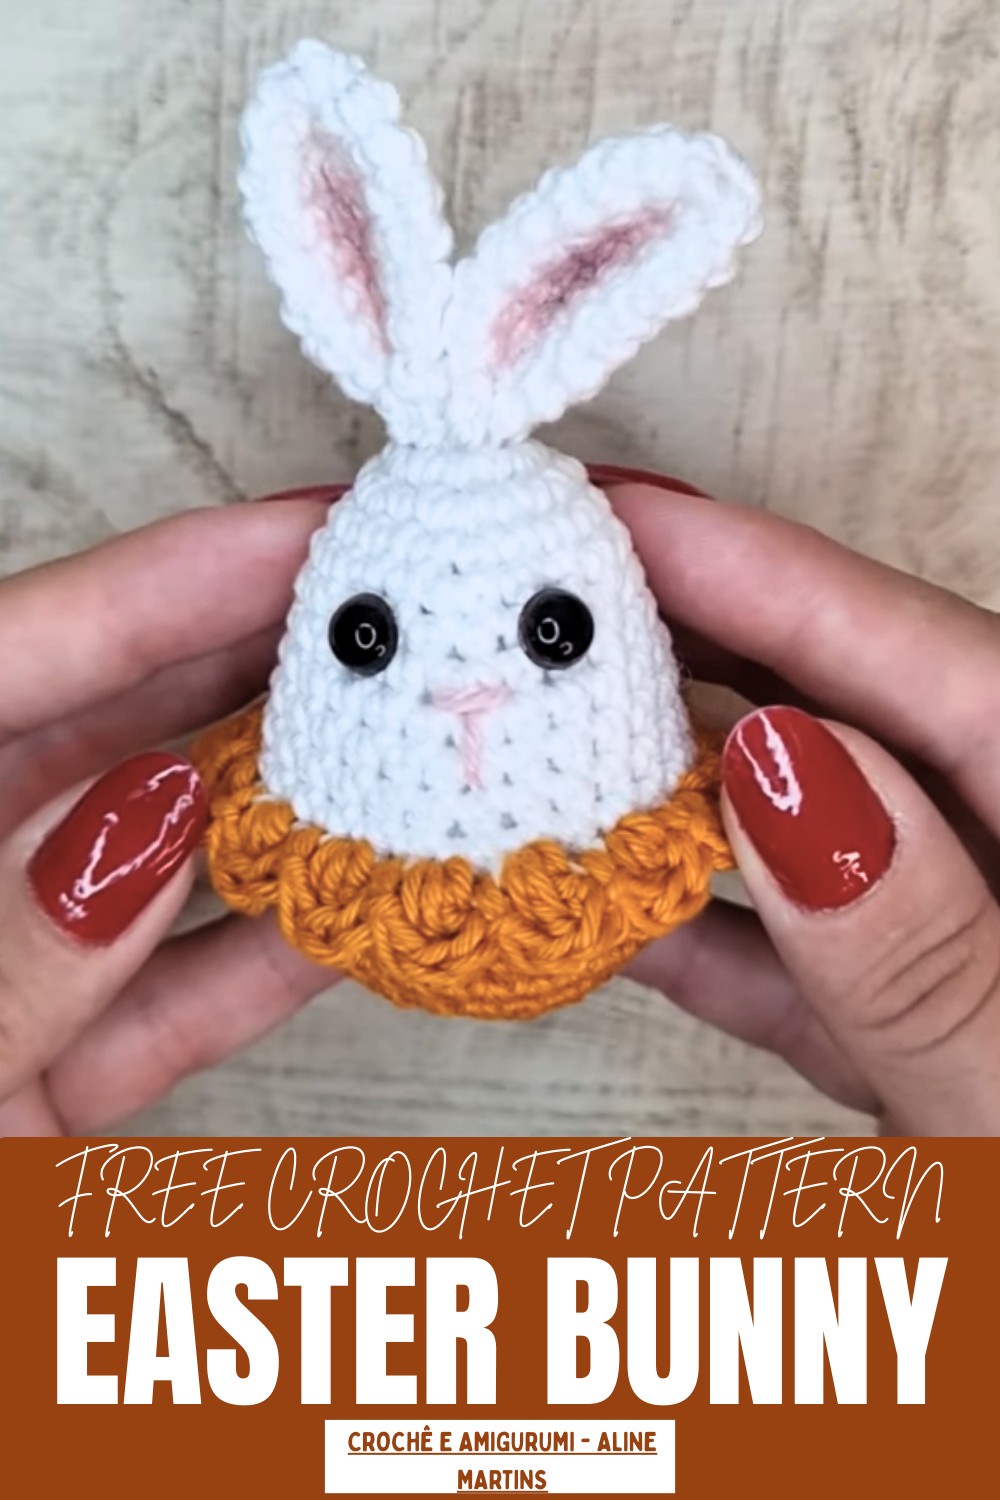
The finished bunny measures approximately 12 cm tall (including the ears) and 8 cm wide.
Special Features:
-
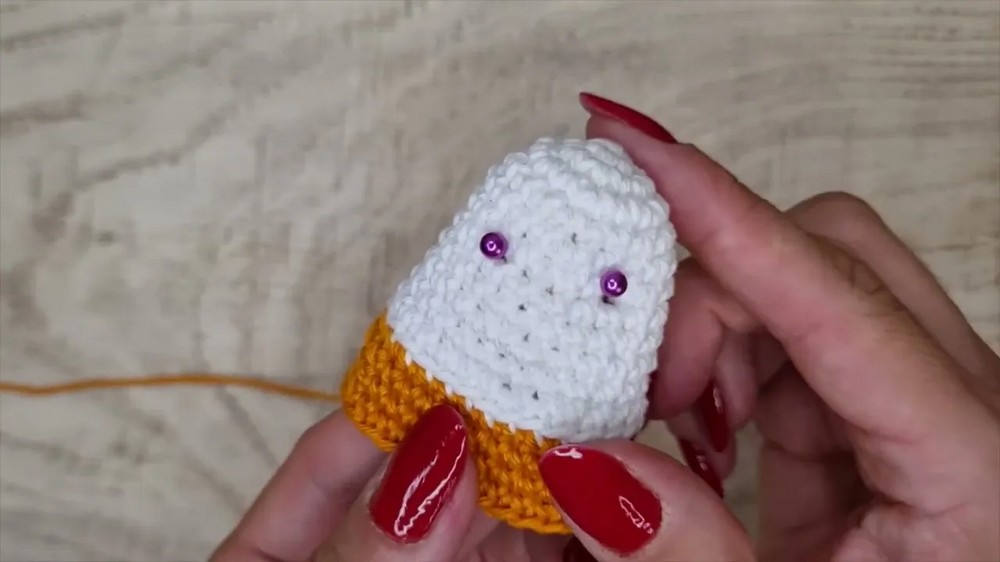
Egg-Shaped Body: You use strategic increases and decreases while working in continuous rounds to achieve a smooth, rounded egg shape for the body.
-
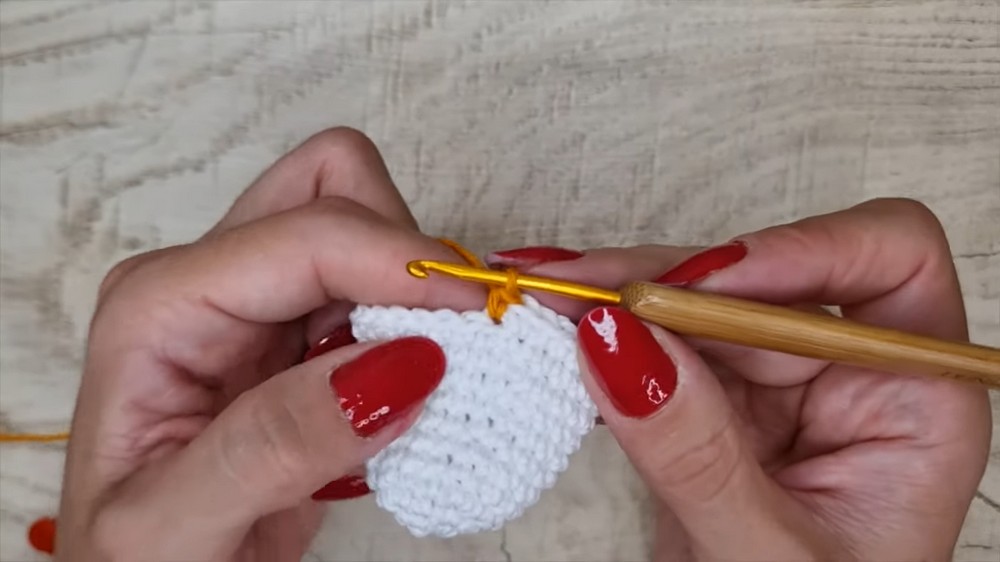
Integrated Ruffle Skirt: You change yarn color and work the first colored round in the Back Loop Only (BLO). You later return to the remaining Front Loops Only (FLO) to create a delicate shell stitch ruffle.
-
Facial Details: You secure safety eyes, then embroider a small T-shaped nose/mouth with contrasting pink yarn. You finish by applying pink blush to the inside of the ears for a sweet, lifelike touch.
Tutor's Suggestions:
-
Secure Color Change: You join the new color on the final pull-through of the last stitch of the old color. This action ensures a seamless and invisible color transition.
-
Stuffing Timing: Insert the fiberfill before you begin the final decrease rounds (R18/R19). You will find it difficult to stuff the toy once the opening gets too small.
-
Hide Ends: Knot the old and new yarn ends together inside the body (giving them three secure knots) and tuck them securely inside the toy before you insert the main fiberfill.
Springtime Crochet Easter Bunny Pattern Everyone Will Pin

The design is sweet and versatile, featuring long ears, a rounded body, and a lovable face that can be personalized with embroidered details, tiny bows, or colorful accessories.
Level of Difficulty:
This is an Intermediate amigurumi project. You must work in continuous rounds, execute specialized increases and decreases for shaping, manage color changes using the BLO technique, and carefully stuff and sew small parts like the ears.
The pattern also provides practical benefits: the finished bunny is lightweight, maintains its shape, and is soft enough for gentle handling, making it suitable for both display and play.

Accessible for beginners yet engaging for experienced makers, this pattern allows for creative exploration through colors, textures, and stitch variations.

A piece created with the Crochet Easter Bunny Pattern combines festive elegance with handmade charm, creating a timeless, cheerful addition to any home. It adds a touch of joy, personality, and springtime magic wherever it is displayed.
Step by Step Guide
You are about to crochet a charming Amigurumi Easter Bunny (Coelhinho de Páscoa). This project creates a unique bunny designed in the shape of a decorated Easter egg, complete with a colorful ruffle skirt and large ears.
Conclusion
You have successfully finished the Amigurumi Easter Bunny. The unique egg shape and delicate, layered details create a charming, festive collectible perfect for the holiday season.
Final Tip
When working the ruffle skirt onto the FLO of Round 12, use a tapestry needle to gently pull open the tight front loops before inserting your hook. This action prevents your crochet hook from snagging and ensures you maintain an even tension while creating the ruffle.


