
A free crochet Cherry Keychain Pattern that guides you through making a small cherry charm to brighten bags, key rings, and everyday accessories.
A tiny burst of charm attached to your keys or bag always brings a soft kind of joy, especially when it carries a personal touch. A project like this fits perfectly for anyone who loves small, cheerful accessories. The Crochet Cherry Keychain Pattern offers a fresh, pleasant way to add color and personality to everyday items while giving you a simple, relaxing yarn project that feels satisfying in the present moment.
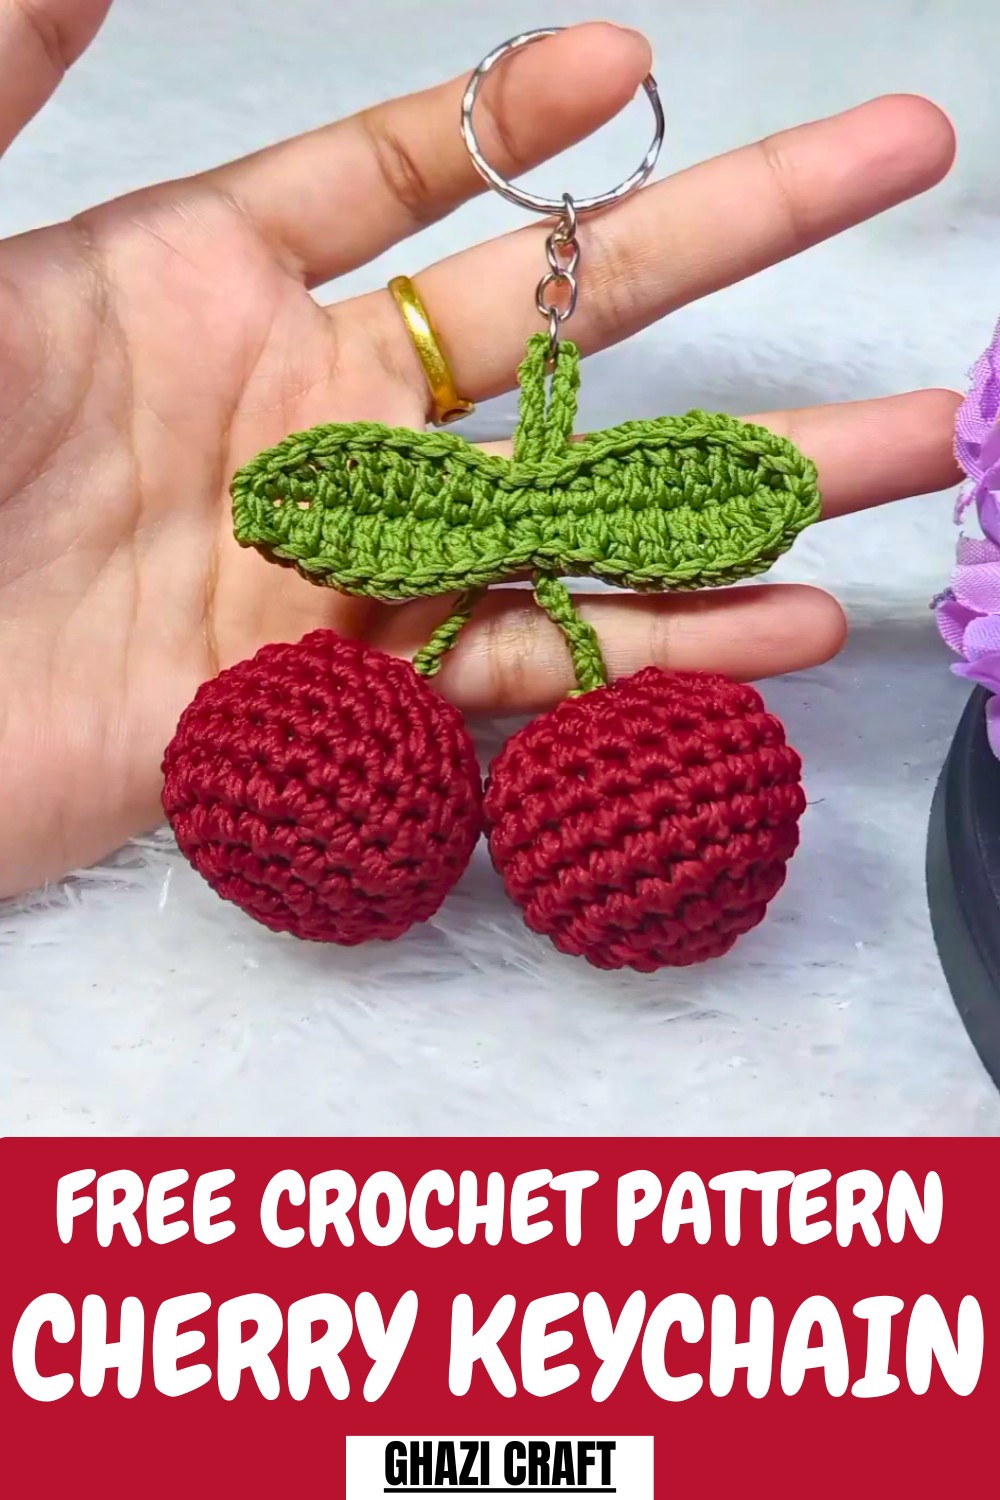
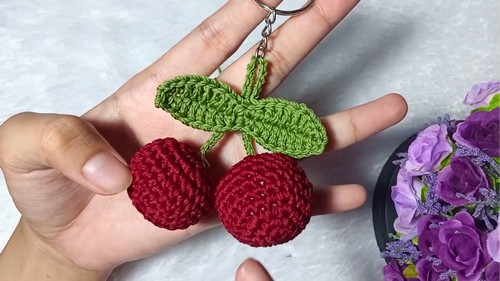
This little cherry keychain stands out with its round, vivid fruit shape paired with a neat green leaf and stem. It’s helpful for organizing keys, decorating backpacks, or gifting a thoughtful handmade token. You also strengthen basic crochet control, tension understanding, and shaping skills as you work through it. The final look is bright, neat, and cute enough to catch attention without overwhelming your style.
Mini Crochet Cherry Keychain That’s So Satisfying
Form a tight circular base, expand with increases to form a round cherry, and taper the top with decreases. Then make a slim stem and a simple leaf using short rows. Attach all parts securely, weave in loose yarn ends, and fix the key ring at the top.
Uses and Materials
Use this guide to construct a lightweight and portable cherry keychain or a bag charm. Gather the following materials to begin your project:
-
Yarn: Obtain red yarn for the cherries and green yarn for the stem and leaf. The tutor uses two colors.
-
Hook: Select a crochet hook appropriate for your yarn weight.
-
Filling: Use synthetic stuffing (Dacron or fiberfill) for the two cherry spheres.
-
Tools and Notions:
-
Tapestry needle (or yarn needle) for sewing.
-
Scissors.
-
Lighter (for sealing yarn ends, optional).
-
Keychain ring hardware.
-
Stitch marker (optional, but recommended for amigurumi rounds).
-
Special Features
The design of this cherry keychain includes a few key components:
-
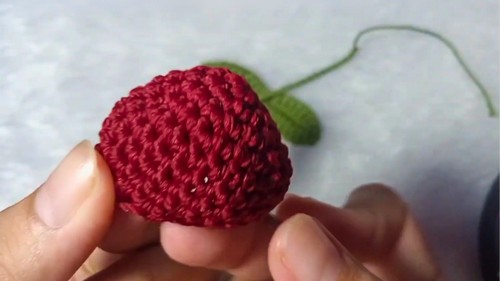
Separate Cherries: You crochet two identical small red spheres separately, stuffing them lightly to create the classic rounded fruit shape.
-
Crocheted Stem: You create a long, flexible stem by simply chaining a specific number of stitches.
-
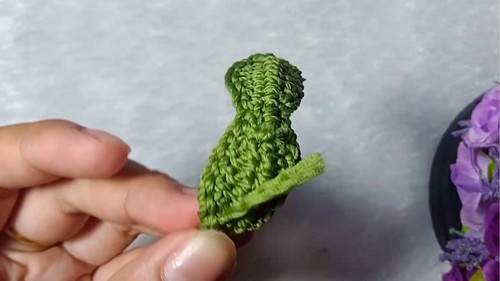
Detailed Leaf: The leaf uses a mix of stitches—single crochet (sc), half-double crochet (HDC), and double crochet (dc)—to achieve its slightly curved, pointed shape.
Level of Difficulty
Beginner.
This is an excellent project for beginners and those new to amigurumi. The rounds for the cherries use a very basic increase/decrease pattern. The stem is only a chain, and the leaf uses a simple stitch combination that you repeat along the chain. You must be comfortable with the following techniques: Magic Ring, single crochet, half-double crochet, double crochet, increasing, and decreasing.
Tutor's Suggestions
The tutor offers valuable advice to streamline your crocheting and assembly:
-
Leave Long Tails: Always leave a long tail of yarn when finishing the cherries, stem, and leaf pieces. You use these tails later for securely sewing the parts together.
-
Prepare Stem Tails: When starting the stem and cutting the yarn, ensure you leave long tails at both ends. You use these tails to connect the two cherries and the leaf to the main stem.
-
Stuff Lightly: Stuff the cherry spheres just enough to give them shape without stretching the stitches. This prevents the stuffing from showing through and maintains the small, neat appearance.
Step-by-Step Instructions
Follow these instructions to construct the two cherry spheres, the stem, and the leaf before assembling the final keychain.
Part 1: Crochet the Leaf (Green)
-
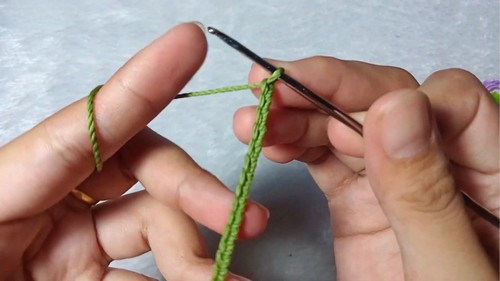
Start Chain: Make a Slipknot. Chain 20.
-
First Side of Chain: Skip the first stitch from the hook.
-
Work 1 single crochet (sc) in the next stitch.
-
Work 1 half-double crochet (HDC) in the next stitch.
-
Work 5 double crochet (dc) stitches, one in each of the next 5 stitches.
-
Work 1 HDC in the next stitch.
-
Work 1 sc in the next stitch.
-
Skip 1 stitch.
-
-
Second Side of Chain (Repeat):
-
Work 1 sc in the next stitch.
-
Work 1 HDC in the next stitch.
-
Work 5 dc, one in each of the next 5 stitches.
-
Work 1 HDC in the next stitch.
-
Work 1 sc in the next stitch.
-
Chain 1.
-
-
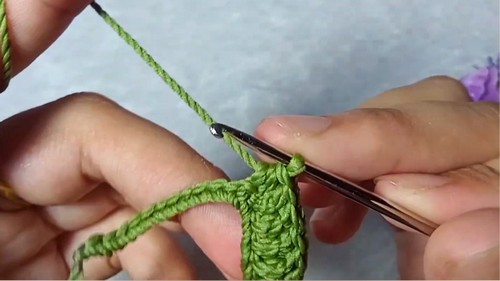
Finish: Slip stitch into the first sc of the row. Chain 1 and cut the yarn.
Part 2: Crochet the Cherry Spheres (Red) - Make 2
Work in continuous rounds (unless otherwise noted). Leave a long tail for sewing when finished.
-
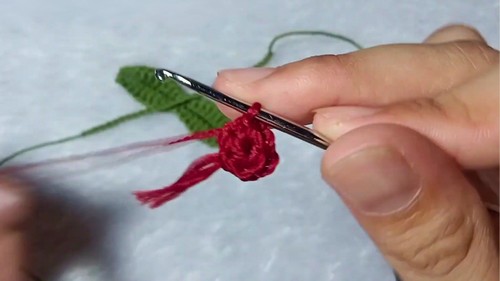
Round 1: Create a Magic Ring (MR) and work 6 single crochet (sc) stitches inside (6 st).
-
Round 2: Work an increase (inc) in every stitch (12 st).
-
Round 3: Work (1 sc, inc) around (18 st).
-
Round 4: Work (2 sc, inc) around (24 st).
-
Round 5–8 (Straight Rounds): Work 1 sc in every stitch for four straight rounds (24 st).
-
Round 9: Work (2 sc, decrease - dec) around (18 st). Stuff the sphere with fiberfill.
-
Round 10: Work (1 sc, dec) around (12 st).
-
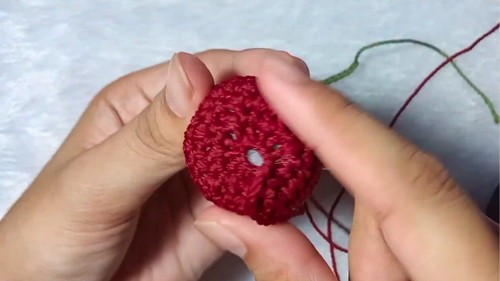
Round 11: Work 6 decreases (dec) around (6 st).
-
Finish: Cut the yarn, leaving a long tail. Use the tapestry needle to weave the tail through the remaining stitches, pull to close the hole, and knot securely.
Part 3: Crochet the Stem (Green)
-
Start and Chain: Create a Slipknot, leaving a long tail. Chain 30.
-
Finish: Cut the yarn, leaving a long tail.
Part 4: Assembly
-
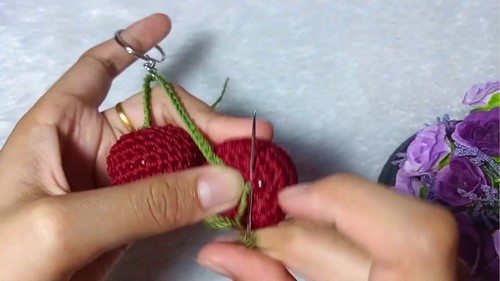
Attach Stem to Cherries: Use the yarn tail at one end of the chain (stem) and the tapestry needle to sew the stem securely to the top center of one red cherry. Repeat with the other end of the chain and the second cherry.
-
Attach Leaf: Locate the center of the stem. Use the tapestry needle and the yarn tail from the leaf to sew the base of the leaf onto the center of the stem, securing the piece in place. Hide and trim the excess yarn.
-
Attach Keychain: Use one of the yarn tails (from the leaf or stem) to tie or attach the keychain ring hardware to the stem near the leaf.
Tip
Secure the Keychain Hardware: When you attach the keychain ring, use the green yarn to wrap tightly around the ring base and the stem multiple times. Then, tie a very secure knot and hide the tail inside the stem to ensure the hardware does not easily come loose from the crocheted piece.
Conclusion
You have successfully completed your adorable cherry keychain! With their perfect spherical shape, flexible stem, and small leaf detail, these cherries are ready to be attached to your keys, bag, or zipper pull.
Although the linked video focuses on a floral square, its method still supports your steps: gather red and green yarn, a suitable hook, scissors, and a key ring. This small project offers a pleasant, quick, and rewarding experience for any yarn lover.


