
Adorable Free Crochet Bows Pattern for Scrap Yarn Ideas
Use this easy to follow free crochet pattern to make gorgeous bows that are perfect for hair ties, gift packaging, or decorations.
Crochet fans, take note, Tiny crochet bows are a delightful way to add charm and sweetness to any project. Not only do these little wonders look pretty, but they also transform leftover yarn scraps into something creative and functional. Whether you use them to adorn hair accessories, embellish handmade gifts, or give your crochet projects an extra touch of elegance, these bows are as versatile as they are lovely.
Free Crochet Pattern for Beautiful and Unique Bows
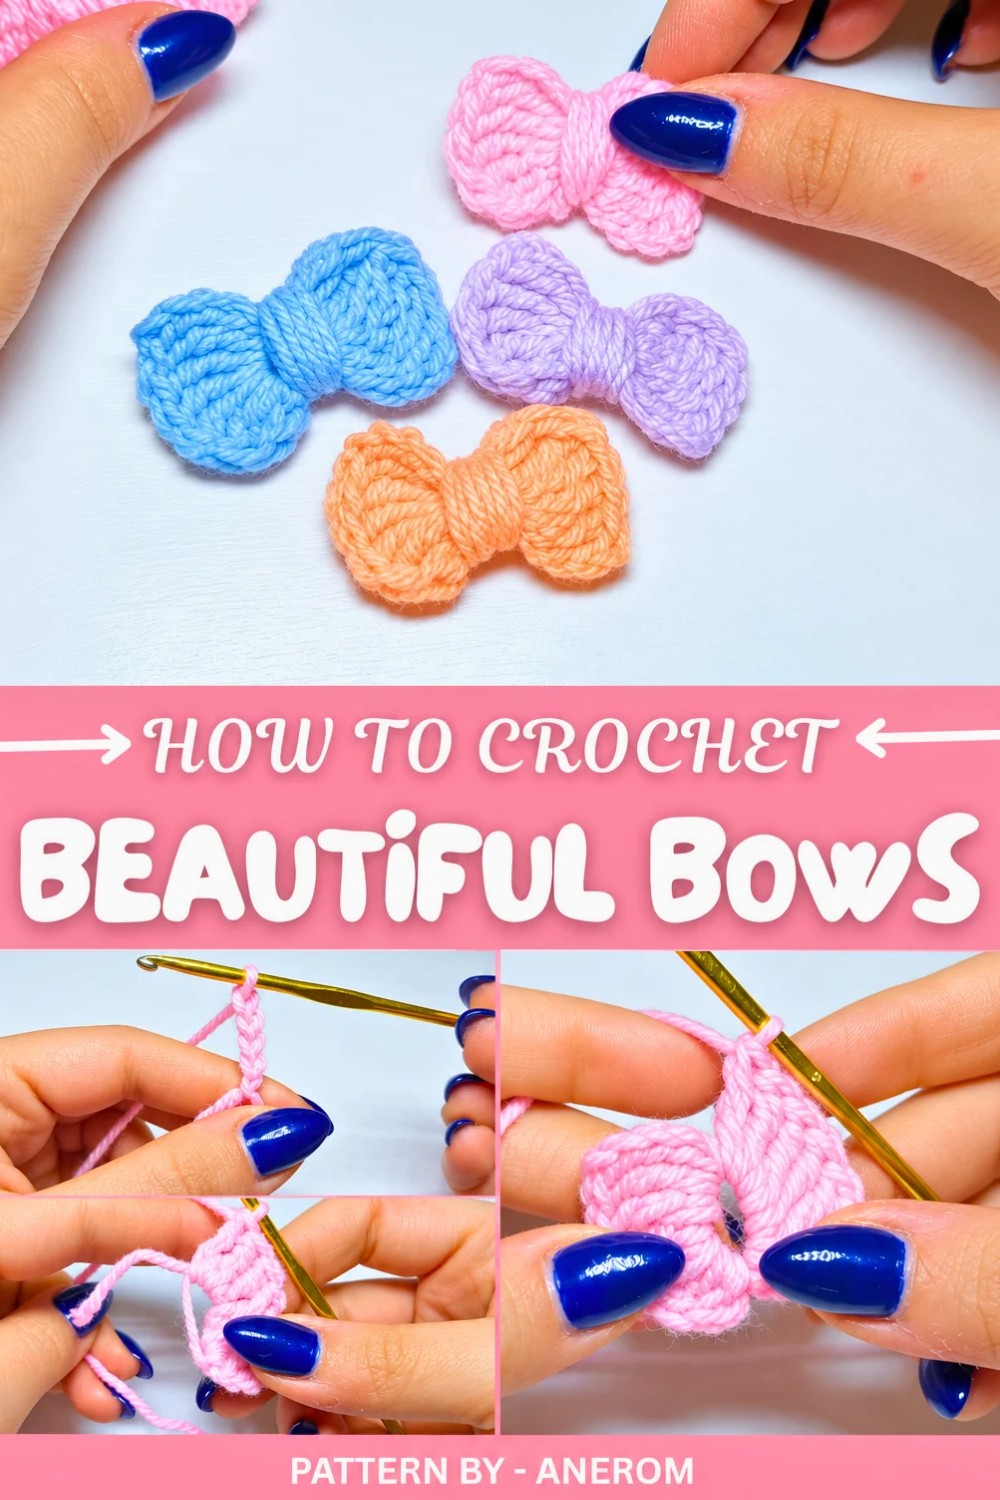
Crocheted with just a few stitches, these bows are built using treble crochet (tr), and the process is straightforward. The design features two perfect loops joined at the center, resulting in a balanced, classic bow shape. The magic ring and the central wrap, achieved by tightly winding yarn around the middle, bring structure and polish to the design. The bow can be customized to suit your needs: a thicker yarn will result in a larger, chunkier bow, while finer yarn creates a more petite and delicate version.
The idea comes from the talented YouTube creator Anerom, who has a knack for transforming the simplest materials into stunning crochet masterpieces. With just a 3 mm crochet hook, a bit of glue, and minimal yarn, you can whip up a collection of these bows in no time.
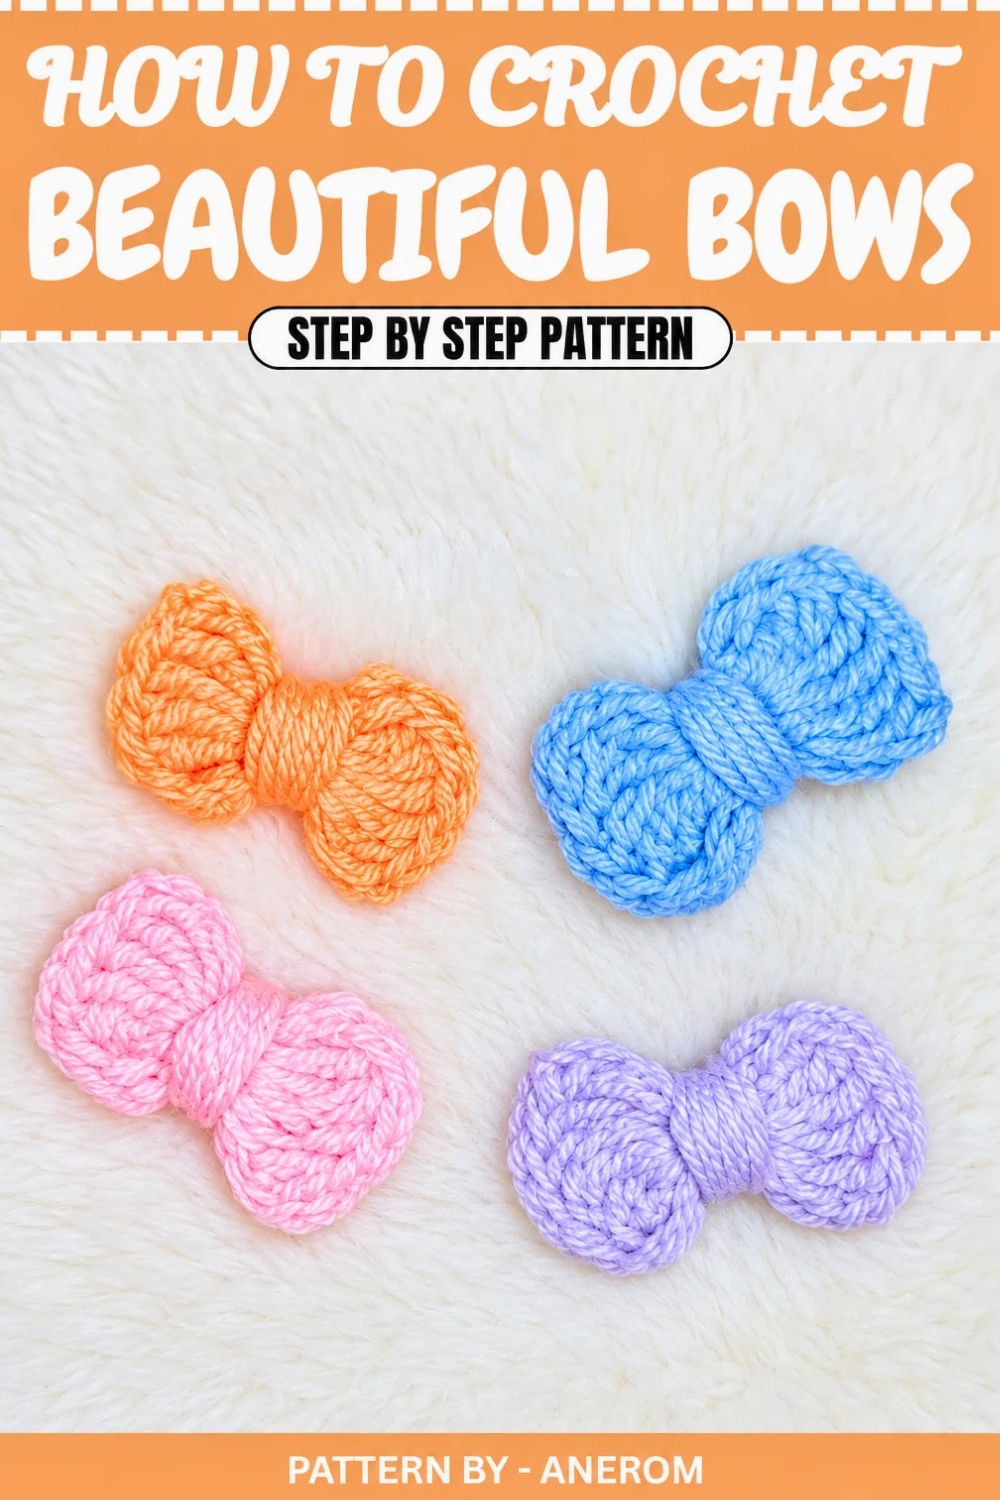
Visit Anerom’s channel for more fun and resourceful crochet ideas that inspire creativity and make crafting exciting. This pattern, like her others, is not only practical but a joyful experience for anyone who loves getting crafty. Get started today and add a pop of handmade charm to your world.
Simple Crochet Bow Pattern
These bows are simple yet versatile, and they’re perfect for using up leftover yarn scraps. You can customize them with different yarn types and colors, making every piece unique. Whether you use thick acrylic yarn or lighter cotton yarn, the steps remain the same. Let’s dive into this fun and beginner friendly project.
Quick Overview of Pattern
- Type of Project: Crochet bows suitable for decoration or craft projects.
- Skill Level: Beginner friendly.
- Purpose: Great for recycling leftover yarn scraps into something beautiful.
- Construction: Worked in a magic ring using basic crochet stitches.
Notes
- This bow is perfect for using leftover yarn scraps, even in small quantities.
- The size and shape of the bow may vary depending on the thickness of the yarn used.
- Use glue (hot glue or liquid glue) to hold the bow securely after assembly.
Skill Level
Beginner – This project is a great introduction to working with magic rings and basic crochet stitches.
Materials
- Yarn: Acrylic yarn (recommended size: #3) or any suitable yarn you have at home.
- Crochet Hook: Size 3 mm.
- Tools: Scissors, tapestry needle, glue (hot glue or liquid glue).
Measurements / Sizing
- The size of the bow depends on the thickness of your yarn. For example:
- Thicker yarn: Larger bow.
- Thinner yarn: Smaller bow.
Gauge
Gauge is not crucial for this project. Work with consistent tension to ensure uniformity.
Stitch Abbreviations
- CH: Chain.
- SC: Single Crochet.
- DC: Double Crochet.
- TR: Treble Crochet (Maglia Altissima).
- SL ST: Slip Stitch.
- Magic Ring: An adjustable loop to work your stitches into.
Special Stitches
- Treble Crochet (TR): Wrap the yarn twice around the hook before working the stitch.
The Crochet Pattern
Step 1: Starting the Bow Base
- Begin by making a magic ring.
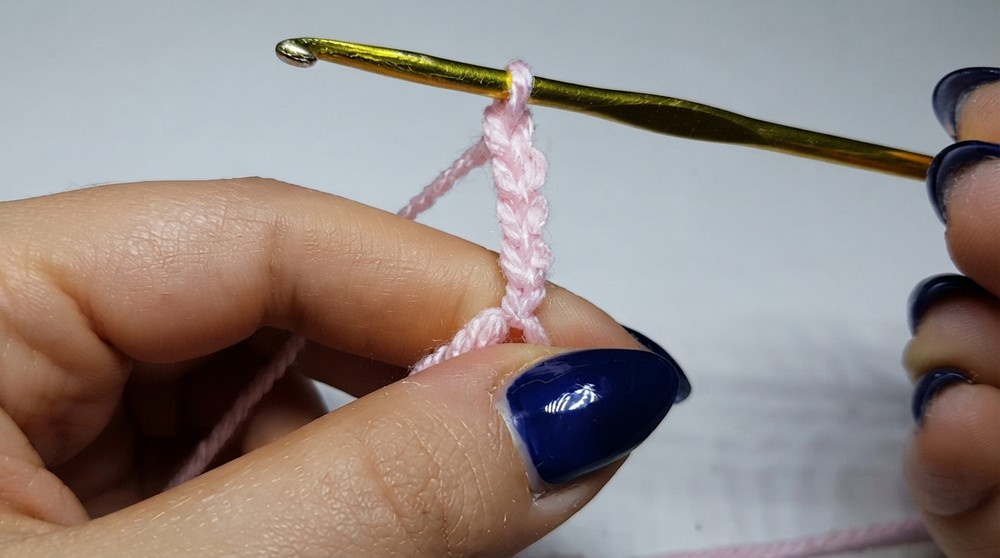
- Into the magic ring, work CH 4 (this counts as the first Treble Crochet).
- Work 6 Treble Crochet (TR) into the magic ring. For each stitch:
- Wrap the yarn twice over the crochet hook.
- Insert the hook into the ring, pull through, then work off the yarn in sets of two loops until finished.
- After completing 6 TR, work 1 SL ST into the magic ring.
Step 2: Second Side of the Bow
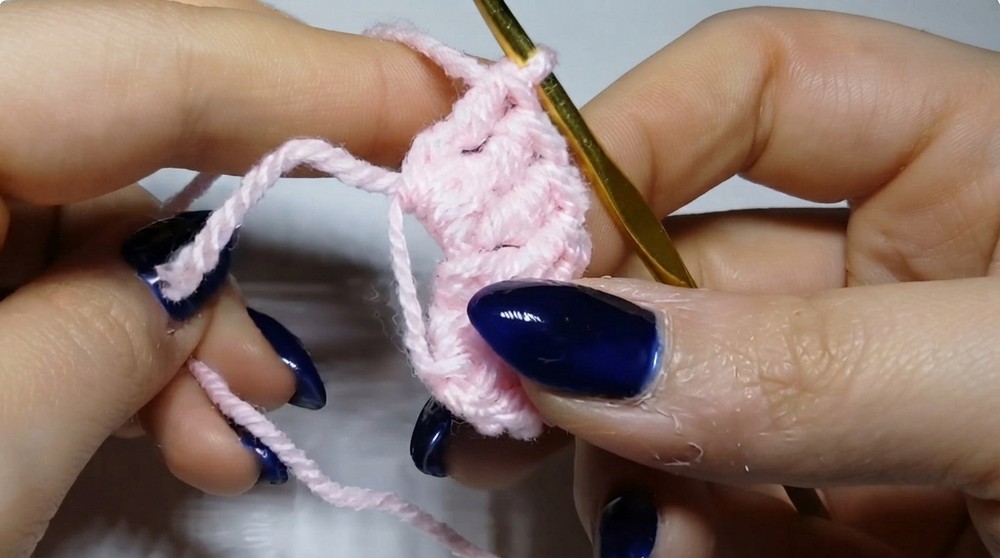
- CH 5 to start the second side of the bow.
- Into the magic ring, repeat the process of working 6 Treble Crochet (TR).
- Wrap the yarn twice for each stitch.
- Insert into the magic ring and pull through the loops as done previously.
- Once the 6 TR are complete, pull on the short tail of the magic ring to tighten the loop.
- Finish the bow by working 1 SL ST into the magic ring to close the second side.
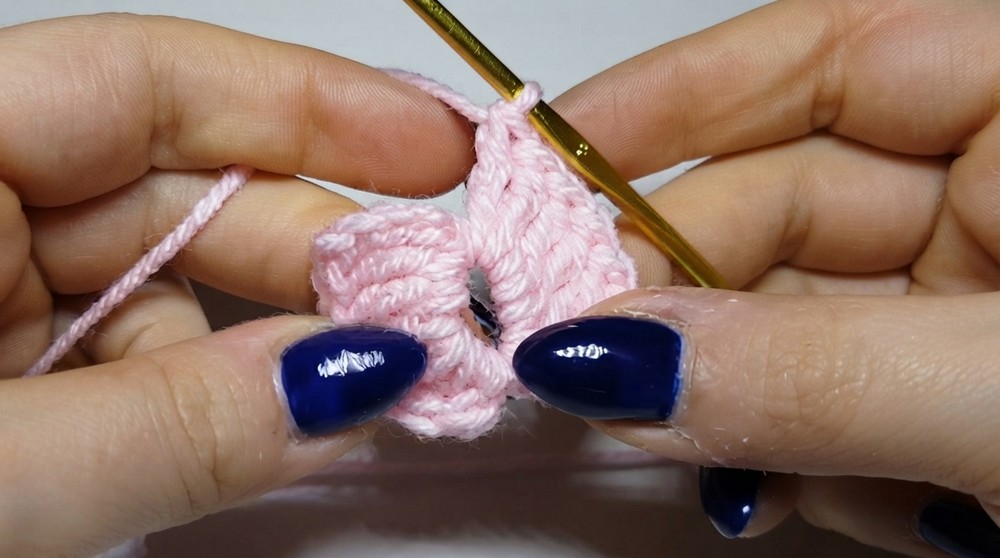
Step 3: Closing the Bow
- Pull the yarn tight to secure the last stitch.
- Leave a medium length yarn tail (approximately 6 cm), then fasten off.
Step 4: Wrapping the Center and Shaping
- Take the yarn tail and wrap it tightly around the center of the bow multiple times to form the "knot" section.
- Adjust both sides of the bow (the “loops”) to ensure they are symmetrically shaped.
- Once you’ve wrapped the center completely, secure the yarn tail by either:
- Adding a drop of glue (hot or liquid) to the back of the bow.
- Using a tapestry needle to weave the tail into the wrapped section.
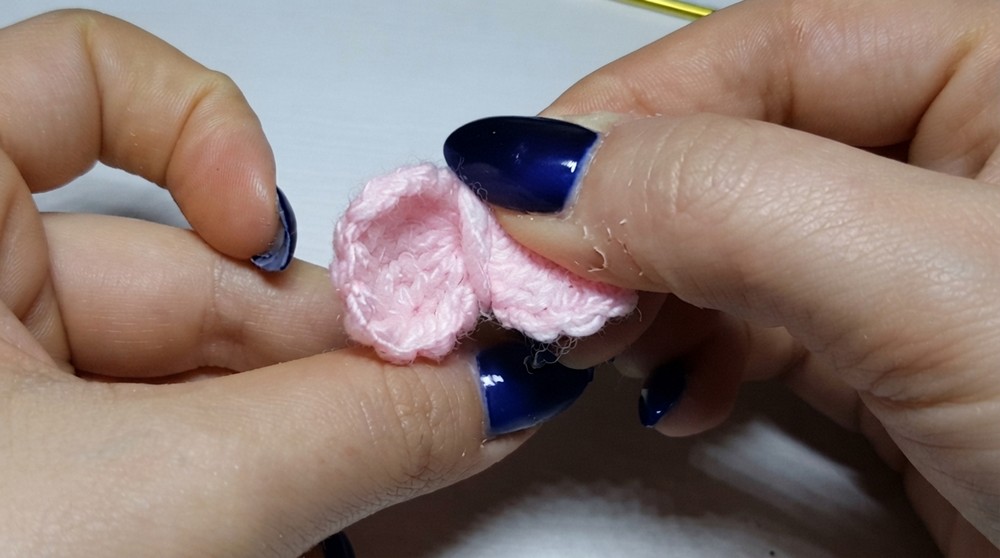
Step 5: Finishing Touches
- Cut off the excess yarn tails neatly.
- Allow the glue to dry completely if used.
- Your crochet bow is complete.
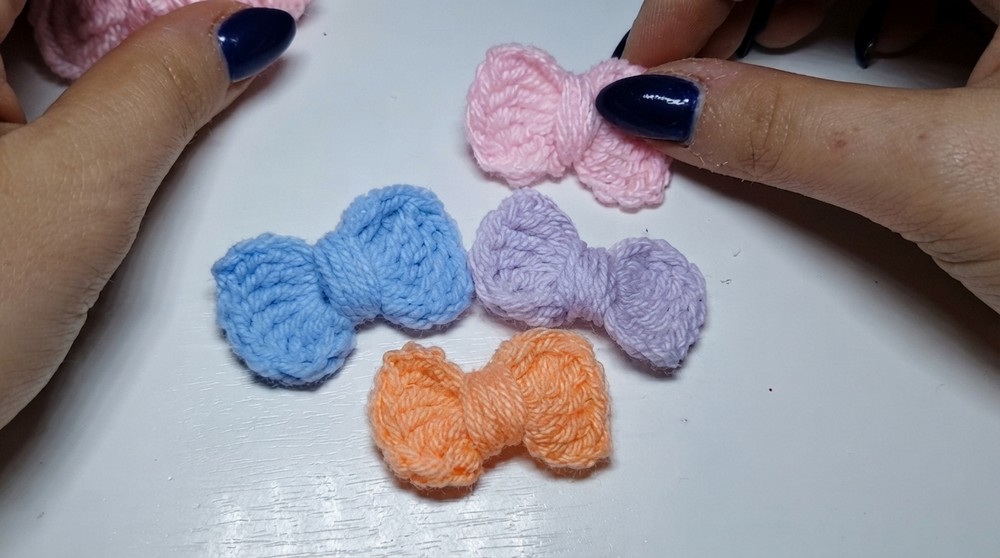
Assembly & Finished Size
Customization Tips:
- Use different yarn types to achieve varied looks and sizes for your bows.
- Acrylic yarn results in thicker bows, while cotton creates delicate, lightweight pieces.
- Experiment with colors to suit different occasions like weddings or baby showers.
Finished Size:
- The final bow size depends on your yarn thickness and hook size:
- Approx. Dimensions: 4 to 6 cm across.
Conclusion
Congratulations on completing your adorable crochet bow! These simple and sweet bows are a wonderful way to recycle small leftover yarn scraps into beautiful, handmade accents. Use them to decorate gift packages, hair accessories, baby items, or even as embellishments for larger crochet projects.