
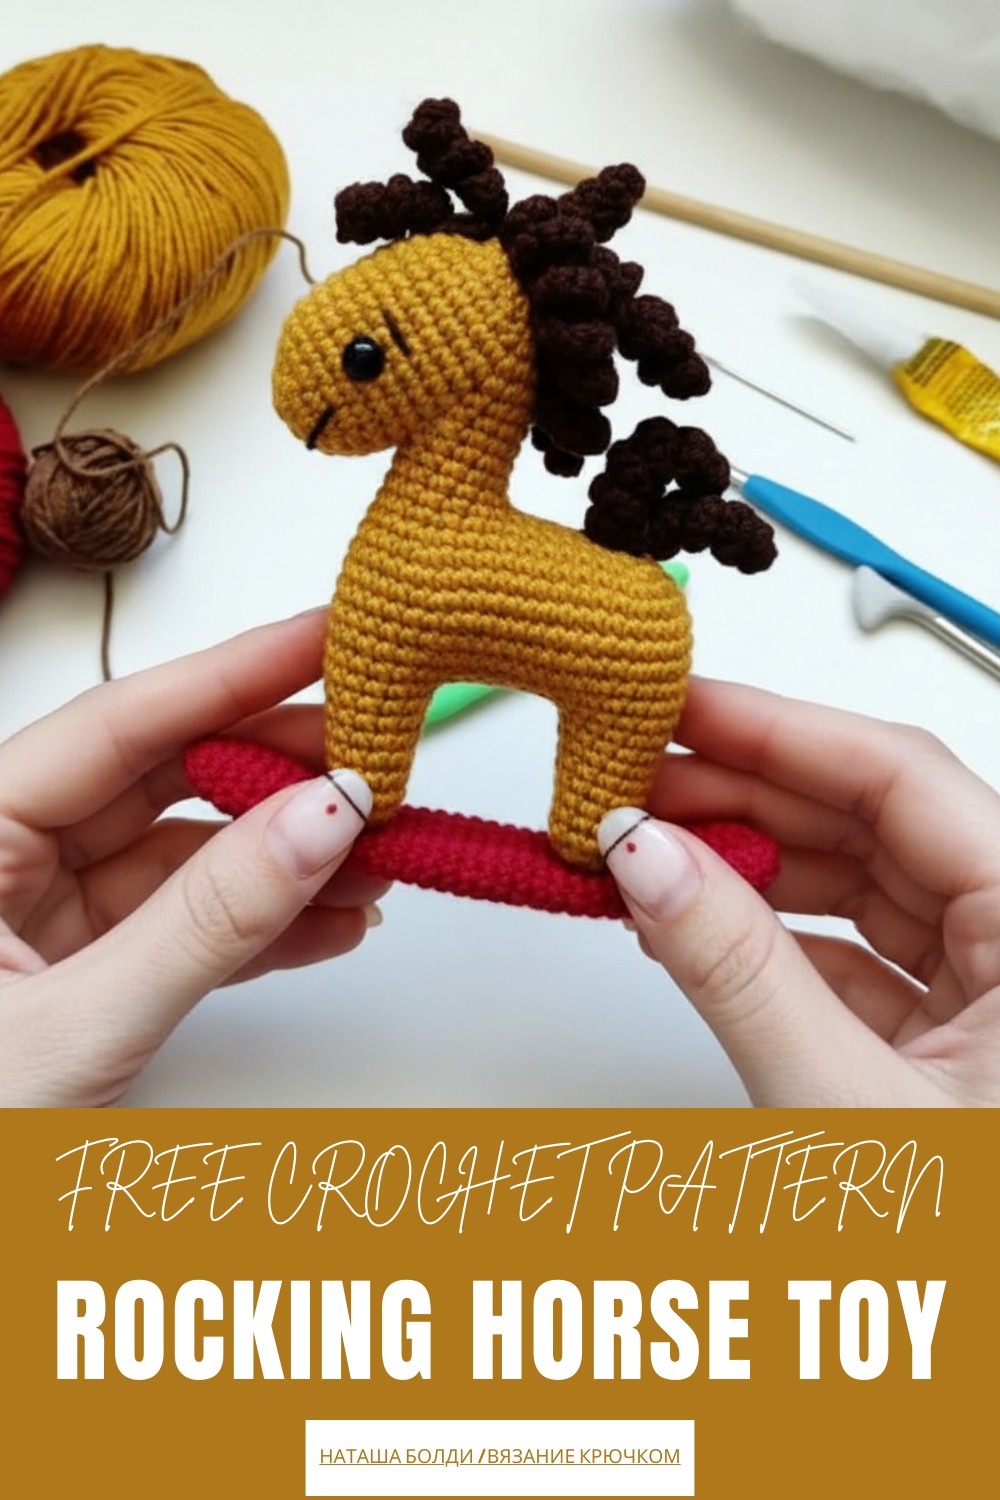
Delight in making a charming keepsake with the Free crochet Rocking Horse Toy Pattern, perfect for gifts, nursery decor, or adding a handmade touch anywhere.
A little rocking horse sits on the shelf, catching attention with its soft curves, tiny legs, and smooth rocker base. Its handcrafted charm brings warmth and personality to a room, making it a perfect decoration, a keepsake, or a gentle toy for children. Every detail, from the mane to the tail, adds to its inviting and playful appearance, turning a simple crochet into a piece full of character.
Bright Crochet Rocking Horse Toy Pattern to Add Cheer
Materials
Gather these materials to construct the horse and its rocker:
-
Yarn: YarnArt Jeans or a similar semi-cotton/acrylic yarn in a main color (for the horse/rocker) and an accent color (for the mane/tail/muzzle detail).
-
Crochet Hook: Use a size 2 mm hook.
-
Stuffing: Use hollow fiber or similar synthetic stuffing.
-
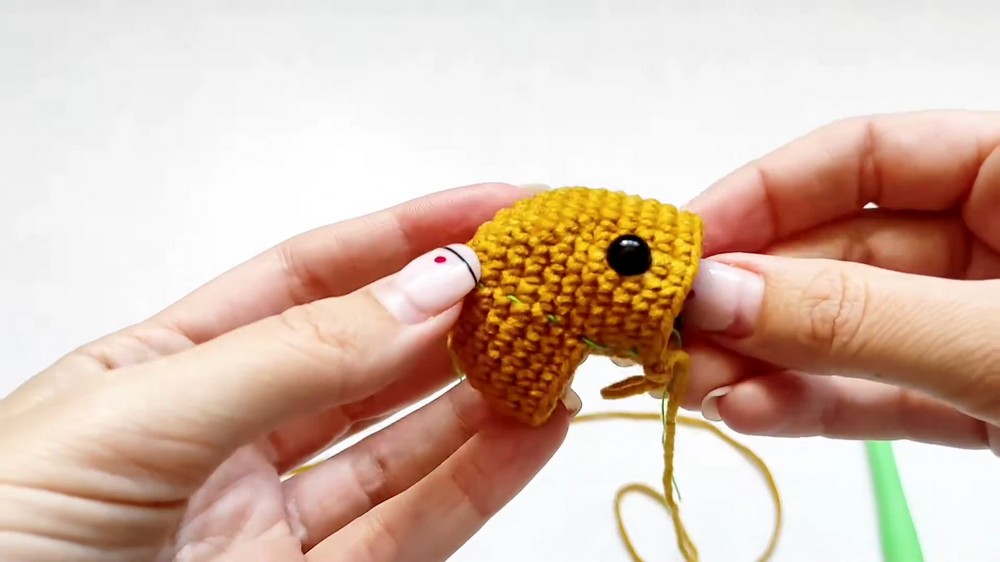
Eyes: Obtain safety eyes with fasteners (recommended size is 5-6 mm based on the yarn).
-
Tools: Gather scissors, a sewing needle (tapestry needle), a thin stick for stuffing, and super glue (optional, for securing the horse to the rocker).
Uses
The finished item serves as a delightful handmade decoration or a classic soft toy:
-
Nursery Decor: Use it as a charming decorative piece in a child's room.
-
Gift Toy: Give it as a unique, homemade gift.
-
Collector's Item: Use it as an intricate amigurumi figure.
Special Features
The pattern incorporates unique shaping and texture elements:
-
3D Muzzle Shaping: You use a combination of chain stitches and skipped stitches to create a distinct opening in the head, defining the muzzle/mouth area.
-
In-the-Round Limb Attachment: You use a method of chaining stitches and skipping body stitches to seamlessly create the openings for the front and hind legs while continuing the main body shape.
-
Curly Mane and Tail: You create the hair effect by crocheting two single crochet stitches into every chain stitch back down the row, which forces the strands to curl tightly into a coil.
Level of Difficulty
The level of difficulty for this project is Intermediate to Advanced.
-
Complex Joining: Joining the neck to the body and creating the back/saddle area requires precise counting and manipulation of chains and stitches, which the tutor notes is one of the most challenging sections.
-
Shaping Expertise: You must be proficient in controlling your tension and executing seamless decreases to achieve the complex curves of the head, neck, and body.
-
Component Assembly: The project requires meticulous assembly of many small parts (head, body, 4 legs, 2 ears, mane, tail, rocker).
Tutor's Suggestions
The instructor offers key advice for navigating the tricky sections of the pattern:
-
Use the Tight Decrease: When performing decreases, insert the hook into the front loop of the first stitch and both loops of the second stitch to create a tighter closure that hides the stuffing.
-
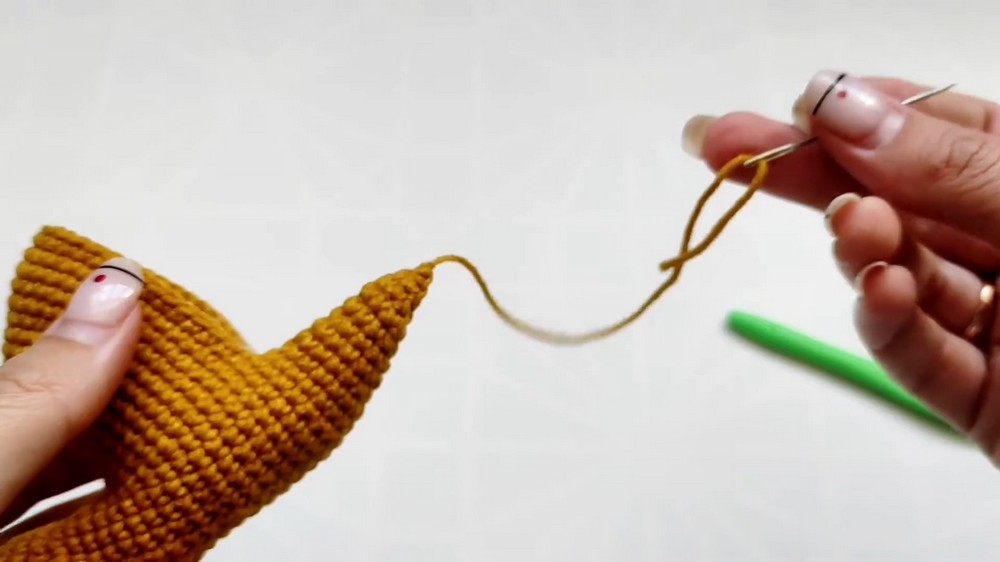
Stitch Up Gaps: Use the yarn tail remaining near the neck joint to stitch closed any small gaps or holes that form where the neck connects to the body, ensuring a clean finish.
-
Stuff Before Closing: Add stuffing to the head and neck before you fully close off the body section to ensure all narrow areas are properly filled.
-
Save the Tail: Leave a long yarn tail when finishing the hind leg. Use this tail to sew the remaining open stitches of the horse's belly shut.
-
Secure the Rocker: You can choose to glue the horse to the rocker with super glue or sew it securely with yarn.
Crochet Rocking Horse Toy

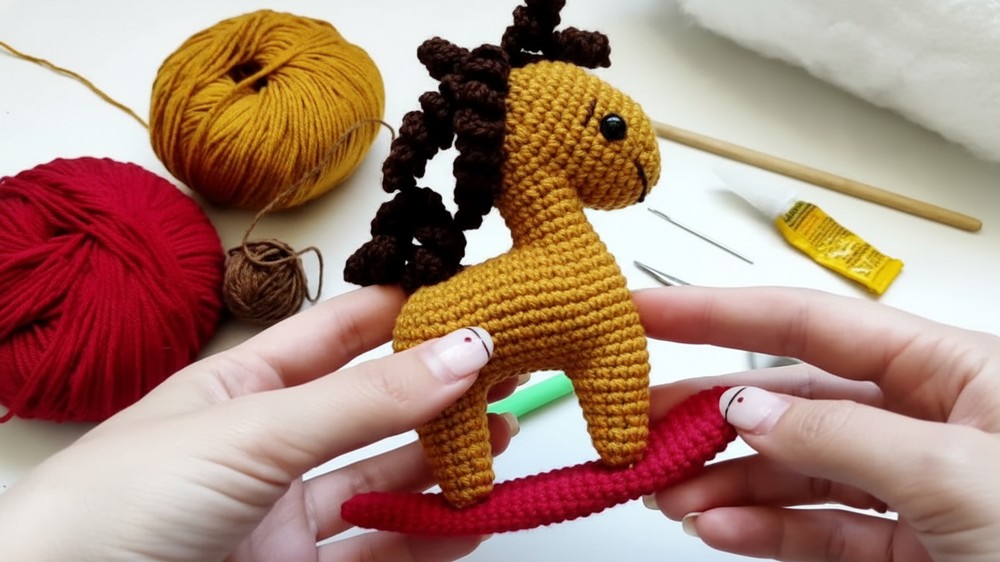
Following the pattern, each part — the body, head, legs, mane, tail, and rocker comes together step by step, resulting in a sturdy figure that holds its shape while remaining soft and touchable.
It’s durable enough for light play but delicate enough to display proudly on a shelf, dresser, or nursery corner.

Customization makes the project even more special. Choosing soft, neutral colors creates a classic, vintage feel, while bright, cheerful shades give it a lively, modern look.
Adjusting the size allows it to fit small spaces or become a larger toy centerpiece. Every completed horse carries a personal touch, blending creativity, functionality, and charm. This handmade rocking horse is more than a craft project, it’s a unique creation that adds warmth, personality, and timeless appeal wherever it is placed.
Conclusion
You have successfully constructed the crocheted rocking horse toy, mastering complex shaping and joining techniques for a professional finish. The combination of the tightly stuffed horse, the sculpted legs, and the curved rocker base creates a sturdy and appealing amigurumi figure.
Tip
Before joining the back and forming the saddle area (Row 14), count the total stitches available on the body piece after the neck. Sketch out where the 7-chain length will fall to ensure you have the correct stitch count on the body before and after the chain, which prevents warping of the horse's back.


