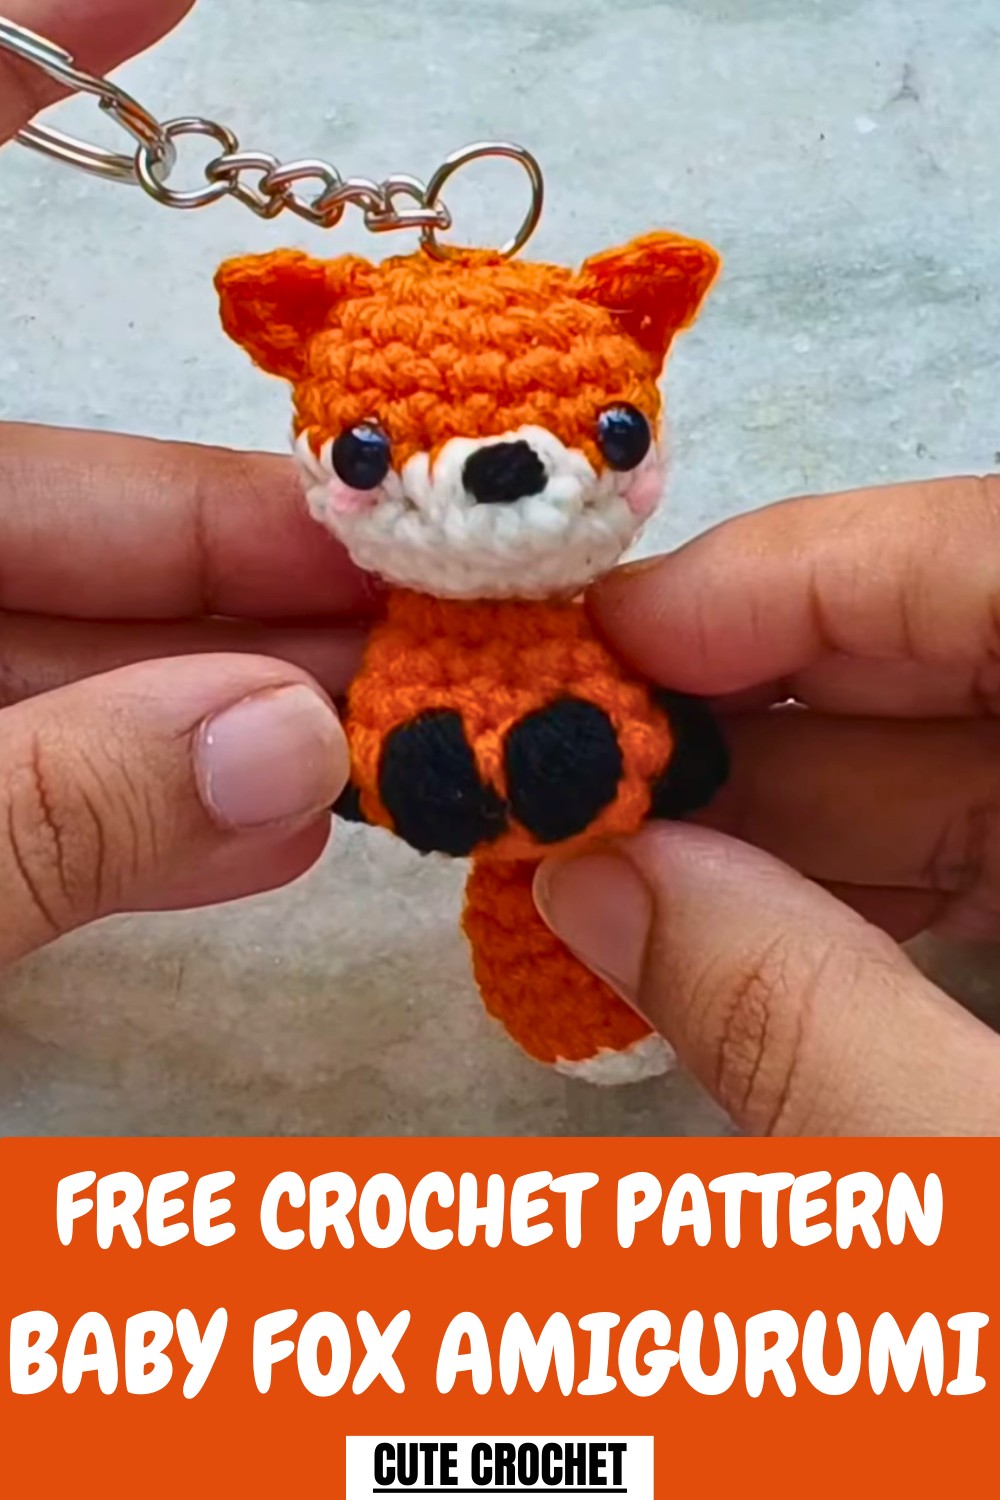
Cuddle a Free crochet Baby Fox Amigurumi Pattern with soft, easy stitches to create an adorable, huggable toy perfect for gifts or playful décor.
There’s something irresistibly charming about tiny, handcrafted animals that capture hearts at first sight. The Crochet Baby Fox Amigurumi Pattern brings this cuteness to life with soft yarn, delicate stitching, and adorable details that make each fox unique. Perfect as a gift for children, a nursery decoration, or a collector’s item, it combines playfulness with craftsmanship.
Cozy Crochet Baby Fox Amigurumi Pattern for Little Hands
Lightweight and cuddly, this amigurumi fox is easy to hold, display, or carry, offering both comfort and visual delight. Creating one allows crafters to showcase creativity while producing a heartwarming keepsake that’s both fun and timeless.
How to Crochet a Little Fox Amigurumi – Step-by-Step Guide
Materials Needed
You will need the following supplies to complete this project:
- Yarn:
- Orange, off-white, black, and a tiny bit of pink yarn (all in four-ply thickness).
- Stuffing: Fiberfill or other stuffing material for the amigurumi body.
- Safety Eyes: Use 4 mm safety eyes for the fox’s face.
- Keychain Accessories:
- A blank keychain ring.
- Small jump rings (if you’d like the tail to dangle).
- Tools:
- A 3 mm crochet hook (smaller than the recommended size to keep the stitches tight).
- Yarn needle.
- Stitch markers (or a paperclip, scrap yarn, etc.).
- Scissors.
Uses
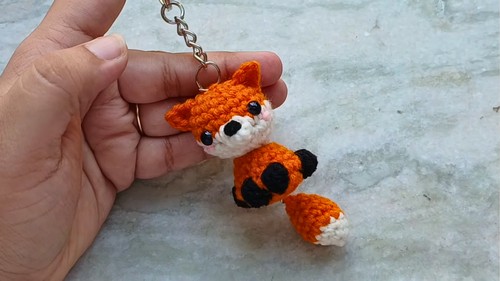
- The fox amigurumi makes an excellent keychain. Its compact size is practical and easy to carry around.
- It can also be displayed as a cute home decoration or given as a unique handmade gift.
Special Features
- Customizable Design: You can personalize the colors, size, and details of this fox to suit your preferences.
- Stitch Variant: The design includes a unique bubble stitch for the snout and paws, which adds texture and character.
- Optional Tail Movement: The inclusion of a jump ring allows the tail to dangle freely, which adds charm to the design.
Level of Difficulty
- Skill Level: Beginner-friendly, making it accessible to those new to amigurumi.
- The tutorial clearly explains basic stitches such as single crochet, increases, decreases, slip stitches, and the construction of a magic circle.
- The pace of the video is slow and steady, ensuring you can follow along step by step.
Tutor’s Suggestions
- Use a smaller hook size than recommended to ensure tight stitches that prevent stuffing from showing.
- Pay close attention to stitch counts during increases and decreases. Shri stresses counting your stitches to ensure accuracy, especially as the piece grows.
- Use stitch markers to mark the last stitch of each round, particularly since this project is worked in continuous rounds.
- Customize Color Placement: You can experiment with different yarn colors for a unique look for the fox.
- Don’t overstuff the amigurumi to maintain a flat base and ensure the figure’s shape remains compact and even.
Step-by-Step Instructions
Step 1: Crochet the Fox’s Head
- Start with Orange Yarn and Make a Magic Circle:
- Wrap the yarn around your finger to form a loop. Pull the yarn through the loop to create a circle.
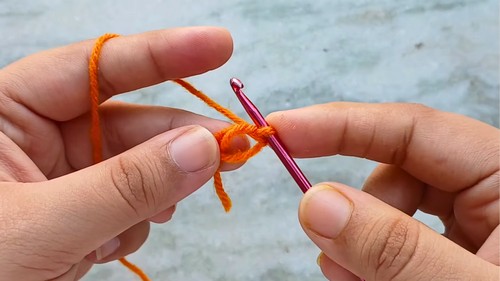
- Chain 1 (it does not count as a stitch).
- Work 6 single crochets into the magic circle. Pull the yarn tail to cinch the circle closed.
- Wrap the yarn around your finger to form a loop. Pull the yarn through the loop to create a circle.
- Increase Rounds:
- Round 2: Add 2 single crochets into each stitch around (total: 12 stitches).

- Round 3: Crochet one single crochet in the first stitch, then create an increase (2 single crochets in the next) and keep alternating. You will end with 18 stitches.
- Rounds 4–5: Work one single crochet into each stitch to maintain the stitch count at 18.
- Round 2: Add 2 single crochets into each stitch around (total: 12 stitches).
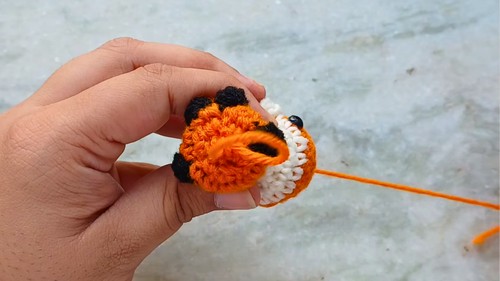
- Color Change for the Snout (to Off-White Yarn):
- Change colors at the end of Round 5 by pulling the off-white yarn through the final loops of your last stitch.
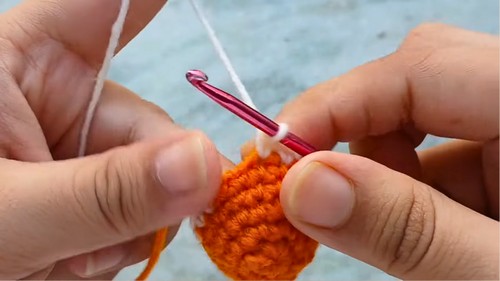
- For Round 6: Crochet 8 single crochets, then create a bubble stitch (used for the snout).
- To make a bubble stitch, yarn over, insert into the same stitch, and pull up a loop. Repeat this process multiple times until you have 6 loops on your hook. Yarn over and pull through all loops. The bubble creates the raised snout.
- To make a bubble stitch, yarn over, insert into the same stitch, and pull up a loop. Repeat this process multiple times until you have 6 loops on your hook. Yarn over and pull through all loops. The bubble creates the raised snout.
- Finish the round with 9 single crochets.
- Change colors at the end of Round 5 by pulling the off-white yarn through the final loops of your last stitch.
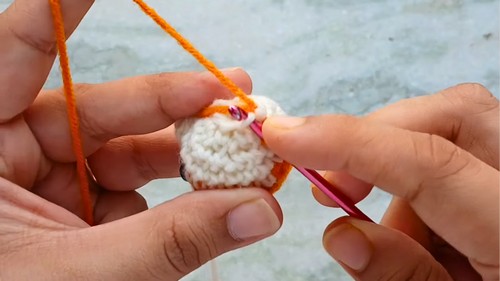
- Decrease Rounds:
- Round 8: Change back to orange yarn and start decreasing stitches. Use invisible decreases in alternating stitches until you reach 12 stitches.
Step 2: Attach Eyes and Stuff the Head
- Insert the 4 mm safety eyes above the snout with even spacing between Rounds 5 and 6.
- Add stuffing, ensuring the head is firm and evenly shaped.
Step 3: Crochet the Body
- Start with Decreasing:
- Crochet invisible decreases in continuous rounds to form the body’s tapered shape.
- After decreasing to 6 stitches, begin working in the front loops only to form the fox's lower body and paws.
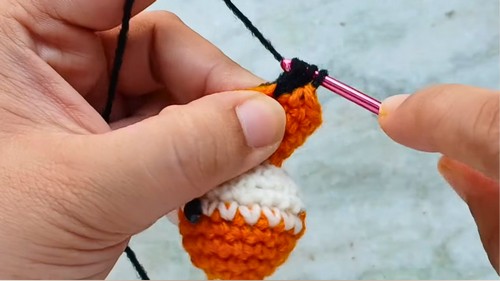
- Add Paws Using Black Yarn:
- In specific stitches, create bubble stitches with black yarn to form the feet. Alternate colors as needed for details.
- In specific stitches, create bubble stitches with black yarn to form the feet. Alternate colors as needed for details.
- Finish the Body:
- Stuff the body lightly but leave the bottom flat. Close the final round by weaving the tail through the front loops of the last stitches.
- Stuff the body lightly but leave the bottom flat. Close the final round by weaving the tail through the front loops of the last stitches.
Step 4: Add Details
- Ears:
- Attach orange yarn near the head where the ears should go.
- Chain 3 and create a small triangular ear with single and half-double crochets. Attach both ears symmetrically.
- Snout and Blush:
- Using black yarn, embroider a nose onto the bubble stitch.
- Add blush to the cheeks with pink yarn by embroidering underneath each eye.
- Tail:
- Create a smaller cone-shaped crochet tail using the same increase and decrease techniques. Start with off-white yarn for the tip, then switch to orange yarn.
- Attach the tail using a jump ring or sew it directly onto the body.

Conclusion
This little fox amigurumi is a fun and easy project that can be completed quickly, making it perfect for personal use or as a handmade gift. Shri’s tutorial simplifies the process, breaking down each step so that even beginners can create this adorable crochet fox. The finished product is not only functional as a keychain but also delightful as a decorative piece.
Tip
For an extra polished finish, weave in all yarn tails neatly using a yarn needle to prevent them from coming loose. Use vibrant yarn colors to bring more personality to your fox and consider adding unique accessories like scarves or hats for customization.