
Free Crochet Vest Pattern That Will Enhance Your Wardrobe
A plain blouse can feel like a whole new outfit with this Handmade Crochet Vest Pattern so pick up your hook and make a layer that shows your own style.
Pattern By TSUNAMI - Crochet Makers
Layering just became a whole lot more stylish with this must try Free Crochet Vest Pattern. A timeless wardrobe staple, this vest combines comfort and flair, making it suitable for all seasons. Whether you're dressing up for a brisk autumn day or adding a lightweight layer for spring mornings, this versatile piece fits seamlessly into any outfit. Its flattering fit, adorned with a beautifully shaped neckline, makes it ideal for everything from casual outings to semi formal gatherings.
This Stunning Free Crochet Vest Pattern Will Cheer Up Your Closet
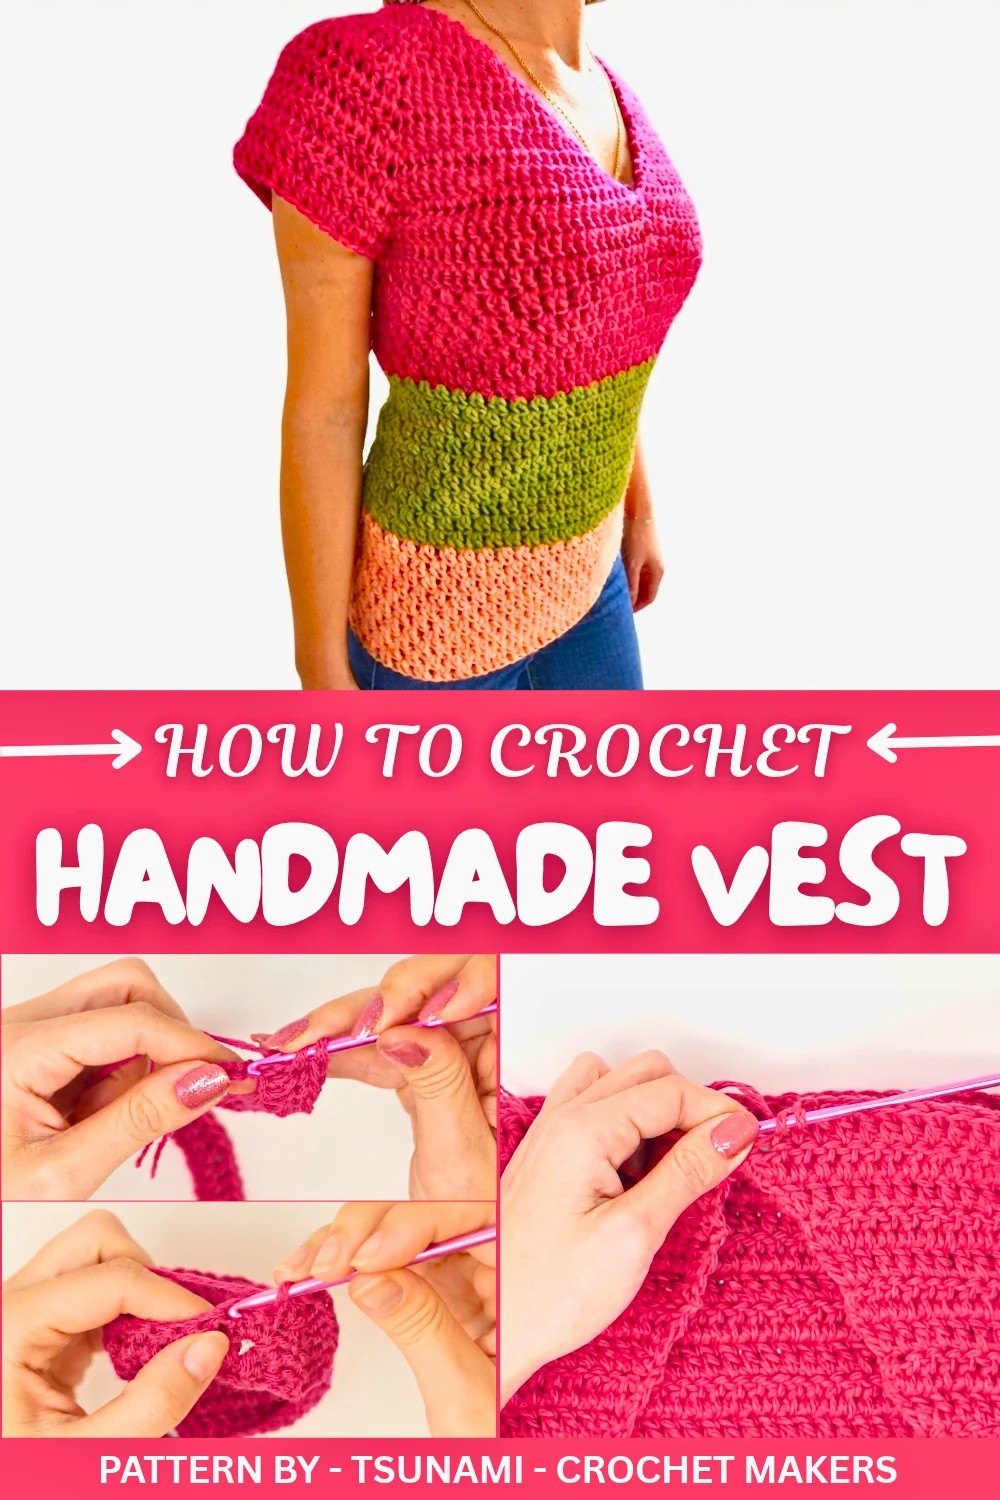
Throw it over a flowy dress for a bohemian vibe, pair it with jeans and a fitted top for laid back elegance, or wear it as a polished layer over office attire. The simplicity in its design allows it to fit into countless outfit combinations, giving you infinite ways to style it your way.
Featuring intricate stitchwork and flawless detailing, it feels soft yet structured, providing just the right balance of coziness and sophistication. The standout feature, a perfectly contoured V neckline, makes it a showstopper that effortlessly elevates your look while remaining functional and snug.
Inspired to try your hand at something that will leave you glowing with pride and wardrobe envy? Dive into the full step-by-step pattern and stitch your way to this timeless masterpiece.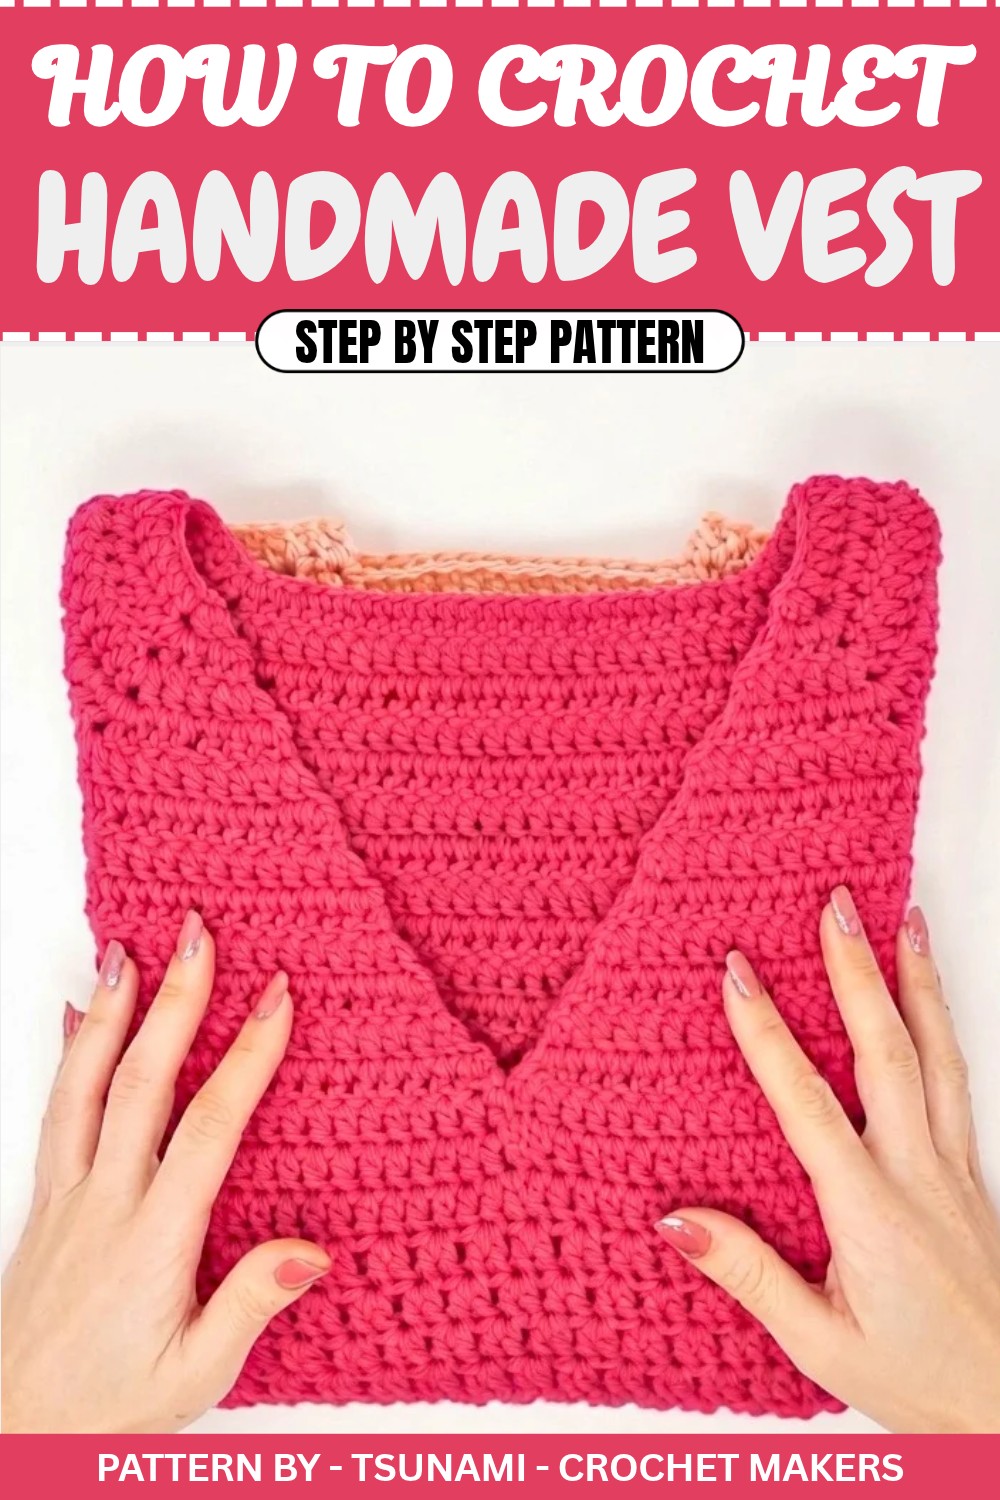
Crochet Pattern: V-Neck Top-Down Vest
My name is Simona, and today, I am thrilled to share an exciting new project, a V-neck vest made using the top-down technique. This innovative approach allows us to work the vest from the neckline down, eliminating the need for cutting or sewing. It’s a seamless, clean technique that’s both functional and beautiful.
If you’re looking to create a stylish, minimalist vest that’s perfect for everyday wear, join me as we crochet this unique design step by step!
Quick Overview of Pattern
- Project Name: Top-Down V-Neck Sweater
- Top-Down Technique: Start at the neckline and crochet in one continuous piece without cutting or sewing.
- Sew-Free Design: Perfectly seamless construction for all skill levels.
- Features: Detailed V-neck, structured yoke, customizable measurements, and clean edges.
Notes
- This vest uses the top-down method, creating a seamless, no-join design from the neckline to the body.
- The pattern is easy to adapt for other sizes—spot testing ensures a perfect fit.
- Work increases at regular intervals to shape the yoke and body evenly.
- For larger sizes or different fits, adjust stitches based on your bust circumference.
Skill Level
Advanced Beginner
Materials
- Yarn: Choose medium-weight yarn suitable for vest (acrylic or wool preferred).
- Hook Size: 3.5mm crochet hook
- Other Tools: Yarn needle, scissors, stitch markers
Measurements / Sizing
- Final Bust Circumference: Approx. 80 cm (adjustable).
- Length: Approx. 37.5 cm (27 rounds total).
- For larger sizes, test for proper fit and add rows/stitches as needed.
Gauge
Approx. 12 rows x 15 double crochet in 10 cm using a 3.5mm hook.
Stitch Abbreviations
- ch: Chain
- sl st: Slip Stitch
- sc: Single Crochet
- dc: Double Crochet
Special Techniques
- Double Crochet Increase: Work two double crochet stitches into the same stitch.
- Invisible Slip Stitch Joining: Close each round invisibly for a clean finish (detailed later).
The Crochet Pattern
Step 1: Foundation Chain
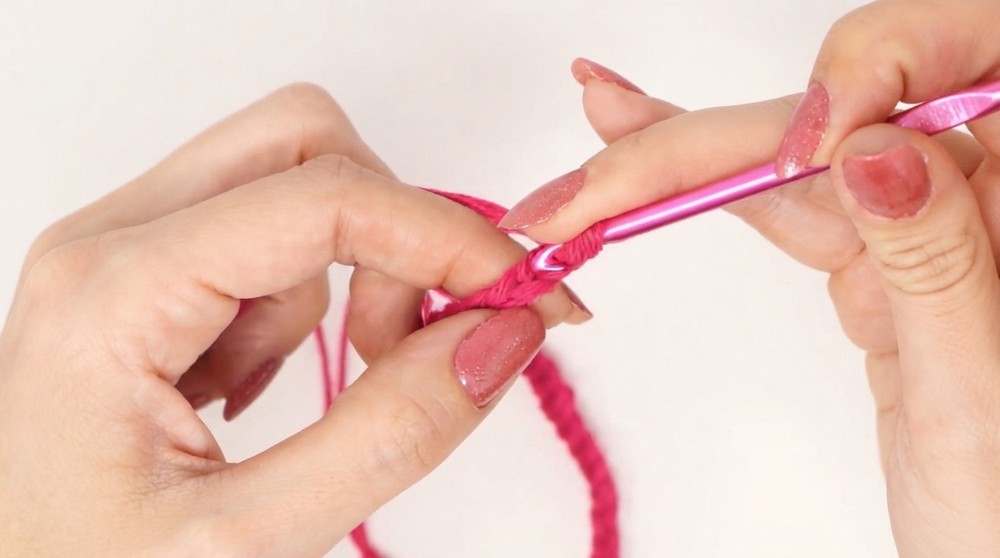
- Begin with 50 chains as your foundation neckline.
- Add 1 chain for turning—bringing the total to 51 chains.
Step 2: First Row (Starting Yoke and Increases)
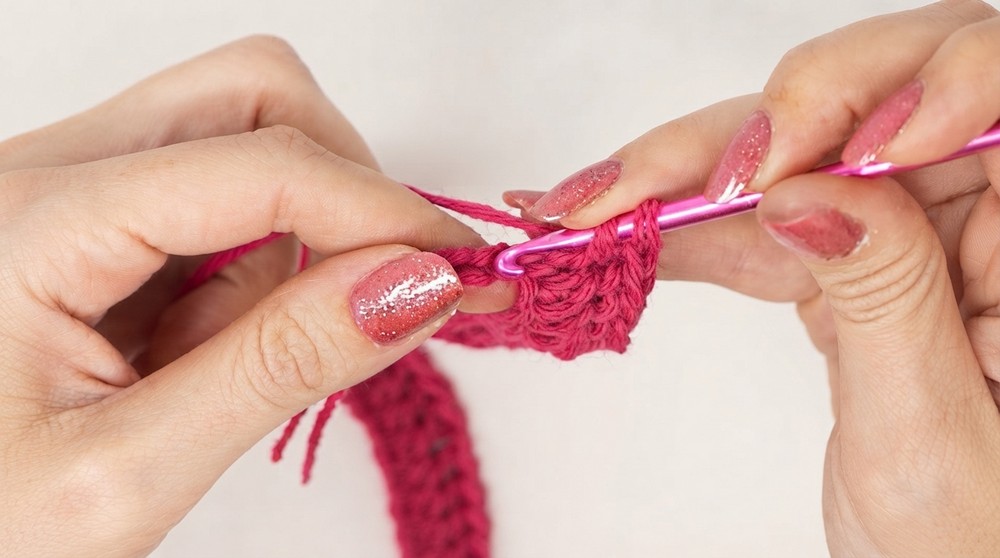
- Row 1:
- Yarn over and insert hook into the second chain from the hook.
- Work 2 dc in the same stitch (first increase).
- Ch 1, skip to the next chain, and work 12 dc across—these stitches form the front yoke.
- Follow with:
- Ch 1, then work 24 dc across—this is your back yoke.
- Add ch 1, skip a chain, and work 12 dc across—this creates your second sleeve section.
- End Row 1:
- Ch 1, and in the last chain, work 2 dc as the final increase.
Step 3: Building the Yoke
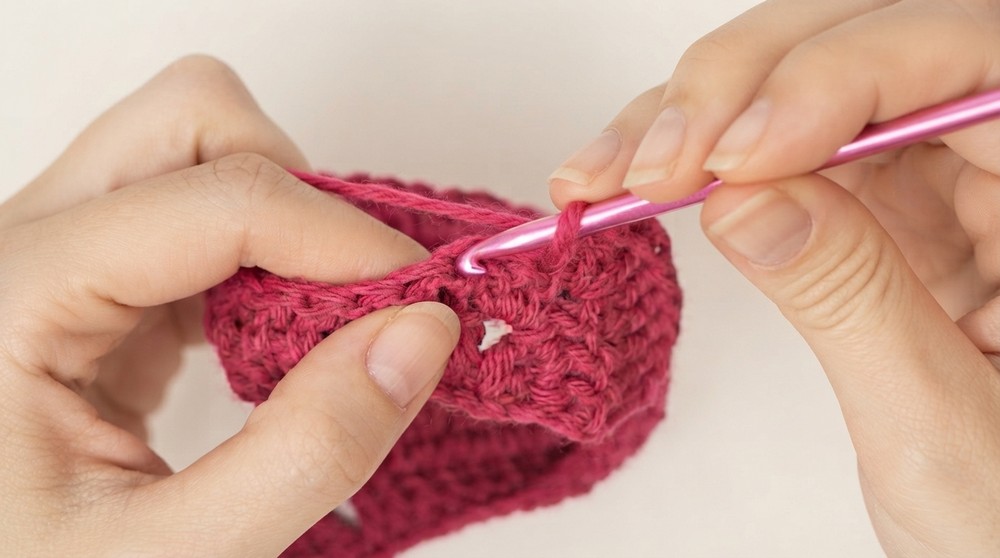
Row 2:
- Turn your work and begin working increases at the start:
- Replace the first dc with 2 sc if preferred (or ch 3).
- Work 2 dc into the same space to form the increase.
- Continue with:
- 1 dc into each stitch, including increases, until you reach the first ch-1 space.
- In ch-1 spaces, work dc, ch 1, dc.
- Repeat this sequence across all sections (front, sleeves, back yoke):
- Ensure each ch-1 space includes the increase combination of dc, ch 1, dc.
Row 3:
Repeat the same as Row 2, increasing evenly in all ch-1 spaces.
Notes:
- The pattern is repetitive for this stage, so continue working evenly until you reach 17 cm total height (approximately 12 rows for an S sized vest).
- Keep track of your increase points, these will define the V-neck sections.
Step 4: Closing the Yoke and Adjusting Circumference
- Once the yoke is complete, check the circumference:
- For a bust width of 80 cm, each side (front/back) should measure 40 cm.
- If the yoke is still narrow (e.g., 72 cm), add 2 more rows to reach the desired measurement.
Closing the Neckline:
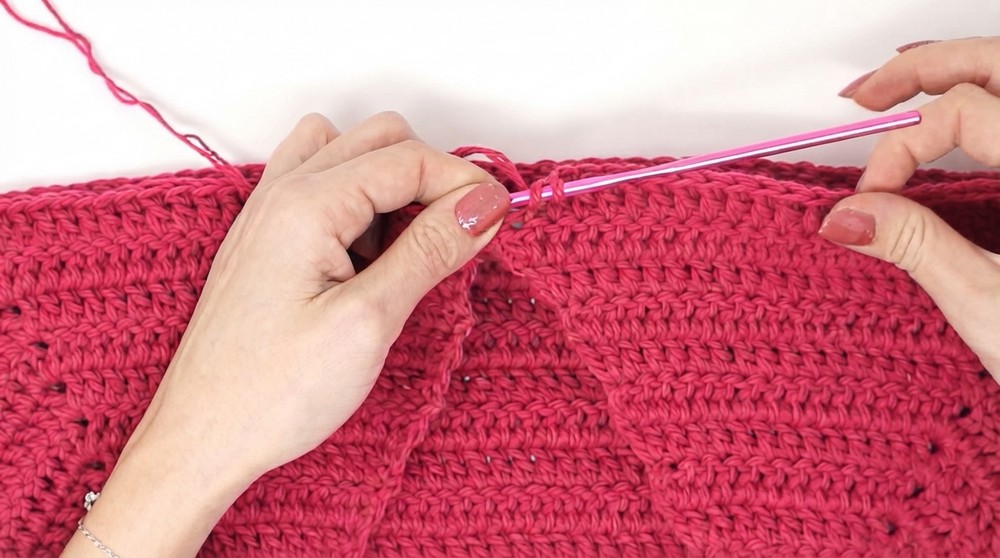
- Fold the yoke at the neckline and join the two sides with an invisible slip stitch.
- Move directly to working in the round to expand the body.
Step 5: Working the Body
Body Rounds:
- Begin with dc rows worked continuously in the round:
- Replace the first dc with 2 sc and continue working across all stitches.
- In previous ch-1 spaces, work dc, ch 1, dc as before to create increases at regular points.
- Repeat this process until the bust circumference reaches 80 cm (front + back).
- Make sure to test-fit after each increase to adjust for personal sizing preferences.
Step 6: Seamless Joining
Clean-Up for Invisible Finish:
- As you complete each round, close with a sl st that blends into the fabric.
- Insert hook into the base of the first stitch; pull through invisibly.
- Avoid gaps or uneven edges by replacing the last stitch with a sc instead of ch.
Step 7: Completing the Length
- Continue working in rounds with consistent increases until you reach the desired length:
- For an S size: 37.5 cm total length.
- This corresponds to about 27 rounds.
- Finish by weaving in all loose ends and steam-blocking the vest for a polished look.
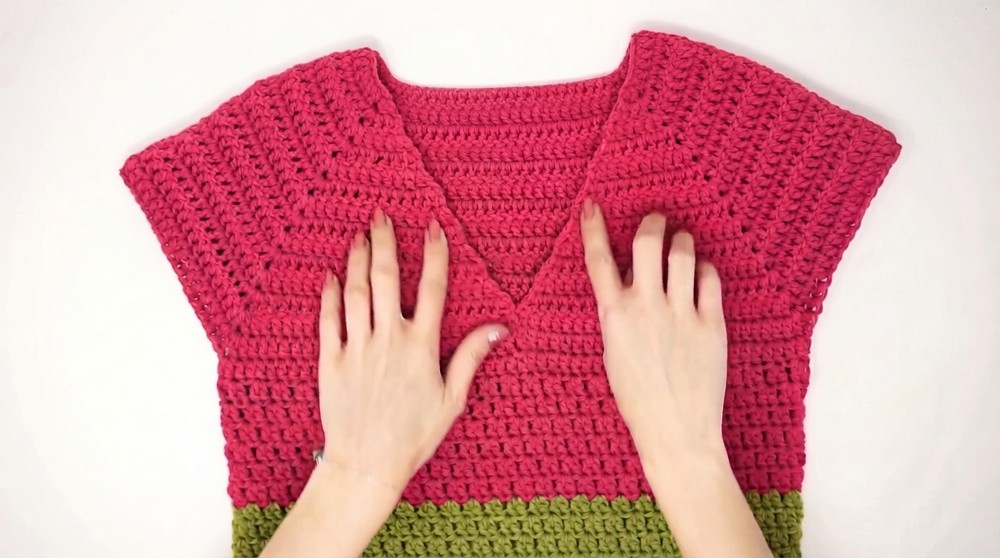
Assembly & Finished Size
- Bust Circumference: 80 cm (front/back)
- Length: 37.5 cm
- Once finished, you’ll have a seamless, cleanly edged vest perfect for layering or wearing on its own.
Conclusion and Ending Words
Congratulations on your beautiful, sewn free V neck vest. This top-down technique is not only beginner friendly but also ensures a neat, professional finish. I’m incredibly pleased with the clean edges and the perfectly shaped neckline achieved using this method.