
Amazing Free Crochet Bag Pattern That’s So Versatile
Pack a little of your own style for a day away with this Easy Wonderful Crochet Bag Pattern and enjoy a handmade bag that goes with your favorite travel outfit.
Bright stripes and a sleek, rectangular shape turn this bag into a statement piece that’s as practical as it is stylish. Whether you're heading to the farmers’ market, carrying books, or adding flair to your daily outings, this tote has just the right mix of charm and function. It’s spacious but compact enough to sling over your shoulder and go about your day.
This Affordable Bag Crochet Pattern Is a Game Changer
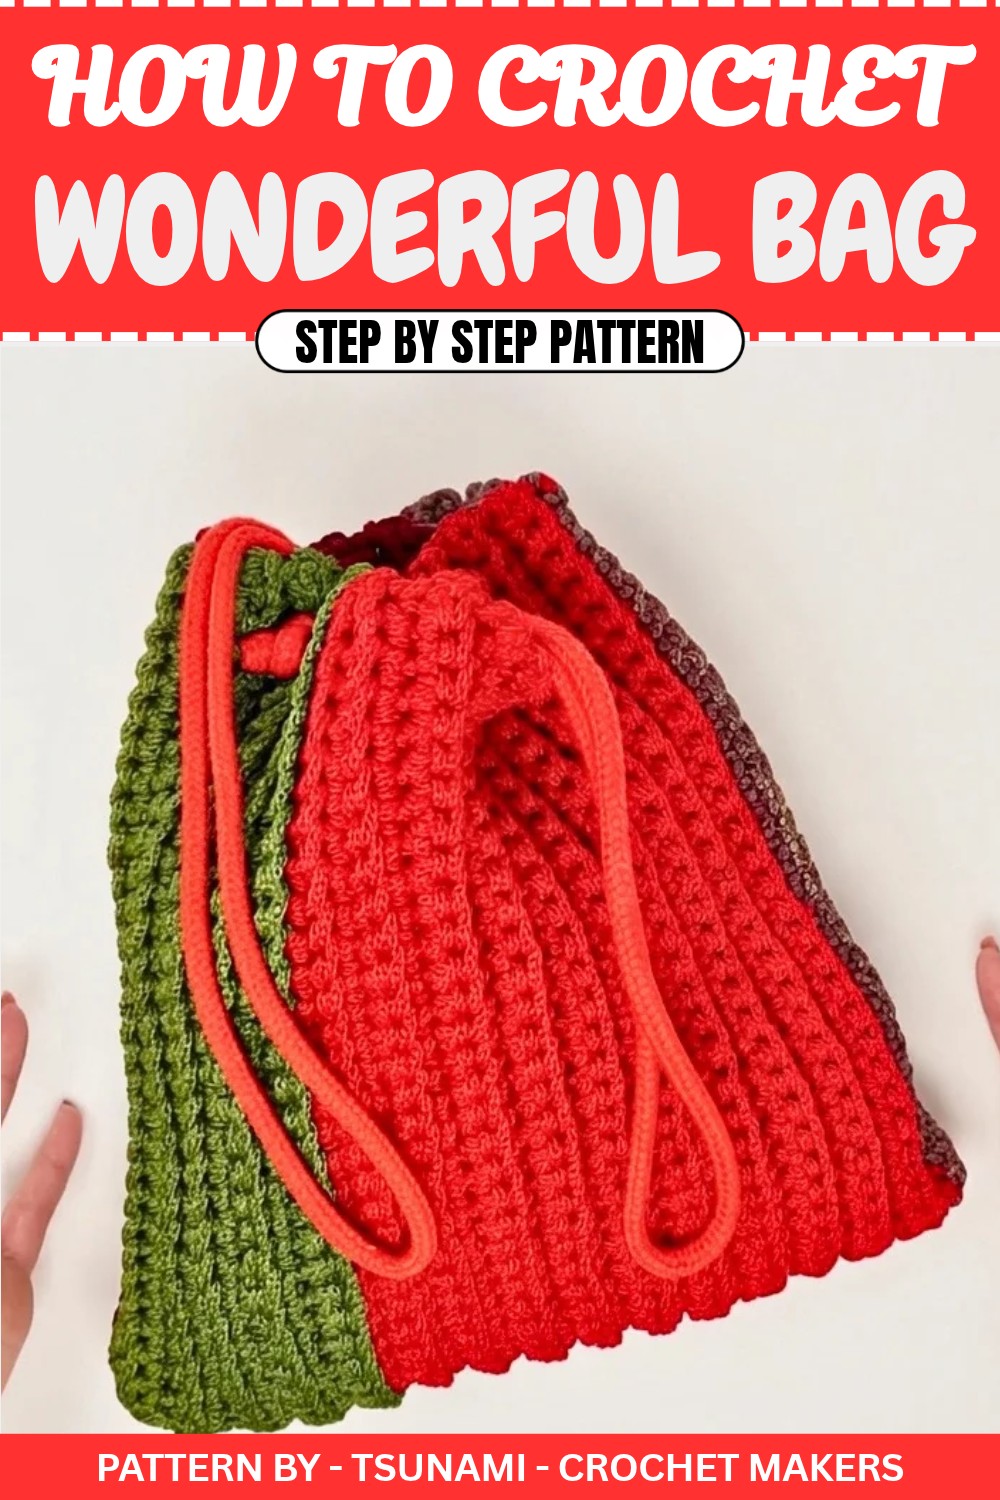
The unique color blocked design makes this bag stand out. You can mix and match yarn colors to suit your personal style, or stick with two bold shades for a modern aesthetic. The texture is subtly ribbed, giving the finished piece a polished, professional appearance. Measuring around 30 cm in height and width, it’s the perfect size to carry your essentials without feeling bulky.
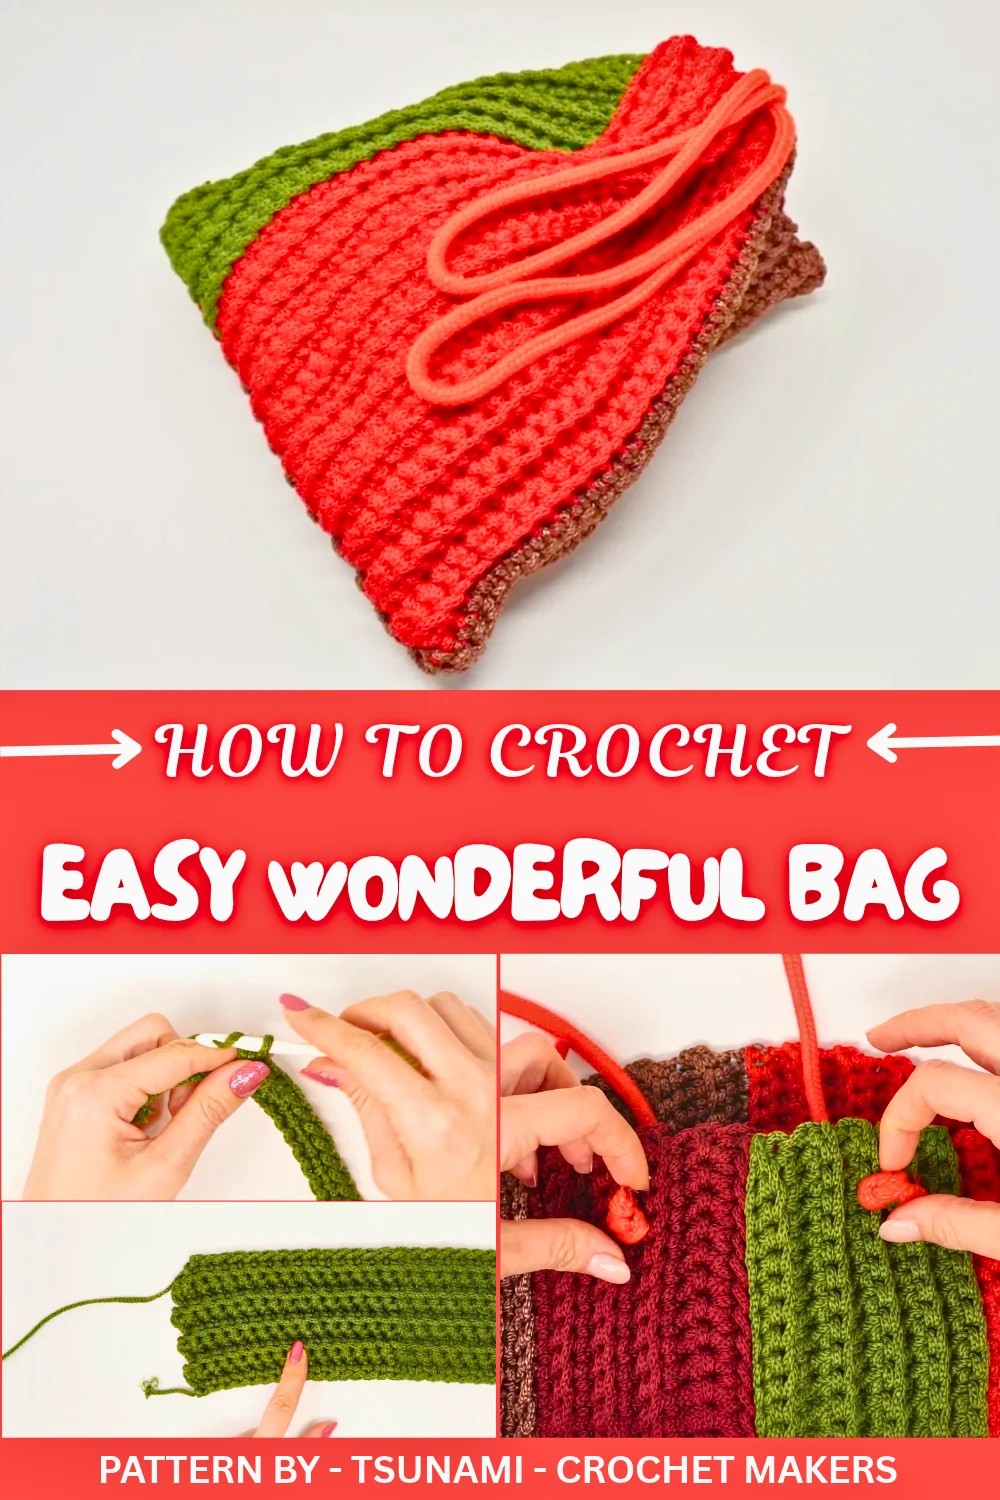
Working on this project is wonderfully simple and beginner friendly. The bag is made by crocheting a large rectangular panel with single crochet stitches worked in the back loop only. This technique adds a lovely ribbed detail while keeping the process straightforward. The magic happens when you fold the panel in half, sew up the sides using slip stitches, and add handles. For an eco friendly twist, consider repurposing a cord from an old shopping bag, it’s smart and sustainable.
This gem comes from the talented Simona of TSUNAMI – Crochet Makers, a channel cherished for its clear step by step tutorials. Simona’s calm guidance ensures even beginners can confidently bring this project to life. Whether you're whipping up a practical tote for yourself or gifting it to someone special, this bag is bound to be a well loved item.
Crochet Pattern: Simple Bag
Today I’ll show you how to make a super simple yet beautiful bag using leftover yarn. This bag design is incredibly quick and easy, making it perfect for beginners who are looking for a functional and cute project.
This bag is not only practical but also a great way to use up yarn scraps from previous creations. The finished product is approximately 30 cm x 30 cm and can include color changes to suit your taste. Ready? Let’s dive into this exciting tutorial
Quick Overview of the Pattern
- Design: A simple yet elegant rectangular crochet bag.
- Stitch Type: Includes single crochet and back loop single crochet stitches.
- Pattern Use: Perfect for organizing items or as a custom tote bag.
- Customization: Add personal touches with color changes or optional handles.
Notes
- The pattern uses simple stitches and straightforward techniques.
- Remember to consistently work in the back loops to create the bag ribbed texture.
- Color changes can be added according to personal preference or inspired by this tutorial.
- The bag construction uses panels, folded and sewn together with slip stitches for durability.
Skill Level
Beginner-friendly!
Materials
- Yarn: Leftover yarn scraps, including green, red, and brown-colored yarn (or colors of your choice).
- Hook: Crochet hook size 3.5mm (switched to 4.5mm for sewing).
- Tools: Yarn needle, scissors, measuring tape.
- Cord: Pre-made cord (around 85 cm) or make your own with yarn.
Measurements / Sizing
Finished bag dimensions: 30 cm x 30 cm.
Gauge
Gauge is not essential for this pattern, but ensure that the overall work remains consistent and doesn’t stretch too tightly.
Stitch Abbreviations
- ch: Chain
- sc: Single Crochet (Maglia Bassa)
- sc-blo: Single Crochet in Back Loop Only (Maglia Bassa in Costa Dietro)
- sl st: Slip Stitch (Maglia Bassissima)
- sts: Stitches
Special Stitches
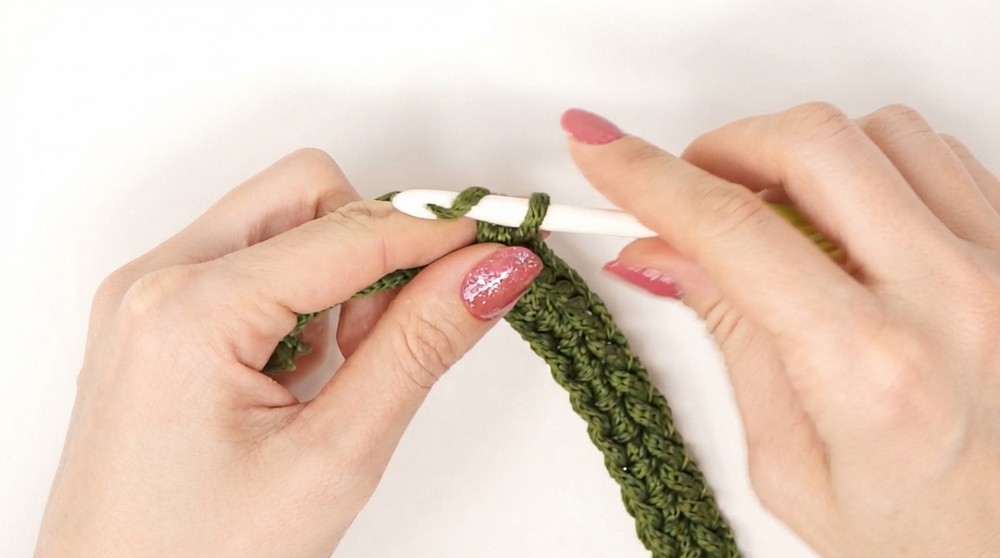
- Single Crochet in Back Loop Only (sc-blo): Insert the hook into only the back loop of the stitch instead of both loops, yarn over, pull through the loop, yarn over again, and pull through both loops on the hook.
The Crochet Pattern
Chapter 2: Base and First Row
- Foundation Chain: Begin with 31 chains, which will measure approximately 30 cm.
- Row 1: In the second chain from the hook, work 1 sc. Continue working 1 sc in every chain across for a total of 30 sc.
- End Row: Chain 1, turn your work.
Chapter 3: Creating Ribbed Texture
- Row 2: Work sc blo in every stitch across for a total of 30 single crochets.
- End Row: Chain 1, turn your work.
- Repeat Row 2: Continue working rows of sc blo and turning the work after each row.
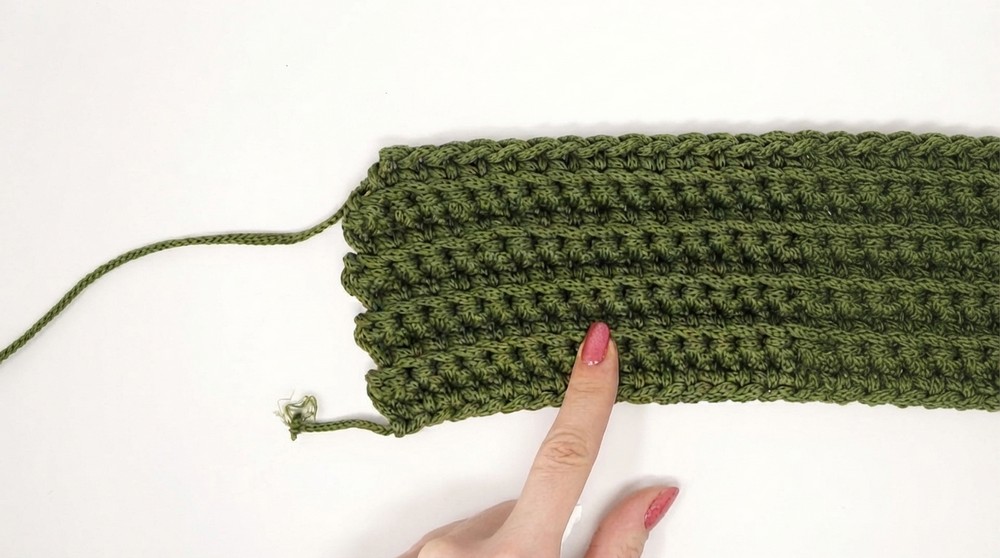
- Follow these steps for 6 total rows, which should measure roughly 10 cm when completed.
Chapter 4: Color Change – Adding the Next Stripe
After you complete your green section, it’s time to add the next color:
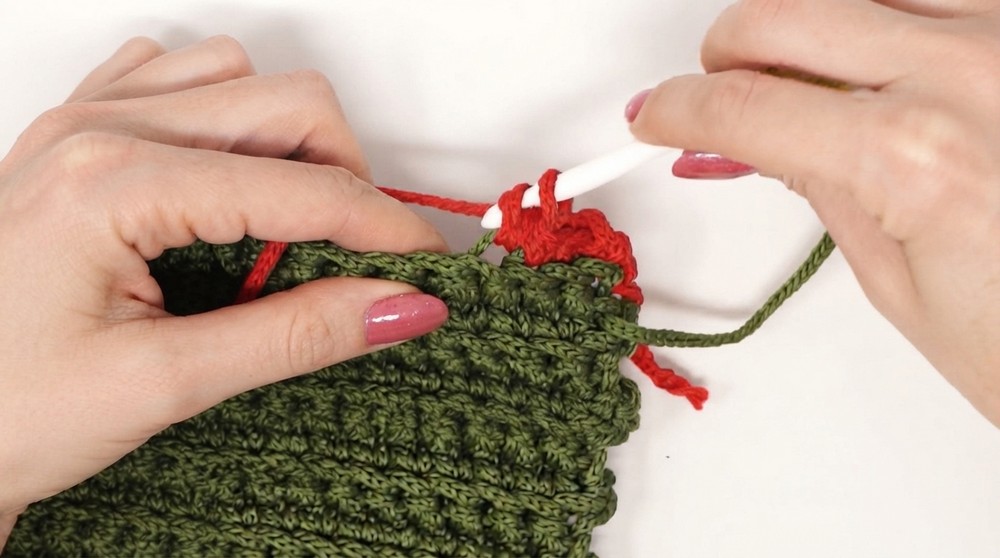
- Last Stitch of Green Section: Before completing the last sc of the row, insert the hook into the stitch, yarn over with your new color (red), pull through, and begin working with the new yarn.
- Row 7: Work sc blo across with the new color, inserting the hook into the back loop of the previous row’s stitches.
- End Row and Turn: Chain 1, turn the work.
- Continue Working Rows: Use the red yarn to crochet rows of sc blo until the section measures 20 cm long.
Chapter 5: Adding the Third Stripe
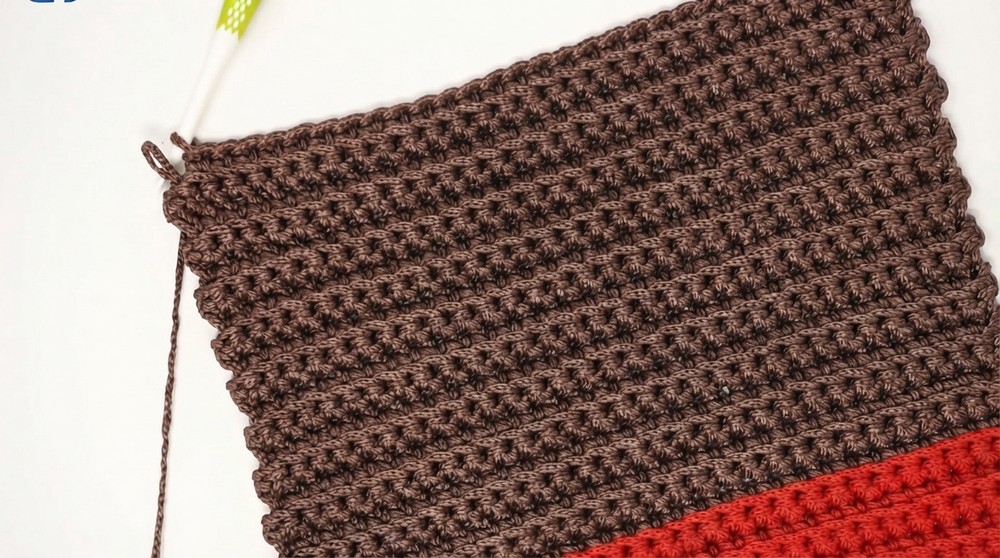
Once the red section reaches 20 cm, switch to the third color (e.g., brown). Switch the color by closing the final sc of your row with brown yarn before chaining and turning.
- Row 21: Continue to work sc blo, inserting the hook into the back loops only and maintaining even tension.
- Repeat Rows: Work rows of sc blo until the brown stripe measures 20 cm.
Chapter 6: Final Stripe and Final Row
- Color Change: Switch to your final color (e.g., burgundy) following the same method as before.
- Row 41: Work sc blo in every stitch across. Chain 1, turn the work.
- Repeat Rows: Continue working rows of sc blo, and make sure the final stripe reaches 10 cm.
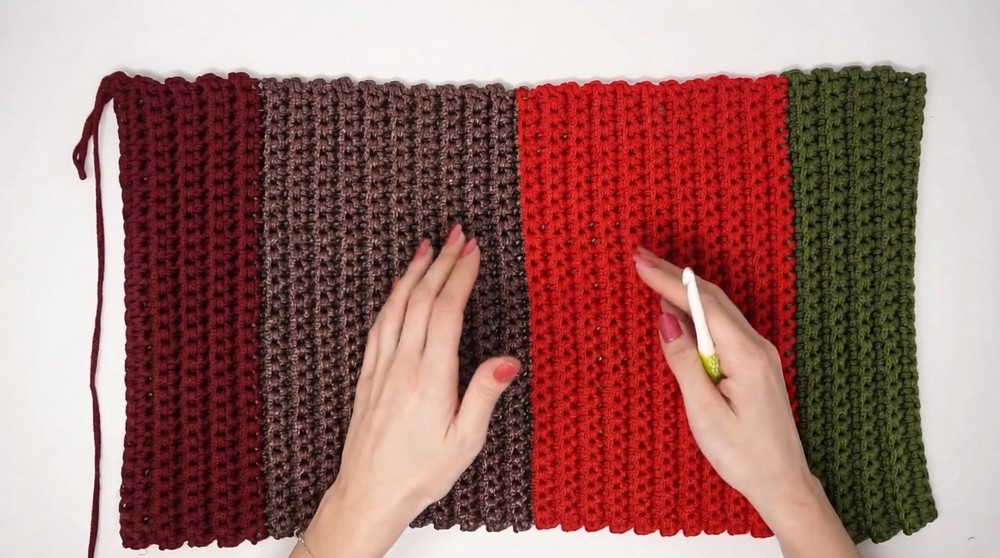
- Last Row: Work 1 row of regular sc (in both loops of the stitch) across to mirror the beginning of the piece for a clean edge.
Chapter 7: Assembly
- Prepare the bag Panels: After completing the crocheted panel, it should measure 60 cm x 30 cm. Fold the piece in half to make two sides, resulting in a folded piece measuring 30 cm x 30 cm.
- First Side Seam:
- With the crochet hook, join the edges of the folded piece using sl st. Insert the hook into the front loop of one edge and the back loop of the opposite edge, yarn over, and pull through to join.
- Work sl st across one side until fully sewn together.
- Second Side Seam: Without cutting the yarn, proceed directly to sew the second side using the same sl st method, making sure that the edges are aligned properly with the other side.
- Finishing the Seams: When both sides are closed, make a chain stitch for security, cut the yarn, and weave the tail ends into the work for a clean finish.
Chapter 8: Turning and Final Touches
- Turn the bag Inside Out: Flip the piece so all the seams are hidden inside, creating a smooth finish for the exterior.
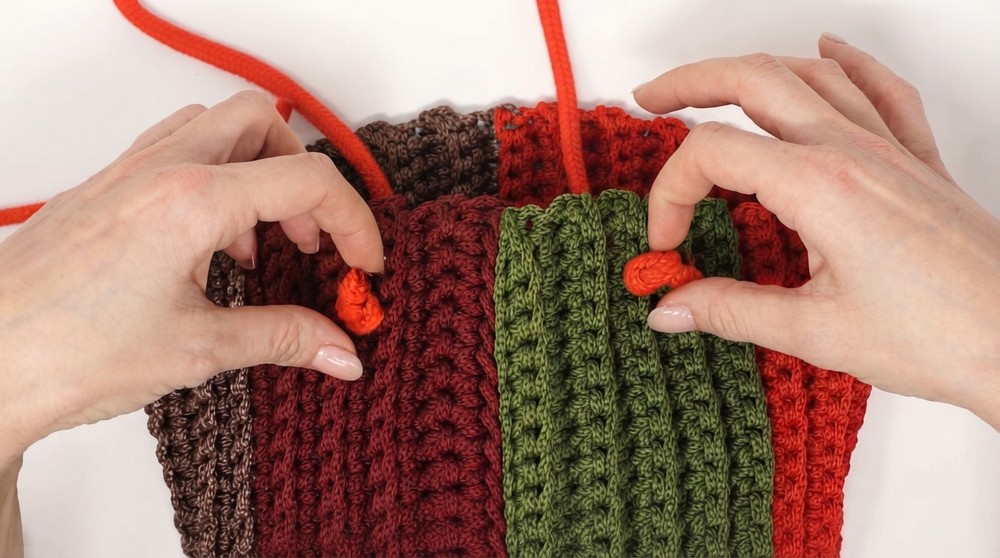
- Adding the Handle: For a quick handle solution, use a pre made cord, like one from a recycled shopping bag, approximately 85 cm long. Attach the cord securely to the top edges of the sack.
- Optional DIY Handle: You can crochet a handle by chaining 85 stitches and reinforcing it with sl st rows over the chain. Attach it securely by sewing with a yarn needle.
Assembly & Finished Size
- Final Measurements: This bag measures 30 cm x 30 cm when folded and stitched, making it a compact and stylish storage option.
Conclusion and Ending Words
Congratulations! You’ve successfully completed your wonderful crochet bag. This quick and easy project is a great way to utilize leftover yarn while creating something functional and beautiful. Feel free to experiment with different colors, textures, and handle designs to make it your own.