
Make This Free Crochet Mini Backpack Pattern With Zero Hassle
Clip a cute handmade crochet mini backpack onto your school bag or keys for a fun trendy charm that hides your earbuds and spare change right inside.
Looking for a fun and adorable crochet project? How about making a miniature backpack that’s as cute as it is useful. These tiny backpacks are an absolute delight to make, perfect for adding a splash of handmade charm to your style. Whether you use them to hold small essentials, like lip balm or earbuds, or attach them to your keys as a stylish accessory, crocheted mini backpacks are wonderfully functional. The best part? They’re super quick and easy to make, even if you’re a beginner.
This playful design features a classic backpack shape with a flap, handles, and straps, giving it a realistic yet miniature look. The addition of details like a braided drawstring and options for a button or bead closure only enhances the charm. The compact size also makes it an ideal gift for friends, family, or even kids who will love its whimsical appeal.
Cute Free Crochet Backpack Pattern with a Button Closure
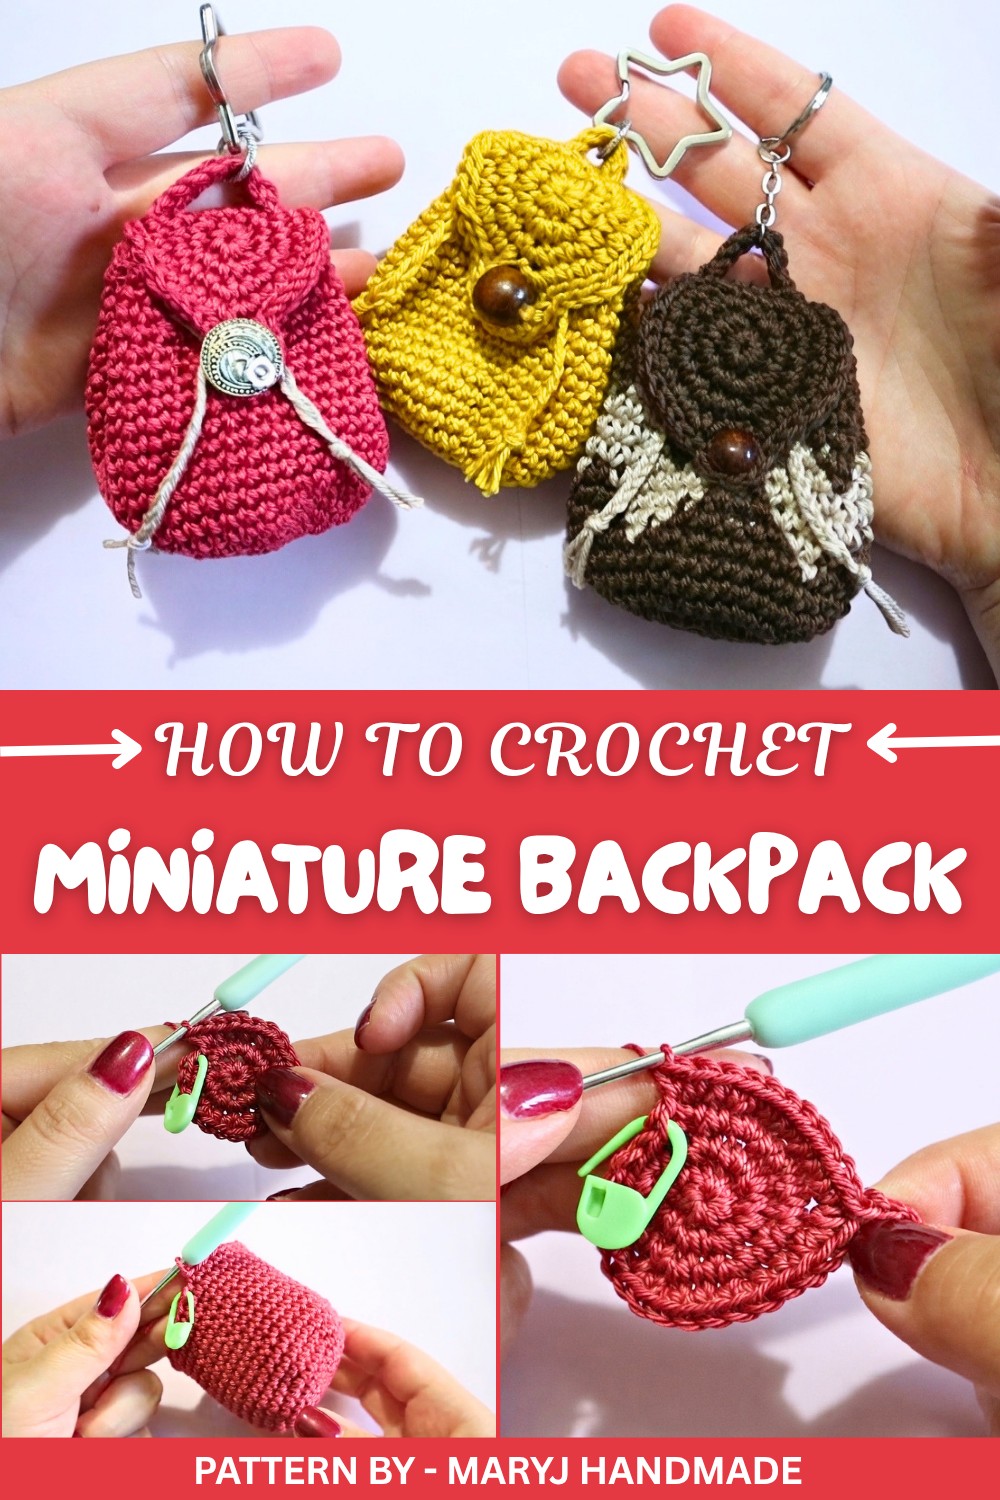
The talented MaryJ Handmade explains the process beautifully in her tutorial using simple tools: cotton thread, a 2.5 mm crochet hook, and a few accessories like a keyring and button. She also teaches key techniques like working in a spiral with single crochet stitches, using a magic ring to create a neat base, and adding decorative elements like straps and braided cords. These same skills can be used in future projects, such as making coin purses, doll accessories, or cute bag charms.
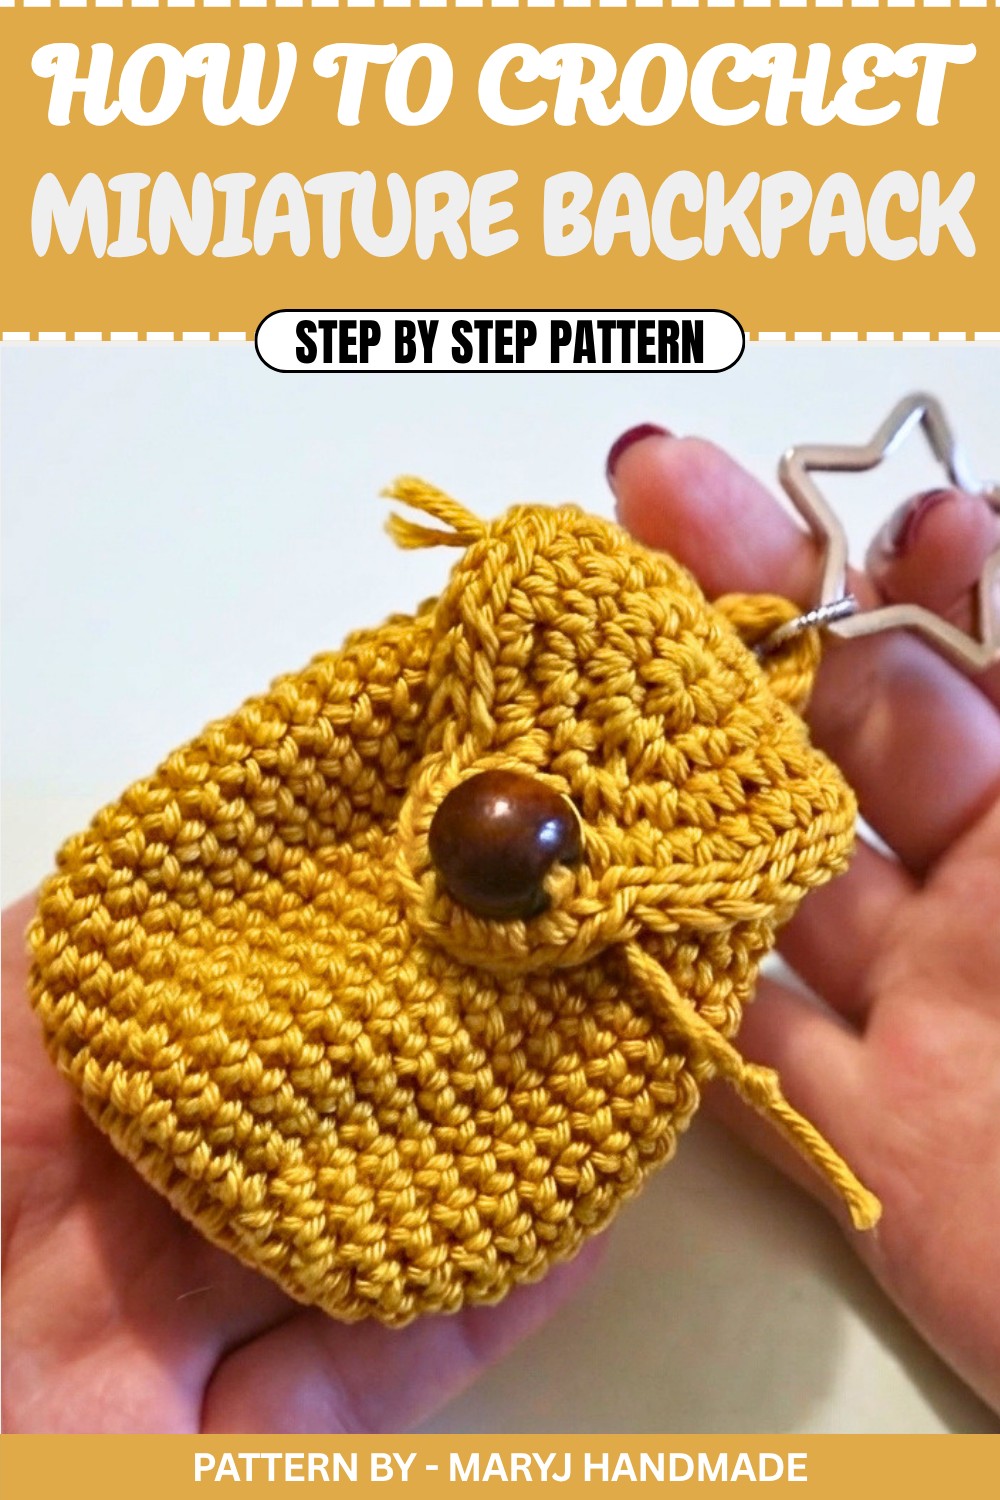
Crochet Miniature Backpack Pattern
Today, we’ll be making a super cute miniature backpack. It’s easy, quick to make, and perfect for adding as an accessory to your keychain or gifting to others. This adorable design features a buttoned flap, straps, handle, and a braided string closure. You can even attach a keyring to make it portable and functional. I’m so proud of this fun, effective design, and I hope you enjoy creating it as much as I did. Let’s get started.
Quick Overview Of Pattern
- Type: Crochet miniature backpack worked in continuous rounds and small sections, to be assembled later.
- Features: Backpack body, front flap with buttonhole, braided string, handle, and shoulder straps.
- Uses: Keyring accessory, decorative item, or small storage (coins or trinkets).
- Construction: Crocheted in parts (body, flap, straps, etc.), then sewn together for finishing.
- Customization: Adjust size, colors, or embellishments to personalize the backpack.
Notes
- Backpack is worked in continuous rounds (spiral) for the main body and flap.
- Use a stitch marker to track the first stitch of each round.
- The given instructions use cotton thread size 3 and a 2.5 mm crochet hook, but you can customize with different yarn types or hook sizes.
- Leave long tails on all sections for assembly.
Skill Level
Advanced Beginner
This pattern is perfect for crocheters familiar with:
- Basic stitches (e.g., single crochet, slip stitch, chain).
- Working in a magic loop.
- Increasing and decreasing in the round.
- Basic sewing of parts using a yarn needle.
Materials
- Thread: Cotton thread size 3 (or equivalent)
- Hook: 2.5 mm crochet hook
- Button: 1 large button or bead for closure
- Keyring
- Scissors
- Tapestry or yarn needle
- Stitch marker
Measurements / Sizing
- Backpack Height (without straps): Approximately 6–8 cm (depending on tension and yarn/thread used).
- Straps: Approx. 7–8 cm long.
- String: Approx. 20 cm long.
Gauge
Gauge is not critical for this project as it is decorative. However, stitches should be tight to ensure durability and structure. Use a smaller hook if your stitches are too loose.
Stitch Abbreviations
(Using Standard US Terminology)
- MR = Magic ring
- sc = single crochet
- inc = increase (2 sc in the same st)
- ch = chain
- sl st = slip stitch
Special Stitches
Magic Ring (MR)
Create a loop with the yarn, insert the hook into the loop, yarn over, and pull up a loop. Work the required number of single crochets into the loop. Pull the tail to close the loop tightly.
The Crochet Pattern
Chapter 2: Crocheting the Main Body
Round 1
- Begin with a magic ring (MR).
- Work 8 sc into the ring. Pull tail to close. (8 sts)
Round 2
- Work 1 inc (2 sc) in each stitch around.
- Use a stitch marker to indicate the first stitch of the new round.
- At the end of the round: 16 sts.
Round 3
- Work 1 sc in first st (place the stitch marker), 1 inc in the next st. Repeat this sequence around.
- At the end of the round: 24 sts.
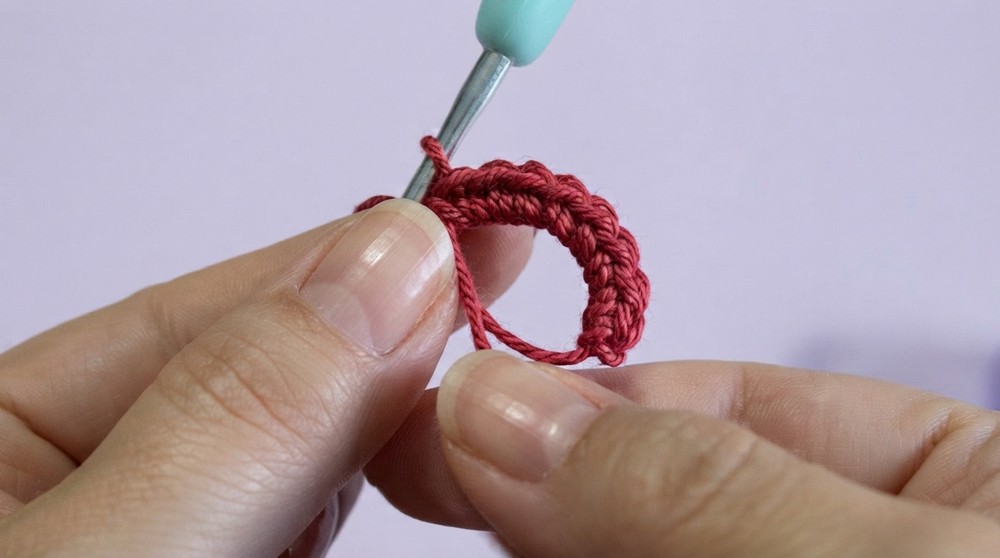
Round 4
- Work 1 sc in each of the first 2 sts, then 1 inc in the third st. Repeat around.
- At the end of the round: 32 sts.
Round 5
- Work 1 sc in each of the first 3 sts, then 1 inc in the fourth st. Repeat around.
- At the end of the round: 40 sts.
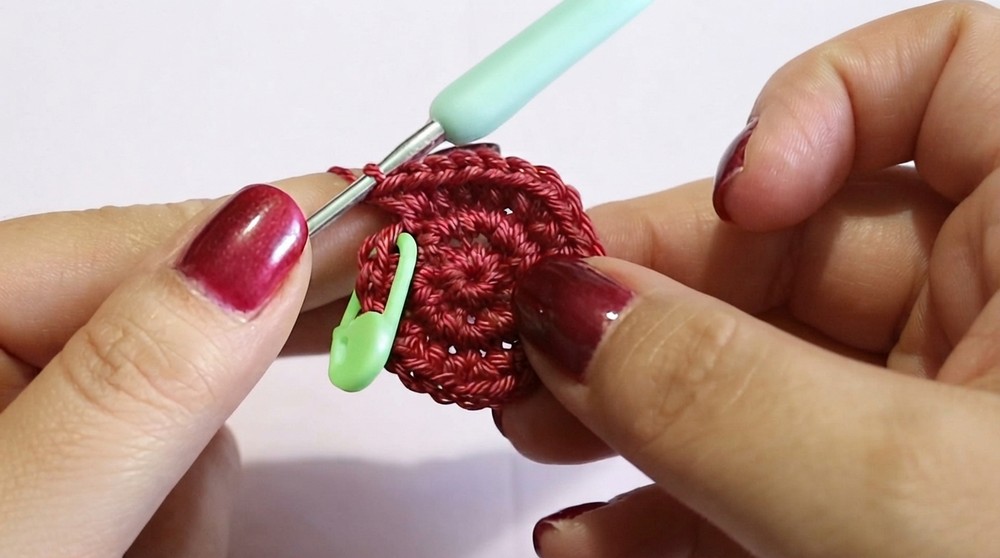
Rounds 6–18 (Body Height)
- Work 1 sc in each of the 40 sts in continuous rounds.
- After 13 rounds, measure the backpack height to ensure it meets your desired size.
Chapter 3: Creating the Backpack Top
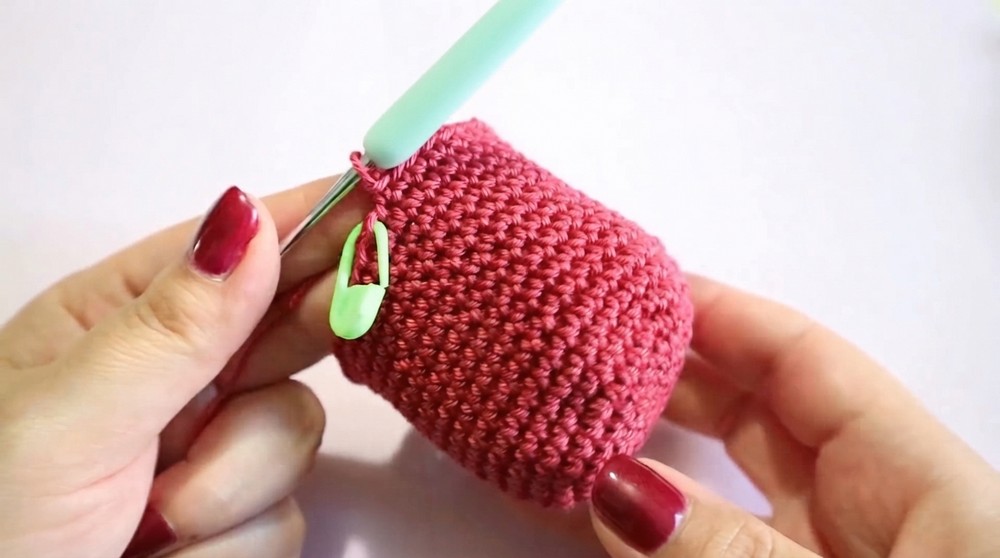
Round 19 (Forming closure spaces)
- Work 1 sc in first 3 sts, then:
- Ch 1 and skip the next st, 1 sc in the next 3 sts.
- Repeat the sequence of: Ch 1, skip a st, and 1 sc in the next 3 or 4 stitches until the round is complete.
Round 20
- Work 1 sc in each stitch and each ch 1 space. (40 sts total)
Round 21 (Finishing Edge)
- Work sl st in each st around to finish the edge.
- At the end of the round: Cut yarn and fasten off.
Chapter 4: Making the Front Flap
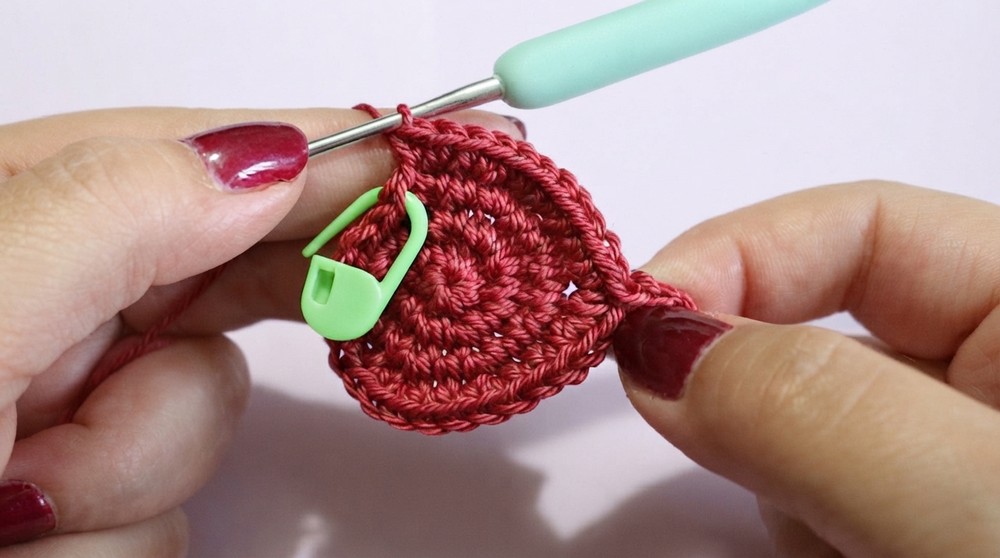
- Repeat Rounds 1–3 of the Main Body:
- Round 1: Magic ring with 8 sc.
- Round 2: 1 increase in each st (16 sts).
- Round 3: 1 sc in first st, 1 increase in next st, repeat (24 sts).
- Round 4:
- Sl st in first 6 sts, then:
- Work 1 sc in first 2 sts, 1 inc in the third st, repeated for a total of 3 times.
- At the end of the round: Ch 6 to form a buttonhole.
- Continue, working 1 sc in the first 2 sts; 1 inc in the third st, for a total of 3 repeats.
- Sl st in first 6 sts, then:
- Round 5:
- Sl st in each st, except the buttonhole, where you make 2 sc stitches.
- Finishing the Flap:
- Cut yarn, leaving a long tail, and fasten off.
Chapter 5: Crocheting the Handle
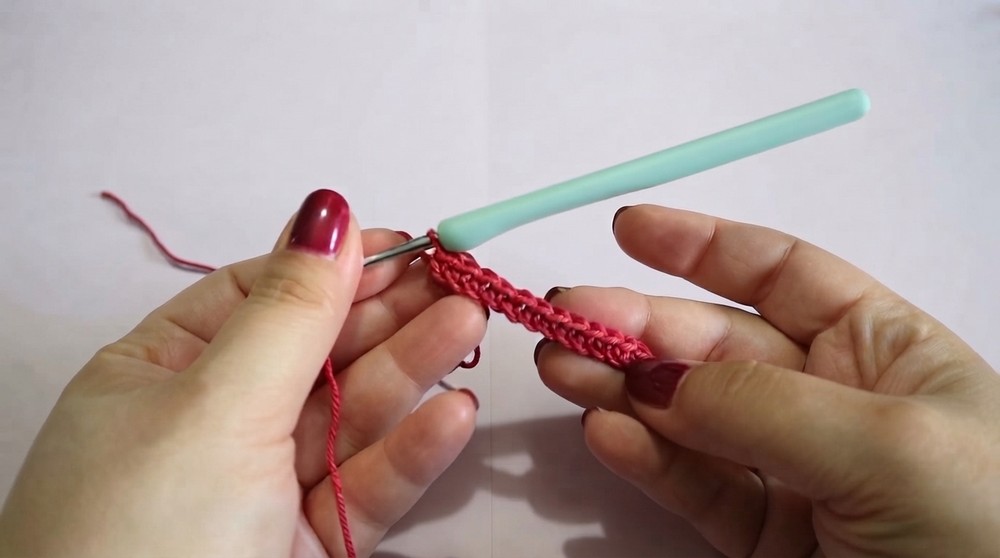
- With a long yarn tail, begin with a slip knot.
- Ch 8.
- Skip the first ch from hook, then work 1 sc in each of the remaining chains.
- Turn your work and work a sl st in each sc.
- Cut yarn, leaving a long tail for sewing, and fasten off.
Chapter 6: Making the Shoulder Straps
- With a long yarn tail, begin with a slip knot.
- Ch 13.
- Skip the first ch from hook, then work 1 sc in each of the remaining chains.
- Turn your work and work a sl st in each sc.
- Cut yarn, leaving a long tail for sewing, and fasten off.
Note: Make two identical shoulder straps.
Chapter 7: Braiding the String
- Cut three strands of thread.
- Braid the strands together to create a 20 cm long string.
Assembly & Finished Size
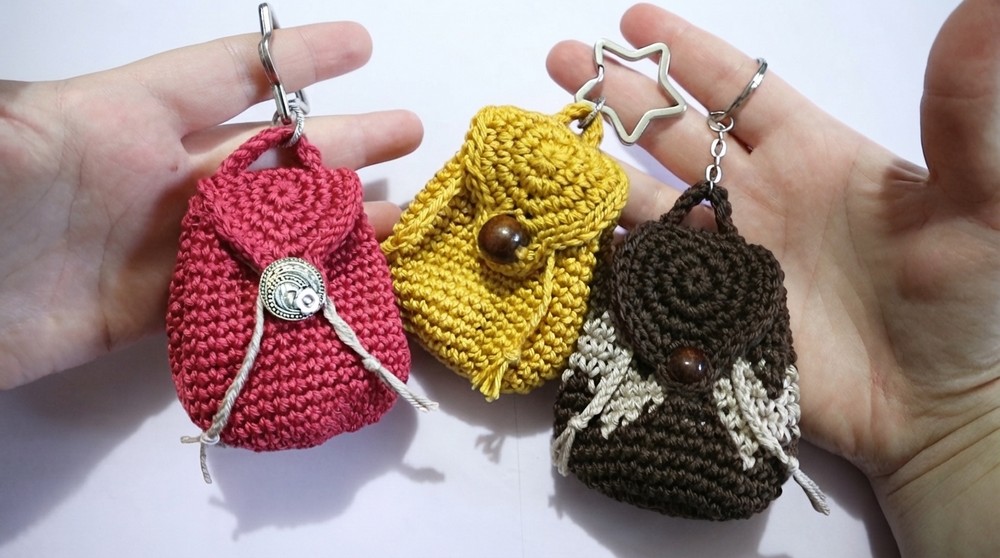
Once all parts are done (body, flap, handle, straps, and string), assemble your miniature backpack:
- Sew on the handle at the top center of the backpack.
- Attach the straps to the sides of the backpack’s back, angling them slightly downward to mimic real backpack straps.
- Pass the braided string through the chain spaces created in Round 19 to form the adjustable closure.
- Sew the front flap onto the upper back of the backpack, ensuring it aligns properly to close over the top. Attach a button or bead to the body for the flap to fasten securely.
- If using a keyring, attach it to the handle (or as desired).
Conclusion & Ending Words
Congratulations, Your sweet, little miniature backpack is complete and ready for use. It’s not only a creative project but also makes for a charming gift or accessory to brighten someone’s day. I hope you enjoyed making this tiny cutie.