
Crochet a Perfect Pumpkin Applique Pattern for Festive Inspiration
Bring instant autumn cheer to any plain tote bag or hat by stitching a cute crochet pumpkin applique that looks adorable everywhere you sew it on.
Featured By MaryJ Handmade
Making a perfect pumpkin applique brings a touch of autumn charm to any space or project. This festive design is ideal for anyone looking to infuse seasonal warmth into their home decor or create thoughtful, handmade gifts. With its rounded shape and soft, textured surface, this pumpkin applique stands out for its classic style and versatility. It can be used as coasters, pinned onto outfits, or as accents for larger autumn themed projects. Its construction allows for customization, making it suitable for all skill levels, even beginners.
Crochet Pumpkin Applique Pattern to Add Fall Charm
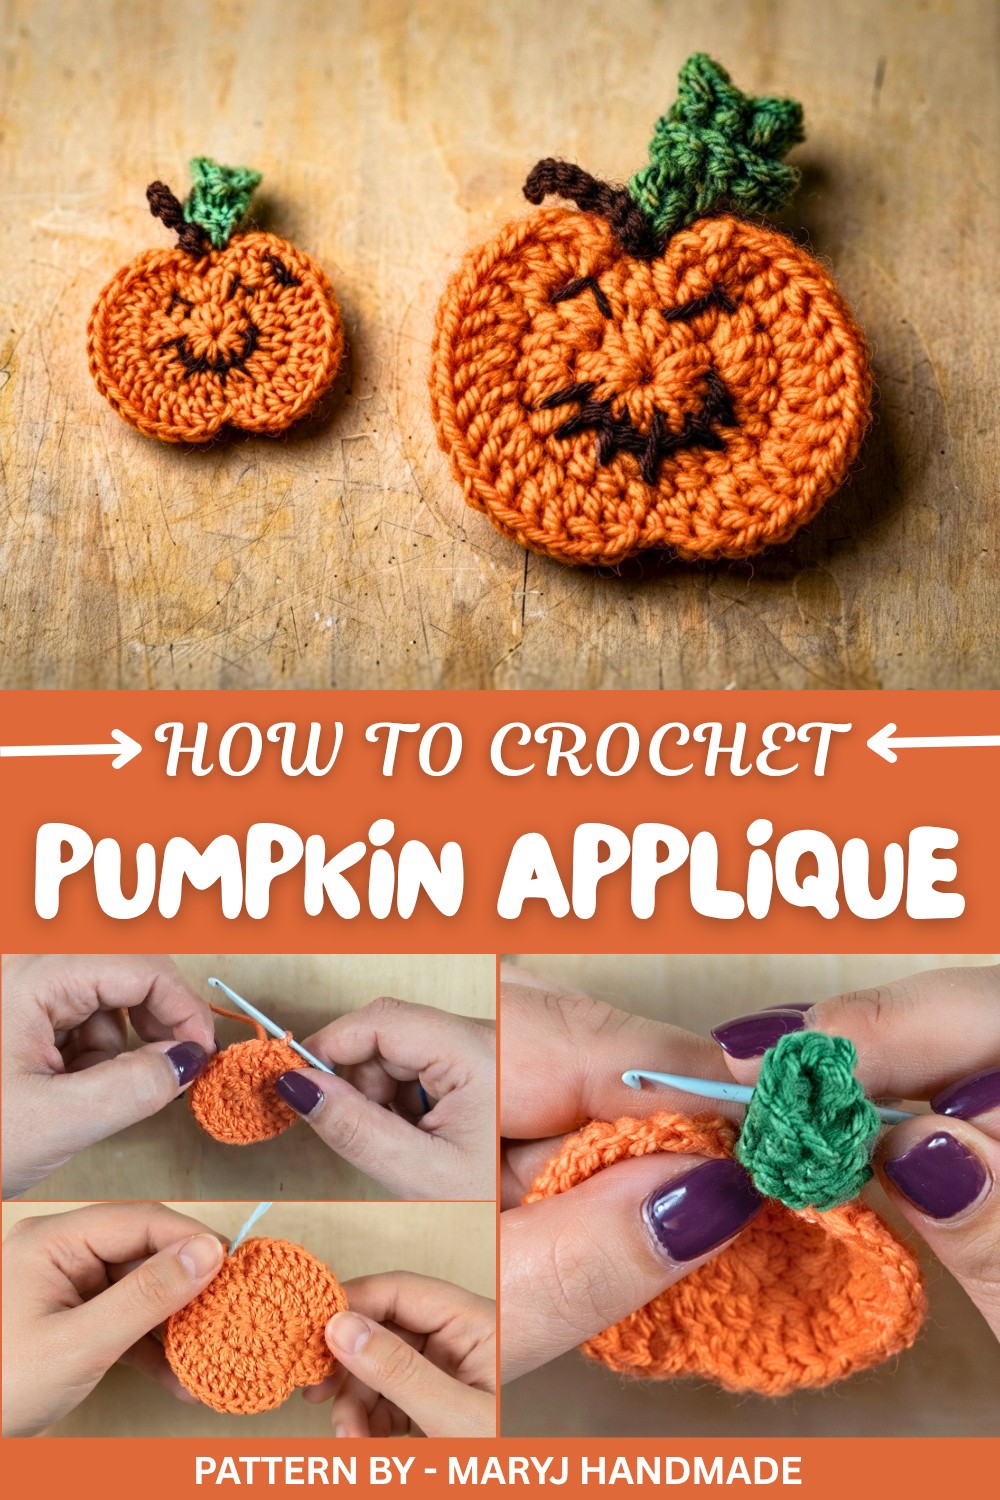
The applique is designed to resemble the gentle curves and contours of a pumpkin, with stitches worked seamlessly to create a polished finish. A magic ring forms the base, and half double crochets build the body in subsequent rounds. With a simple double crochet increase and textured edges, the pumpkin maintains its iconic shape while remaining easy to assemble. A delicate green leaf and a brown stem add contrast and complete the look. Adjusting the yarn weight or hook size allows for varied sizes and applications, from mini pins to larger decorations. Smooth cotton or acrylic yarn works best for defining the stitches and giving a clean, professional appearance.
Inspired by the warm hues and cozy feel of autumn, the pumpkin’s vibrant orange, earthy brown, and soft green colors capture the season’s essence perfectly. This design invites creativity, allowing makers to add embroidery, such as smiling faces or spooky Halloween expressions, to further personalize their creation. It’s a perfect project for adding homemade warmth to special occasions like Thanksgiving or Halloween. With endless color and use possibilities, there’s no limit to what can be done with such a charming and versatile applique.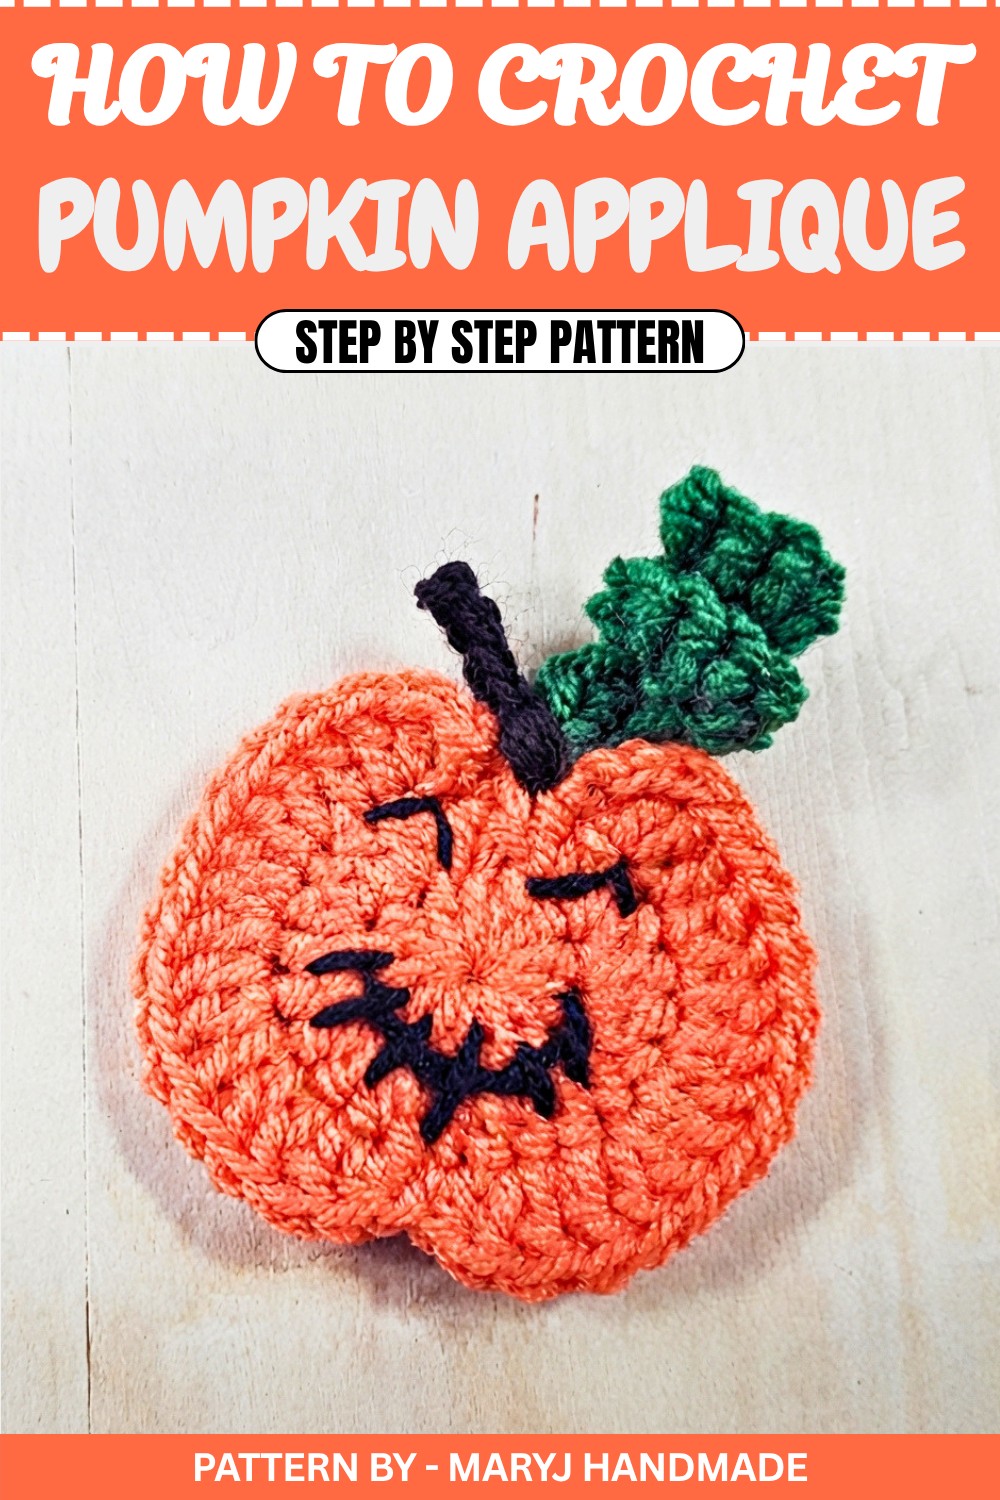
Super Cute Crochet Pumpkin Applique Pattern
Quick Overview of the Pattern
- Project Type: Crochet Pumpkin Applique
- Use: Halloween décor, coasters, or accessories (e.g., brooches)
- Skill Level: Beginner friendly
- Stitches Used: Half double crochet (hdc), double crochet (dc), single crochet (sc), slip stitch (sl st)
- Tools Needed: 3 mm crochet hook, scissors, darning needle
Notes
- The pattern uses US crochet terms.
- Each round is joined with a slip stitch unless otherwise specified.
- Make sure to weave in all loose thread ends neatly for a polished finish.
- Feel free to customize the pumpkin’s size or embroider extra facial features for Halloween fun.
Skill Level
Beginner-friendly – This pattern involves simple stitches like hdc, dc, and sc. It’s a great project for those new to crochet.
Materials
- Yarn:
- Orange yarn – Pumpkin body
- Green yarn – Leaf
- Brown yarn – Stem
- (Optional) Black yarn – Eyes and mouth (for a Halloween themed look)
- Crochet hook: 3 mm (or size suitable for your yarn)
- Scissors
- Darning needle
Measurements / Sizing
- The completed pumpkin made with a 3 mm hook is approximately 4 inches in diameter (including its leaf and stem).
- For a smaller pumpkin, use a 1.75 mm hook.
Gauge
Exact gauge is not crucial, but to achieve similar sizing:
- Gauge: 5 hdc = 1 inch
Stitch Abbreviations
- ch = chain
- hdc = half double crochet
- dc = double crochet
- sc = single crochet
- sl st = slip stitch
- st = stitch
Special Stitches
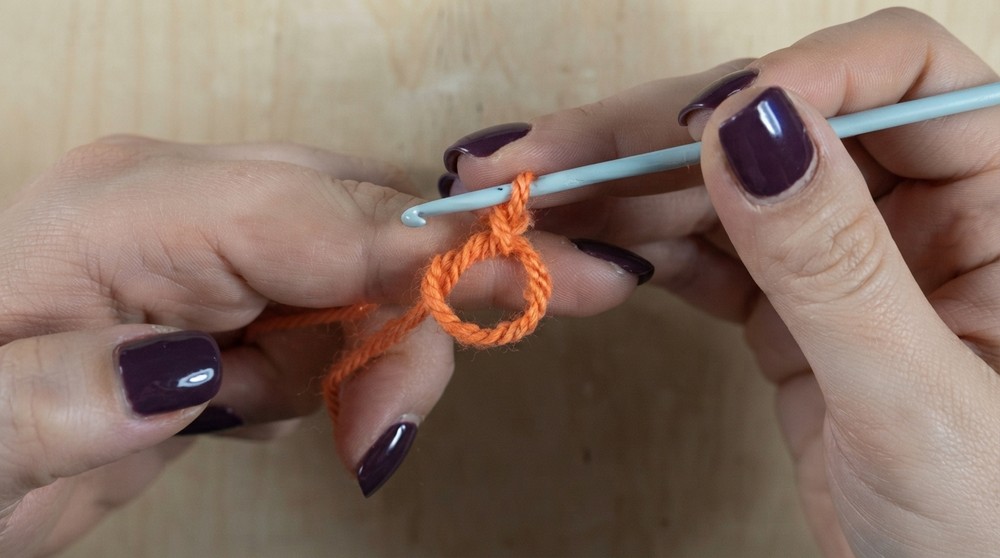
Magic Loop:
- Create a loop by wrapping the yarn around two fingers. Insert the hook into the loop, yarn over, and pull up a loop to create the base.
Crochet Pattern
1. Start the Pumpkin Body
Round 1:
- Begin with a magic loop.
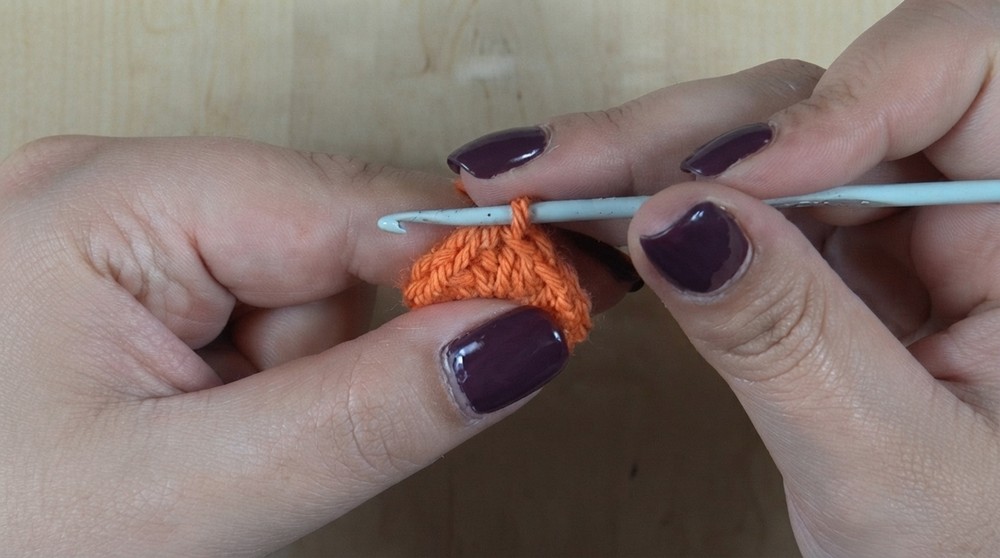
- Work 12 half double crochet (hdc) into the loop:
- Yarn over, insert the hook into the loop, yarn over, pull up a loop (three loops on the hook).
- Yarn over and pull through all three loops.
- Pull the tail of the loop tightly to close.
- Join the round with a slip stitch into the first hdc.
Round 2:
- Work two hdc (increase) in each stitch around:
- Insert the hook into the first stitch and make 2 hdc in that stitch.
- Repeat this step in every stitch from Round 1.
- By the end of the round, you will have 24 hdc.
- Join the round with a slip stitch into the first hdc.
Round 3:
- Place a stitch marker in the 12th stitch (to mark the middle of the pumpkin). You should now have 12 stitches on each side of the marker.
- Chain 1.
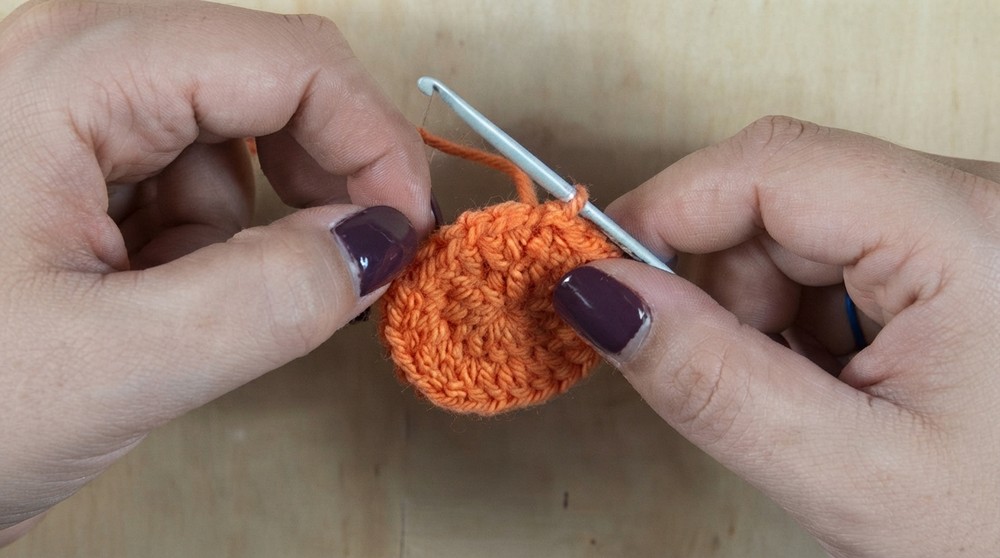
Shaping the Pumpkin:
- Repeat the following sequence four times:
- Work two double crochet (dc) into the first stitch (increase).
- Work one dc into the next stitch.
- Finish the round by:
- Working half double crochet (hdc) in the 12th stitch.
- Remove the marker.
Repeat the Sequence on the Other Half:
- Flip to the other side of the pumpkin and repeat the same stitches as above:
- Work an increase (2 dc) in the first stitch.
- Follow this with one dc for the next stitch. Continue alternating for four segments.
- Complete the round with a slip stitch into the initial chain 1.
- Fasten off the orange yarn.
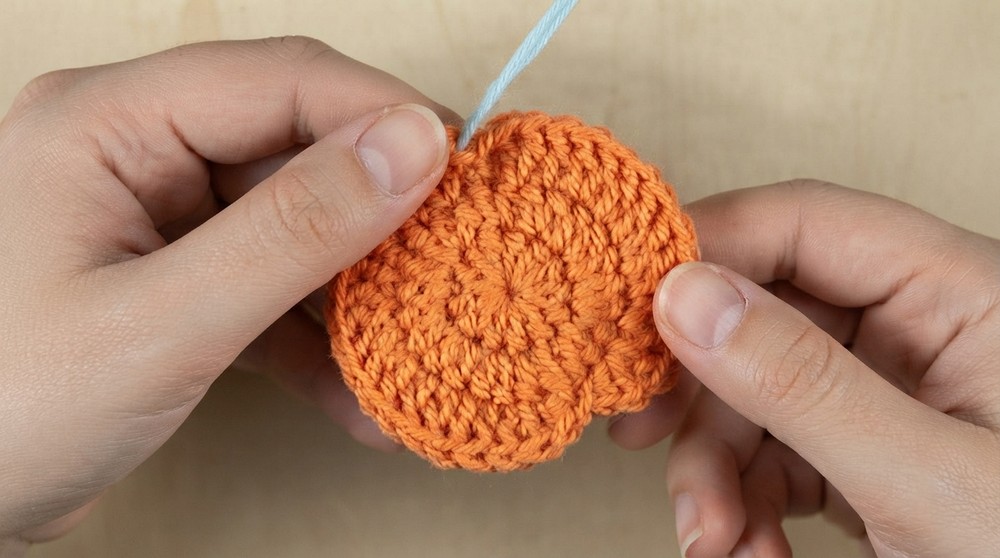
2. Add the Green Leaf
- Attach the green yarn with a slip knot to the pumpkin where you fastened off the orange yarn.
- Chain 7 stitches.
- Skip the first chain and work 3 single crochet (sc) into the second chain.
- Continue to work 3 sc into each chain along the remaining foundation chain.
- Slip stitch into the base where the green yarn was attached.
- Twist/shape the leaf by gently curling it, giving it a natural look.
- Fasten off and weave in the yarn ends.
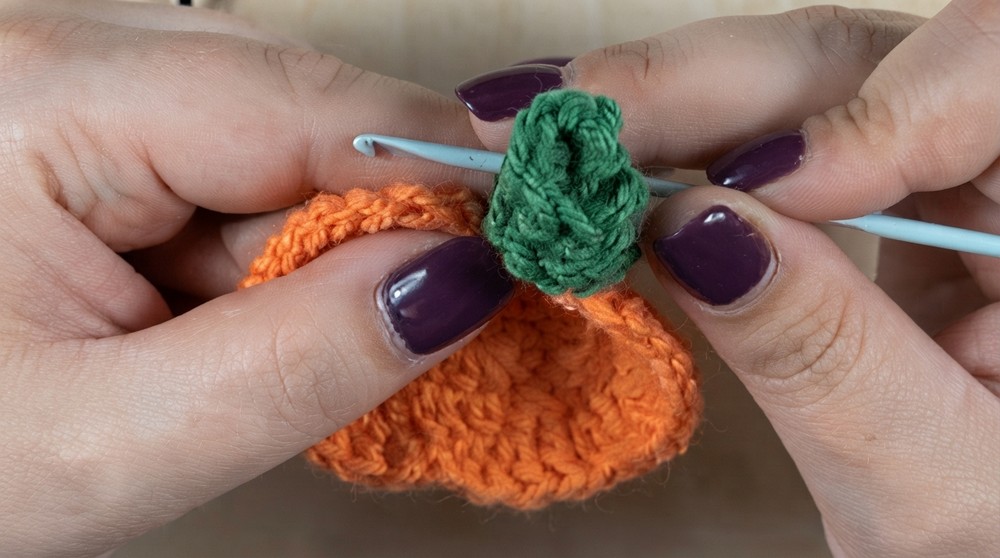
3. Add the Brown Stem
- Attach the brown yarn to the base of the leaf with a slip knot.
- Chain 6 stitches.
- Skip the first chain, and work slip stitches into each of the remaining 5 chains to create a thin stem.
- Slip stitch at the base of the chain to secure.
- Fasten off and weave in the ends.
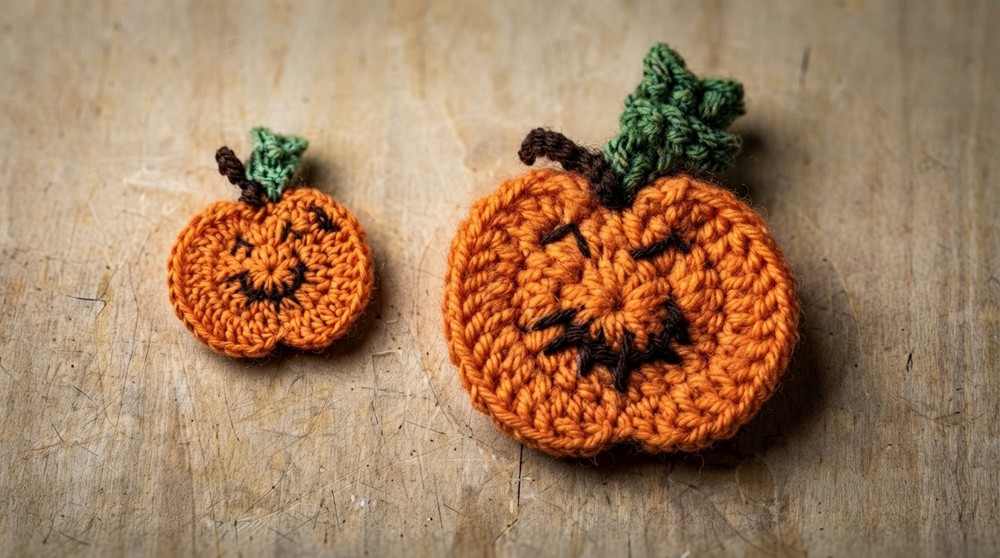
4. Optional: Add a Scary Face for Halloween
- Using black yarn, embroider eyes and a mouth on the pumpkin.
- You can create small triangles for eyes and a jagged mouth for a spooky look.
- Stitch carefully to maintain an even and neat appearance.
Assembly & Finished Size
- Your completed pumpkin is approximately 4 inches in diameter.
- For smaller pumpkins, switch to a 1.75 mm hook and proportionally thinner yarn; the outcome will be perfect for turning into brooches or pins.
- Use your pumpkins as Halloween decorations or fun fall accessories!
Conclusion
Your adorable crochet pumpkin applique is done. Whether you’re using it as a Halloween decoration, a coaster, or a brooch, this handmade piece adds a creative and festive touch to your space.