
Wonderful Free Crochet Hat Pattern You’ll Fall in Love With Instantly
Keep your head and ears warm on chilly winter mornings by stitching a wonderful crochet hat topped with a big fluffy pom pom you will love wearing.
Perfect for cozy days and chilly evenings, the Wonderful Free Crochet Hat Pattern is an excellent project for anyone seeking a quick and stylish handmade accessory. This hat combines simplicity and timeless charm, offering a snug yet elegant fit ideal for fall and winter. Whether you're wearing it for a morning walk, layering it for extra warmth on a snow filled day, or pairing it with matching gloves for a coordinated look, this hat is both practical and versatile. The added touch of a pompom and optional decorative button elevates its appeal, making it a lovely choice for gifting or self care crochet.
Add This Wonderful Free Crochet Hat Pattern to Your Winter Wardrobe
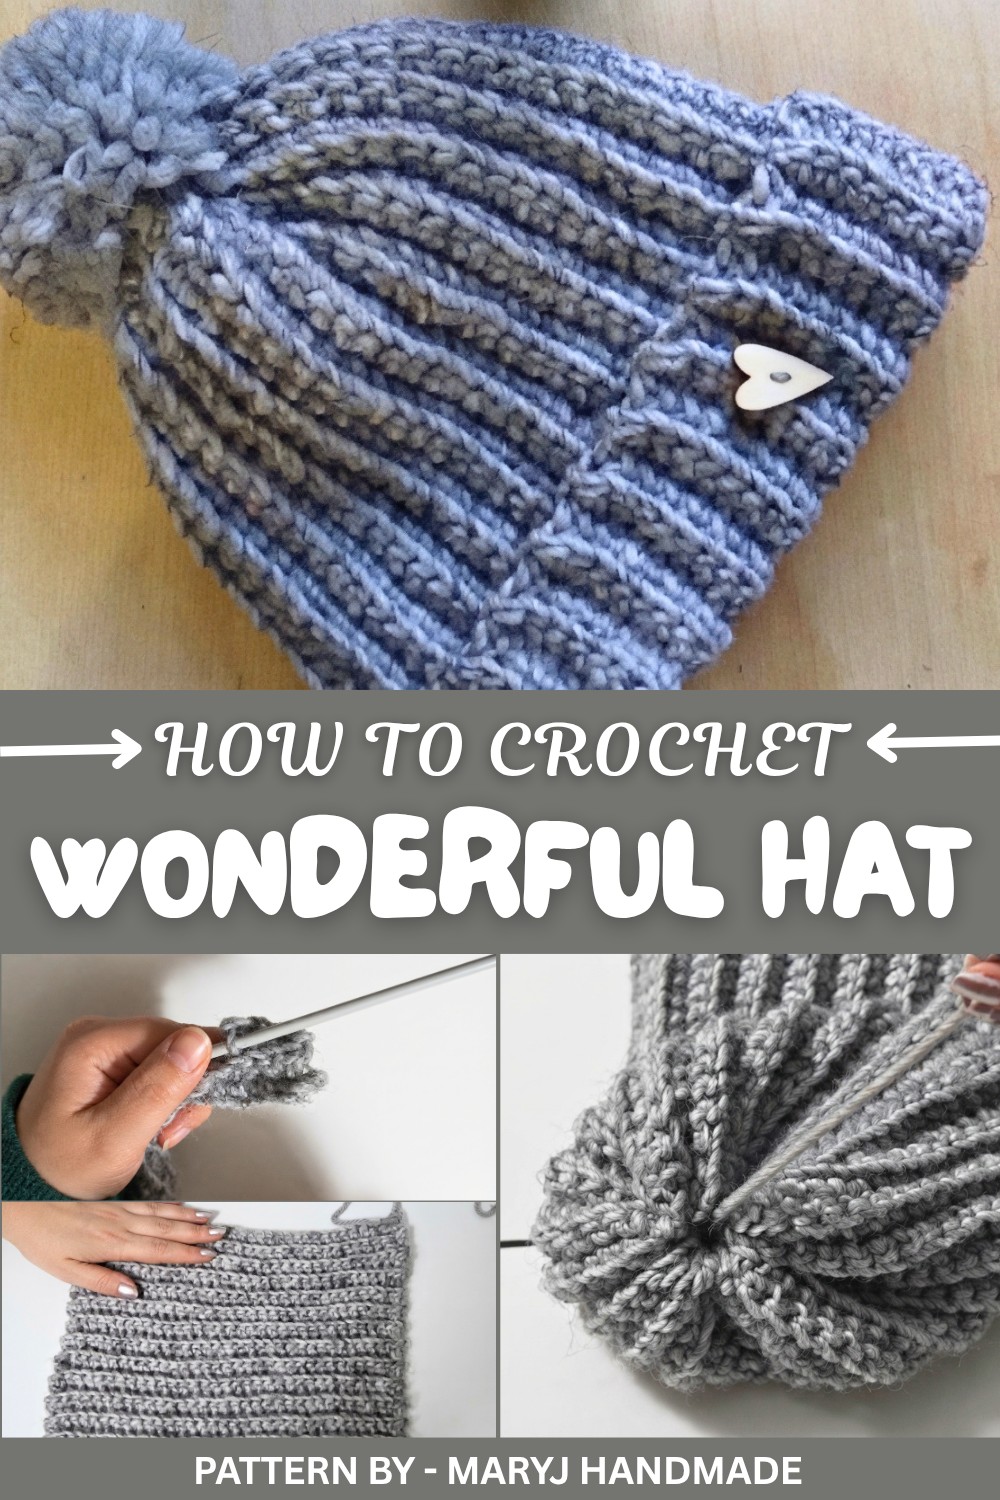
Featured By MaryJ Handmade
Crocheted horizontally, this hat features a stretchy ribbed texture that provides not only warmth but also a beautifully fitted finish. Its flexible design allows for easy customization to suit different head sizes, making it versatile for adults and children alike. The standout characteristic of the ribbed structure is its elasticity, which ensures comfort without compromising on style. A carefully folded turn up brim adds a polished look and extra coziness, while the top of the hat elegantly gathers together with subtle stitching for a clean closure.
Decorative details, like the heart shaped button shown in the video, and the fluffy pompom bring playful character to this classic design. Made with less than 100 grams of yarn, this hat is a great stash busting project. Follow the entire tutorial to bring this lovely crochet idea to life and enjoy a winter wardrobe staple.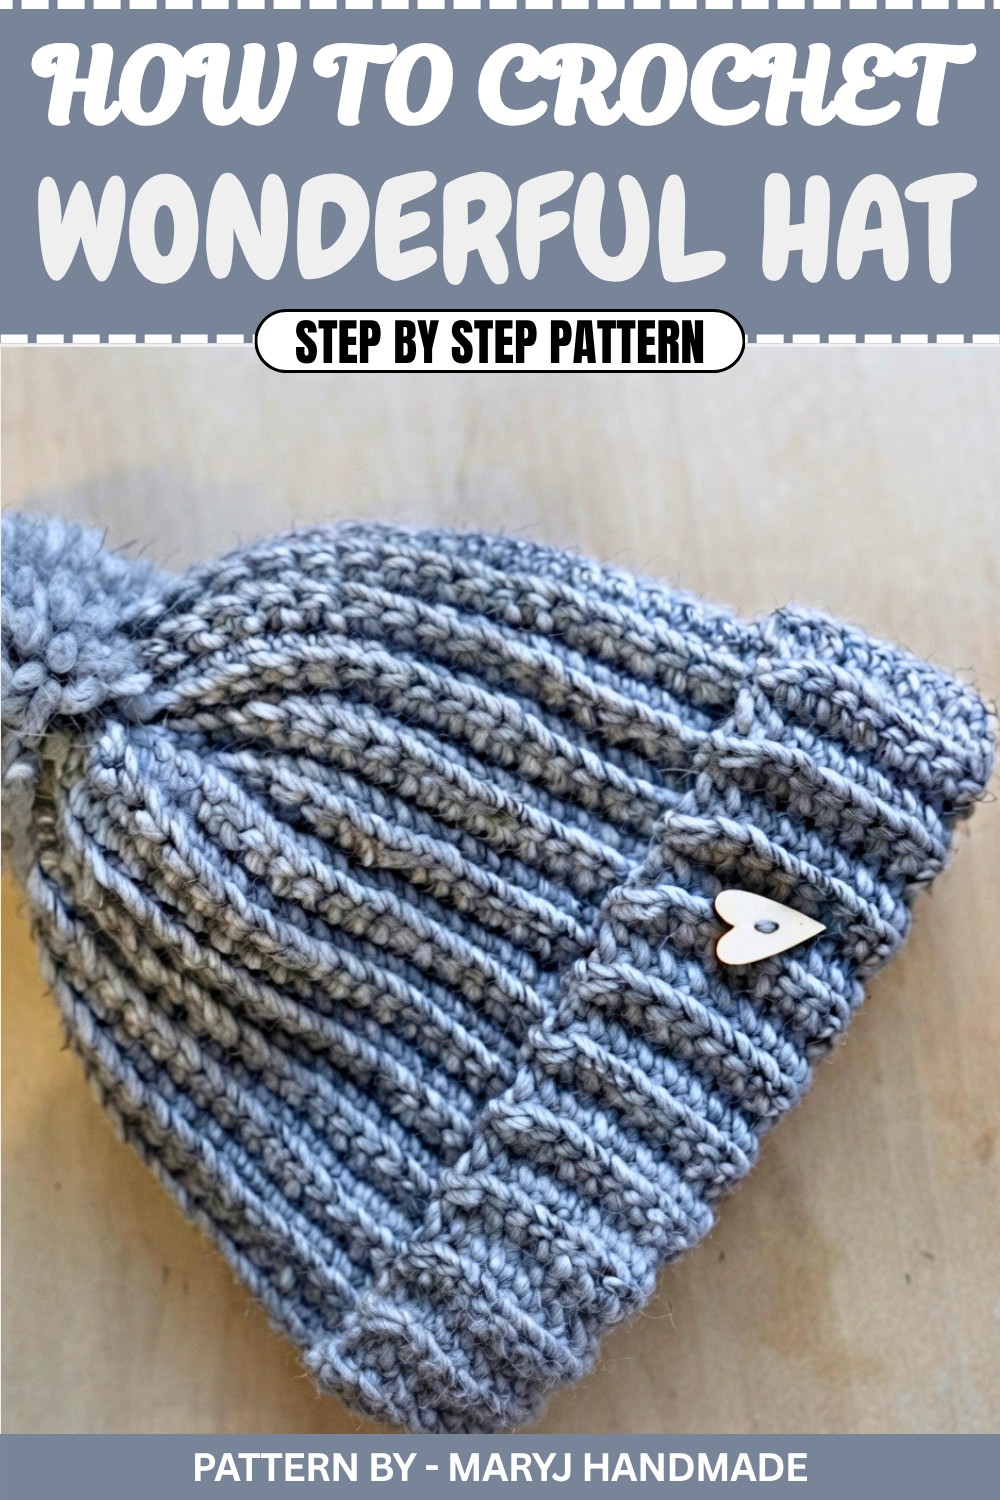
Beginner Friendly Crochet Hat Pattern with Pom Pom
This pattern guides you through the creation of a simple and quick crochet hat, perfect for beginners. Made with a cozy wool blend and a 5mm crochet hook, this project is designed to be straightforward and enjoyable for crocheters at all levels. Add a playful pom pom on top, and you’ll have a delightful accessory or gift.
Quick Overview of Pattern
- Project Type: Crochet hat with a pom pom, worked vertically.
- Skill Level: Beginner friendly.
- Key Features: Textured ribbing created using back loop only (BLO) technique.
- Time to Complete: A few hours.
- Customizable: Includes guidance for sizing adjustments.
Notes
- The hat is worked vertically and then stitched together at the end.
- The back loop only (BLO) technique creates the textured ribbing effect.
- You can use any yarn weight and hook size—adjust the number of stitches and rows accordingly.
- This pattern uses less than 100g of yarn.
Skill Level
Beginner Friendly: Ideal for those new to crochet. Strengthens foundational skills such as single crochet (sc) and half double crochet (hdc).
Materials
- Yarn: Wool blend yarn (less than 100g).
- Hook: 5 mm crochet hook.
- Large Eye Tapestry Needle: For sewing pieces together and weaving in ends.
- Pom Pom Maker: Optional, or make one manually using yarn.
- Scissors: For trimming yarn.
Measurements / Sizing
- Finished Hat Size: Approximately 55 cm (21.5 inches) circumference for an average adult head.
- Adjustable: Instructions provided for resizing (e.g., for children).
Gauge
Gauge is not critical for this project as the crochet fabric is stretchy. However, ensure your rows stretch to the target circumference.
Stitch Abbreviations
- ch: Chain
- sc: Single crochet
- hdc: Half double crochet
- blo: Back loop only
Special Stitches
- Back Loop Only (BLO): Insert your hook into the back loop of the stitch instead of both loops to create a ribbed texture.
The Crochet Pattern
Step 1: Starting the Foundation Chain
- Chain approximately 30 cm in length (for this project, chain between 30 to 35 chains, depending on your desired hat length).
- This chain will determine the height of your hat, including the folded brim.
Step 2: First Row of Single Crochet
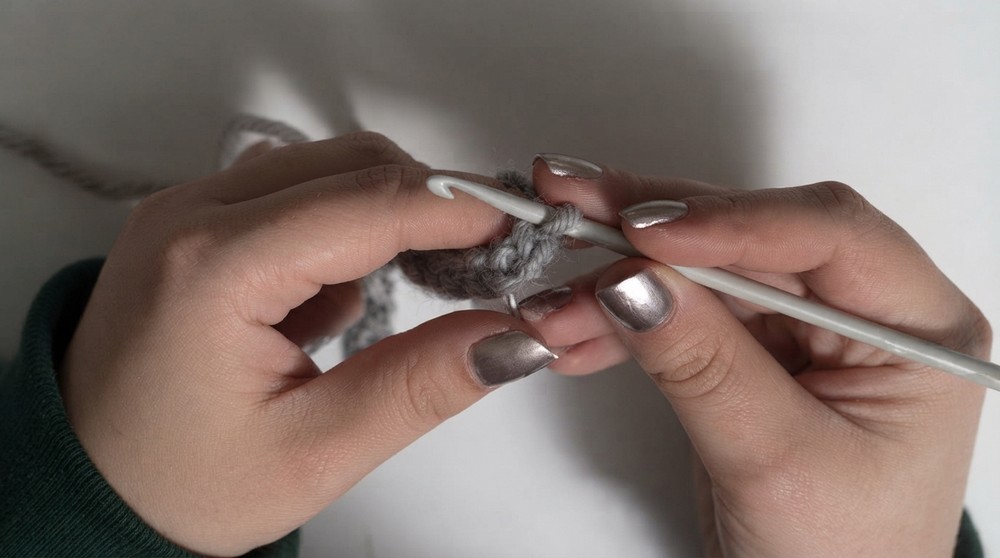
- Sc Row:
- Skip the first chain.
- Insert the hook into the second chain from the hook.
- Yarn over, pull through the chain.
- Yarn over, pull through both loops on the hook to complete a single crochet (sc).
- Continue working 1 sc in each chain until the end of the row, leaving the last stitch for a different technique.
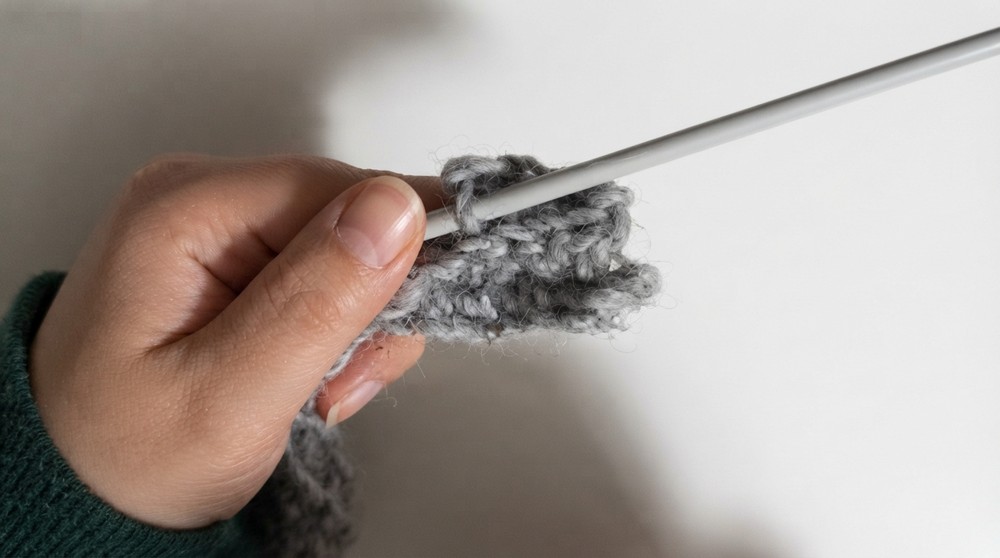
Step 3: Working the Final Stitch as Half Double Crochet (hdc)
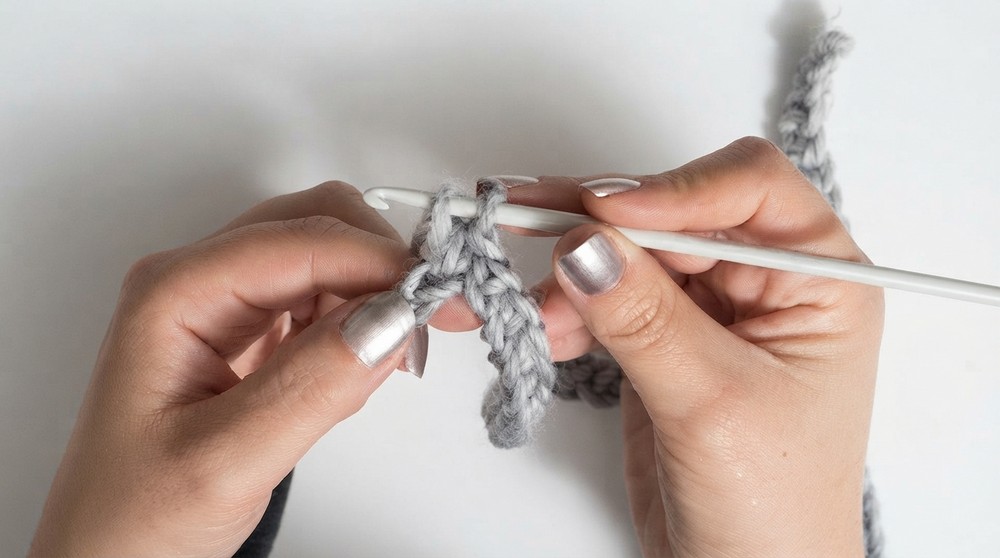
- In the last chain of the row, work 1 hdc:
- Yarn over before inserting the hook into the stitch.
- Pull up a loop (you now have three loops on your hook).
- Yarn over and pull through all three loops to create the half double crochet.
Step 4: Creating Texture with Ribbing (Back Loop Only)
- Ch 1, turn to start the new row.
- Skip the first stitch as per standard procedure.
- Work 1 sc into the back loop only (blo) of all stitches in the row:
- Insert your hook through the back loop only of the stitch (not both loops).
- Yarn over and complete a normal sc.
- In the last stitch of the row, work 1 hdc in the back loop only.
Step 5: Repeating the Rows
- For each new row:
- Always ch 1, turn at the end.
- Skip the first stitch and begin working sc in the BLO across the row.
- Work 1 hdc (blo) in the final stitch of each row.
Step 6: Measuring for the Head Circumference
- Continue working rows following the sc in BLO + hdc in BLO pattern until the fabric stretches to the circumference of the head (around 55 cm for an average adult).
- Stretch the work frequently to check; about 45 cm unstretched is recommended due to the stretchy nature of the ribbing.
Assembly Instructions
Step 1: Sewing the Side Seam
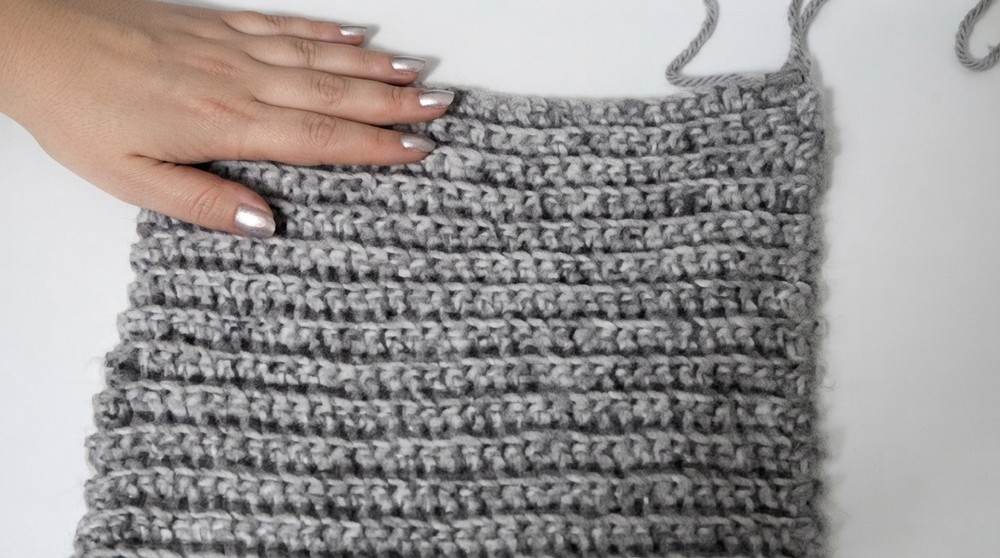
- Preparation: Fold the finished rectangle in half lengthwise, so the short edges meet.
- Use a tapestry needle and yarn to sew the two edges together by:
- Inserting your needle into the starting chain on the first side.
- Inserting your needle into the front loop only of the stitches on the opposite side.
- Pull through and repeat all the way down the seam for a flat, invisible join.
Step 2: Closing the Top of the Hat
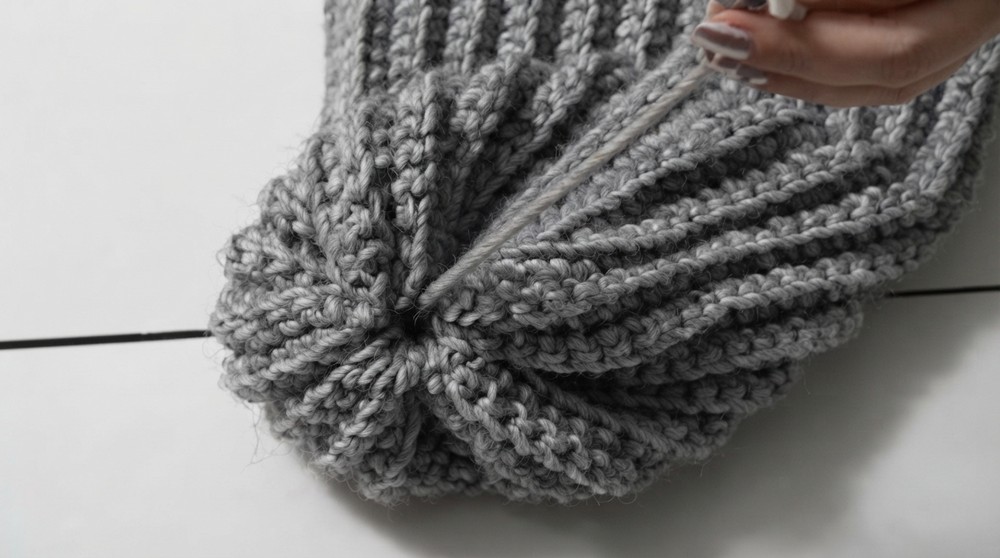
- Turn the seamed hat inside out.
- Using the same tapestry needle and yarn, begin weaving through the stitches along the top edge of the hat:
- Insert the needle in and out around the edge in a running stitch.
- Do not pull tight until you’ve gone all the way around.
- Once you've woven the thread all the way around the top, pull gently but firmly to cinch the hole closed.
- Tie a secure knot and weave in the ends.
Step 3: Adding a Pom Pom (Optional)
- Create a pom pom using a pom pom maker or manually by wrapping yarn around your fingers or a cardboard piece.
- Secure the pom pom to the top of the hat by sewing it onto the cinched area at the top.
- Knot securely and weave in ends.
Finished Size
- Circumference: ~55 cm (21.5 inches)
- Height: 30 cm (including brim).
- Perfectly stretchy and cozy for heads of varying sizes.
Conclusion
Congratulations, You’ve completed your Beginner Friendly Crochet Hat with a whimsical pom pom. This project is perfect for chilly days, thoughtful gifts, or matching sets with the family. We hope this tutorial was straightforward and easy to follow.