
Free Crochet Star Amigurumi Pattern for Cute Handmade Decorations
Bring yarn to life with this crochet star amigurumi tutorial, an exciting project to stitch unique, colorful stars that are full of personality and charm.
Stars hold a certain magic, don’t they? Whether they’re sparkling in the night sky or twinkling on your holiday tree, they always bring a feeling of wonder and joy. That’s what inspired me to come up with this Free Crochet Star Amigurumi Pattern, a quick project that lets you add a little extra shine to your home or your gifts. These adorable stars have a soft, 3D shape with rounded tips that give them a playful, cheerful look. The natural texture of the stitches adds an almost vintage feel, making them perfect for both classic and modern aesthetics.
Easy and Fun Crochet Star Amigurumi Pattern for Christmas
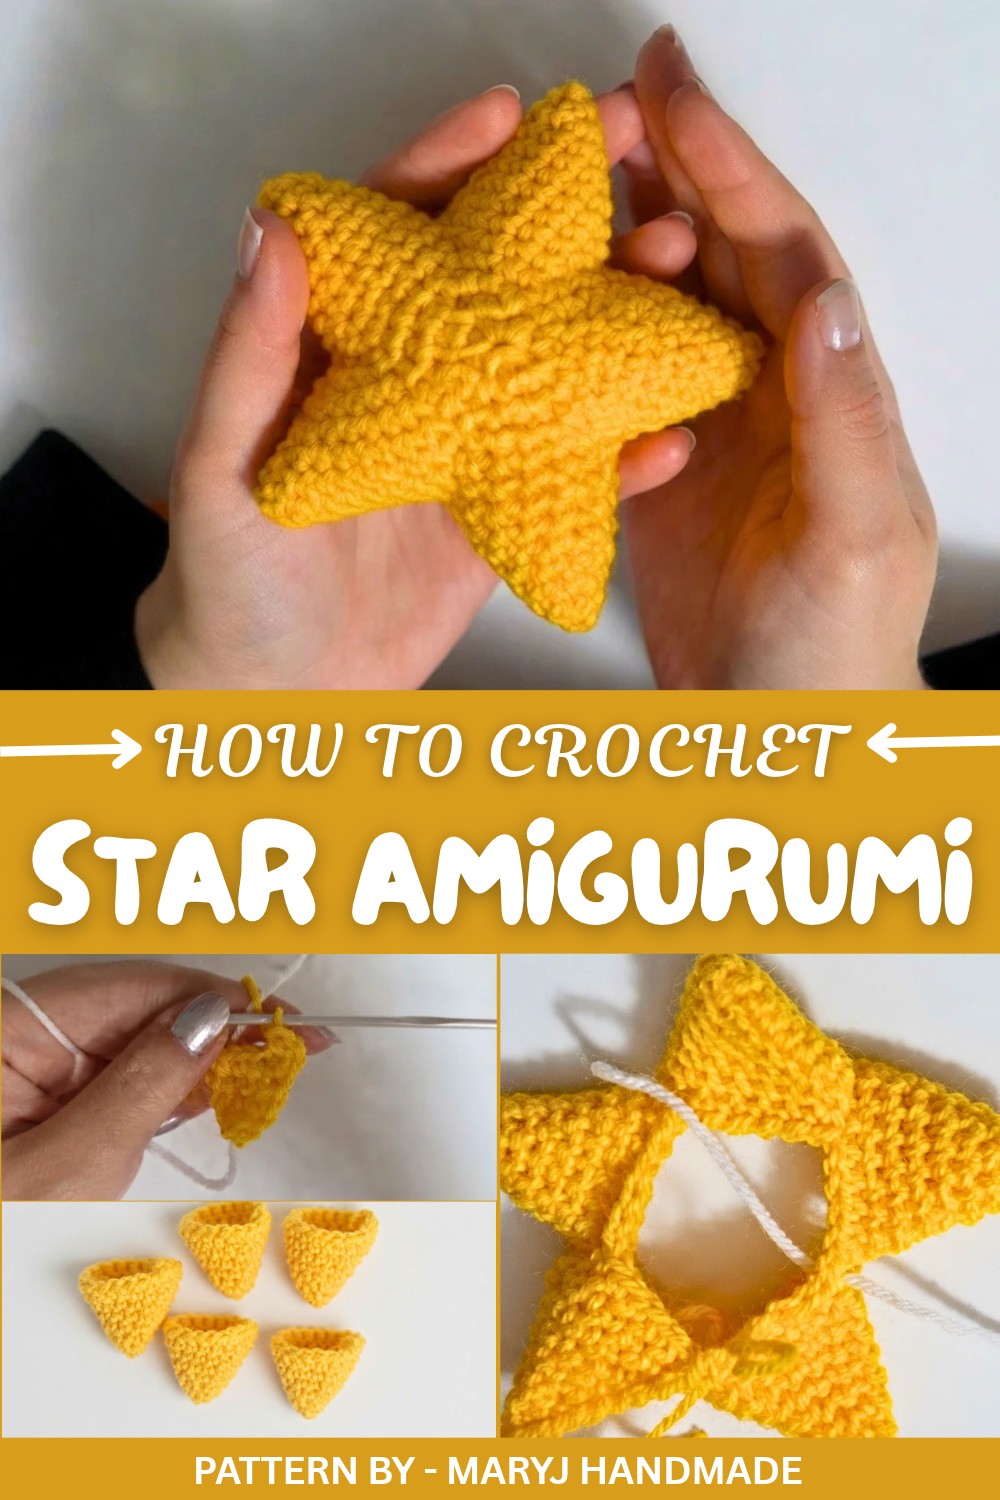
This star project is perfect for all skill levels, especially beginners who want to try their hand at amigurumi techniques without committing to something too complex. What’s great is how customizable it is, you can experiment with yarn types to get different sizes and vibes. Want a delicate mini star? Use fine cotton yarn and a smaller crochet hook. Prefer something bold and cozy? Go for thicker acrylic yarn with a medium hook. And if you love to personalize, go ahead and add embroidered details, festive accents, or even metallic threads to make them sparkle.
Featured By MaryJ Handmade
The star is constructed in separate parts, the five points are made first, then they’re connected and shaped into their puffy form with stuffing. One tip: don’t skimp on the stuffing. Evenly filling each tip ensures your star turns out perfectly plump. Take care when sewing the points together; a little attention goes a long way in achieving neat edges.
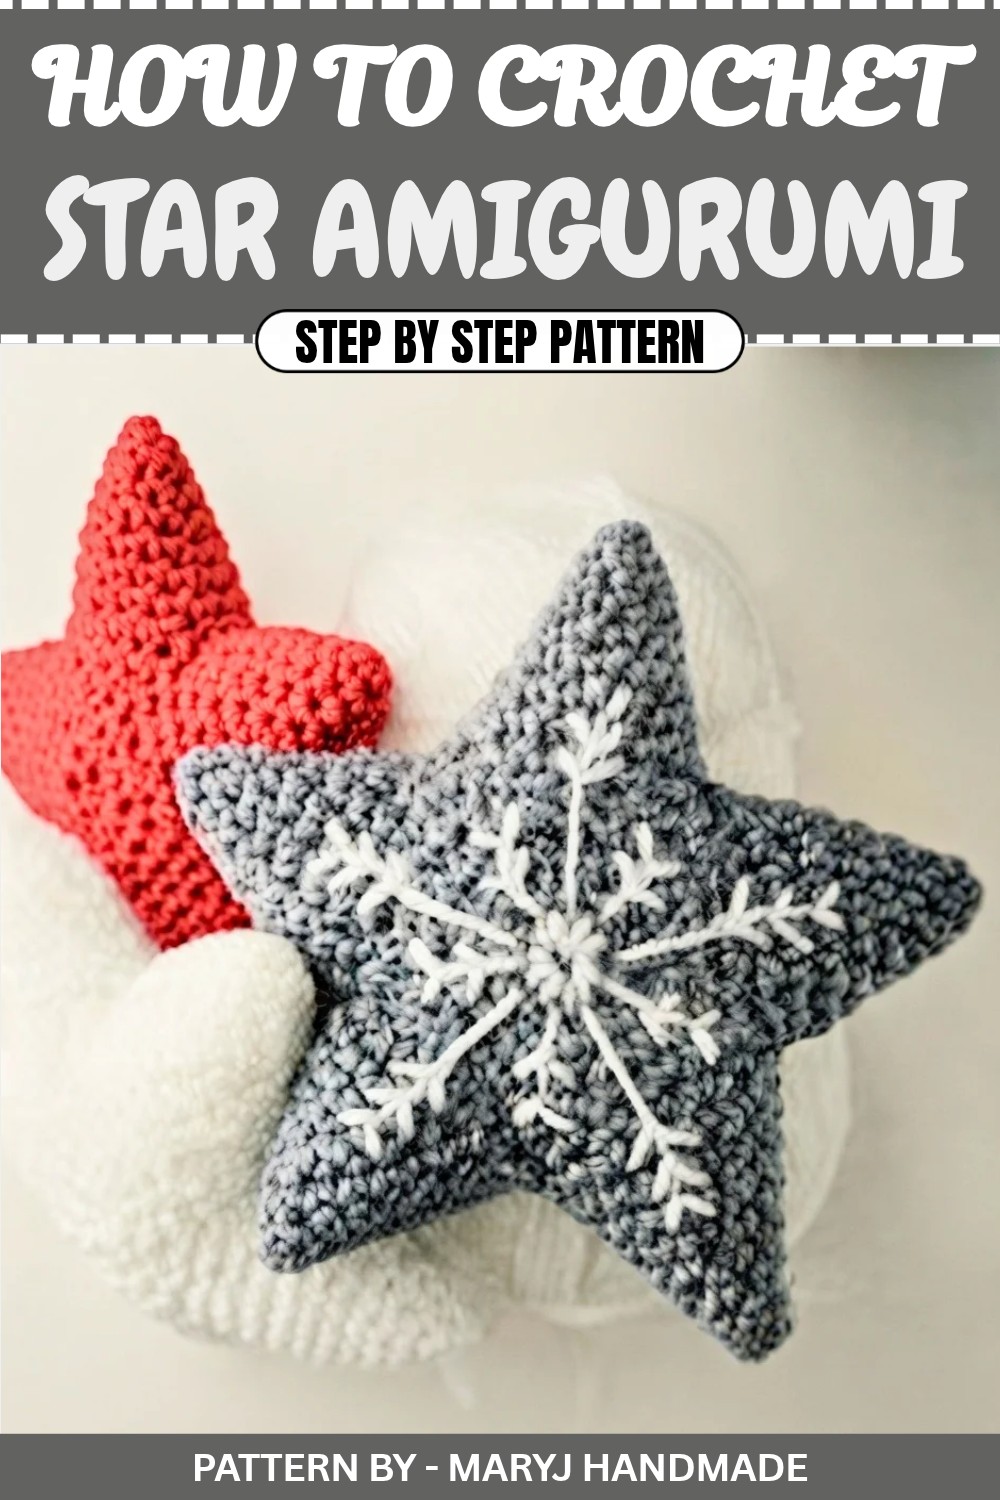
Whether you hang them on your Christmas tree, make a garland, or gift them as a one of a kind present, this little project is sure to bring joy and light wherever it goes. Plus, it’s a satisfying weekend project to brighten up your day.
Crochet Amigurumi Star Pattern
Quick Overview of Pattern
- Project: Crocheted Amigurumi Star
- Skill Level: Beginner Friendly
- Technique: Worked in rounds using the amigurumi method
- Highlight: Perfect for festive decorations or adorable gifts
- Customizable Sizes: Adjust yarn type and hook size for small or large stars
Notes
- Pattern is worked in spirals—continuous rounds without joining at the end. Use a stitch marker to keep track of rounds.
- Choose yarn weight and hook size based on the desired size of your star:
- Acrylic yarn with 3mm hook → Larger stars
- Cotton yarn (No. 5) with 1.5mm hook → Smaller stars
Skill Level
Beginner-Friendly – This pattern uses simple stitches (single crochet, invisible decrease) and basic amigurumi techniques.
Materials
- Yarn: Acrylic or cotton (amount depends on the number and size of stars)
- Hooks:
- 3mm hook for larger stars
- 1.5mm hook for smaller stars
- Stuffing: Poly fill or any soft fiber for shaping the star
- Scissors
- Tapestry Needle
- Stitch Marker
Measurements/Sizing
- Large Star: Crafted with a 3mm hook and acrylic yarn
- Small Star: Crafted with cotton yarn No. 5 and a 1.5mm hook
- Each Point: Will have 16 stitches at its widest part after shaping
Gauge
Not critical for this amigurumi project. However, smaller hooks will yield tighter stitches and firmer structure.
Stitch Abbreviations
- ch: Chain
- sc: Single Crochet
- sl st: Slip Stitch
- inc: Increase (2 sc in the same stitch)
- dec: Invisible Decrease
Special Stitches
Invisible Decrease (dec):
- Insert hook into the front loop of the first stitch.
- Insert hook into the front loop of the next stitch.
- Yarn over and pull through the first two loops.
- Yarn over and pull through the final two loops to complete the decrease.
The Crochet Pattern
Step 1: Create the First Star Point
- Create a magic ring:
- Hold the yarn tail with the left hand and wrap the working yarn twice around your left index finger, forming an ‘X’.
- Insert the hook under both loops, pull up the working yarn, and chain one.
- Round 1: Make 4 single crochets (sc) into the magic ring. Pull the yarn tail to tighten the ring and close the circle. Place a stitch marker at the beginning of the round.
- Round 2: Work one single crochet in the first stitch, and then make an increase in the next stitch (2 sc in the same stitch). Repeat the sequence (1 sc, 1 inc) two times for a total of 6 stitches.
- Round 3: Work two single crochets, then make an increase (2 sc in the same stitch). Repeat the sequence (2 sc, 1 inc) two times for a total of 8 stitches.
- Round 4: Work three single crochets, then make an increase. Repeat the sequence (3 sc, 1 inc) two times for a total of 10 stitches.
- Round 5: Work four single crochets, then make an increase. Repeat the sequence (4 sc, 1 inc) two times for a total of 12 stitches.
- Round 6: Work five single crochets, then make an increase. Repeat the sequence (5 sc, 1 inc) two times for a total of 14 stitches.
- Round 7: Work six single crochets, then make an increase. Repeat the sequence (6 sc, 1 inc) two times for a total of 16 stitches.
- Round 8: Work one single crochet in every stitch (no increases or decreases) for a total of 16 stitches.
- To finish the point, make a slip stitch into the next stitch, leave a long tail for sewing, and fasten off.
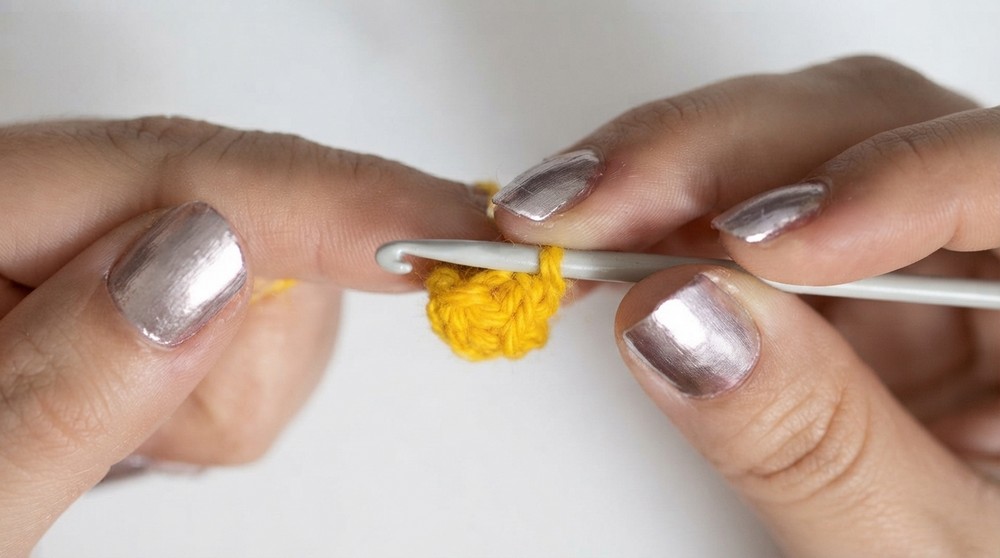
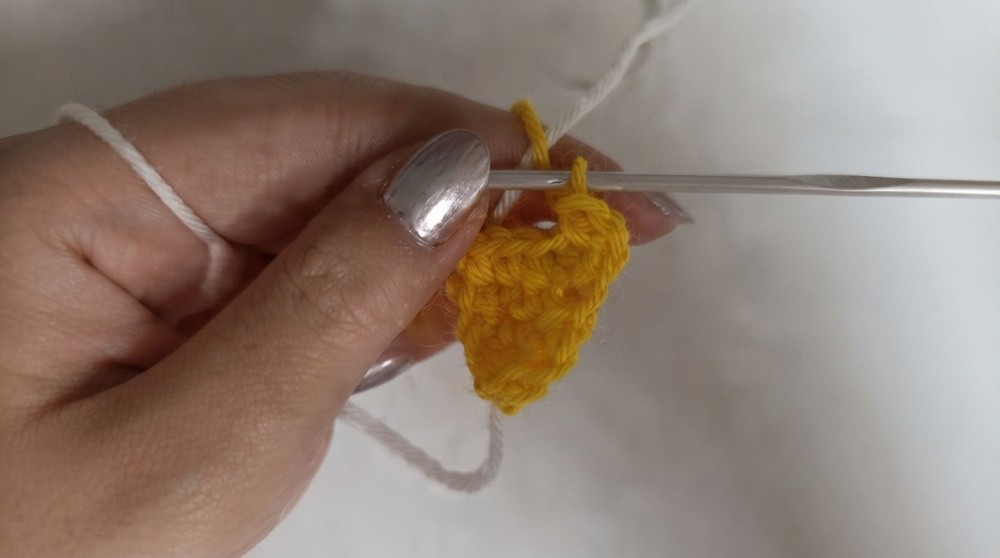
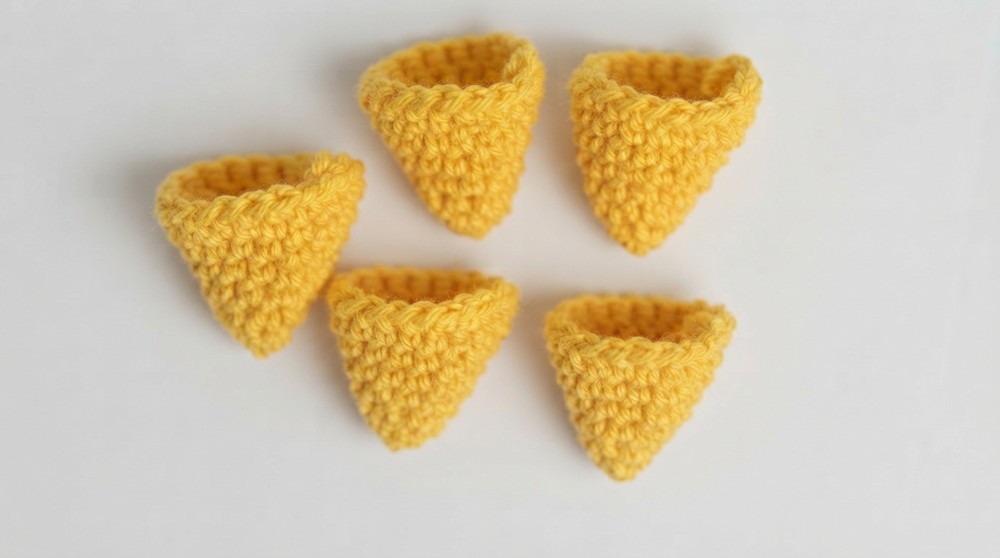
Repeat Step 1 until you have 5 star points in total, all crafted with the same pattern.
Step 2: Assemble the Star Points
- Weave in loose yarn ends for convenience, but leave a visible tail that can be used for stitching the points later.
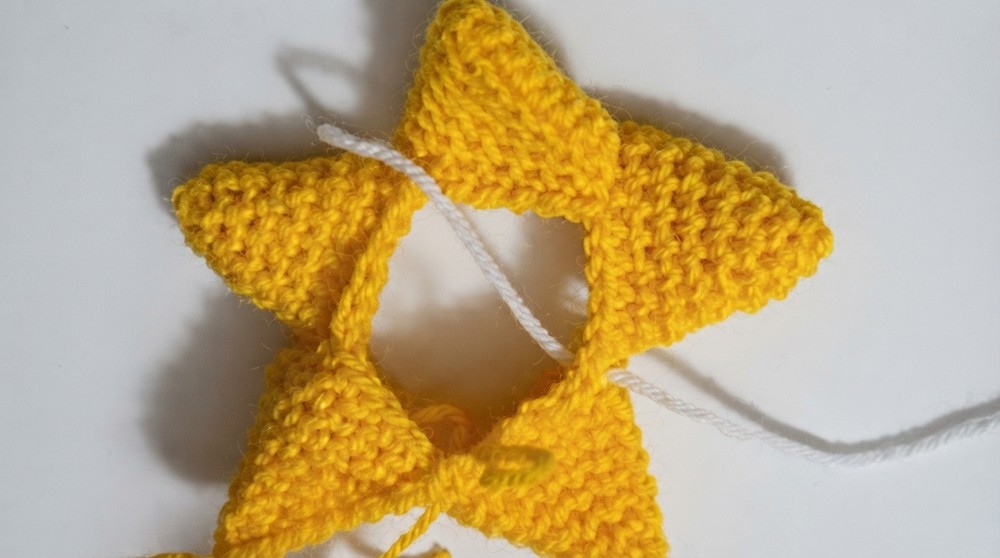
- Take one point of your star. Attach your yarn at the stitch next to its closing point. Secure it with a chain stitch and work 6 sc beginning at the joining point.
- Take a second star point and repeat the process. Attach the point using the matching stitches next to the closing point. Work 6 sc into its foundation.
- Continue this process with the remaining star points. Ensure that all 5 points are joined evenly around the central base using 6 sc on each point.
Step 3: Close the Star’s Center
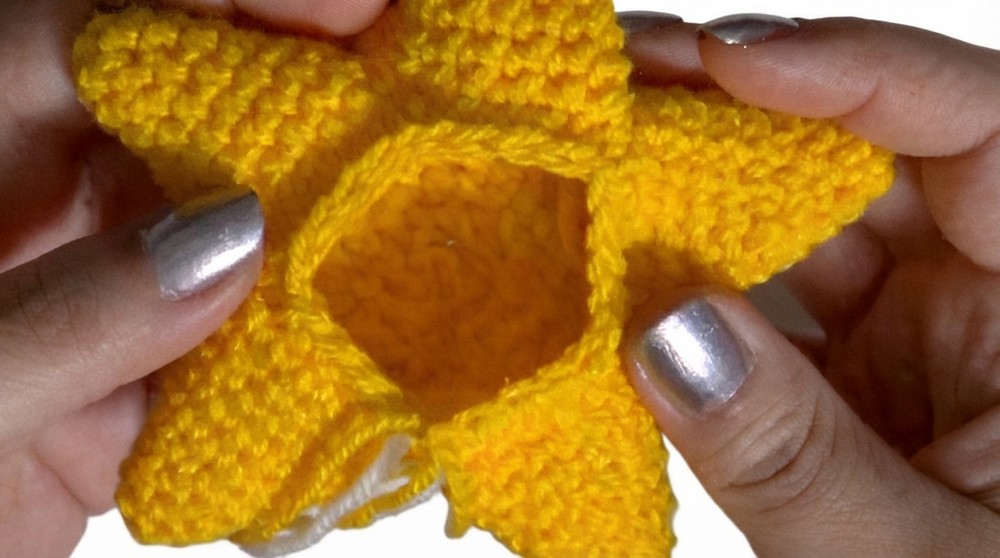
- Work around all joined points by crocheting 4 sc with an invisible decrease after every fourth stitch. Repeat the sequence five times for a total of 25 sc.
- Mark the starting point with a stitch marker for better tracking.
- For the next round, work 3 sc and 1 dec for five times, reducing the stitch count to 20 sc in total.
- Work another round of 2 sc and 1 dec, reducing the stitch count to 15 sc.
- Proceed with 1 sc and 1 dec, reducing the stitch count to 10 sc, closing the gap further.
- Stuff the star lightly before completing the last few rounds.
- Use the tapestry needle for the final closure:
- Take only the front loops of each remaining stitch to invisibly close the center.
- Pull the yarn tightly to completely close the hole. Tie a knot at the back and weave in the remaining yarn.
Assembly & Finished Size
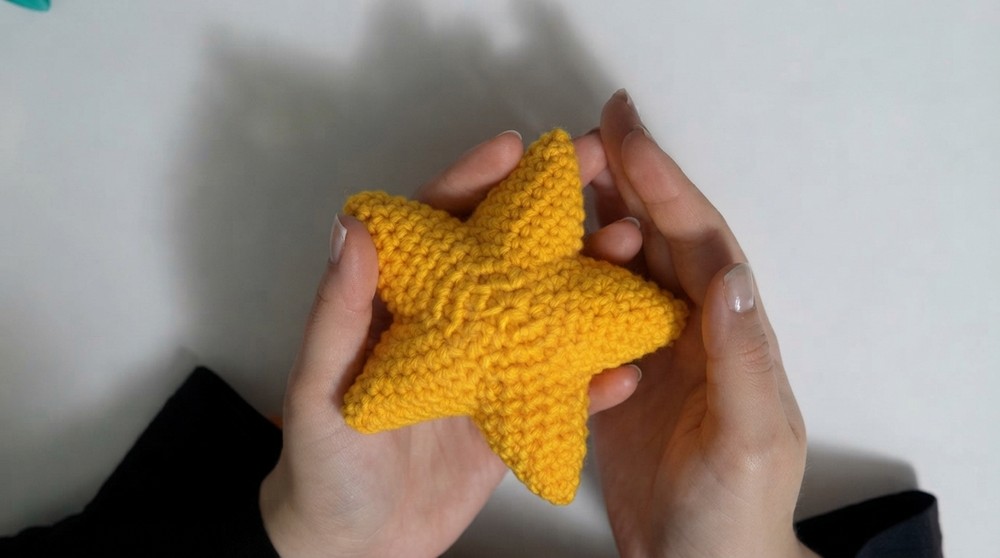
- Position the star points symmetrically during assembly.
- Secure ends with a strong knot and weave them into the star to hide them.
- The finished star size depends on your choice of yarn and hook:
- Larger Stars: 3mm hook & acrylic yarn
- Smaller Stars: 1.5mm hook & cotton yarn
Conclusion and Final Words
You’ve successfully crocheted a charming amigurumi star that is perfect for seasonal decorations or fun gifts. Personalize your star by using holiday themed colors or adding embroidered snowflake designs to make it festive.