
Crochet Barefoot Sandals Pattern That Goes With a Sundress
Feel the warm ocean sand beneath your toes while wearing pretty crochet barefoot sandals that add effortless boho charm to every vacation photo.
Step out in style and let your feet do the talking. Barefoot sandals are more than just a trend, they’re a celebration of effortless beauty mixed with playful elegance. Whether you’re walking on the beach, or adding a unique touch to your summer look, these delicate foot ornaments add charm to any occasion. Perfectly hugging your ankle with braided ties and circling a toe for extra security, these sandals feel light and comfortable, letting you channel carefree vibes while looking graceful.
Crochet Barefoot Sandals Pattern With a Beach Party Twist
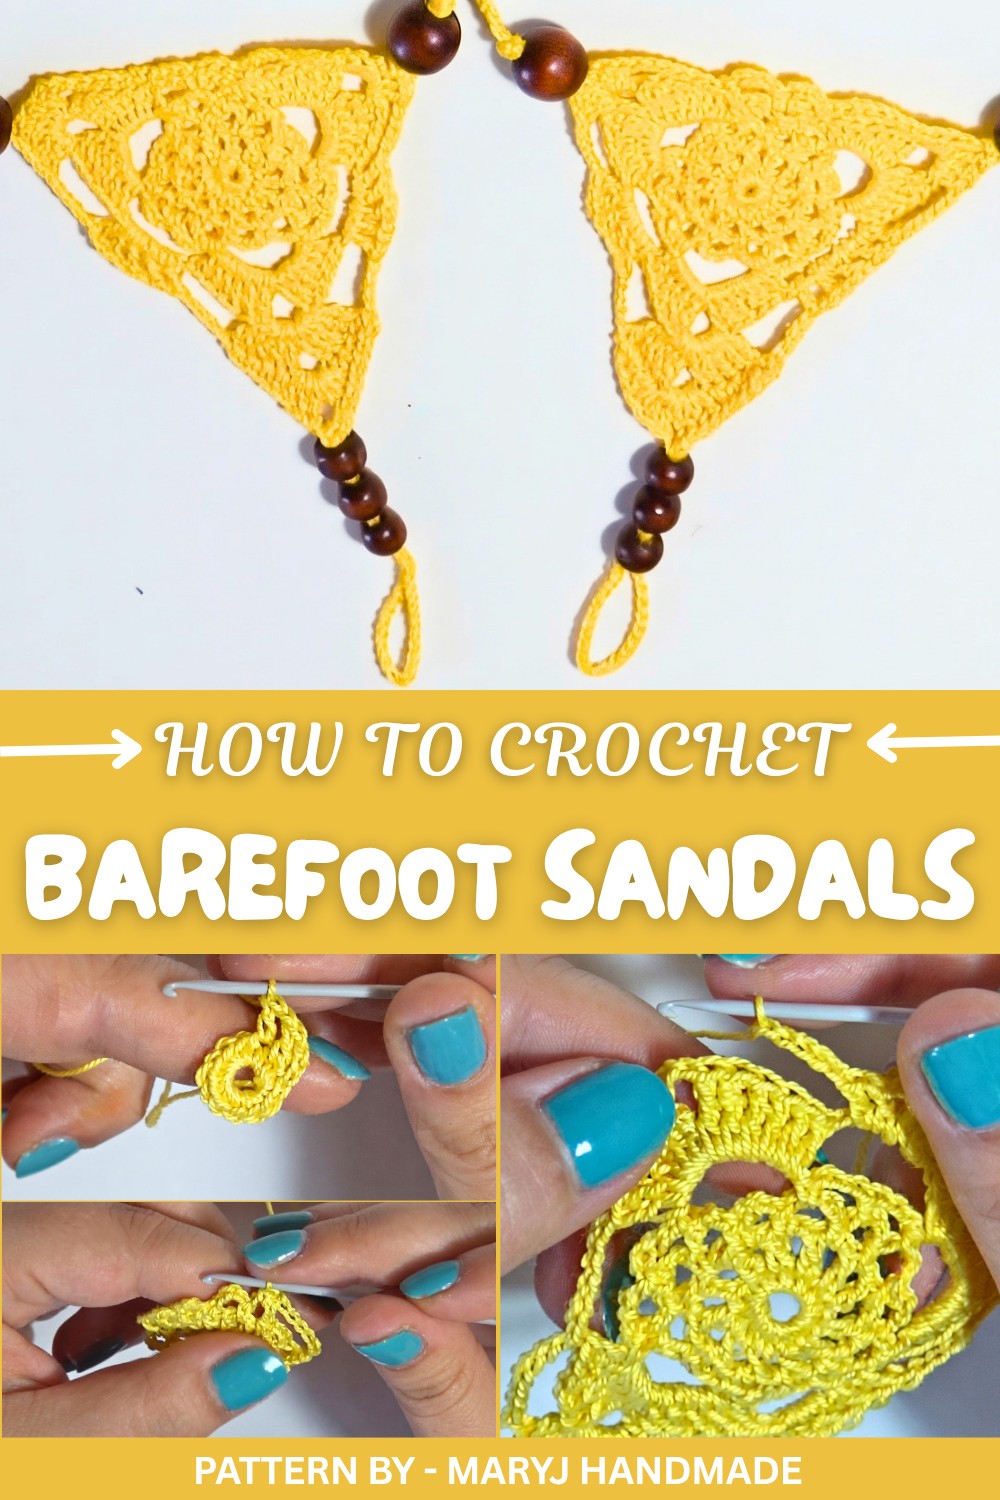
What makes them so captivating is their charming triangular centerpiece adorned with intricate loops and arches. The additional option of including beads makes them even more personalized, you have the freedom to add your own unique flair, whether it’s a boho aesthetic or sleek modern look. These sandals are a beautiful depiction of how accessories can transform your appearance with simple yet artistic touches.
In the tutorial shared by MaryJ Handmade, the process of bringing these sandals to life has never been easier! With her thoughtful instructions, anyone can enjoy shaping strands of Egyptian cotton and seeing them come to life as wearable art.
So whether you're enhancing your summer wardrobe or gifting someone unforgettable handmade art, barefoot sandals are all about adding joy and effortless beauty to your everyday. Let MaryJ guide you with her warm and welcoming instructions, and celebrate your individuality with every step you take.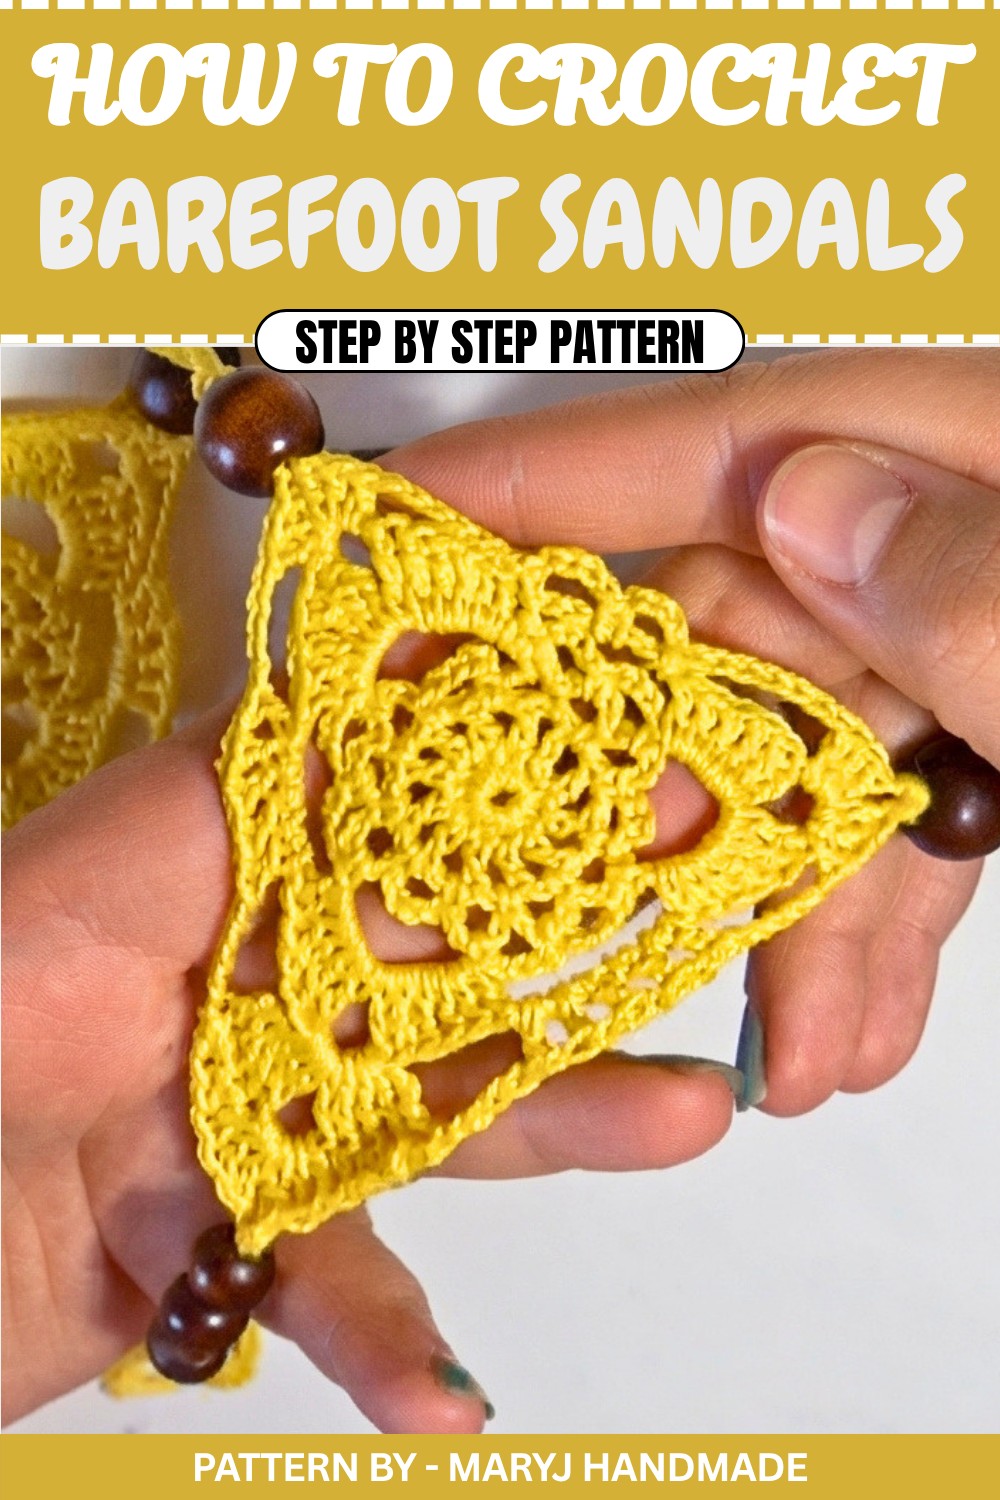
Step by Step Crochet Pattern for Barefoot Sandals
Quick Overview of the Pattern
- Project Type: Barefoot sandals (triangle shaped)
- Style: Elegant yet relaxed boho inspired accessory
- Key Features:
- Circular start, transitioning into a triangle for structure
- Adjustable loops to secure at the toe and ankle
- Optional bead embellishments
- Construction: Worked in rounds and includes arches made of chains
Notes
- This pattern is small and works up quickly, making it perfect for gifting or experimenting with colors and bead decorations.
- Ensure proper tension while creating the circular base and arches; uneven tension can affect the triangle’s symmetry.
- Cotton yarn is recommended for both comfort and durability.
Skill Level
Beginner to Intermediate — Basic stitches and techniques are used, such as single crochet (sc), double crochet (dc), chain (ch), and slip stitch (sl st). The placement of arches and shaping of a triangle may require attention to detail.
Materials
- Yarn: Egyptian cotton, size 5 (lightweight)
- Hook: 2 mm crochet hook
- Optional Beads: Wooden, glass, or plastic beads (for boho touch)
- Other Supplies: Scissors, tapestry needle
Measurements / Sizing
- Approximate size of the triangle: Tailored to fit snugly over the foot with adjustable cords for the ankle and toe loops.
- Customize the strap lengths by measuring on your foot during the process.
Gauge
No strict gauge. However, working with consistent tension is important for balance in the triangular shape and arches.
Stitch Abbreviations
- ch = chain
- sc = single crochet
- dc = double crochet
- sl st = slip stitch
- hdc = half double crochet
- tr = treble crochet
- dec = decrease
Special Stitches
- Magic Ring: Form a closed center by crocheting into an adjustable loop. Pull the tail to close the ring.
The Crochet Pattern
Base Circle (Round 1)
- Begin with a magic ring.
- Work 12 sc into the magic ring.
- Pull the tail to close the ring tightly.
- Complete the round by joining with a sl st into the first sc.
Arches (Round 2)
- Ch 2 to substitute the first dc.
- Dc into the next st, ch 1. Repeat this sequence (1 dc, 1 ch) in all stitches around.
- At the end, join with a sl st into the 2nd ch of the starting ch 2.
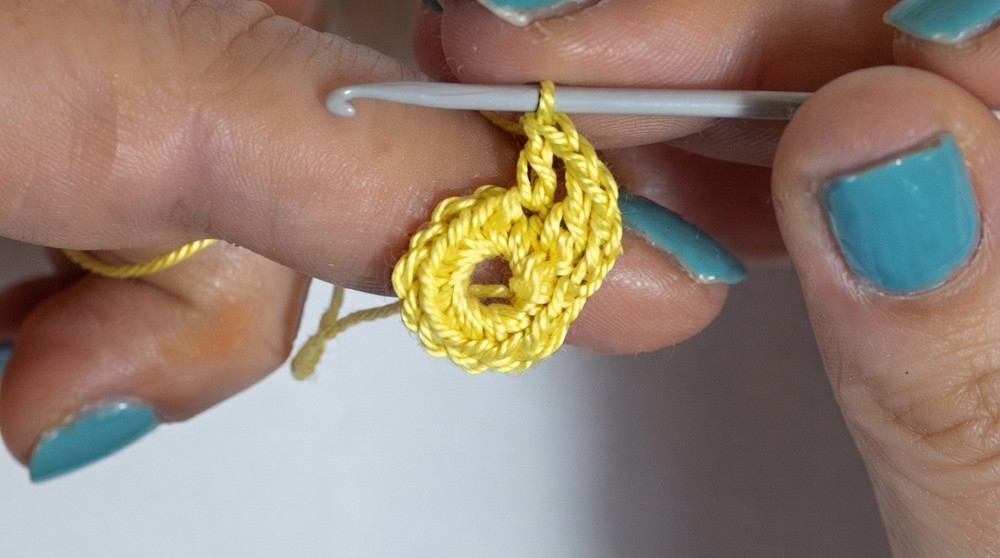
Forming Chain Loops (Round 3)
- With a sl st, bring your hook into the first ch space from the previous round.
- Work 1 sc, then ch 4.
- Into the next ch space, work 1 sc, then ch 4. Repeat this sequence around.
- For the last arch (ch 4), instead of ending with a sc, join with a sl st into the first sc of the round.
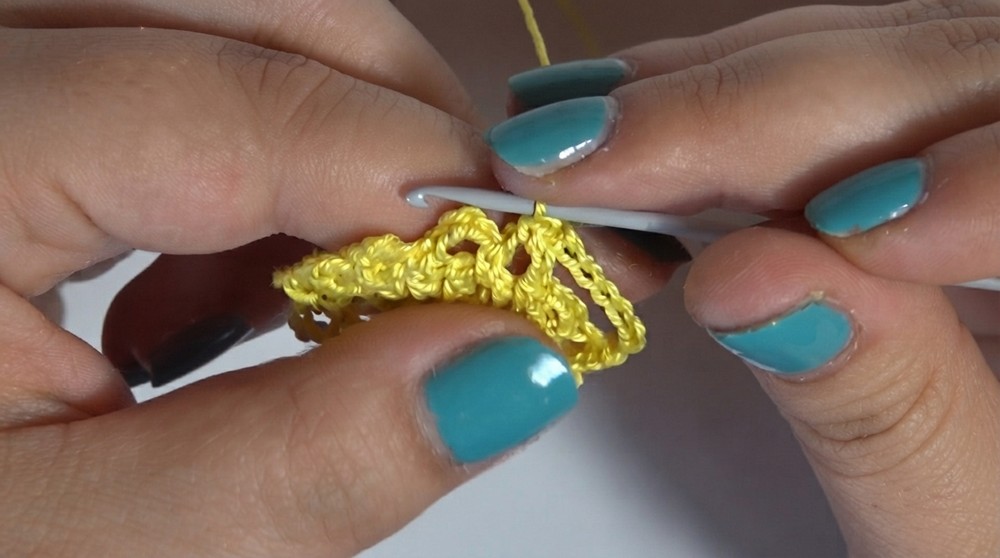
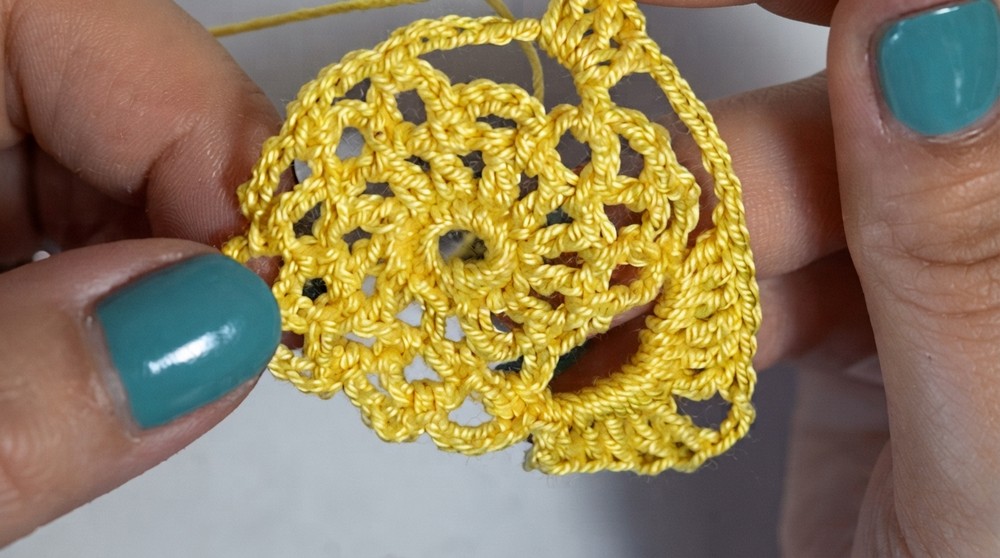
Transition to Triangle Shape (Round 4)
- Sl st into the center of the next ch 4 arch.
- Sc into the same arch and ch 8.
- Skip the next ch arch, then sc into the following arch. This creates the first side of the triangle.
- For the next two arches:
- Work 1 sc, ch 4, in the first skipped arch.
- Repeat this sequence (1 sc, ch 4) into the adjacent skipped arch.
- Create a longer arch: In the third arch space, work 1 sc, then ch 8. Skip the adjacent arch and sc into the following arch.
- Repeat the sequence until three longer sides shape the triangle. Ensure symmetry as you transition across the arches.
Triangular Points (Round 5)
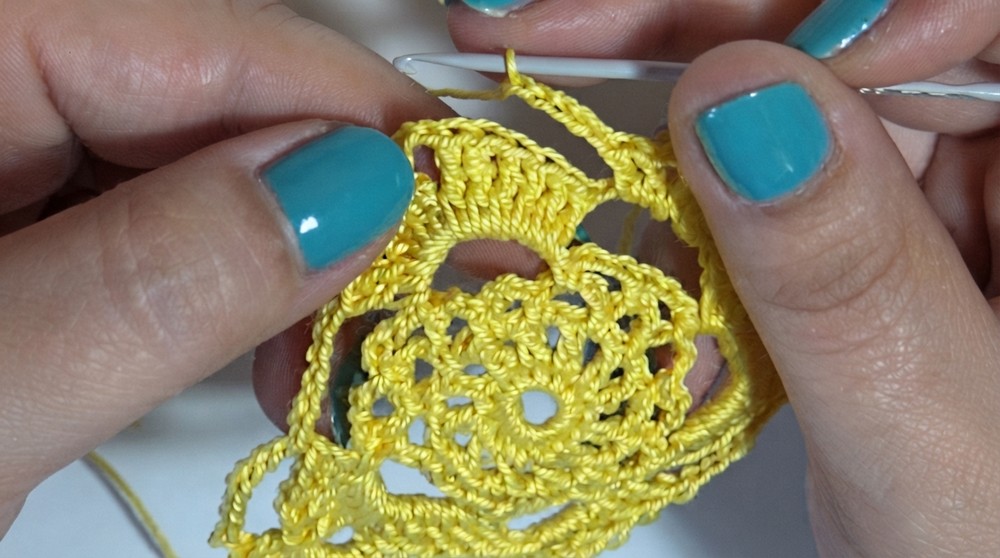
- In each longer arch (formed with 8 ch), work:
- 3 dc
- 3 tr
- Ch 3
- 3 tr followed by 3 dc
- To connect the points: Ch 6 between the triangular arches, then repeat the process in each long arch until the triangle is fully shaped.
Decorative Edging (Round 6)
- Around the edge of each triangular point, work:
- 3 sc in the ch space for the center point
- 5 sc in the remaining loops along each side
- Once one triangular point is completed, ch 8 to transition to the next one, ensuring a smooth flow between sections.
Foot Straps and Beaded Lace (Final Details)
- Cut three strands of yarn, each double the desired length of your ankle strap.
- Attach the strands to the corners of the triangle using a sl st.
- String a bead onto the strands if desired. Secure it with a tight knot close to the bead.
- Braid the loose threads loosely or tightly based on your preferred finish. Secure the ends with a knot and trim excess yarn.
Toe Loop
- Use the center of the triangle’s longest point to attach a single loose strand.
- Ch enough to comfortably wrap around the toe, forming a loop.
- Once the loop is sized appropriately, sl st back along the chain for reinforcement. Attach the end to the triangle with a knot and trim.
Assembly & Finished Size
After completing both sandals, test the fit by tying the ankle straps around the leg. The beaded accents add a charming boho touch, while the reinforced toe loop keeps the sandal secure. Adjust strap lengths during assembly for personalized comfort.
Conclusion and Ending Words
Your beautiful barefoot sandals are complete. Perfect for weddings, festivals, or summer outings, they’re designed for both style and comfort. Thank you for following along.