
Minimalist Crochet Earrings Pattern for Everyday Glam
Turn your smallest leftover yarn scraps into a whole jewelry box of colorful crochet earrings so you always have a fresh pair ready for school.
Pattern By MaryJ Handmade
I still remember the first time I crocheted a pair of earrings. I was looking for something simple yet stylish that I could make as a small gift. It turned out to be one of the most rewarding projects. Minimalist crochet earrings are perfect for anyone who loves lightweight, dainty accessories, and they’re surprisingly easy to create. Whether you want to match them with your favorite outfit, gift them to a friend, or even sell them at a crochet fair, they’re a wonderful way to showcase handmade charm.
Easy Crochet Earrings: Make Your Own Fashion Statement
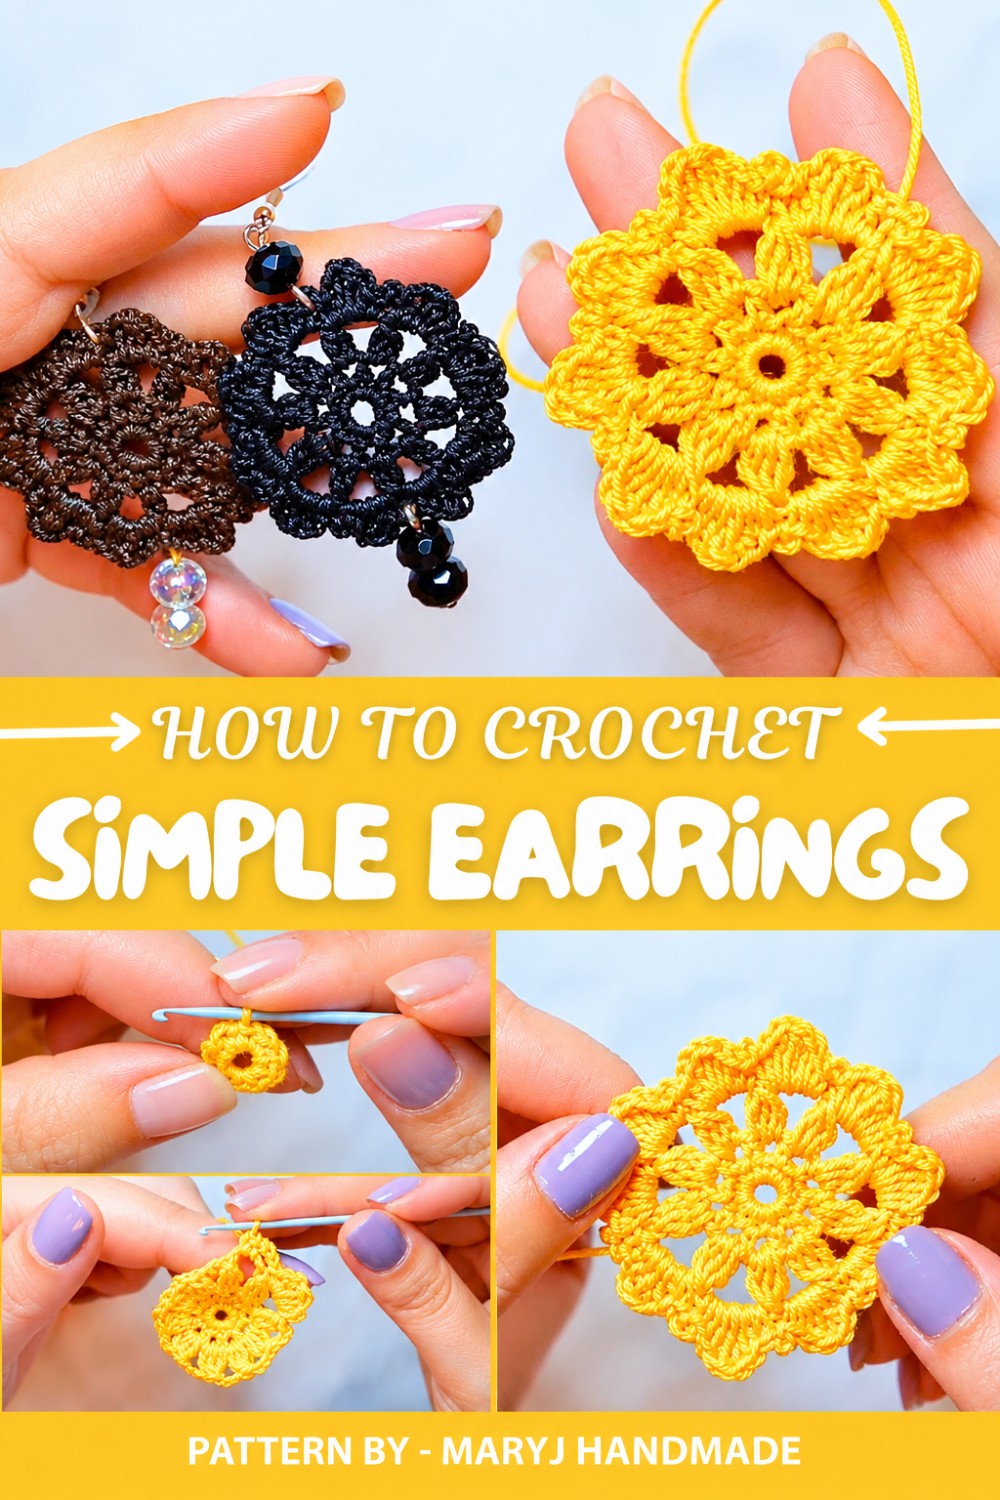
They often feature clean lines, elegant shapes, and just the right amount of texture to catch the eye. One of the standout stitches used in this pattern is the double crochet cluster, a technique that creates a wonderful, airy look. With the same skills, you could also make lacy coasters, keychains, or even lightweight floral pendants. The minimalist vibe doesn’t mean boring, it’s all about letting the basic stitches shine.
Made with fine cotton thread and a small hook, these earrings feel incredibly light and comfortable to wear. Plus, you can experiment with different colors of thread to match whatever mood or season you’re feeling. A soft pastel for spring, a bold black for formal occasions, or even metallic thread to add a touch of sparkle.
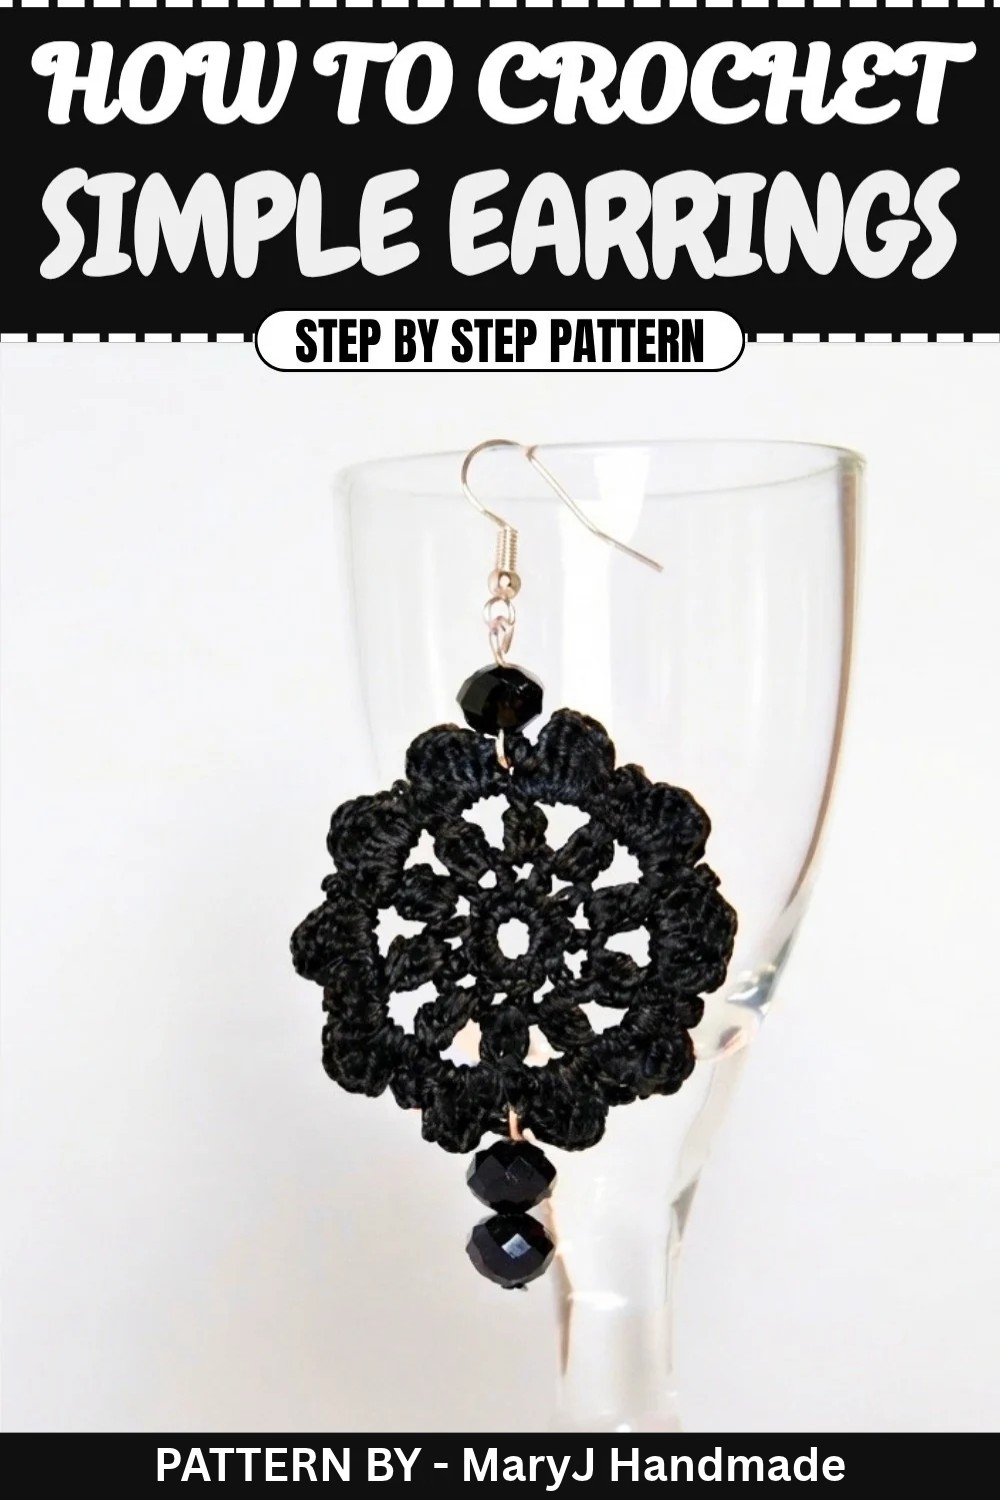
If you're a beginner, this project is a great way to build your confidence. With just a few easy steps and some practice, you’ll have your very own handmade accessory in no time. And trust me, nothing feels better than someone asking, “Wow, where did you get those earrings?” and you proudly saying, “I made them”.
Simple Crochet Earrings Pattern
Quick Overview of the Pattern
- Project Type: Crochet earrings
- Use: Fashion accessories
- Skill Level: Beginner friendly
- Time Required: Quick and efficient, great for instant gratification projects
- Stitches Used: Single crochet, half double crochet, double crochet, treble crochet
Notes
- The pattern is crafted using a 0.75 mm crochet hook. However, for demonstration purposes, a 2 mm hook will be used to make the pattern more visible.
- Using a smaller hook size will result in smaller earrings, ideal for delicate accessory pieces.
- For best results, starch the earrings after completion to maintain their shape and add rigidity.
Skill Level
Beginner-friendly. This pattern offers a straightforward approach and utilizes basic crochet stitches.
Materials
- Yarn:
- Thin black crochet thread ideal for accessories
- Crochet Hook:
- 0.75 mm for the final product
- 2 mm for practice or demonstration
- Scissors
- Tapestry needle: For weaving in ends
- Starch: Optional, to hold the earring's shape.
- Jewelry hooks: If desired, to turn the finished crochet piece into wearable earrings.
Measurements / Sizing
- The completed earrings using a 0.75 mm hook will be smaller and ideal for wear.
- Using a larger hook such as 2 mm will result in larger, more statement like earrings.
Gauge
Gauge is not critical for this project. However, maintaining consistent tension will provide the best results.
Stitch Abbreviations
- ch = chain
- sc = single crochet
- hdc = half double crochet
- dc = double crochet
- tr = treble/triple crochet
- sl st = slip stitch
- sp = space
- st(s) = stitch(es)
Special Stitches
- Magic Ring: A technique to start crocheting in the round, allows for an adjustable center.
The Crochet Pattern!
Step 1: Start with a Magic Ring
- Create a magic ring to begin the crochet process.
Step 2: Round 1 – Single Crochet Circle
- Inside the magic ring, crochet 10 single crochet (sc) evenly:
- Single Crochet: Insert your hook into the magic ring, yarn over, pull up a loop, yarn over again, and pull through both loops.
- After completing the 10 sc, pull the tail to tighten and close the magic ring.
- Complete the round with a slip stitch into the first sc.
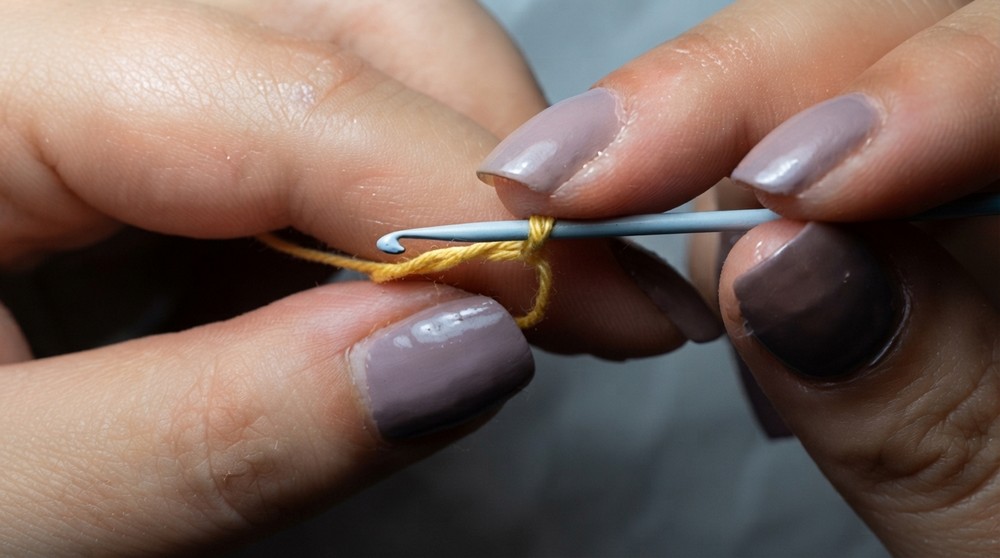
Step 3: Round 2 – Half Double Crochet and Chains
- Crochet 1 half double crochet (hdc) and 1 chain in each stitch from the previous round, repeating this pattern 10 times:
- Half Double Crochet: Yarn over, insert the hook into the stitch, yarn over, pull up a loop (3 loops on hook). Yarn over and pull through all 3 loops on the hook.
- By the end of the round, you will have 10 hdc and 10 chain spaces.
- End the round with a slip stitch into the first hdc.
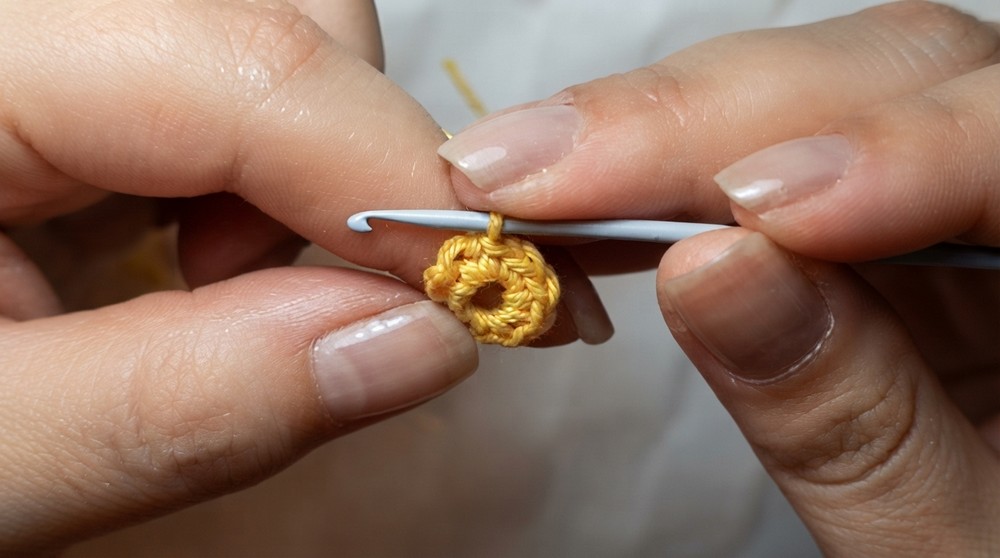
Step 4: Round 3 – Double Crochet Clusters and Chains
- Work 3 double crochets together (dc3tog) and 3 chains in each space between the hdc stitches:
- Double Crochet 3 Together (dc3tog):
- Yarn over, insert the hook in a stitch, yarn over, pull up a loop (3 loops on hook).
- Yarn over, pull through 2 loops (2 loops remaining).
- Repeat from * to work another dc into the same space, leaving the last loop on the hook each time, ending with 4 loops; yarn over, pull through all loops.
- After combining the dc, chain 3 and move to the next space.
- Double Crochet 3 Together (dc3tog):
- Repeat the sequence in every space.
- Complete the round with a slip stitch into the first cluster.
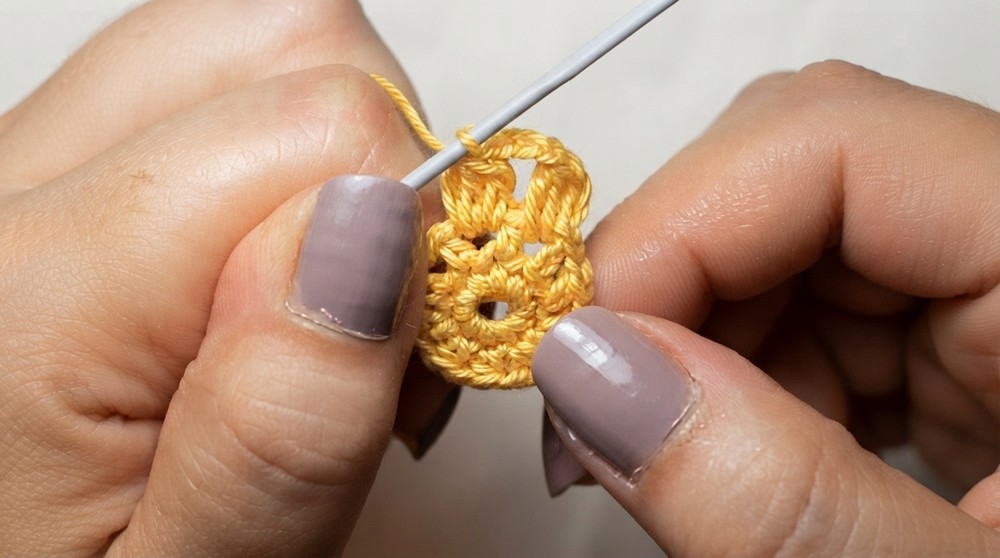
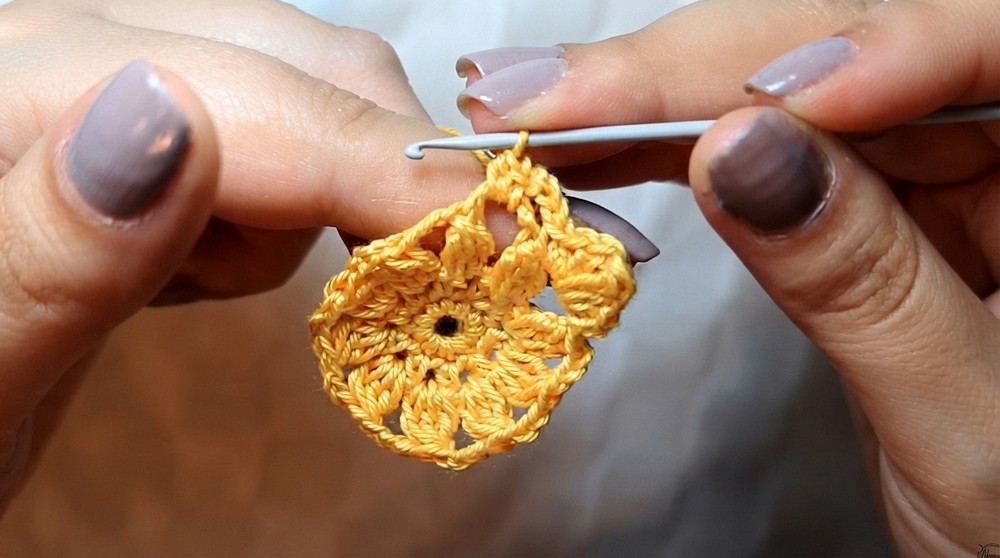
Step 5: Round 4 (Last Round) – Forming the Petals
- Form the Petals: In each chain space, crochet the following sequence to form petals:
- 1 single crochet (sc)
- 1 half double crochet (hdc)
- 1 double crochet (dc)
- 1 treble crochet (tr)
- 1 double crochet (dc)
- 1 half double crochet (hdc)
- 1 single crochet (sc), then chain 3
- Repeat the petal sequence for all chain spaces around the earring.
- End the round with a slip stitch into the first sc of the round.
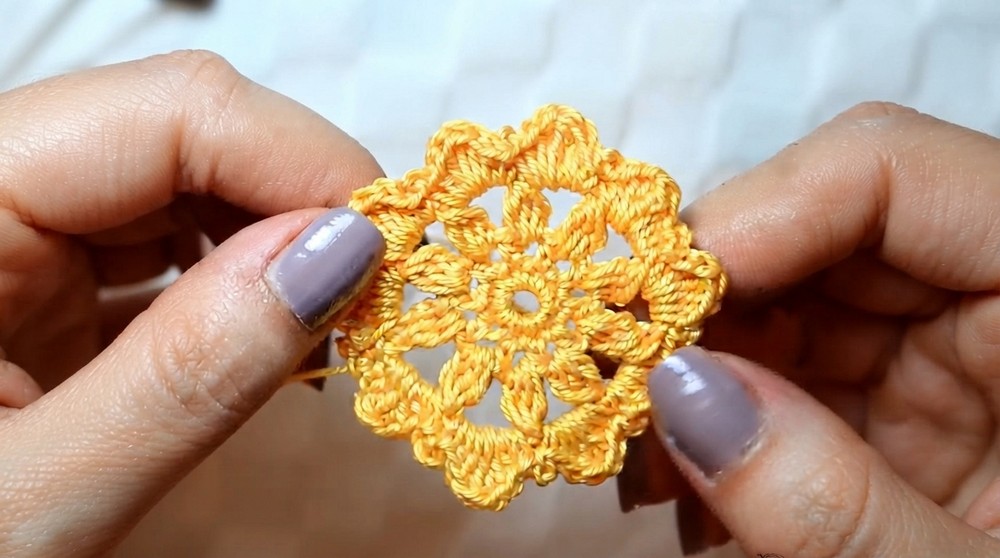
Assembly & Finished Size
- Fasten off and weave in all loose ends with a tapestry needle.
- Starch your earrings to help them maintain form and keep their shape. Use your preferred stiffening solution, pinning them on a flat surface to air dry after shaping them.
- Add jewelry hooks to turn the crochet piece into an earring, and add any adornments or embellishments as preferred.
Conclusion and Ending Words
Congratulations, You have successfully created a beautiful pair of crochet earrings. I hope you enjoyed this project. It’s quick, easy, and adds a personal touch to any outfit. Don’t hesitate to share your completed work or ask any questions.