
Your New Favorite Crochet Blue Doily Pattern Starts Here
Add a cool splash of handmade color to any plain wooden table with this super easy blue crochet doily pattern that makes your room look warm and cozy.
Inspiration From Anerom
Have you ever wanted to create something elegant, timeless, and completely handmade that can bring a personal touch to your home? Let me introduce you to a delightful project that’s both fun and manageable: the art of crocheting a blue doily. There’s something magical about taking a simple ball of yarn and turning it into a piece of art that adds a cozy, vintage vibe to any space.
You can use it as a table centerpiece, under a vase, or to add charm to your shelves or side tables. Made using simple stitches like the double crochet and chain stitch, this project highlights the elegance and beauty that these basic techniques can achieve. Plus, once you master this pattern, these same stitches can be used to create coasters, wall hangings, or even stunning placemats.
Jaw Dropping Crochet Blue Doily Design for Every Home
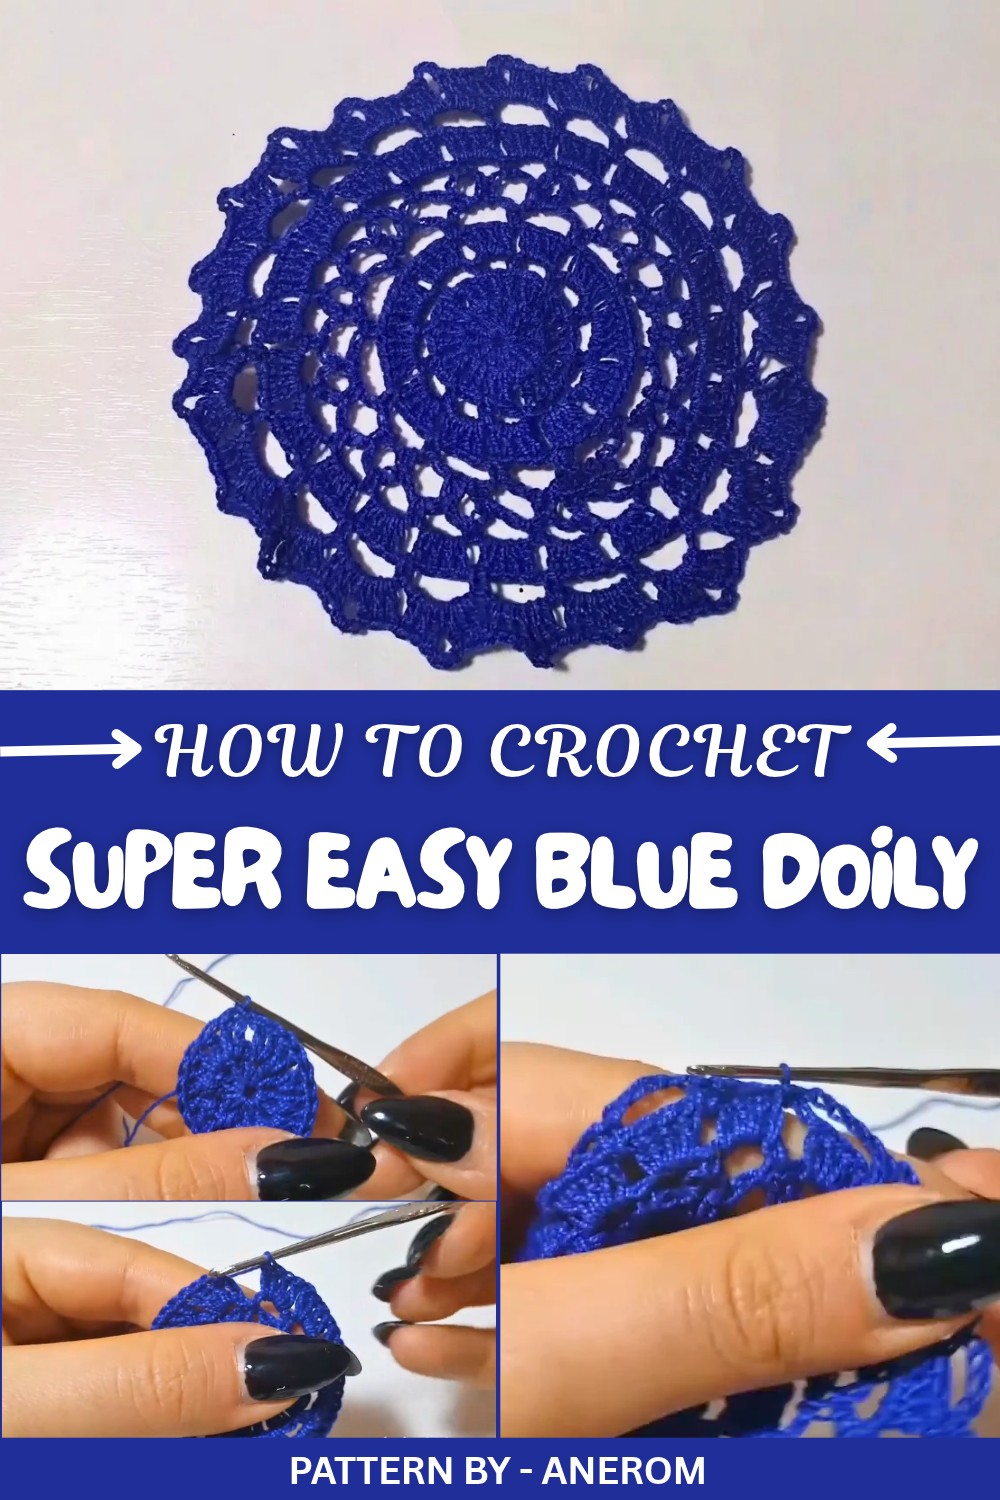
By following this pattern, you’ll learn how to create a beautifully intricate design using a combination of double crochet stitches, chain arches, and slip stitches. You’ll also get comfortable working in the round and will discover the magic of making a magic ring, a neat trick that’s a staple in the world of crochet.
Once you’ve mastered this pattern, you can take your newfound skills and apply them to other creative projects. Think about crocheting buntings for a celebration, circular cushion covers, or smaller doilies for coasters. You might even combine multiple doilies to create a unique table runner or a stunning wall decoration.
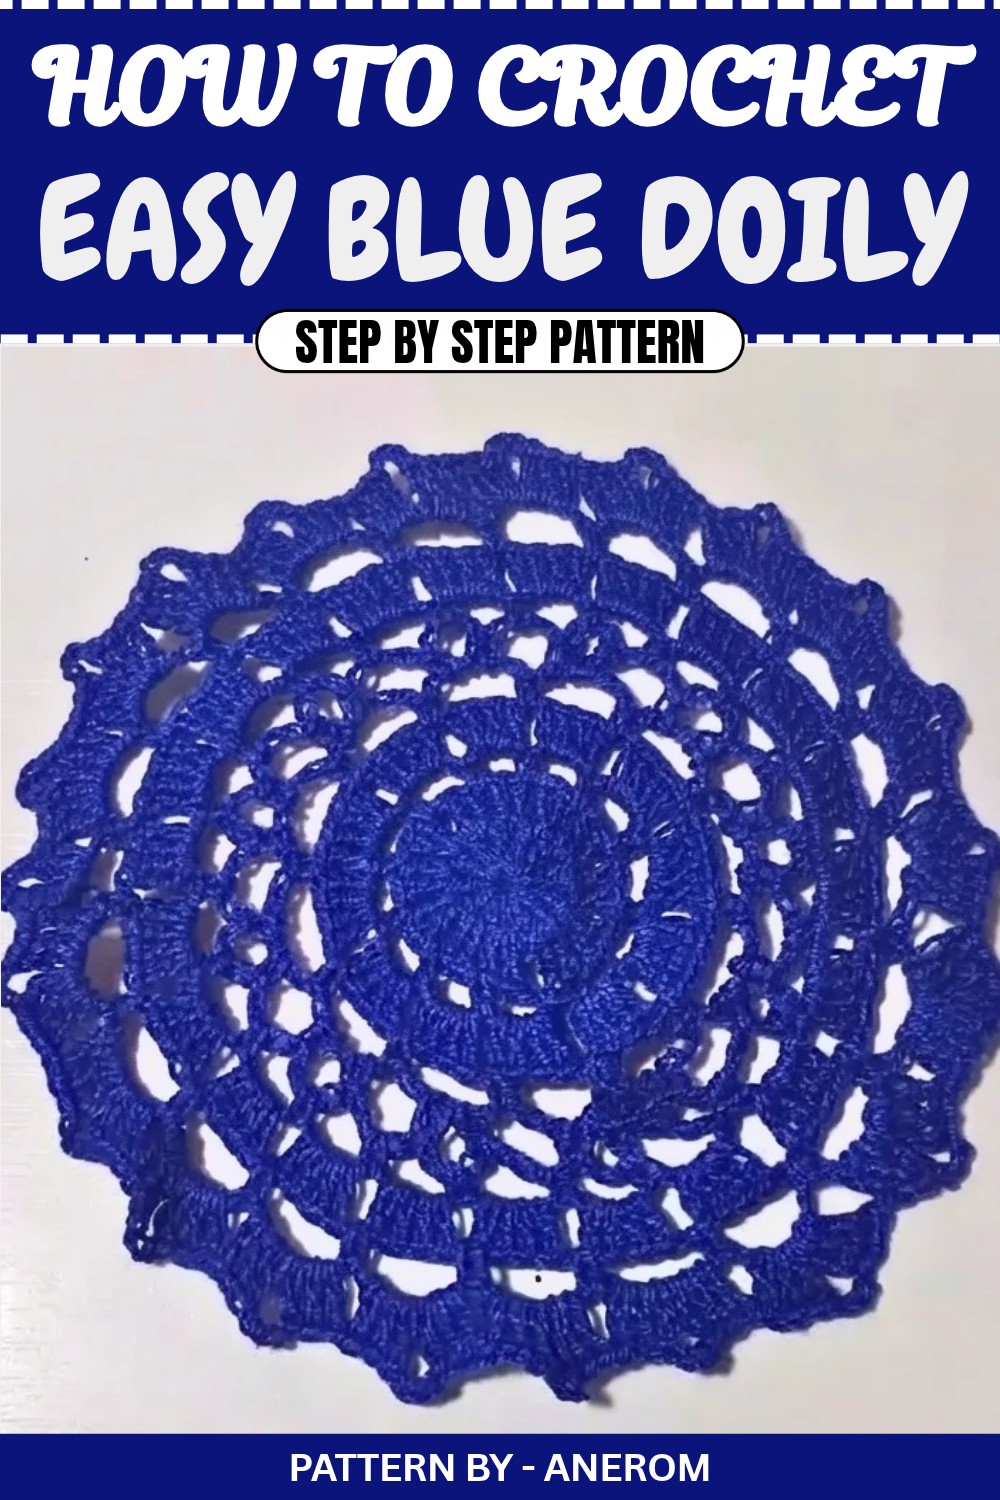
Crochet Pattern: Blue Lace Doily (Step by Step)
In this crochet tutorial, we'll create a refined blue doily using a 5.0 mm crochet hook. Every round adds intricate detail, yet it remains beginner friendly with simple stitches repeated systematically. The instructions below are carefully written for an accurate and easy flow of construction. Let’s dive into the pattern step by step.
Foundation: Begin with a Magic Ring
- Create a magic ring (MR).
- Chain 3 (counts as the first double crochet).
- Work 11 double crochets (dc) into the magic ring.
- Pull the yarn tail to tighten and close the magic ring completely.
- Slip stitch into the 3rd chain of the starting chain 3 to join the round.
- Total Stitches: 12
Round 2: Adding Increases
- Slip stitch into the space between two double crochets from the previous round.
- Chain 3 (counts as a dc), then work 1 double crochet in the same space.
- Repeat the following in every space between stitches:
- Work 2 double crochets into each space.
- Slip stitch into the top of the initial chain 3 to close the round.
- Total Stitches: 24
Round 3: Small Arches Formation
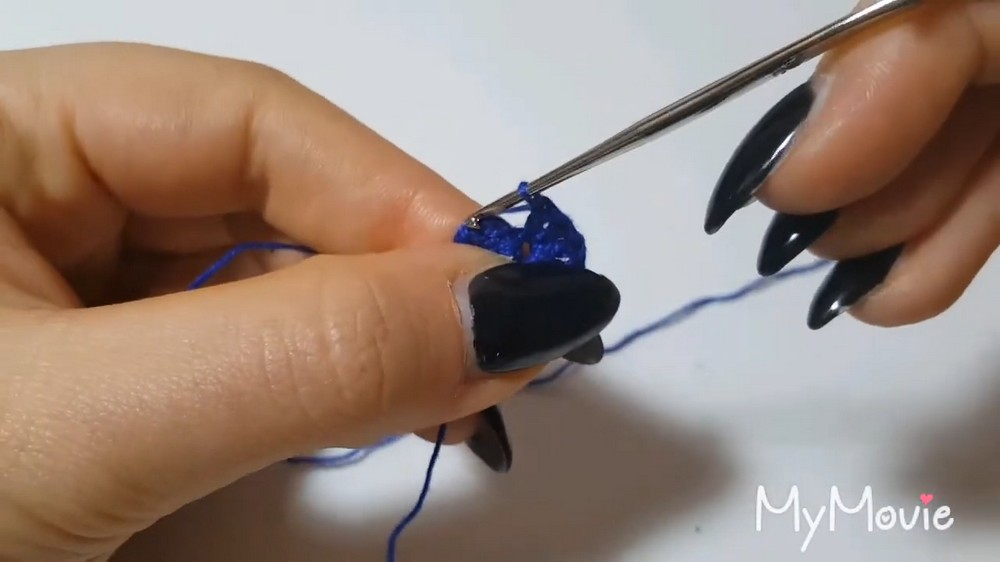
- Chain 3, skip the next 2 stitches, and work 1 single crochet (sc) into the following space.
- Repeat this pattern around:
- Chain 3, skip 2 stitches, and sc into the next space.
- Slip stitch into the initial single crochet to close the round.
- Result: Small arches formed around the circle.
Round 4: Filling the Arches with 4 dc
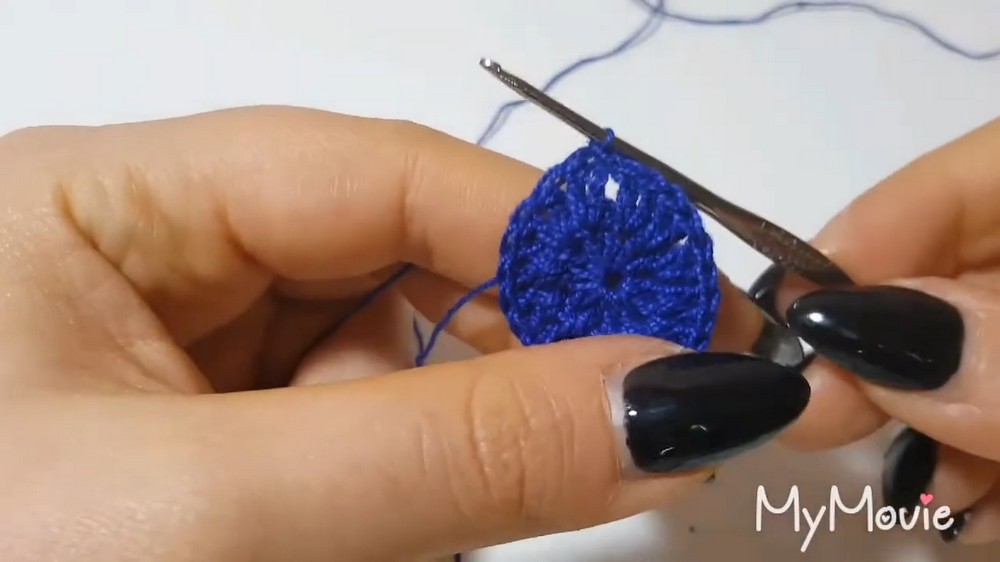
- Slip stitch into the first chain 3 arch.
- Chain 3 (counts as the first dc), then work 3 more double crochets (4 dc total) into the same arch.
- In every subsequent chain 3 arch, work 4 dc.
- Close the round with a slip stitch into the top of the initial chain 3.
- Result: Filled arches with 4 double crochets in each.
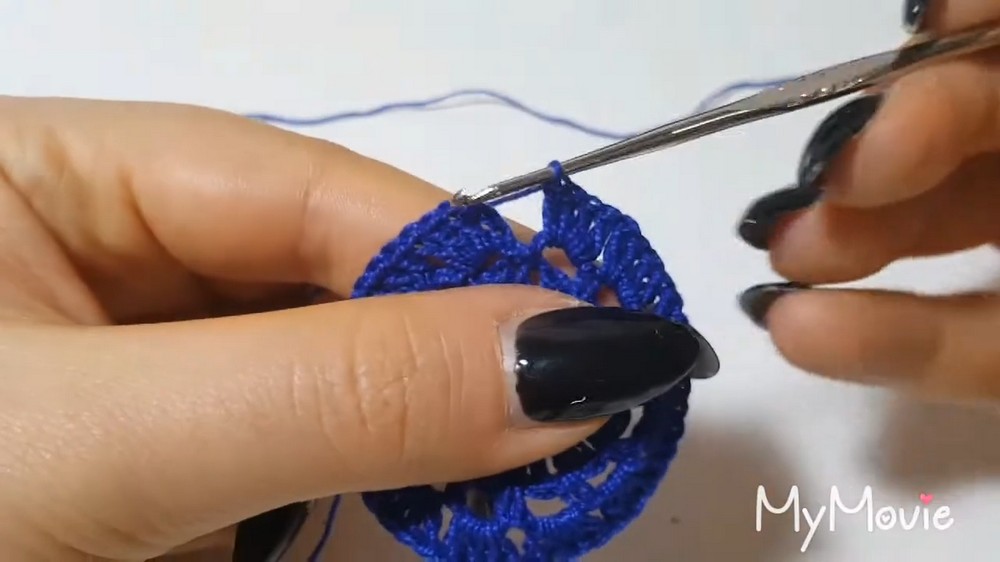
Round 5: Larger Arches Creation
- Chain 5, then work 1 single crochet (sc) into the space between each group of 4 dc from the previous round.
- Repeat the following around the circle:
- Chain 5, sc into the next space between the 4 dc groups.
- Slip stitch to join the round.
- Result: Larger arches have been created around the circle.
Round 6: Small Loops Inside Each Arch
- Slip stitch into the first arch.
- Chain 4, and work 1 single crochet (sc) in the same arch.
- Move to the next arch and repeat:
- Work 1 sc, chain 4, 1 sc in every arch.
- Continue this pattern for the entire round.
- Result: Small loops created in each arch.
Round 7: Linking Loops With Chains
- Slip stitch into the first arch.
- Chain 3, then work 1 single crochet (sc) into the next arch.
- Repeat this pattern for the entire round:
- Chain 3, sc into the next arch.
- Close the round with a slip stitch.
- Result: Loops connected with chain arches.
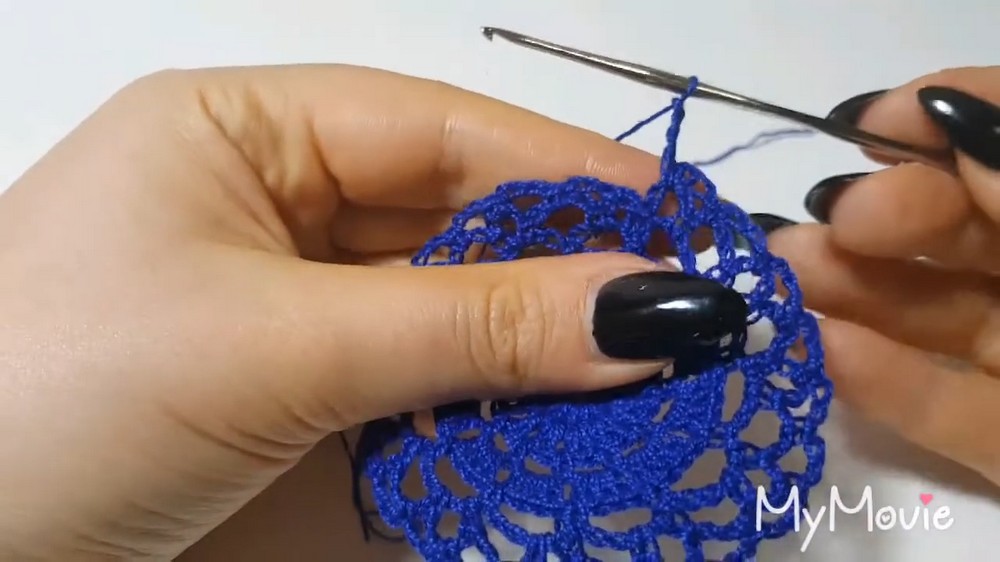
Round 8: Filling Each Arch with 4 dc
- Slip stitch into the first chain arch.
- Chain 3 (counts as a dc), then work 3 more dc (4 dc total) into the same arch.
- In the next chain arch, repeat: Work 4 dc.
- Continue the pattern until all arches are filled with 4 dc.
- Slip stitch into the top of the initial chain 3 to finish the round.
- Result: Each arch is filled with 4 double crochets.
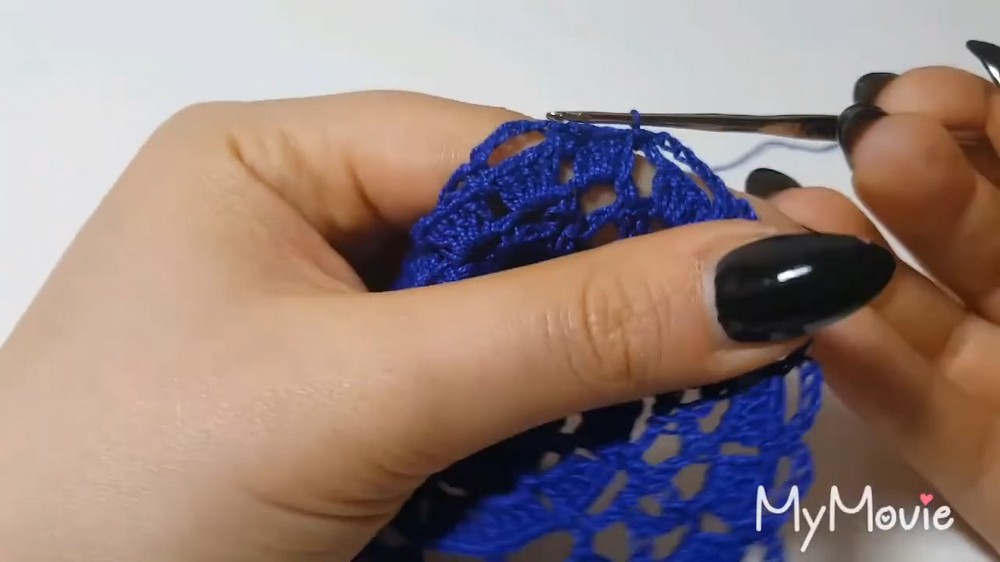
Round 9: Final Chain Arches
- Chain 5, then work a single crochet (sc) into the space after each 4 dc group from the previous round.
- Repeat around the circle:
- Chain 5, sc into the next space after the 4 dc group.
- Slip stitch to join the round.
- Result: Evenly spaced chain arches around the design.
Round 10: Final Cluster Details (Last Round)
- Slip stitch into the first arch.
- Chain 3 (counts as a dc), then work 2 more dc (3 in total) into the same arch.
- Chain 3, and then work 3 more dc into the same arch.
- Move to the next arch and repeat:
- Work 3 dc, chain 3, 3 dc in every arch.
- Close the final round with a slip stitch into the 3rd chain of the starting chain 3.
- Fasten off and cut the yarn.
Finishing and Assembly
- Use a tapestry needle to neatly weave in any loose ends.
- Block the finished doily by dampening it slightly, shaping it into a perfect circle, and letting it air dry.
Finished Size
Your completed doily should measure approximately 10–12 inches in diameter, depending on the tension and yarn used.
Conclusion
This delicate and visually stunning blue doily is perfect for adding charm to your tables or gifting to friends and family. Its elegant arches and flowing design make it a standout decorative piece.