
Last Minute Free Crochet Earrings Pattern That Are Stunningly Simple
Skip overpriced mall jewelry stores and stitch your own quick easy crochet earrings that look like designer boutique pieces for just pennies a pair.
Who says earrings have to be made of metal? With just a hook and some yarn, you can make lightweight, colorful accessories that are perfect for any outfit. These handmade beauties are not only eye catching but also a fantastic way to show off your creativity. Whether you prefer a subtle look or bold statement pieces, the possibilities are endless when it comes to customizing these crochet earrings.
This project focuses on super simple techniques, which makes it perfect for beginners or anyone looking for a quick and fun activity. Using basic stitches like single crochet and double crochet, as well as the magic ring method, you’ll create earrings that are delicate yet durable. These same stitches can also be used to make items like coasters, appliques, or even tiny ornaments. It’s amazing how versatile a few stitches can be.
Free Crochet Earrings Pattern for Stylish Accessories
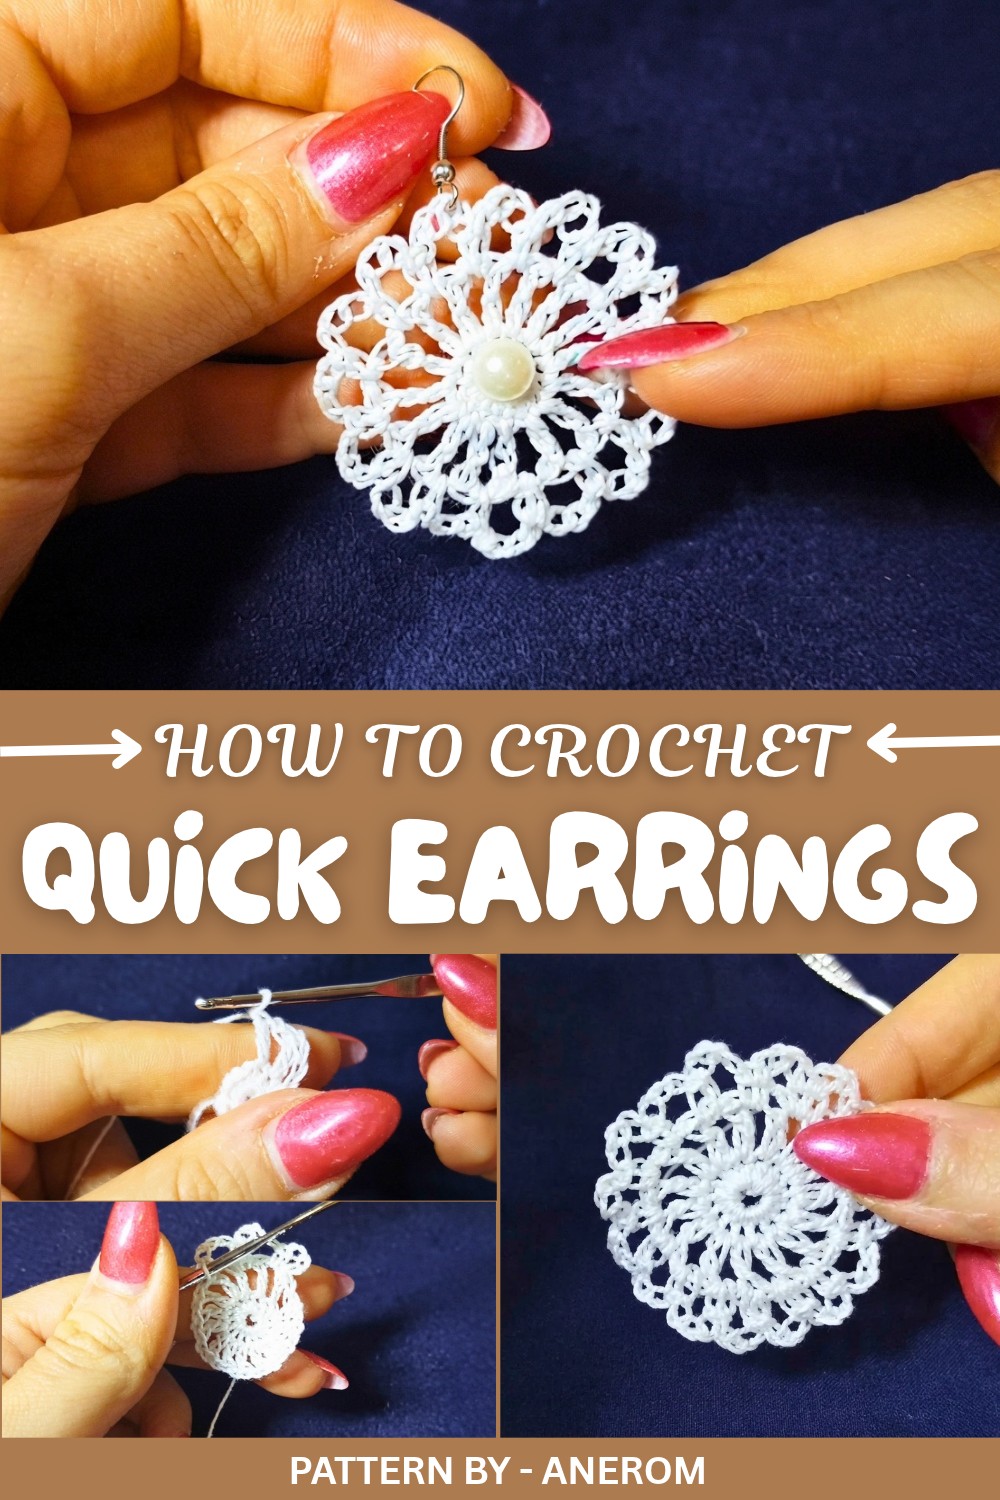
By following this step by step guide, you’ll learn more than just how to crochet earrings. You’ll pick up tips on working in the round, making your stitches consistent, and even how to stiffen the finished design to make the earrings hold their shape. Don’t worry if you’re new to crochet, this project is designed to help you build skills while having fun.
Inspiration From Anerom
What’s even better is that these little projects can be the base for so many other things. Once you’ve mastered the techniques, you can use them to create pendants, keychains, or embellishments for hats and bags. Simple stitches can truly take you far, making handmade gifts and accessories all the more special.
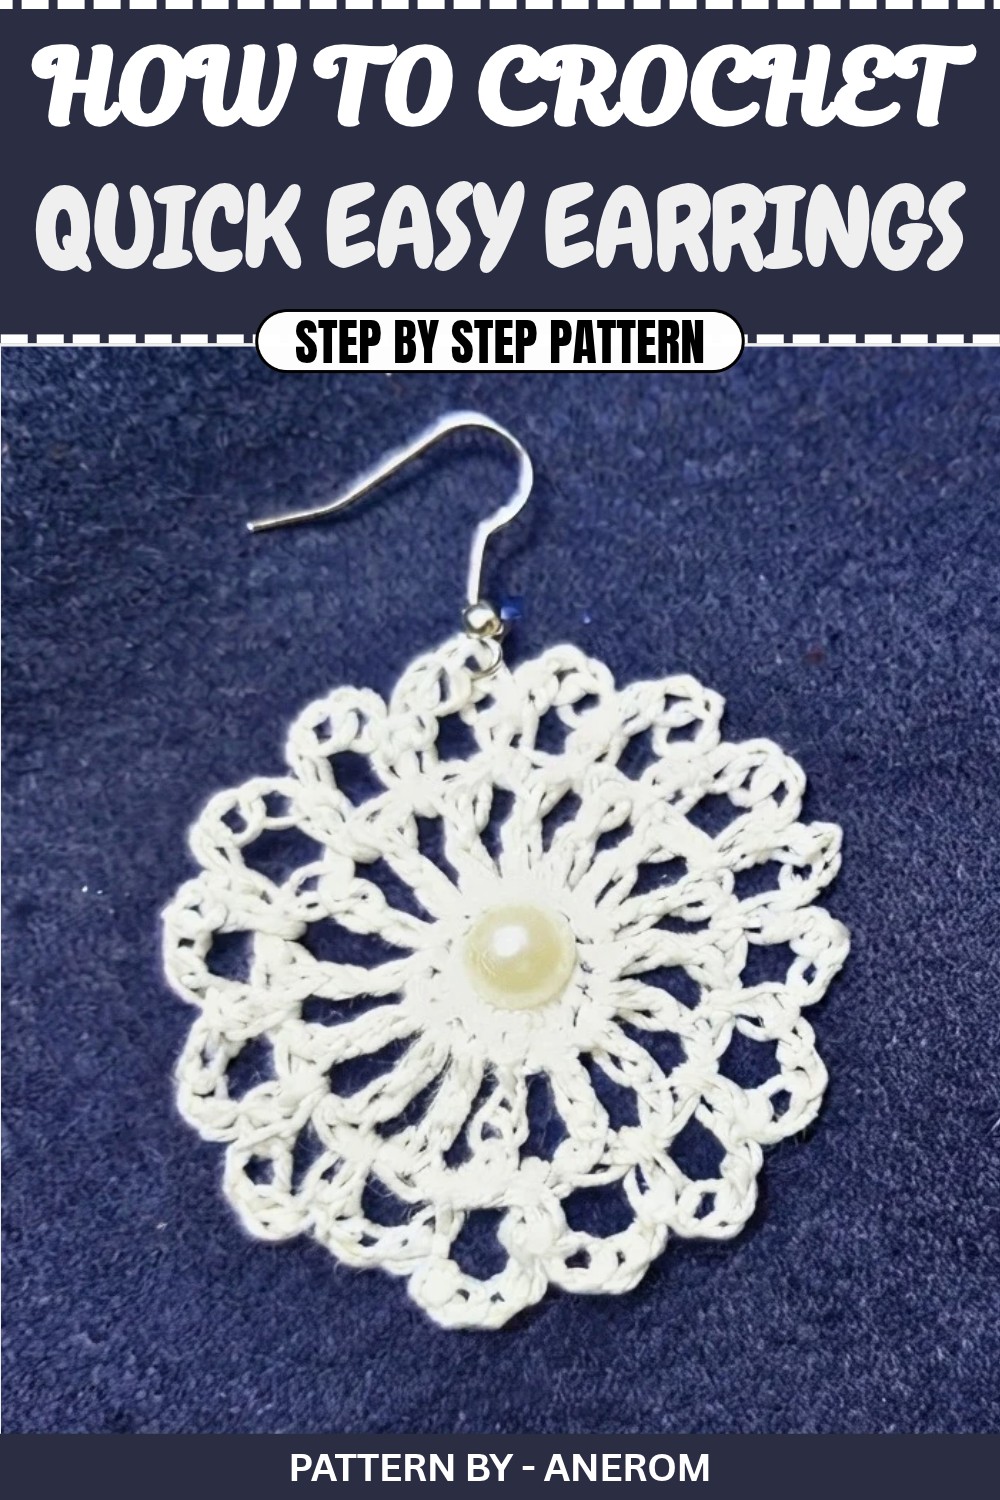
Crochet Pattern: Simple Earrings for Beginners
Quick Overview of the Pattern
- Base Structure: The design starts with a magic ring and progresses with rounds to form an elegant earring shape.
- Details: The earrings are embellished with a pearl or bead at the center (optional).
- Finishing Touch: The earring is stiffened for durability using transparent nail polish for a professional finish.
Notes
- This project is quick, beginner friendly, and requires basic crochet skills.
- Use transparent nail polish for stiffening (or fabric stiffener if preferred) to give the earring its final shape.
- The color and embellishments are fully customizable, meaning you can adjust them to match your personal style.
Skill Level
Beginner Friendly
This pattern is simple enough for those new to crochet but is also enjoyable for experienced crocheters looking for a quick project.
Skills Needed:
- Magic ring
- Single crochet (sc)
- Double crochet (dc)
- Slip stitch (sl st)
- Chain stitch (ch)
Materials
- Cotton yarn: Thin yarn in white (or any color of your choice).
- Hook size: 2.00 mm crochet hook.
- Earring hook: To attach the completed design into an earring.
- Small pearl or bead (optional): For a decorative touch.
- Transparent nail polish or fabric stiffener: For shaping and durability.
- Yarn needle: For weaving in the ends.
- Scissors: For trimming excess yarn.
Measurements / Sizing
- The finished earring has a diameter of approximately 2.5 cm.
- Adjustments to sizing can be made by using thicker or thinner yarn and hooks.
Gauge
Gauge is not critical for this project due to its decorative nature. Slightly varying results based on yarn thickness or hook size will still yield a beautiful outcome.
Stitch Abbreviations
- ch: chain
- sc: single crochet
- dc: double crochet
- sl st: slip stitch
Special Stitches
Magic Ring: A fundamental crochet technique to create a tight, adjustable base for circular designs.
The Crochet Pattern
Let’s begin step by step:
Step 1: Magic Ring Foundation
- Start by creating a magic ring.
- Inside the magic ring, work 16 sc. Each single crochet goes into the loop of the magic base. (16 stitches)
- Pull the loose end of the magic ring tightly to close the loop completely.
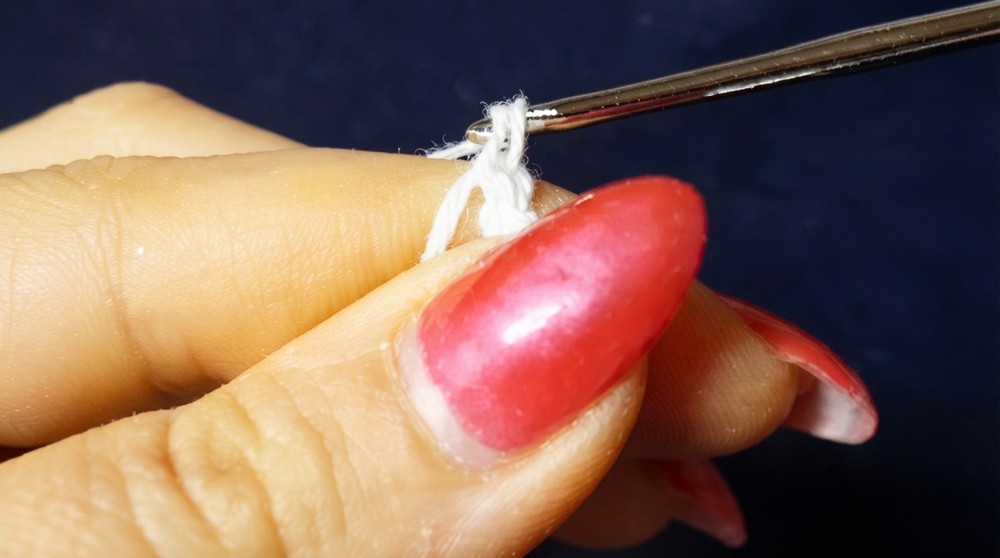
Step 2: Closing the First Round
After completing the 16 sc, join the round:
- Insert your hook into the first sc you made.
- Close the round with a sl st. This creates a neat and secure circle to serve as the foundation of the earring.
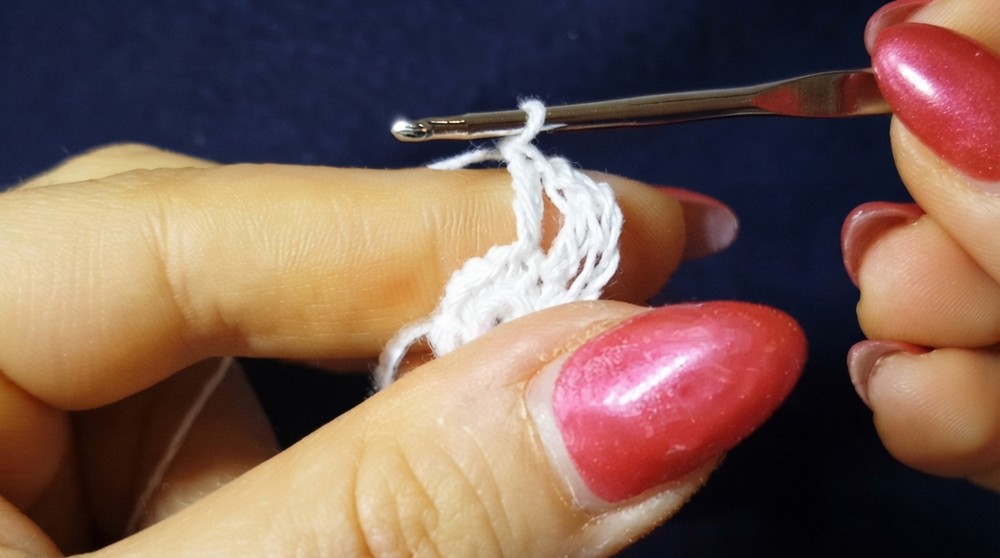
Step 3: Second Round – Chains and Double Crochet
- Start the round with 4 ch. This counts as 1 dc + 1 ch.
- In the next stitch: Work 1 dc, followed by 1 ch.
- Repeat the sequence "1 dc, 1 ch" in each stitch around.
Result: The row alternates between dc stitches and spaces created by the ch stitches.
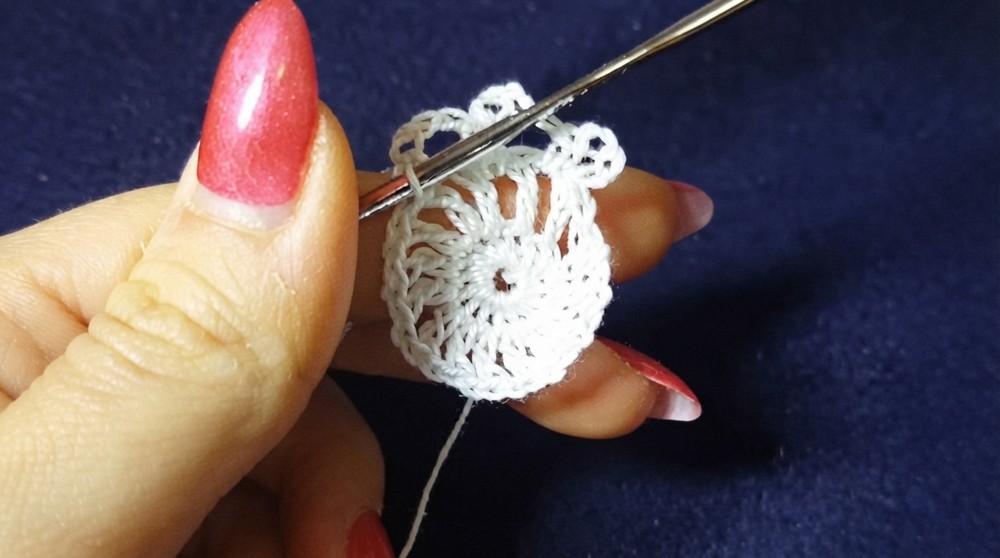
- Once you’ve completed the round, close it by joining with a sl st to the third chain of the initial 4 ch group.
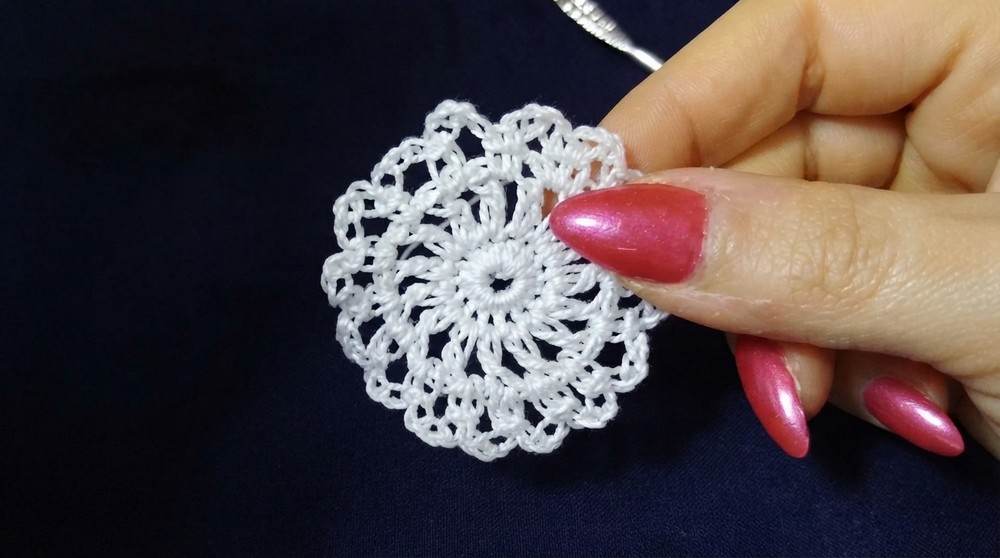
Step 4: Final Round – Chains and Spacing
To add the decorative outer edge to the earring:
- Begin by making 4 ch.
- Locate the ch space from the previous row (created by the 1 ch in Step 3).
- Into this space, make 1 sc to secure the chains.
- Repeat: [4 ch, 1 sc in the next ch space].
Continue this pattern around the entire edge of the earring.
Step 5: Closing the Last Round
- After completing the final sequence of 4 ch + 1 sc, locate the final ch space.
- Secure the round by making a sl st into the starting chain.
- Pull the yarn through the loop, cut off the remaining tail, and weave it into the fabric securely to finish.
Assembly and Finishing
- Stiffen the earring by applying transparent nail polish or fabric stiffener. This helps hold its shape and enhances durability.
- Apply a thin layer to one side, let it dry, then repeat on the other side.
- Allow the earring to dry completely before proceeding.
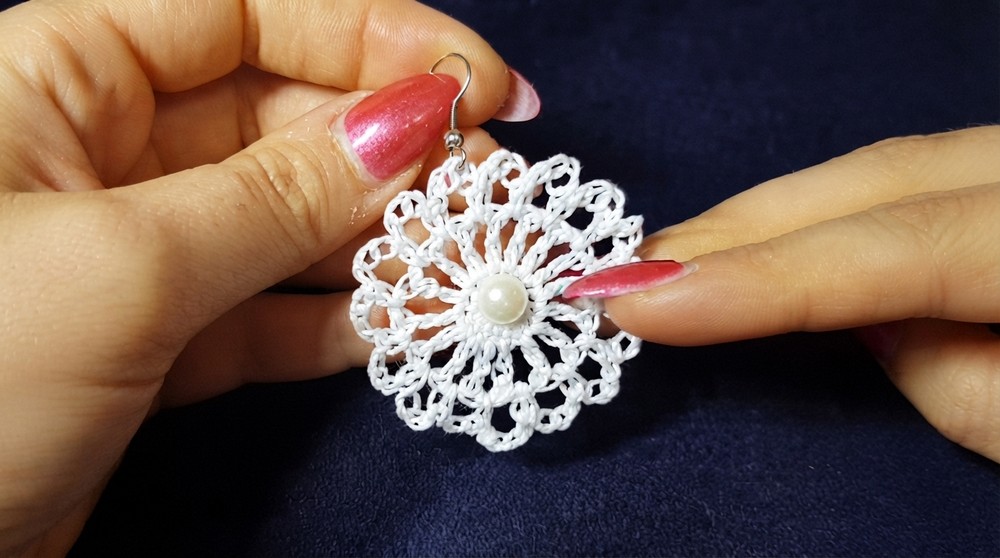
- Once the earring is stiffened, attach the earring hook. Use pliers to secure the hook tightly onto the top loop of the earring.
- To embellish the design, attach a decorative pearl or bead in the center of the earring using a hot glue gun or a yarn needle and transparent thread. This step is optional, but it adds an elegant touch to the final product.
- Ensure all components are securely attached and trim any loose threads to give a professional finish to your earring.
Conclusion and Ending Words
Congratulations on completing your crochet earring, These earrings are elegant, lightweight, and perfect for adding a handmade touch to your outfit. Plus, they make fantastic gifts for family or friends.